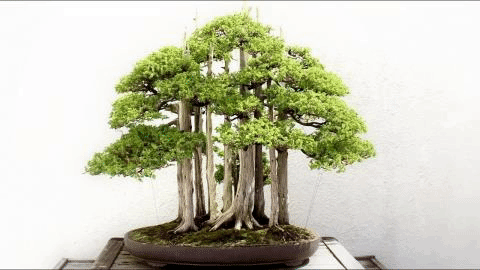
Lime Twist on the Rocks [Bonsai]
Today I decided to redesign my bonsai Lime tree.
You might remember my post from many months ago called Comments Request: Improve my Lime Citrus Tree. In that post many expert bonsai writers here on steemit responded and presented a wealth of knowledge, theory, and ideas to stir through. Some writers even made their own response post filled with photo walkthrough tutorials on how to restyle the tree I presented.
Following the recommendations I got, in this post I will be sharing the results of my work on this tree after performing strategic cuts and wiring to the tree.
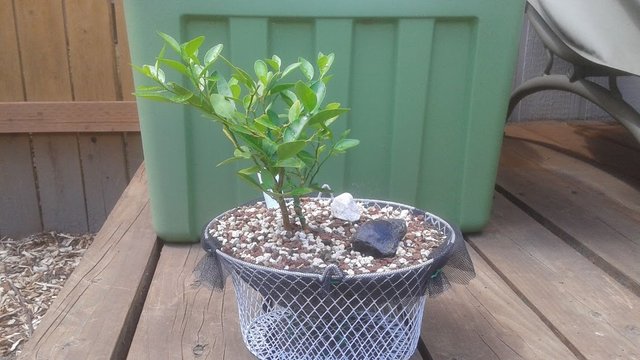
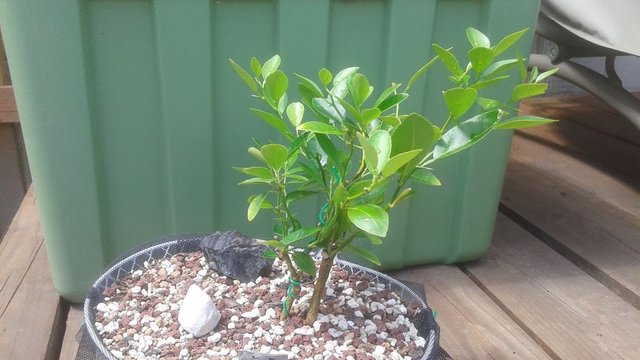
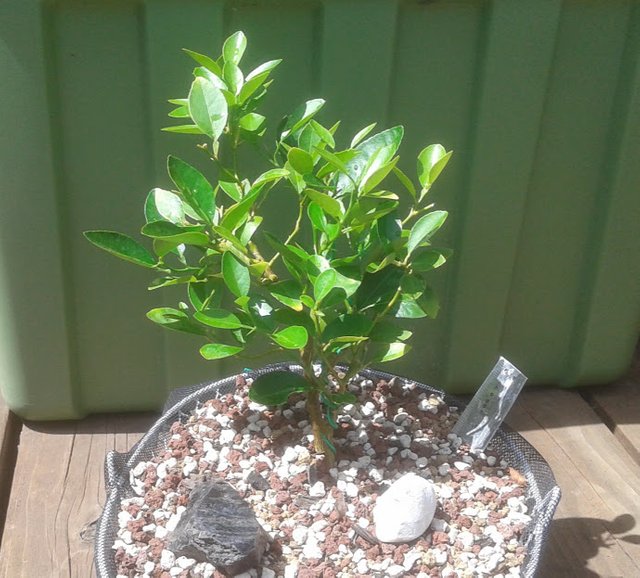
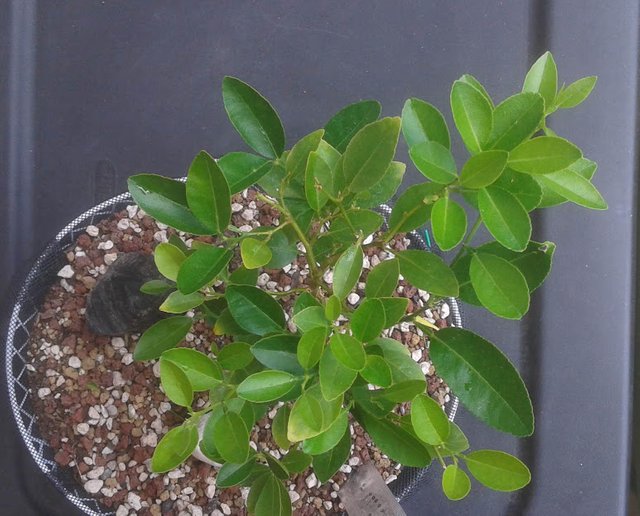
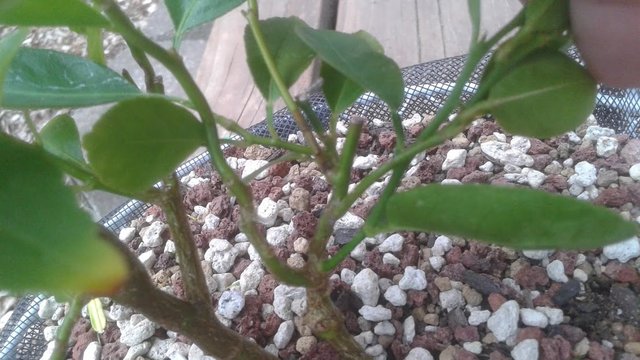
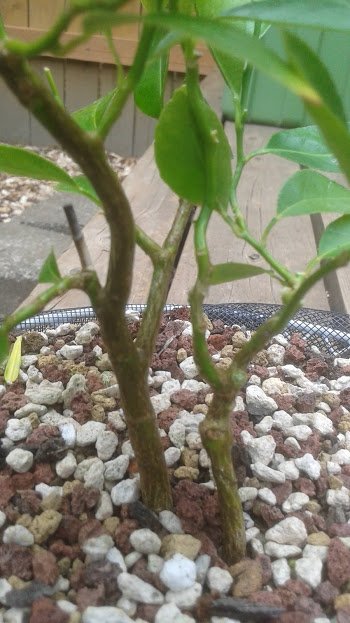
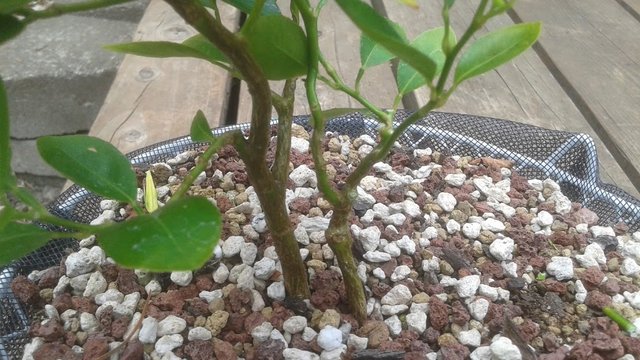
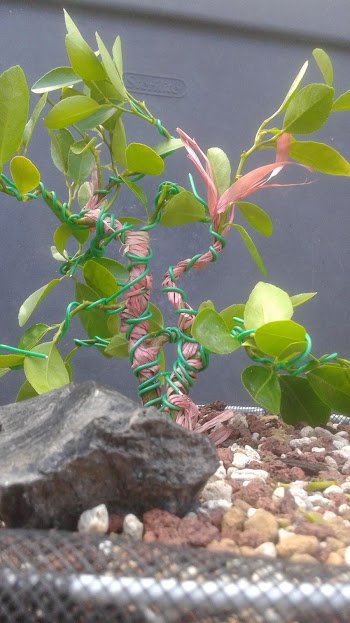
Here are some photos I took of the tree from all four sides before I started making any cuts on the tree.
Ever since Spring, I have been letting the tree grow out.
It takes a while to adjust to the outdoor climate after Winter.
Once a #Citrus tree knows it is Summer, new leaves will form at almost all the branch ends.
Citrus doesn't get a lot of die-back on the branches, so buds can form from almost anywhere you cut the branch. That makes it a very forgiving tree if you accidentally cut something you wanted to keep, you can always grow it back.
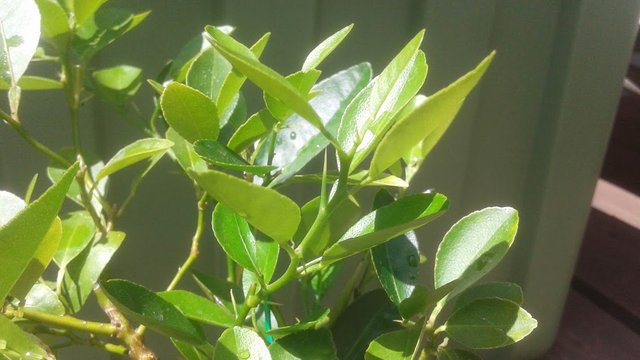
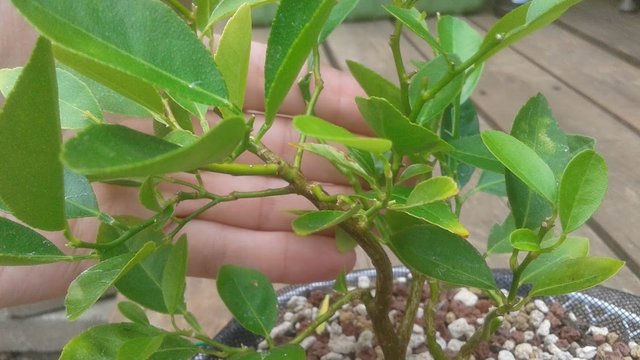
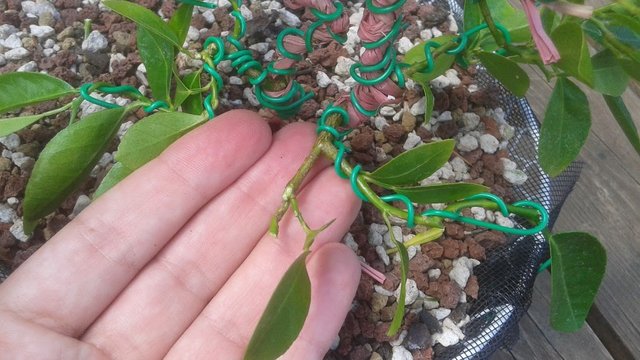
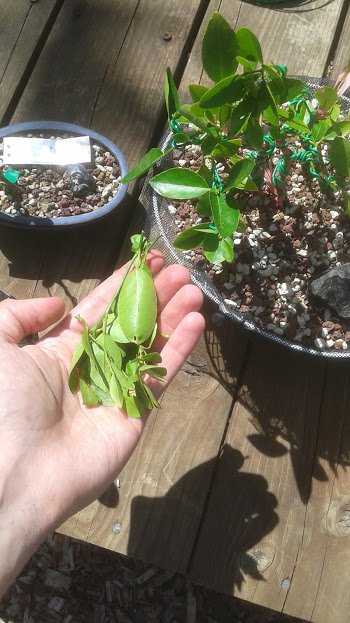
The very first task is to fully de-thorn the tree. Thorns grow back quickly. One thorn usually forms next to the base of every leaf. They are very sharp, and will draw blood if it pricks the skin. I always cut off the thorns before working on a tree to prevent injuries.
I use small shears to cut the thorns off as close to the branches as possible.
Starting to look at the tree, I was comparing it to the designs made by @daniellozada in his post he wrote for me: Ideas for a Citrus Bonsai Tree | challenge from @creativetruth
From the starting tree form, to the cut tree form.

From the cut tree form, to the restyled form, using wires and years of training.
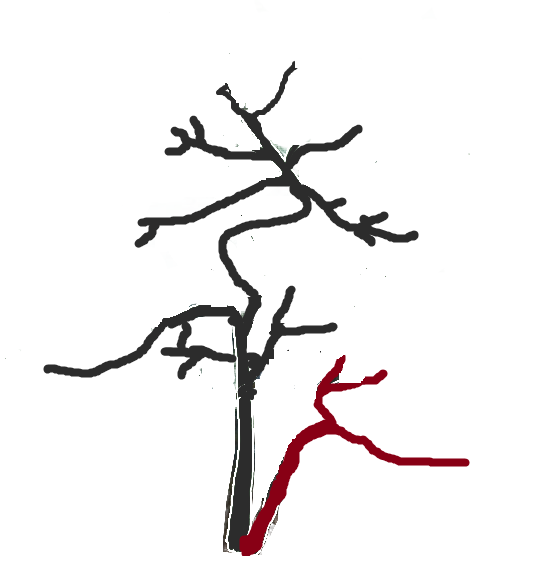
And eventually to the final tree shape with a trained canopy.
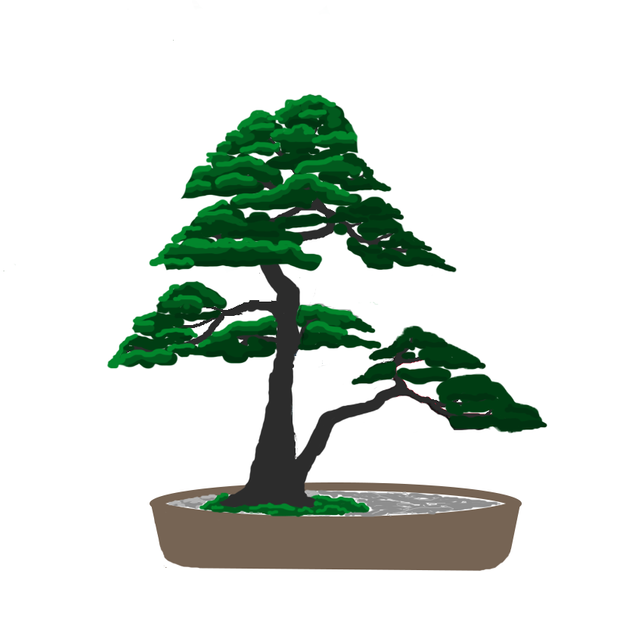
Credits to @daniellozada again for these brilliant illustrations. He went into detail in his post on the purpose of each design elements to protect, and what strategies to use to get closer to the final results.
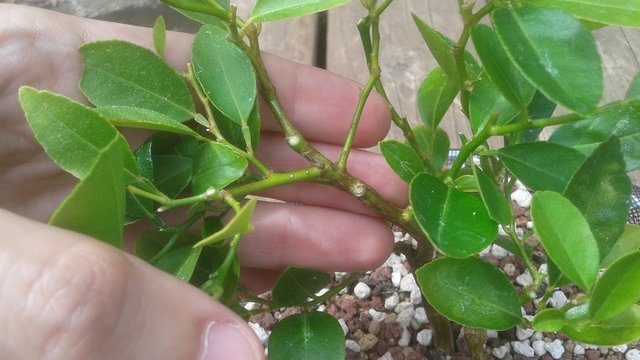
One of the first features I tackled was on the smaller tree, to eliminate the cluster of small branch stumps. These were mainly left over from past pruning. No leaves ever formed here, but it left the branch thick and untidy.
With a simple cut, the branch with all the stumps was fully eliminated, as if it was never there. The concave root cutters help out a lot in making the cut flush to the trunk.
Looks like there is another stump sticking on the other tree. There were several smaller ones I found throughout the tree, so I went ahead and eliminated those stumps sticking out, where die-back occurred from past pruning marks.
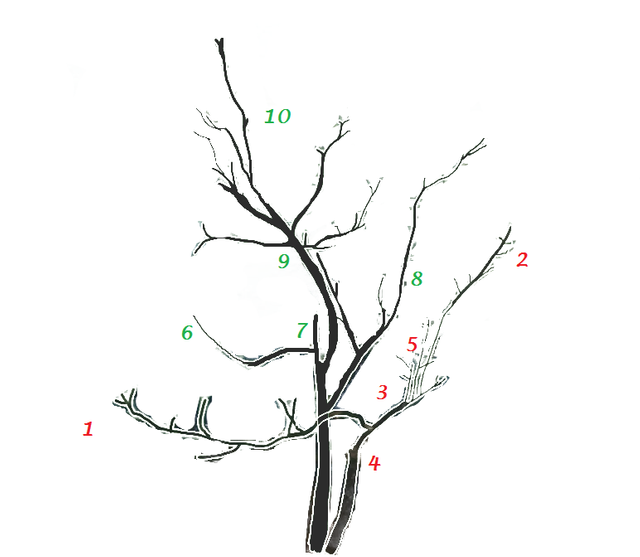
Then I started looking further up on the tree, for other branches that were noted for shortening, or removal.
This area caught my attention. It has a group of five branches all connected a little bit closer than I prefer. It wasn't very clear in my initial drawings the angle of some of the foreground and background branches, so @daniellozada wouldn't have been able to guide me in his notes without a clear photo like this.
I decided to make a choice and remove one of these branches, for the purpose of avoiding a whorl that might form. Whorls, or whirls, are rounded masses that form in areas of a tree that become too thick in the middle because too many branches are feeding into a single point. A palm tree form a thick bulb at the base of all the branches it forms, and that is a good example of what happens to the shape. The tree branches all become weakly connected to the trunk in that area, and makes it look out of proportion with the rest of the tree.
To prevent whorls, usually I focus on having no more than two branches form a Y at every point. Any trident forks, or t-cross, I prefer to eliminate one branch.
Since we're going to be playing with the shape of the trunk later on, I decided to remove the branch that was heading forward to the front. Now this area is less crowded.
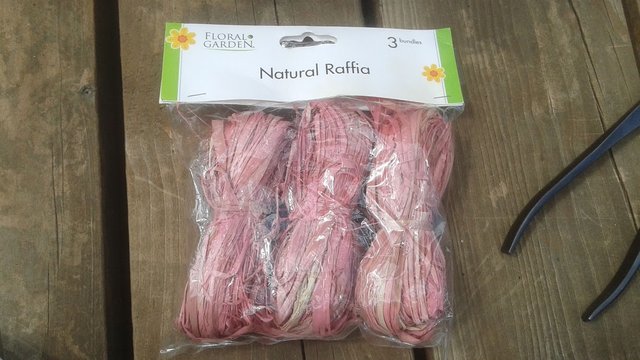
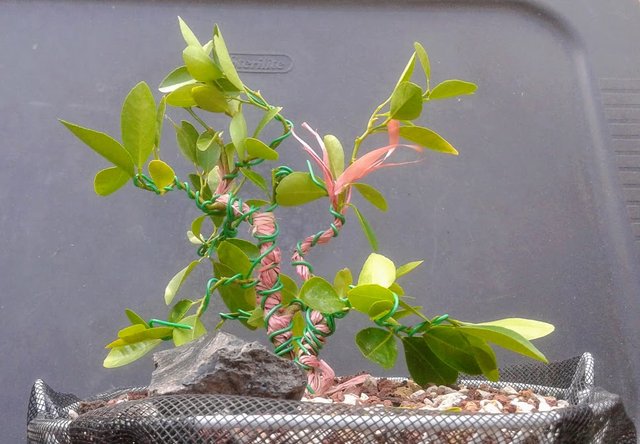
After finishing the trim cuts on the tree to make it match the illustration to the best of my abilities, I decided to try out using the Raffia strands for the first time. Raffia is a really cheap dry material that feels like plant fiber, almost paper. It is easy to find available at most Dollar Stores or any Arts and Crafts store in the decorations and crafts aisle.
The Raffia, I am using for the first time. It will be molded around the tree trunk, to provide a cushion between the tree and the wire. Wires tend to leave indentation marks spiraling around a tree, so the raffia should help prevent that from happening too.
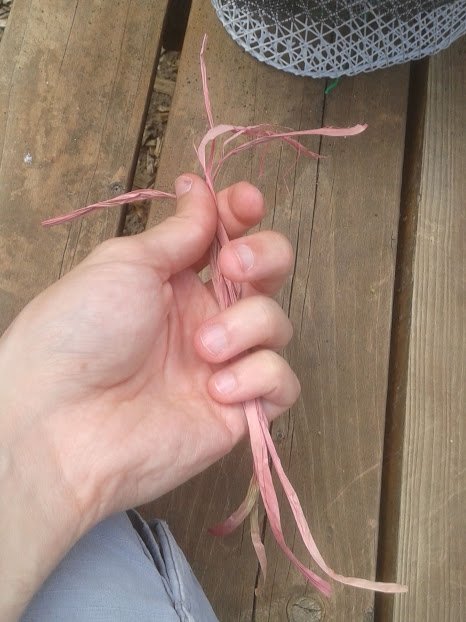
The strands were actually very long and string-like, making them hard to gather together in my hands into a workable form. By trimming them down to a workable length, I felt like four strands together would be a good amount to use.
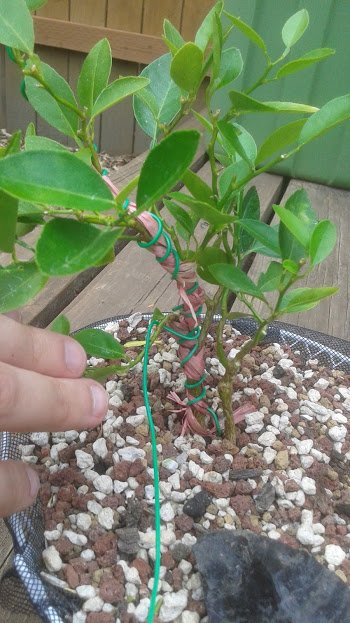
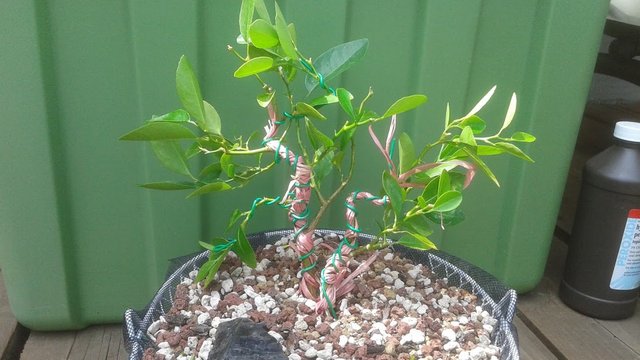
Starting with the main tree, I wrapped the raffia in a spiral direction around the tree, trying to leave no gaps, and also without bending any of the leaf stems.
The wire would be spiraled around in the opposite direction, starting from a length of wire buried straight down in the soil, to provide stability, and prevent the wire from uncoiling as I work my way up the tree with the wire.
Already, I can see and feel the advantages of the raffia. The raffia expands the wire much wider away from the tree than normal, yet it helps the wire to get a stronger grip on the tree too.
With a second piece of wire, wrapped twice around the trunk, I angled it around the adjoining branch. My wire is a bit too hard for branches this small, but fortunately Citrus is very springy/wirey too. It lets me bend and pull quite a bit, without suffering any breakage problems.
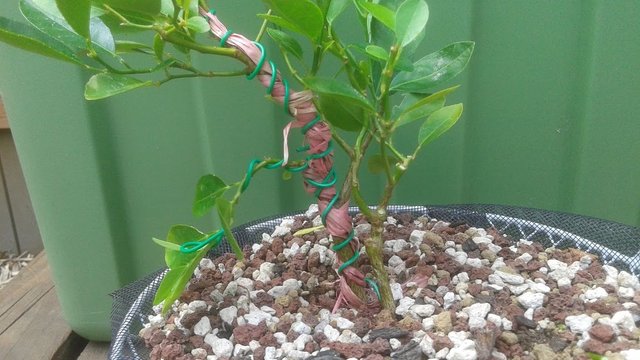
Here I finished repeating these steps on the right side tree. A knot at the base was made to the raffia, because it was trying to unravel on me. I only tightened the knot enough so it would not come undone, not to strangle the tree.
The tree on my right, I started bending, and was surprised how much abuse it was willing to take. The branches were willing to bend almost as sharply in angle as the wires were. Getting them to stay at the sharp angles is a bit difficult, unless I use a stronger wire.
The apex of the right tree was meant to be at the height where I bent the tree over. I probably should have just cut limb off at this point. I can always cut it there in the future. For now, I kind of like improvising the tree into this new shape.
The low branch forms a Y into two branches, so I added a wire to form each on into a twisting fan, with some slight wave in height changes.
I am teaching this tree to dance for me. Love it.

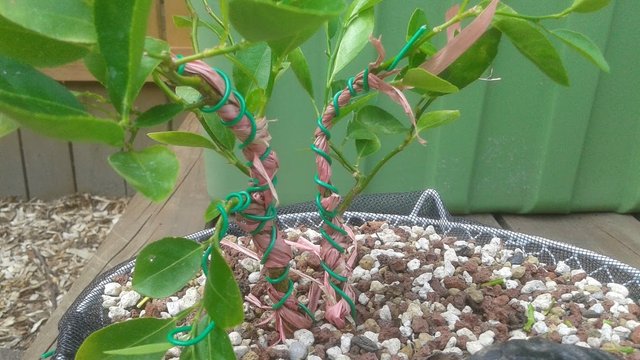
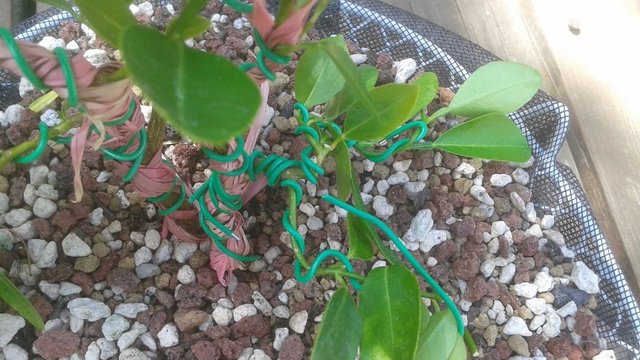
Sometimes I had to spin the tree around to check out the reverse view. This low branch was heading upward, trying to become the central leader on the bigger tree. My solution was to twist it back as far as possible, to become a branch of depth in the background.
I didn't know what to do with this long branch sticking out. Which direction will it fit within the design? In the end I decide to cut it down to size. Problem solved.
Oops!
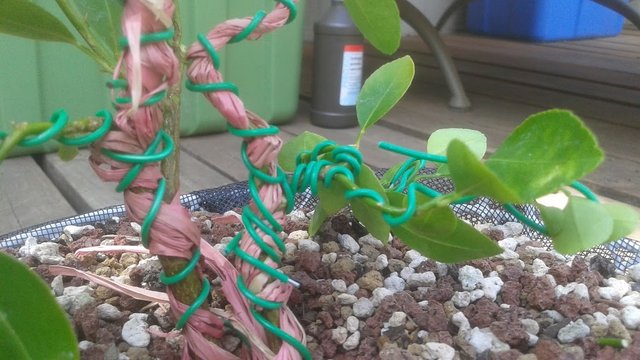
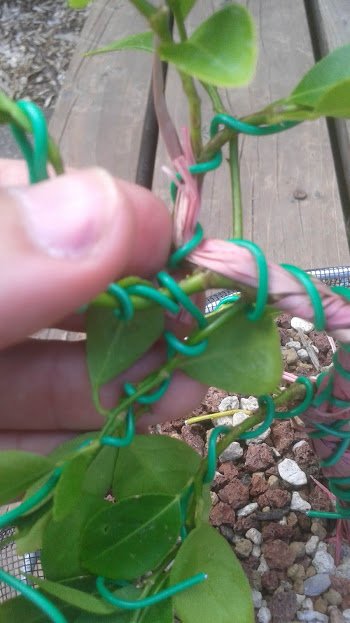
Further up the tree, I started putting a wire around to help control two branches. Can you see the error I made?
I decided to unravel the wire from the lower branch, and loop around the trunk, and then rewire it back around the lower branch again. Wire from branches should always flow from primary branch, to secondary branch, to add stability to the secondary branch.
It would be wrong to wire the secondary branches together, without using the primary branch/trunk. This error causes a pinch point. A pinch point might cause the secondary branch to tear away from the primary branch.
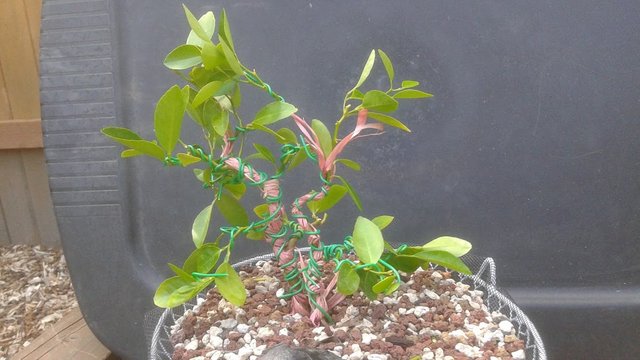
It is hard to see in this photo, because a leaf is blocking the wire, but I incorporate a ton of shape change to the trunk. Now it zigs left, then arches over to the right, and then zigs back over upward to the left.
From the side you, you can see how much depth I preserved in the branch lengths. I think it is good that the low branches are supporting the full width of the canopy.
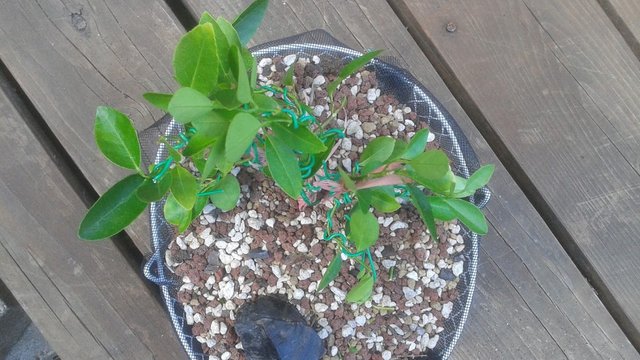
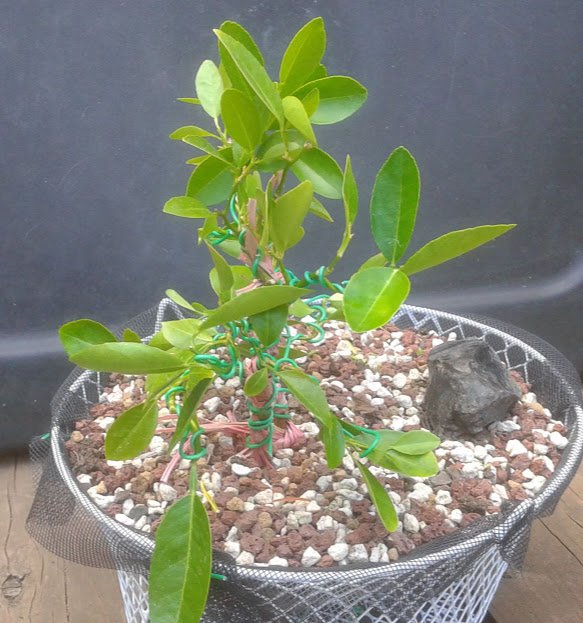
In the top view, most of the leaves are still angled upward.
In future years, I would like to see more diagonal branches, or leaves fanning in a circular motion around the trunk.
It is already starting to look like an gnarly ancient tree to me, even though this is a very young tree.
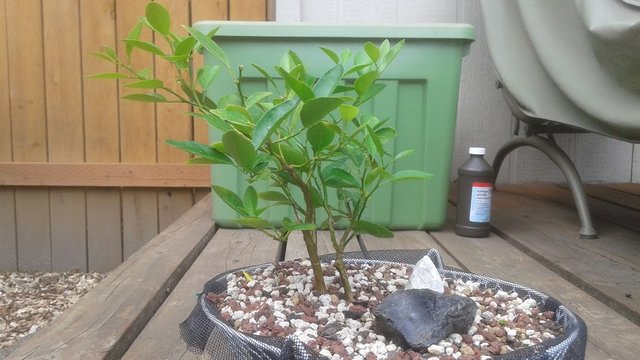
Another thing I want to fix is the levels of two trees. Right now the two trees are waving in opposite direction. By lowing the shorter tree, and lifting the larger tree, I think I can fix the waves of the trunks to they flow in parallel shapes. That was a problem I had when I first planted these trees in this training pot, with the taproots having obnoxious shapes preventing me from adjusting the height and angle of each one.
Not very many branches and leaves were removed. I give the tree a drink of water, and return to the sun so it can catch some rays.
Illustrated Final Design
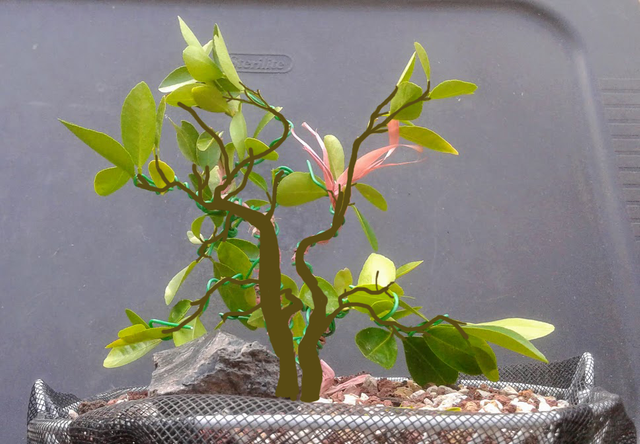
Silhouette Illustration

Actual Design
Bonsai!
| Account Value: $1,734.67 | Votes Given / Received: 3,368 / 6,552 |
| SP: 1,660.307 | Posts / Comments: 225 / 1,466 |
| STEEM / SBD: 1.381 / $16.486 | Delegated In / Out: 0 / 0 |
| REP: 62.665 | Followers: 1,546 / 183 following |
| Curation Rewards: 0.981 SP | Author Rewards SP / S / SBD: 1.645 / 0 / 0 |

| STEEM In / Ex = 1.034 / 0.95264 | BTC / ETH/ LTC = 6207 / 317 / 57.8 |
| SBD = 1.01667 | Gold/Silver oz. = 1,212.75 / 15.36 |
Photos in this post are all #originalworks by @creativetruth, unless stated otherwise.
Find me on discord and chat with other tree growers, bonsai enthusiasts, and gardeners. We have quite a few accredited experts filling out our ranks, and a helpful Spanish-speaking community.

Community Forums

Greeting @creativetruth
Nice Bonsai Tree! I'm just stopped to by to, you know, cancel downvotes and stuff. @camillesteemer is back to her old BS. Noticed @flagfixer may be done so picking up back up. Think ppl are doing a fine job cancelling the faucet delegations so that's nice. We'll probably get the script running tomorrow but you got a manual upvote and comment. Aren't you lucky? 😛
Take care now!
Keep up the great work. It is mostly new steemit users who end up on the flag list that I hope we can catch. You guys are doing a great job letting them know that they will be protected from harm. We all know how awful it feels when we first get a truckload of downvotes for no good reason.
Greetings,@creativetruth! We have detected that you have been unrighteously flagged by a downvote account linked to the SDL botnet.
My associate, @randohealer and I have neutralized the damage with upvotes and added a randomized bonus! If you notice any more abusive flags on your accounts, feel free to let us know in this thread
Steem On!
Always informative seeing how you shape and try to have an effect on the end result. I had no idea there was even a product like Raffia till today. Let alone a way to go about doing something like that. Nature for me has always just done what it wanted to do for the most part and I just watch it in awe. I can’t wait to see how your plans turn out for this one. That really does look like a fun design. Almost reminds of-of 3 clouds overlapping each other.
Cloud pruning tends to have that sort of look on the foliage. They try to make everything umbrella/dome shaped when you do it that way.
In the design, I like that he left an empty space between the top and bottom. I'll have to reconsider how to incorporate that into my design, because I think that really draws in the eye to a negative space.
Congratulations! Your post has been selected as a daily Steemit truffle! It is listed on rank 4 of all contributions awarded today. You can find the TOP DAILY TRUFFLE PICKS HERE.
I upvoted your contribution because to my mind your post is at least 12 SBD worth and should receive 174 votes. It's now up to the lovely Steemit community to make this come true.
I am
TrufflePig, an Artificial Intelligence Bot that helps minnows and content curators using Machine Learning. If you are curious how I select content, you can find an explanation here!Have a nice day and sincerely yours,

TrufflePigWhoohoo. Back in the saddle again.
You got a plankton sized upvote from @worksinsane because your post appeared in the We Curate quality post search tool. It is a web art thingy thing that searches posts which fulfill predetermined rules. Upvoting isn't automated, @worksinsane reads posts before upvoting.
For more information read the latest post: https://steemit.com/wecurate/@worksinsane/we-curate-9
I love smart curators like this. Hope you like learning about bonsai.
I'm not much of a green thumb or a bonsai grower, but I appreciate very much people who are. And who write good and informative post about different topics. I hope your bonsai will grow big... wait... small, look awesome and live forever. :)
Incredible post @creativetruth love the step by step explanation and photos. I wish your little lime tree well :)