🎨 The making of spaceships with watercolour | Part I: Space
A commented photo report from my current job: A spacecraft docking next to the SFH433 colony, in the tritocluster 77ZQS.
Extract from transmission:
Commissioners: X:Ploration // Electro & Techno events
Time event: Luxus Varta live, Quadratschulz live, Hinode
Location: Suicide Circus Club // R.A.W. Zone // Berlin // Germany
Manufacturer: Haedre inc.
Location: Forbidden Industrial Zone GH6 // Berlin // Germany (No information)
End of transmission.
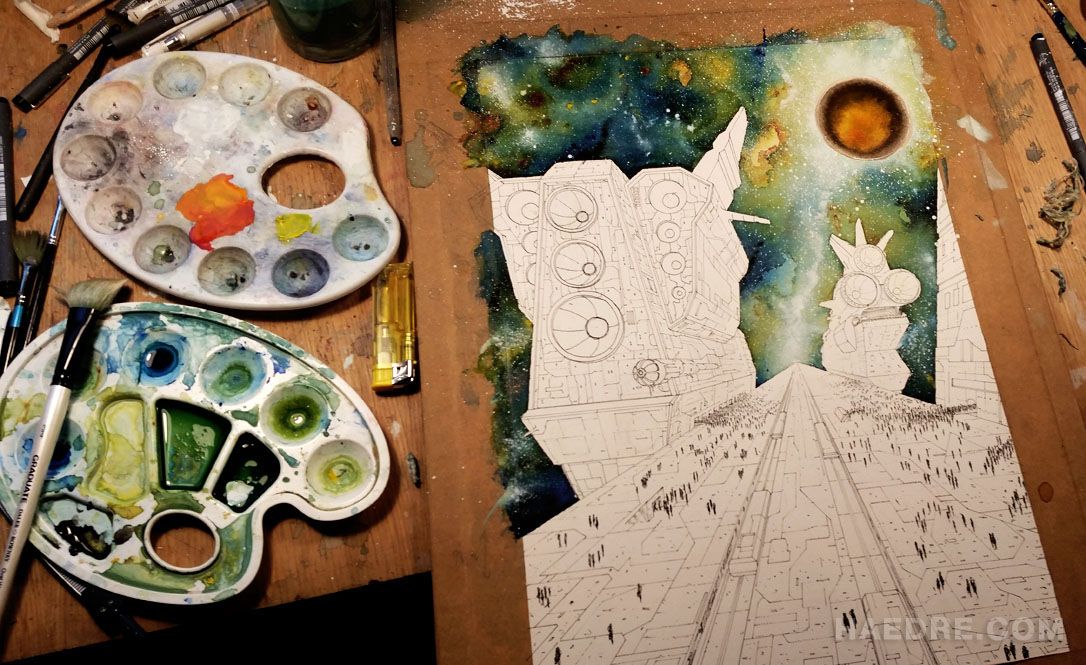
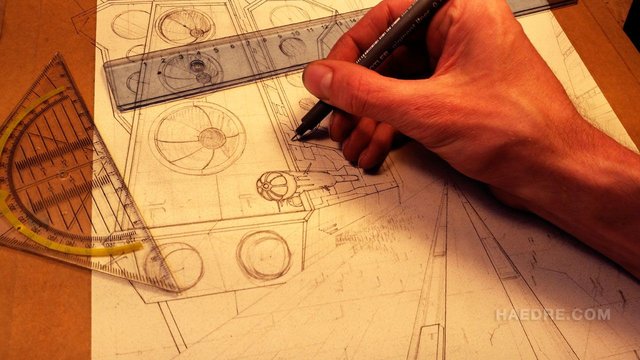
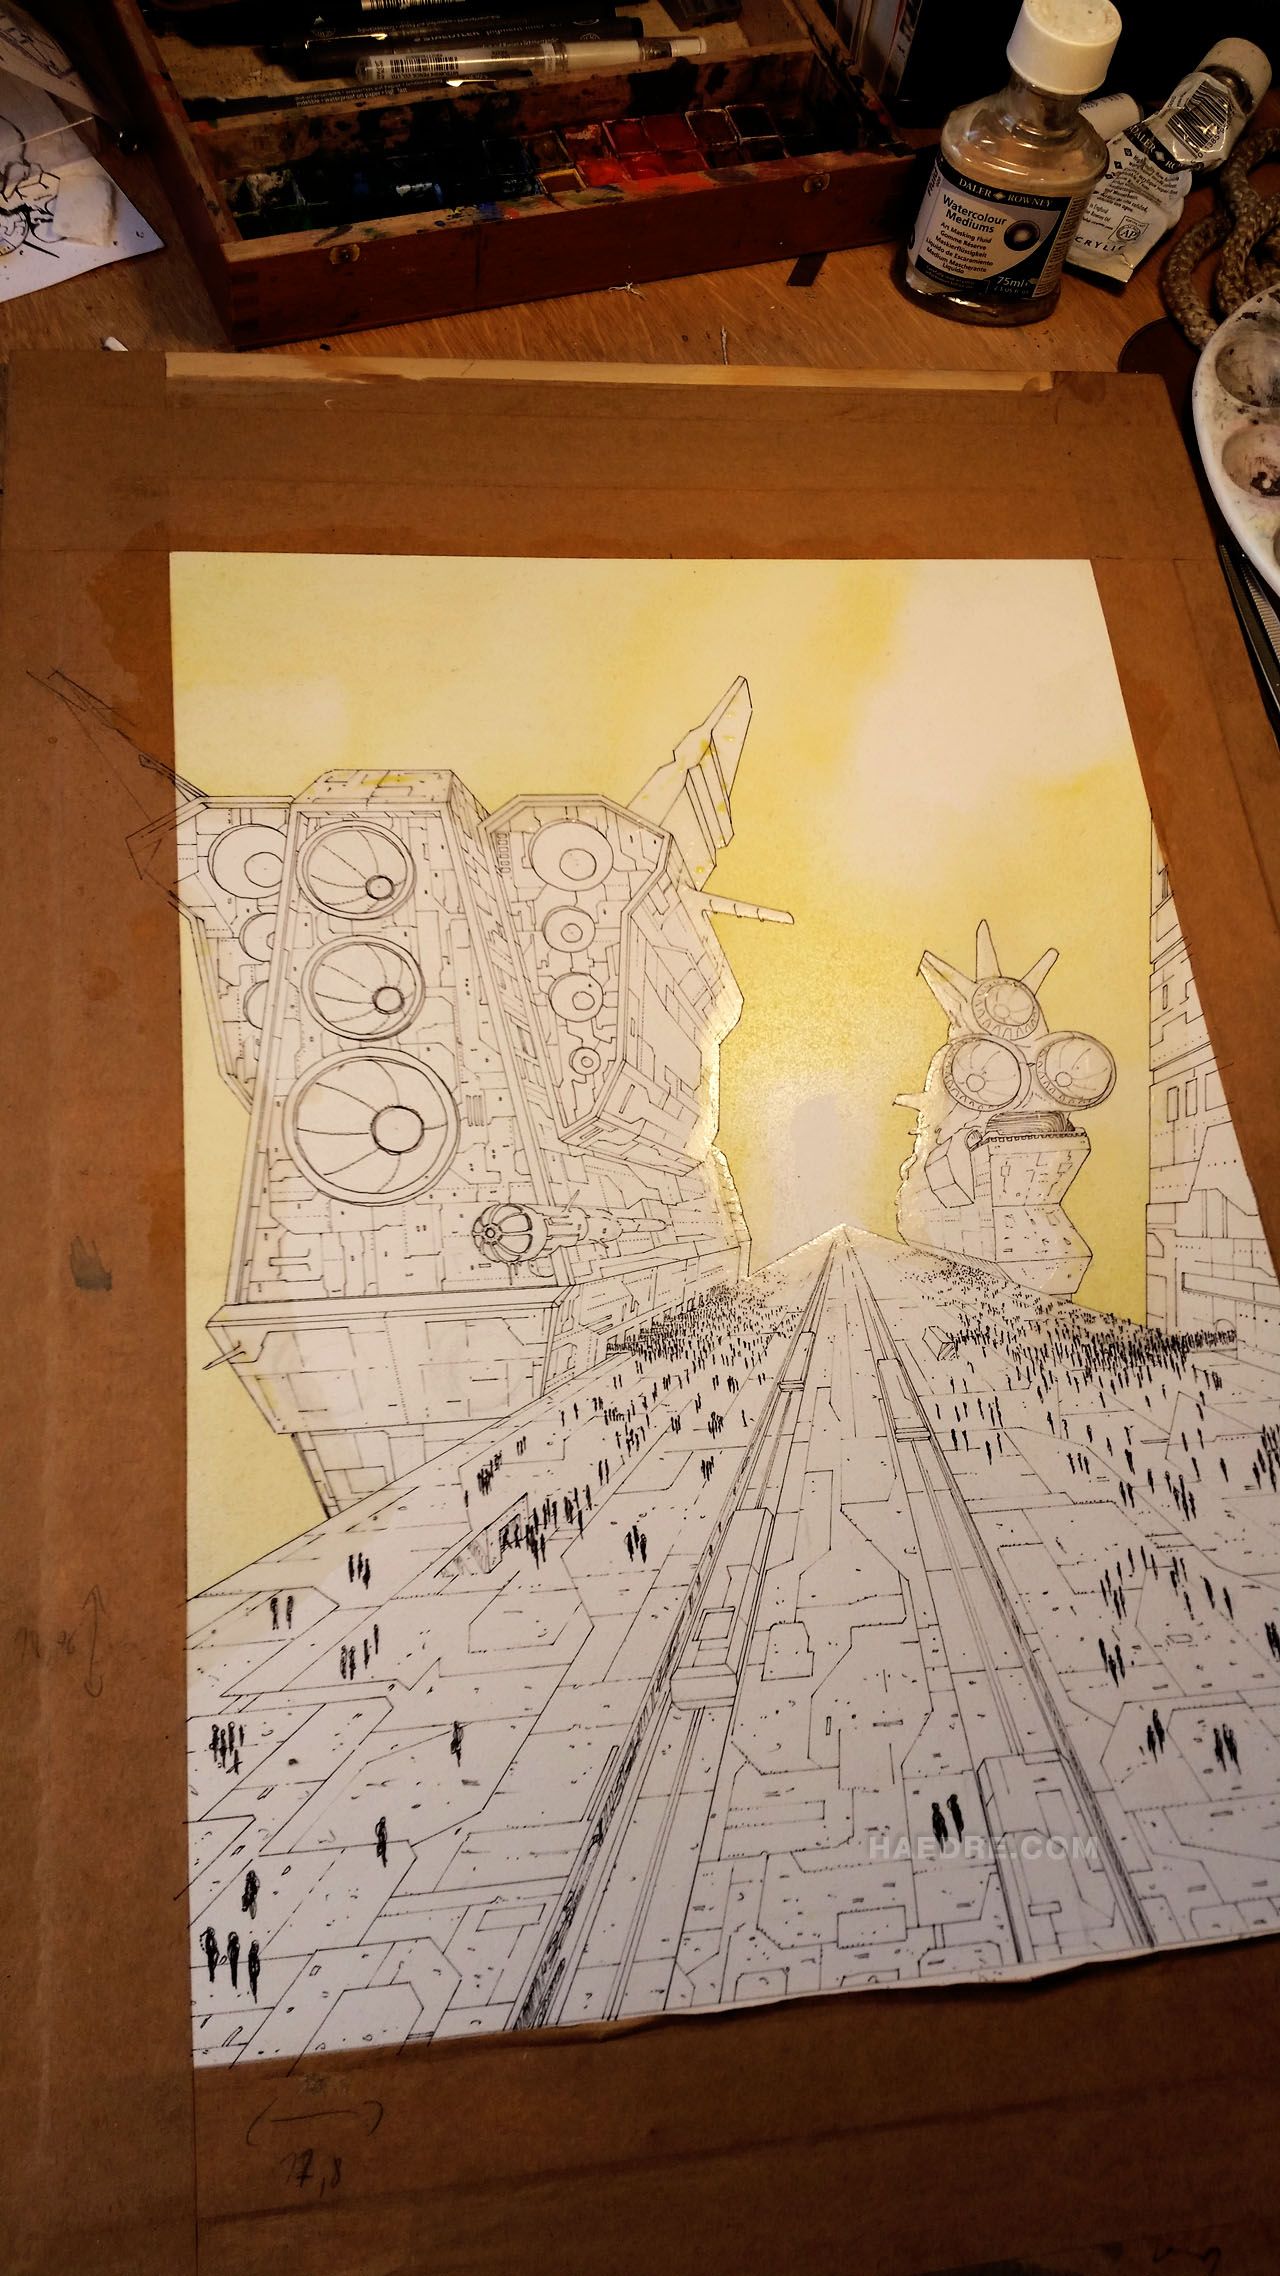
After the commissioners having chosen a dock and craft type, let's head to the plan room to pencil the first perspective lines and volumes. On a tensed watercolour Arches paper 300g of course.
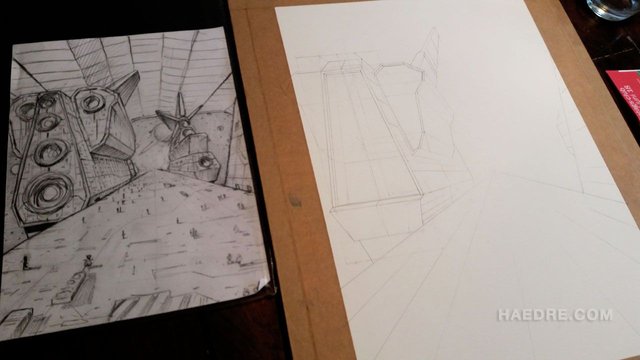

You can see that I dropped off the initial "ceiling" planned on the sketch, added two lanes with some sort of trains and other details. The sketch being in this case, really just for the composition and the main volumes.
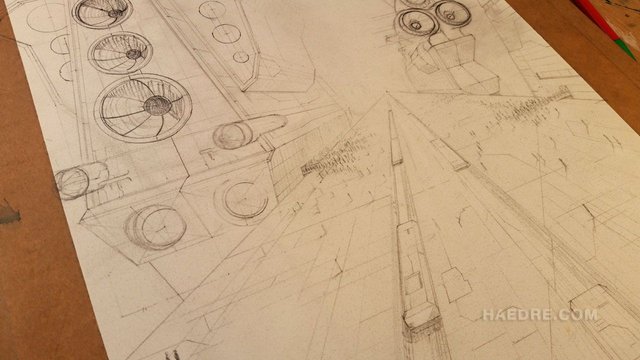
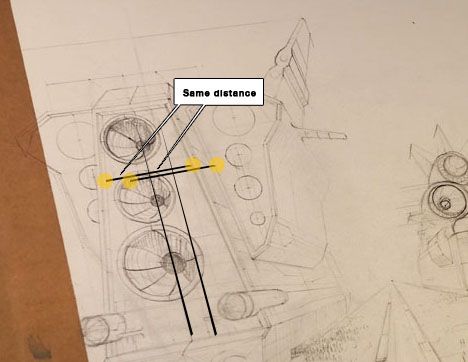
I opted here for a unique vanishing point, this makes the ship building less complicated. It is "just" needed to find the center of a volume to report the same distance from any point, finding its place on the other side. I tried to illustrate a bit.
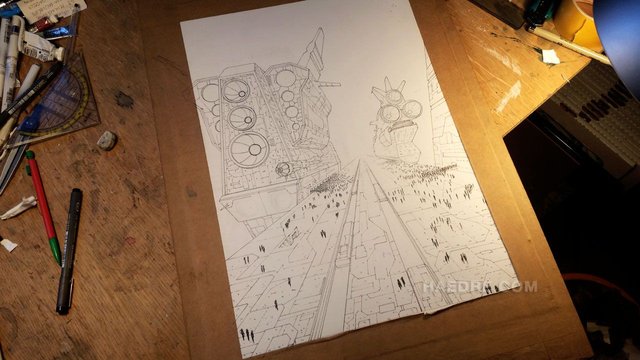
Now starting to ink with thinliners.
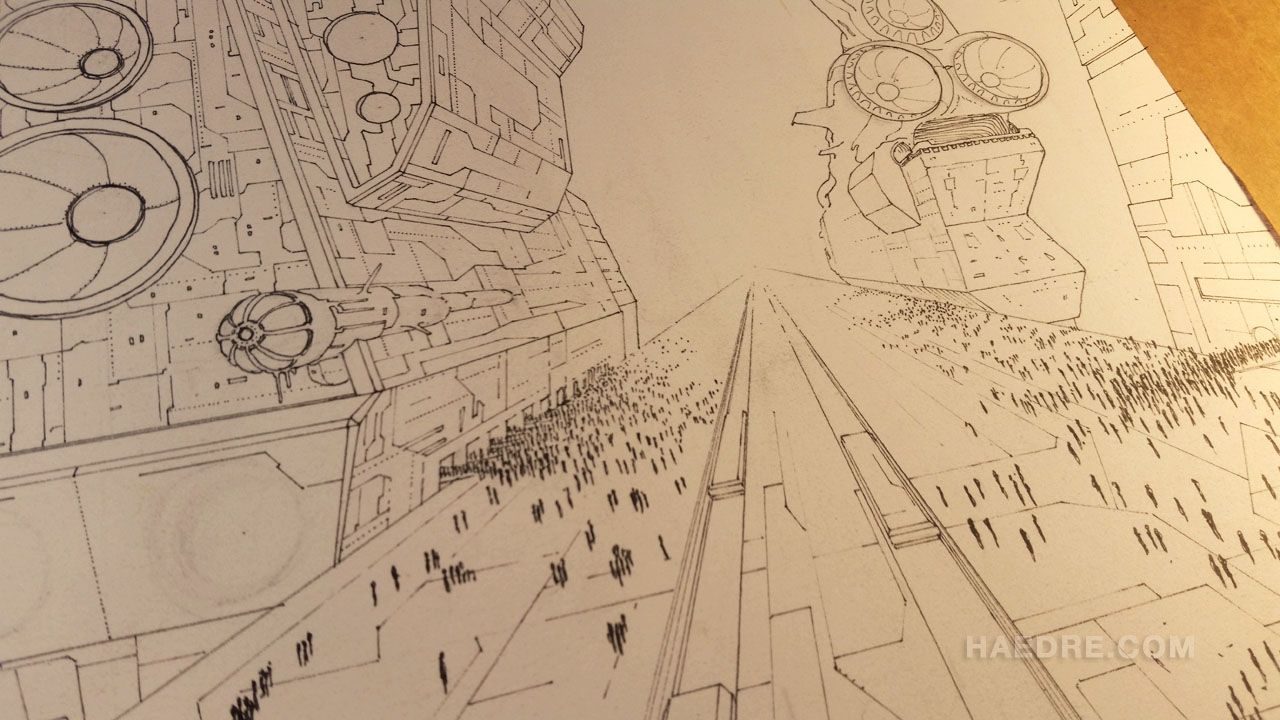
Pencil is erased, it's clean.
This time I really wanted to use masking fluid again, I recommend the grey one (or incolor), as it reflects good while not tainting the paper, like the yellow one does. Masking fluid is pure rubber, it isn't easy to use. You need to know exactly what you will do because it dries very fast. Use old brushes, as it ruins them and soapy water.
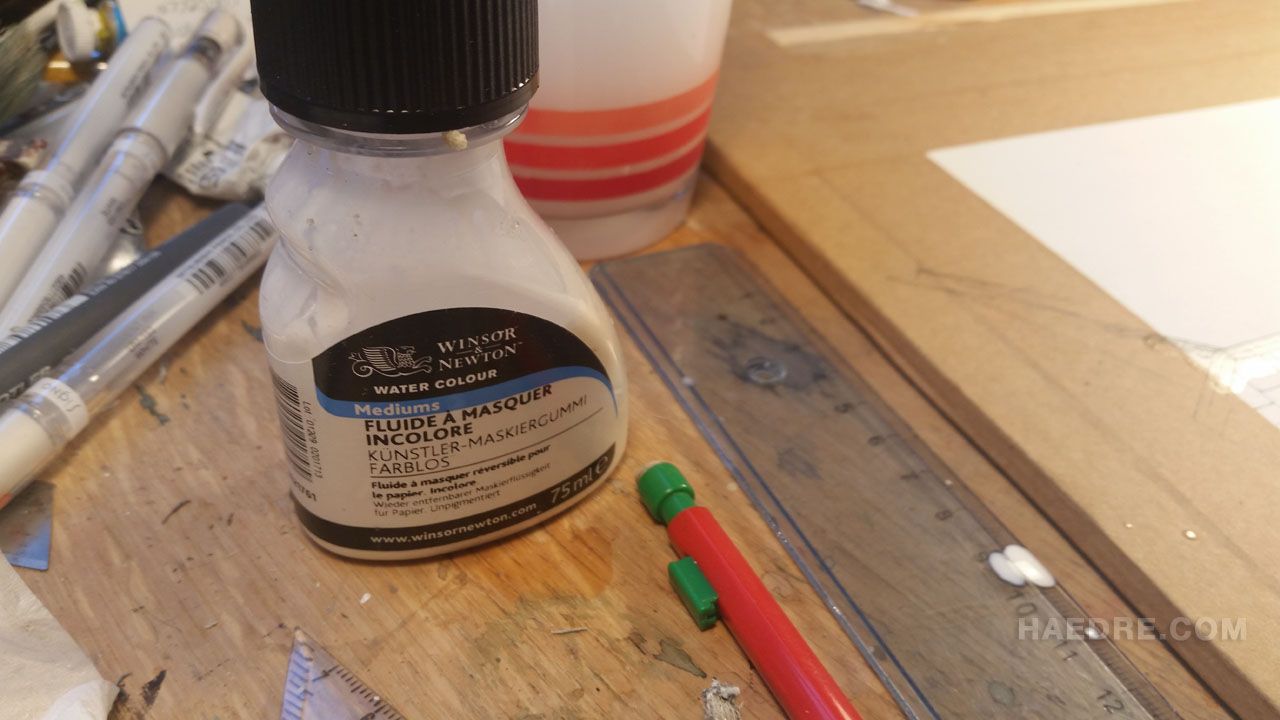
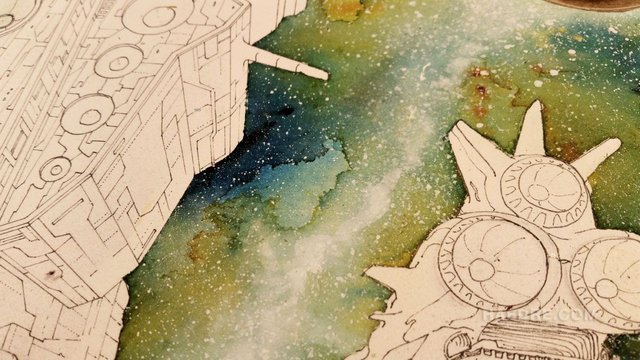
Here you can see well that I masked the border with everything that touches the future cosmic background.

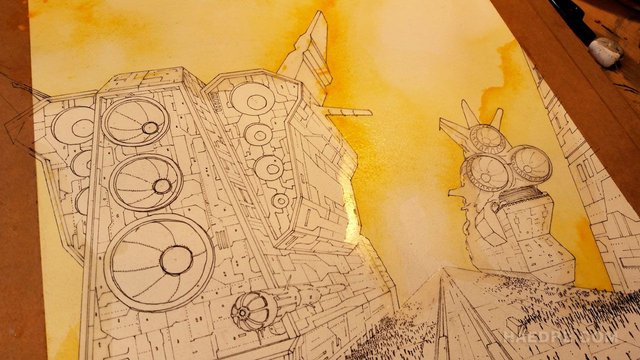
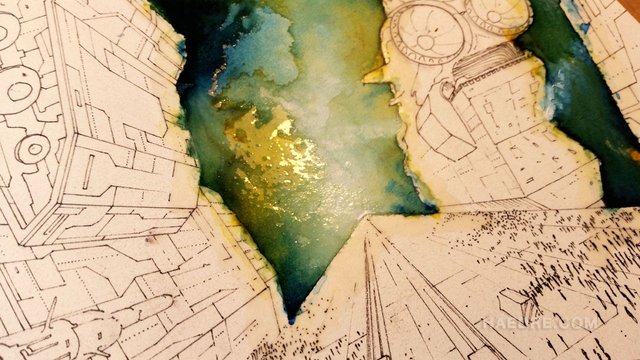
Now I apply light indian yellow. Depending the kind of cosmos you want to obtain but I personnally always keep good zones with white, untouched paper, to shed interesting contrast.
Adding more yellow, by clusters, with various drying time in between.
Now more ultramarine blue and different mixtures of greens. By small strokes and again with various drying time between the layers.
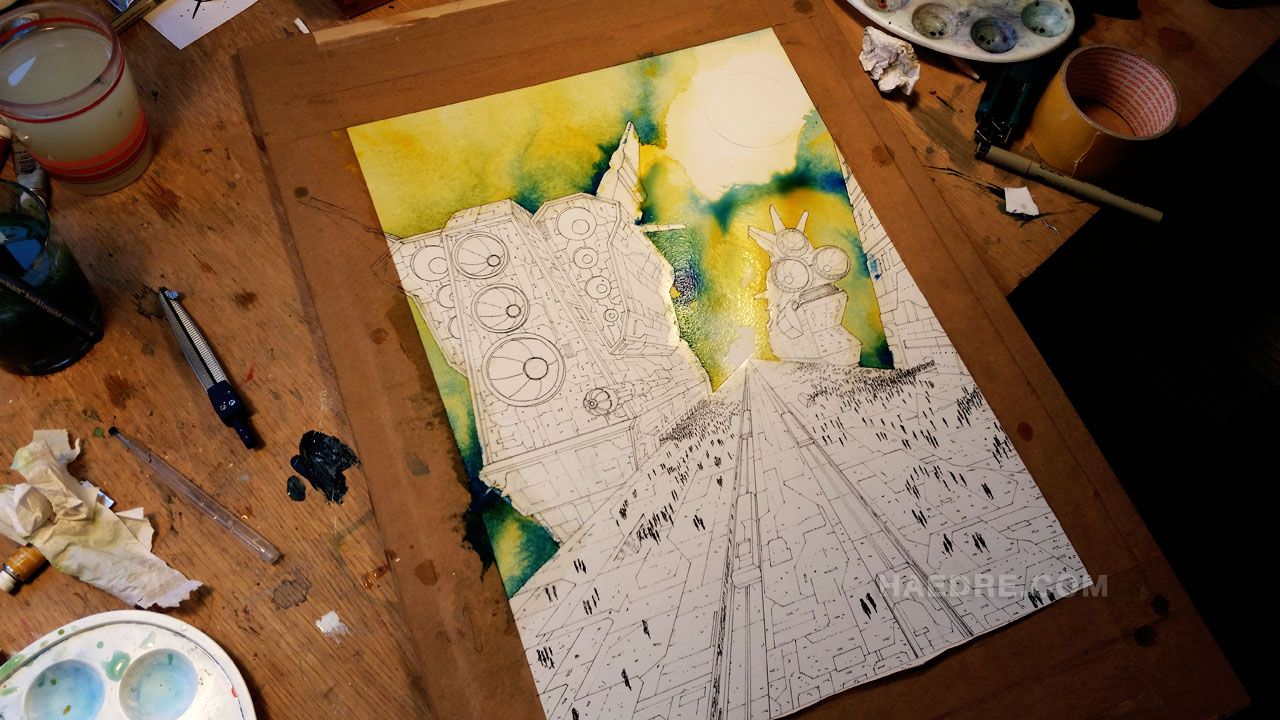
Tiny spats of Quinacridone Gold and more yellow. Greens and thin orange dots.
Black and white. Be spartan with these.

Again, between all these steps, there are various drying times, which makes the layers to appear superposed. They randomly create depth.
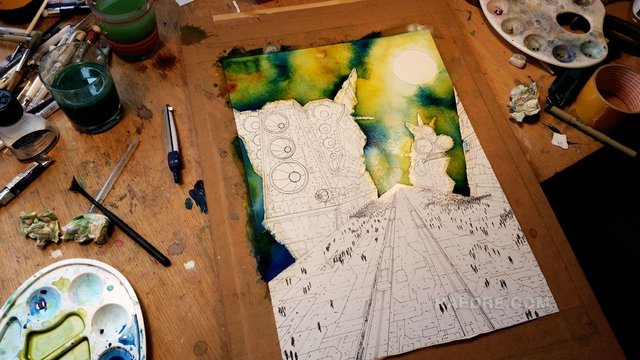
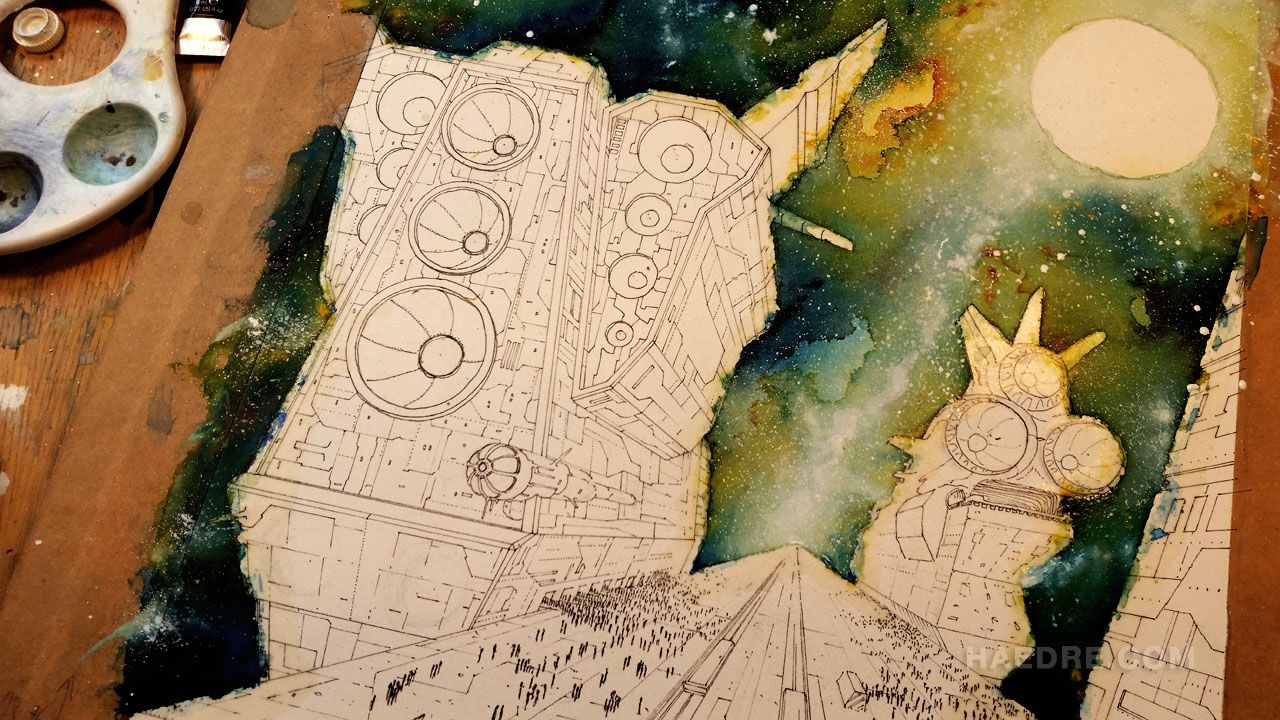
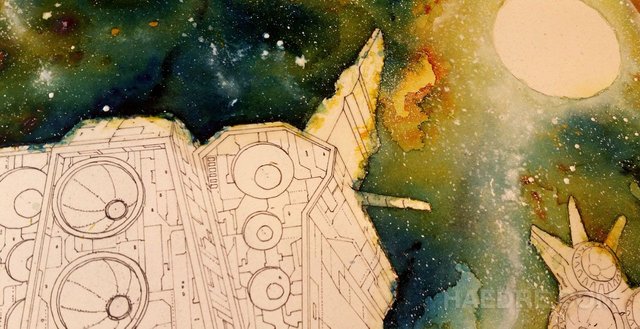
And last, when everything is dry and looks ace, the stars. Pro tip: I recommend gouache as it's very fluid and makes really round spats as opposed to acryl that makes more elastic spats (better for blood). I dilute it with little of water and hit the brush against another one to spread dots. I concentrate on zones, mostly where light comes.
Close up.
And now voilà! The mask is peeled off (and meanwhile I started the planet).
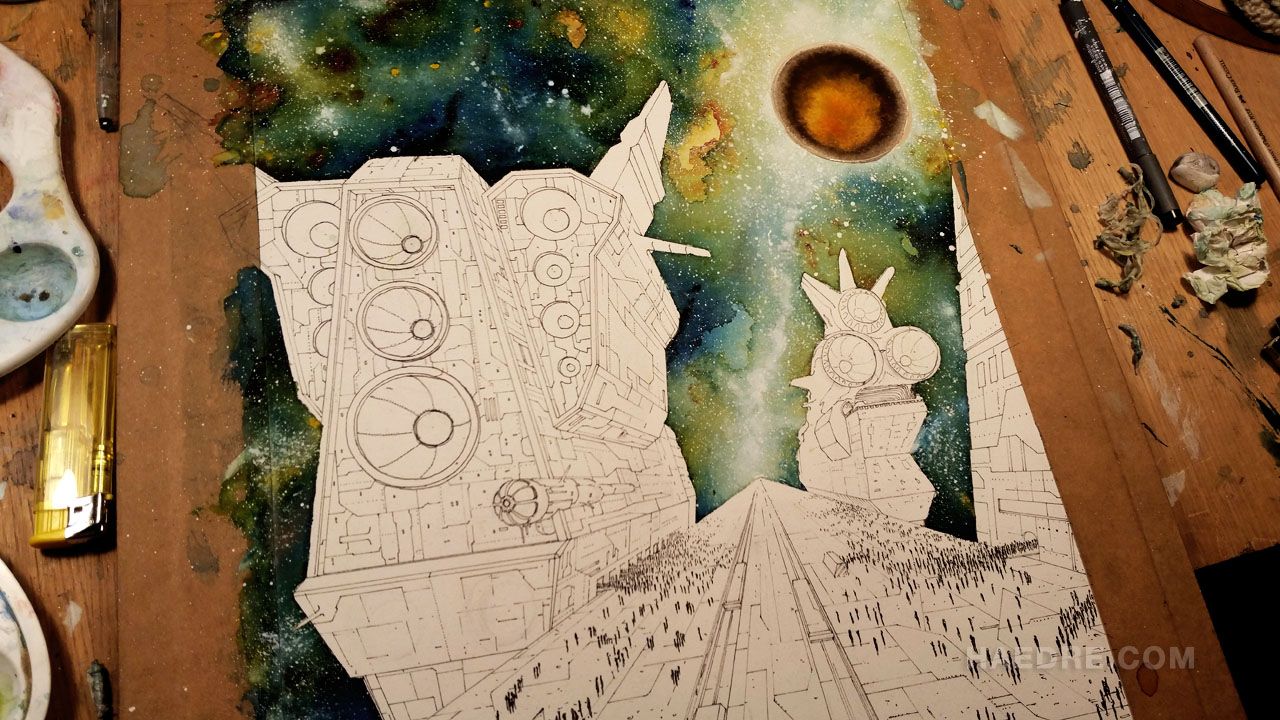
Here you can see how the mask was protecting the edge of the ship against the colour. Of course it's never 100% perfect but it's still a very cool tool. I use it in a very formal way but it can be very fun to do random strokes and spats with it to experiment.
That's it for now! To be continued in my next post: Part II: Ship!
Thank you for having read!
For more art, visit my website: http://www.haedre.com
Committing to art is not always the dream life! Consider supporting me and my family through http://www.patreon.com/haedre
Or better, directly with cryptos!
BTC: 13crkJP7G23sPeud2WnBmM9hbjze57f4o9
ETH: 0xa7B61e88d8ce1aBD543f80924F5f6D9f33E85648
Thanks again!

God damn it. I dont even know what to say. stunning work!
resteemed!
Thank you for appreciating @katerwurst! And welcome to Steemit!
Woooooooow, this is so cool.
Thank you @midlet!!!
Amazing detailed world and wonderful use of light. I am obsessed with light in artworks. I hope you scan your work in stages so you can preserve these layers. I think with today's easy to capture world it's good to save it for posterity and to play with in the future. I always think if we could only have the layers of work from the old masters what a treasure that would be.
Thank you @donnadavisart, unfortunatelly I can't scan during the process at the moment. Since the paper is attached on a board, I can't stick it into the scanner. It's an A3 scanner but there's the flange that makes impossible to put it in. And it's one of the models that needs the image to be exactly against the window (other more expensive models don't require it).
It's a bit annoying because there are many cases when I'd like to save at least the inked drawing. Even just in the event I'd just ruin everything when painting :D
My wish is to get a proper camera, lights and stands to be able to Hi. Res. photographies of art that is too big for scanners. Big format scanning in specialised businesses are horribly overpriced (around 40€ as soon as you go over A3), just imagine when I have like 60 of them for a comic for example :D
The excerpt from the transmission made me chuckle. My experience with watercolor has been limited to gradeschool, so it's always fascinated me how some people can make really technically amazing pieces with it. (I am limited make a hella-good tie dye looking things or rorschach blots.) Aside from the piece itself, which is cosmically fun, I really appreciate you showing us the process. I didn't even realize masking was a thing and that clears up so many questions I had about watercolor, even though I feel like I should've realized that a long time ago.
Thank you for commenting @see.feel.write! I also had not really touched watercolour for a long time when I started to use colour again (after having done only black & white for very long) and acrylic was the last I used. But I had a lot of ideas of what I wanted to obtain with it and it surprisingly worked pretty ok, now after a few years there was and there's still indeed a lot more to learn.
Masking fluid is great ;)
Thanks again!
Can't wait for part 2!
Thanks for your interest @milosm2302!
Outstanding! and double props for using masking fluid instead of layering the bastard on a computer
Thanks @arseniclullaby! Took me several attempts to manipulate correctly the masking fluid but it definitely worth it!
Digital tool can be great but I need to be out of the screen or I'd be stucked on it 100% of the time ;)
Agreed, defiantly worth it. I find using a screen has me zooming in to much and not seeing the composition as a whole.
Added to our curation list.
Thank you @artzone.curators!!!!
Kinda like a Heavy Metal Cover meets Jodorowsky's Dune. I love it!
Thank you @joviandres!
That was a very wonderful walk through of the process, and I love the progressive pictures. Very fine work. Looking forward th part II.
Thanks for appreciating @bashadow! Happy you enjoyed it!
Damn, this look insanely magical. Love the colours you've used for the cosmos. What is this mask, btw? Just tape?
Your studio must be all kinds of awesome!
Thanks for your interest @manouche! I never know how these background will turn out, I must say I am pretty happy of this one!
The mask is liquid rubber! You can apply it with brushes ;)
The studio is a mess :D
Liquid rubber?! I've never heard of this!!! Got to check it out.
Ah well, you know what they say: mess is more!
Yeah thanks to youtube! I was watching a video from one of my favorite Comic Painter, Grzegorz Rosiński, I could see he was peeling off that weird stuff, then found out what it was.
http://www.winsornewton.com/na/discover/tips-and-techniques/different-art-masking-fluids-us
He was using it to cover the gutter in comics pages which explained me finally how they paint with large moves without messing with the exisiting shapes or borders.