Drawing the woman hair(illustration)
Hey guys! Today i'm going to be showing us some few steps that i normally follow to successfully drawing a woman or lady hair and carried this out with Autodesk sketchbook and for each steps i'm going to be supplying process images.
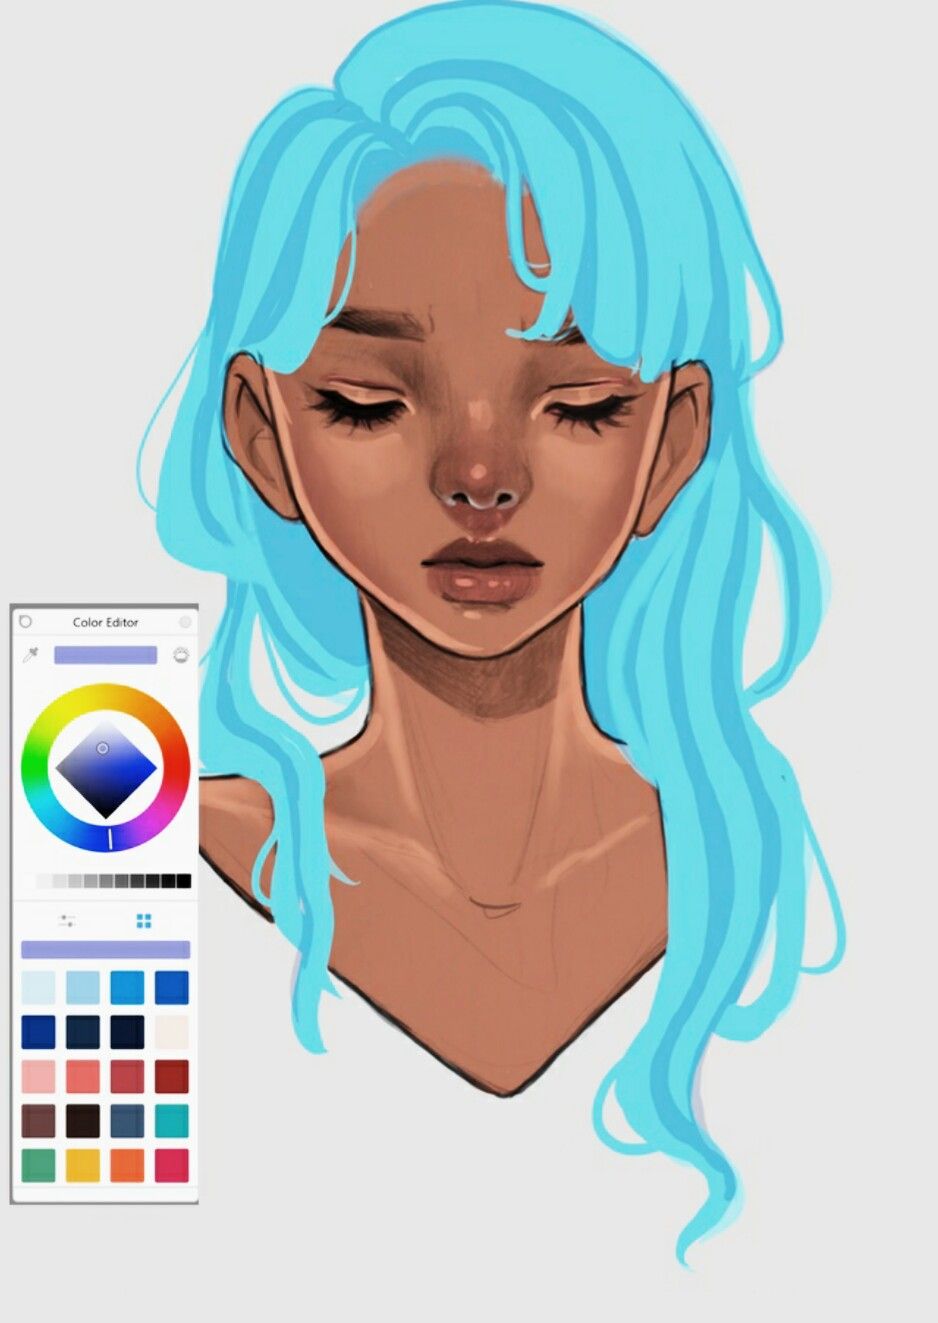
In this illustration, i'm going to be using the inking pen(size 34.3 and opacity 37%) and smudge soft flat brush (size 51.3, flow 6%, strenght 65%) these are going to be the basic settings for the brushes though there may be some slight changes of settings along or during illustration.
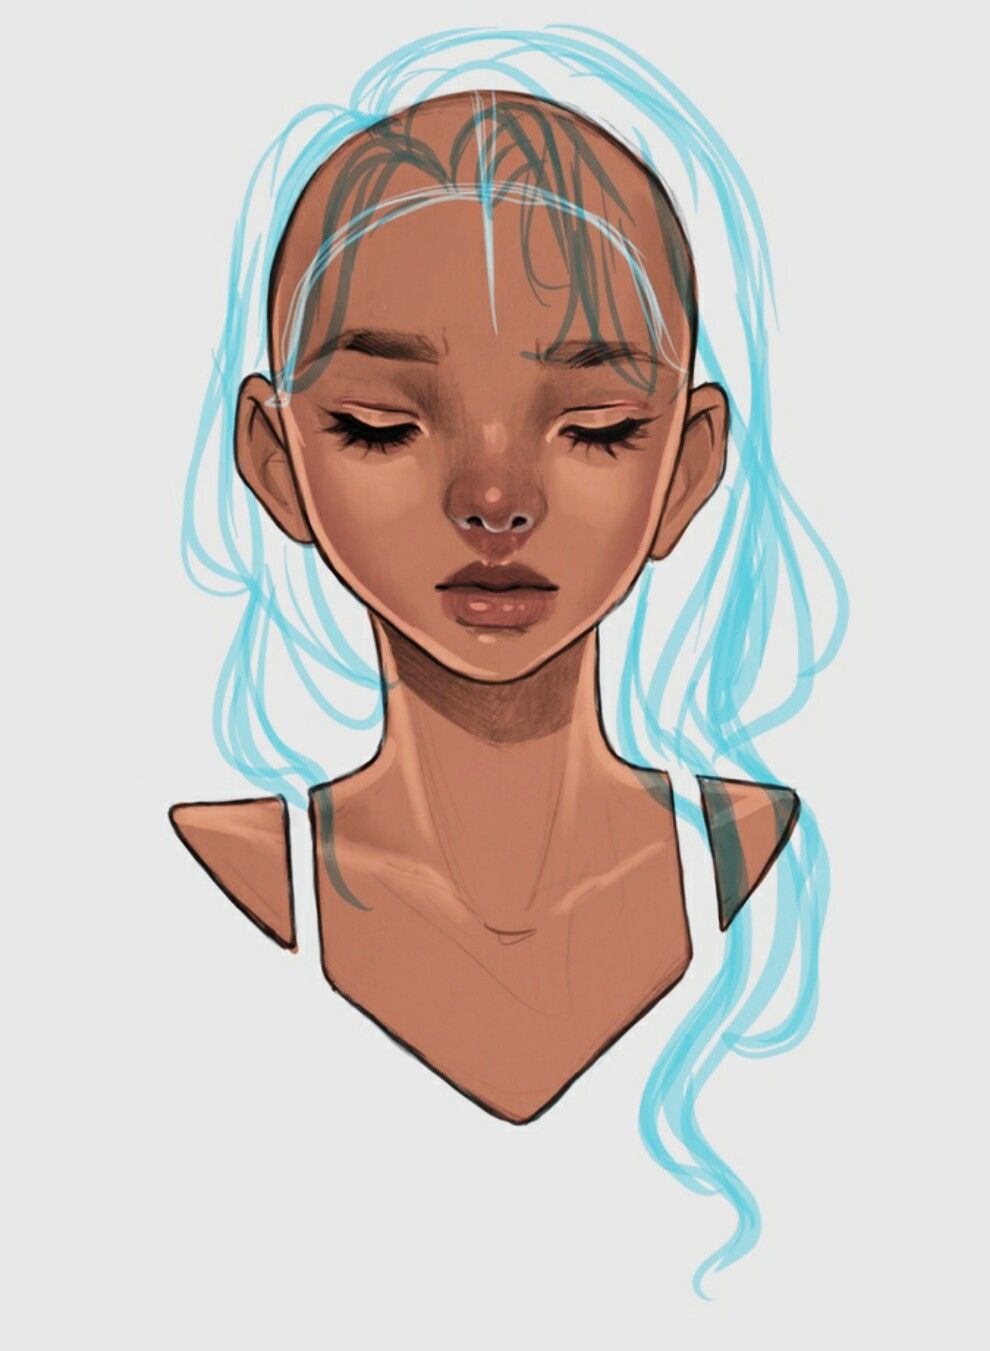
STEP 1: After setting the brush sets,i mapped out the hairflow on the head. The flow i meant here is talking about the direction of the hair,the looseness or roughness and also if it may require some sideburns, widows peak,face mole if necessary.
For the hair, with the inking pen, i choose blue color,then right from the centre of the model that i already created for the post, i started to make some kind of curls pouring from the centre of the head down to the cheek like fountain. To your satisfaction,the choice of the length depends on your zeal to further blend and adjust colors and transitioning of the hair. You may decide to make the hair shorter(here i prefered my ladies more when they have long hair, so i can decide to make it even longer like Disney's princess Rapunzel)
Step2: After achieving the length and flow direction of the hair, i created a new layer and select smudge flat soft brush and i paint gently within the curls i already created( dont worry about the curls,we'll get them back shortly) depending on your choices of color, you can choose to use red,blue,purple,cyan any color just name it and that's one one big opportunity Autodesk sketchbook offers to its user so you get to paint best out of it.
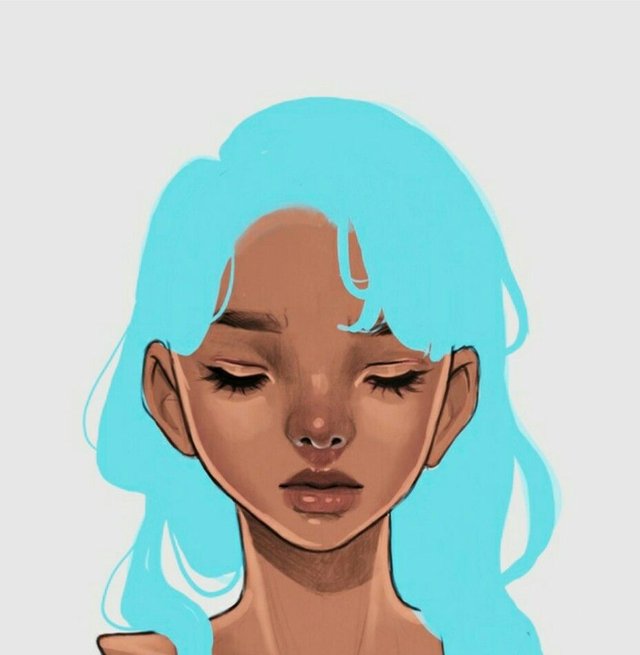
STEP 3: Add shadows and highliggts
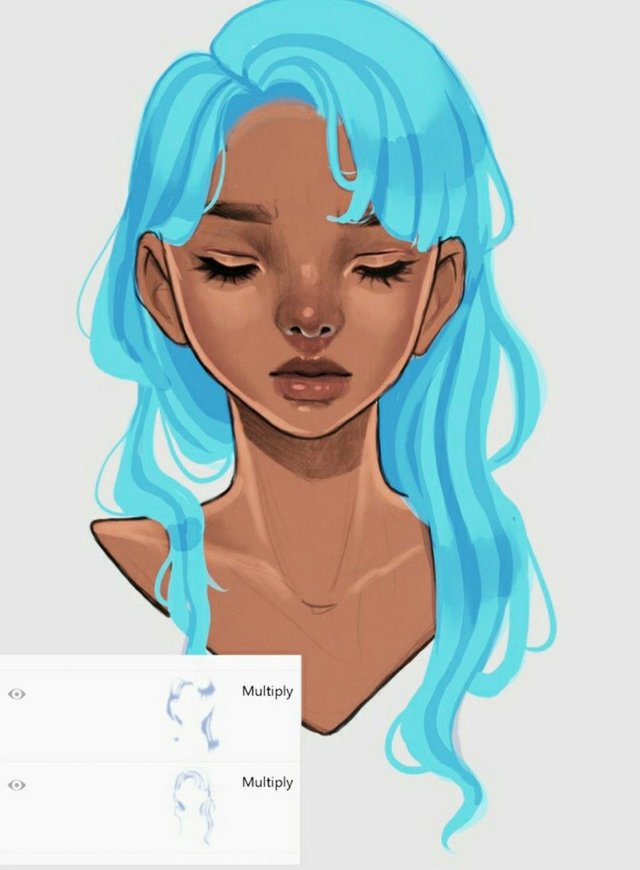
On another layer under layer settings, i kocate blend mode and choose multiply. This layer is where i try to seperate the mass of hair into chunks,something like strands not like some wide paper or cardboard. With purple color selected,i started to paint on the sphere and the strands or chunk feel began to appear. Note, you can use grey, blue, purple or even red to reperesent your shadow, i meant color different from the base color which in my own case is purple.
On another layer, choose multiply from blend modes and use the layer to focus on the light source and also parts that is away from effect of light,such parts include underside of the hair, the side of the head. Remenmber, it's shadows, so the opacity of the brush is set such that it's effect produced is barely visible(for shadows). For Highlights, i opened another layer also with blend modes(multiply) for the highlight, choosing white to illustrate highlight is a no no because in real life, effect of light ray on hair is not all white as in resultant effect. It could be milky,pearl white aqua, all depending on the color of light and the nature of what it's falling on. To illustrate the highlights, i adopted a shape looking like "H" with long edges and narrower cross joining the edges and often, i place this "H" shape right above the shadows( illustrating the differences between places that recieves light and parts that are deprived from it)

STEP 4: Add finishing touches
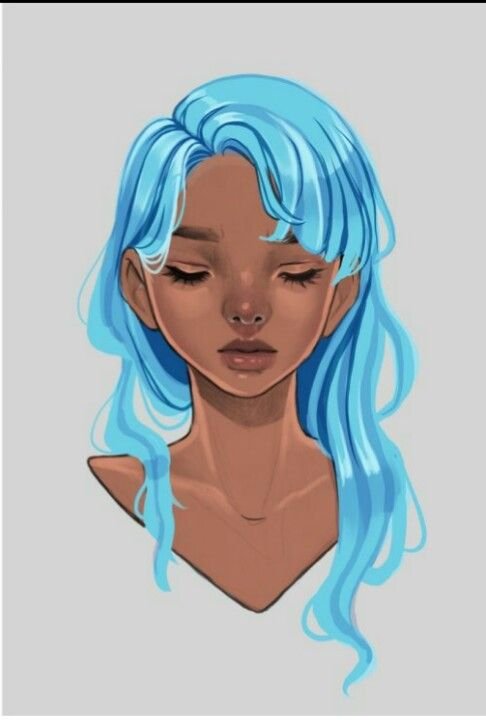
In this part, i now run some drawing and painting overview, some kind of general checks to see if there are any lapses to be amended then i noticed some kind of "flop" from underside of the hair,close to the neck. The hair their looks so un-natural, it looks rigid and it's not quite alright to me so i thought, i rather make it into some kind of almost loose braids and this got me opened another layer and in the layer, i also choose multiply just as i've been doing with the other parts that needs shadows and highlights. These slight modification resulted into a very big achievement that really amazed me. Check out the before and after effect.
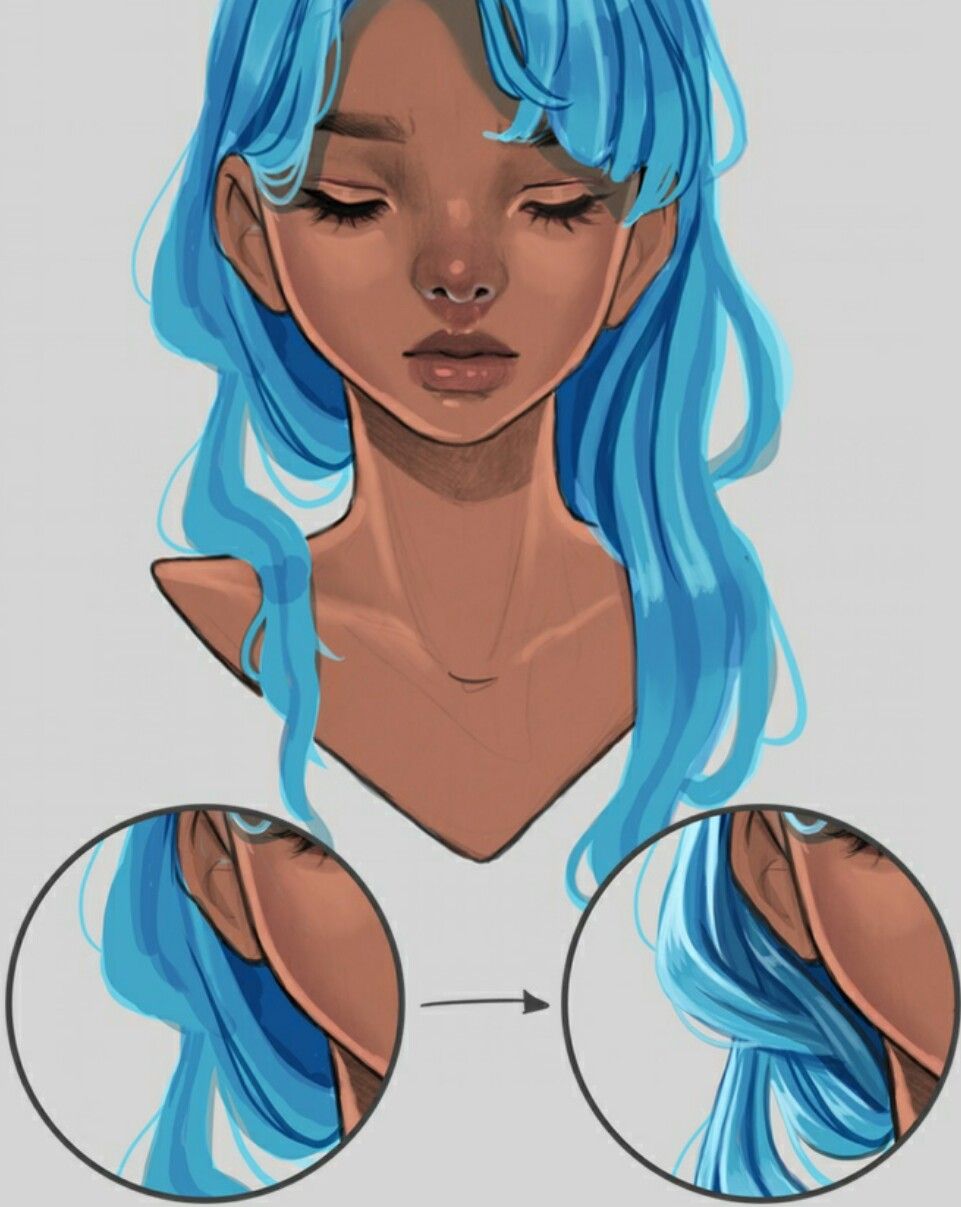
After the success of the re-modifcation, i need some kind of glow of elegant so on the recent layer, under blend modes, i choose screen and BLAP!

Check out the before and after screen effect on the hair
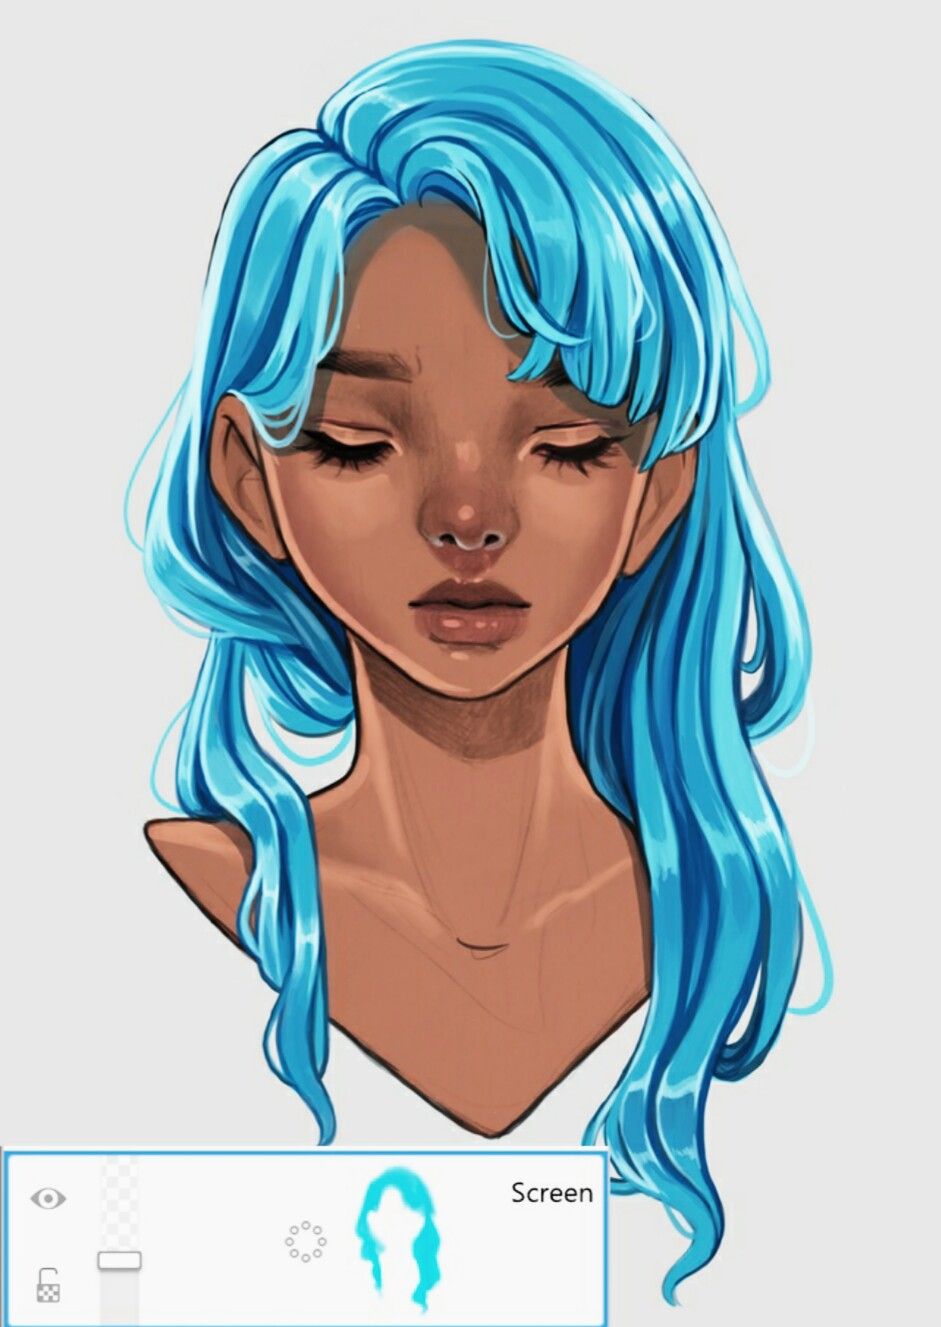
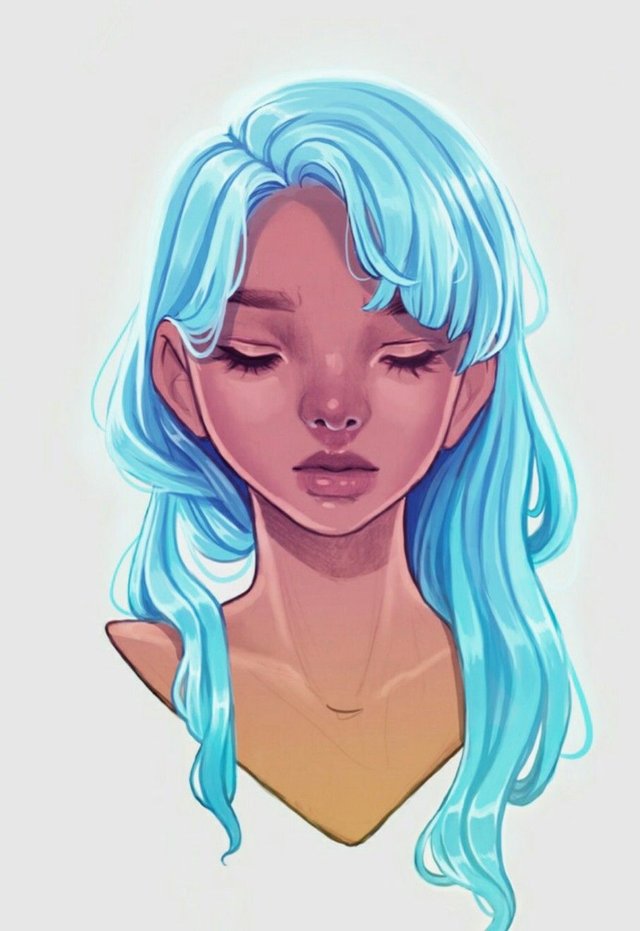
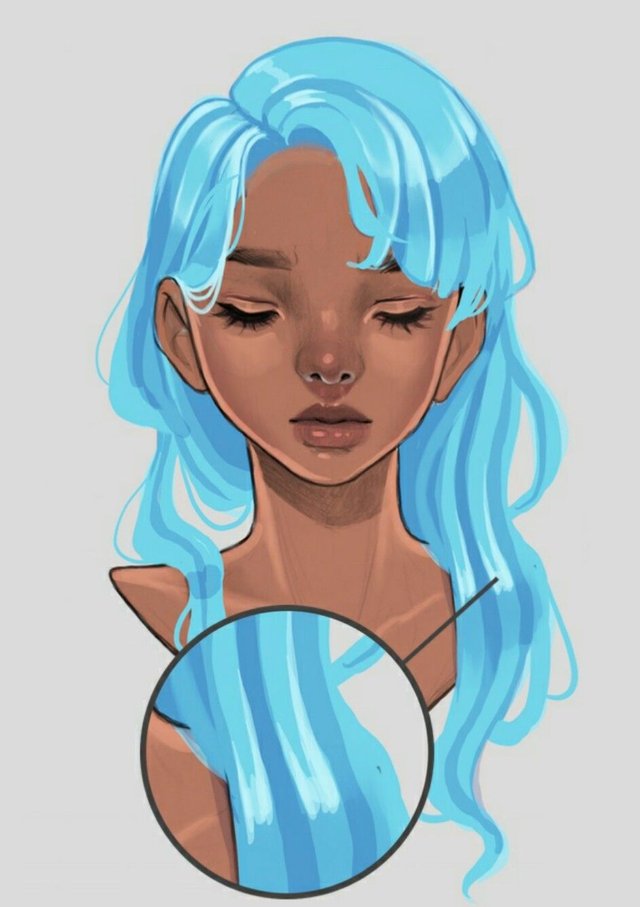
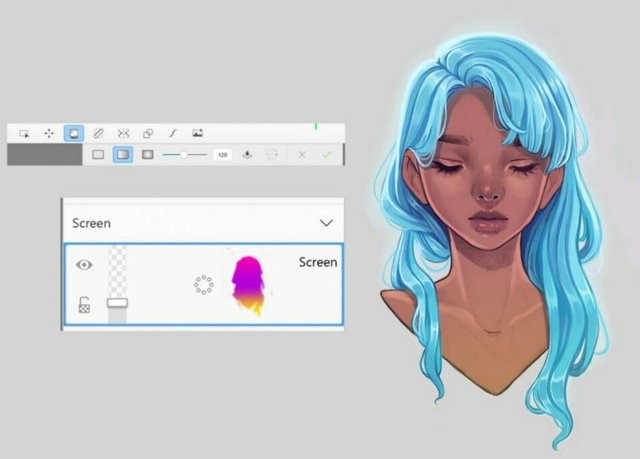
I got me this glowing effect of highlights on the hair(you might need some sun shades now) the effect looks shouthy,so i dropped down the opacity to about 25-30%. It's all set now, but i still need to add some more touches now, just this last touch and so on a new layer, i choose screen blend modes and created a kind of opacity to about 11%-12%. This effect tends to bring the whole image of the art out including the face and also soften out too dark areas.

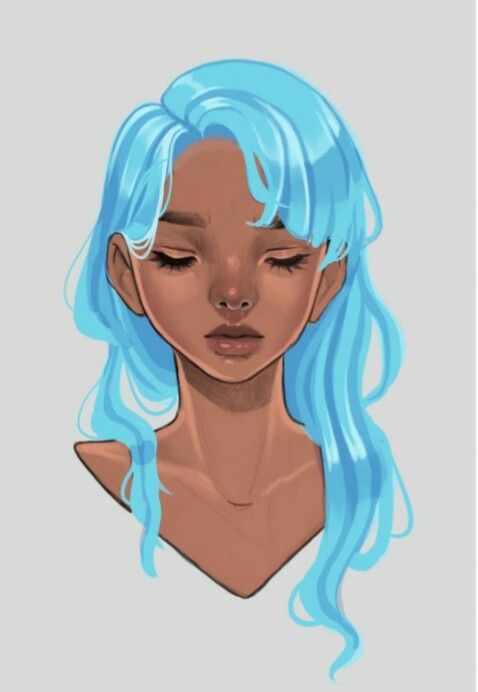
Pinched screen and save work with (long hair,i care)LOL. Hope you all find these illustration helpful? Kindly do the needful to show support.
@adsactly @steemgigs @artzone @slothicorn #ocd-resteem #slothicorn #artzone #wafrica @steemiansarena @surpassinggoogle @nogano
Great illustration, you are very talented, I will follow you!
Really appreciate that! Thanks
Very good publication, excellent talent.
Thank you@hilaryedina
so good...nice pic
You've received an upvote from @slothicorn! Click Here to Read our New Curation Policy And Updated Rules
(@justatouchfey) ((.)ω(.))
Good post to help when it comes to drawing, you did the illustration of the girl?
I flagged you because the artwork is not yours. Here´s the original step by step by the original artist:
https://www.sketchbook.com/blog/how-to-draw-hair-step-by-step-with-lord-gris/
Hey! Do you mean if you happened to be someone else mentor,such person cannot work on your piece with even more redefined outcome? Have u tried to check out my process explanations? Why do people find it so easy to conclude
I don´t need to read further than your first sentence: "Hey guys! Today i'm going to be showing us some few steps that i normally follow to successfully drawing a woman or lady hair and carried this out with Autodesk sketchbook and for each steps i'm going to be supplying process images." and them you present us someonelses artwork without any other explanation. You´re claiming the artwork is yours when it´s not as it can be clearly seen in the link I provided. That´s call stealing, and you´re being rewarded for that, mainly with a big upvote and a resteem from @slothicorn. But that´s not the worst part. The original artist has 240k followers on instagram alone. That´s a reach of a quarter of the total steemit users, imagine the potential harm you´re doing to the whole platform if people think this is a place where you get rewarded with $ for stealing others work.
WOW!!! i love it bro!, good post :D
Not only well-illustrated, but a handy tutorial. I really enjoy reading about specific techniques, and hair has always given me trouble, so double thanks for this.