Anime Art - How To Draw Charmander Step By Step | #drawings #2
Hello, my name is Leonardo, and in this post I will teach you how to draw Pokemon Charmander step by step.
First you will be able to watch the video, and just below will be the step by step written, and with images.
Come on then, you can watch the video by clicking on the play below:
Step by step writing
Ok, if you couldn't keep up with the video, below I'll be writing down how to draw Pokemon Charmander.
Come on then, you will find it very simple, follow up!
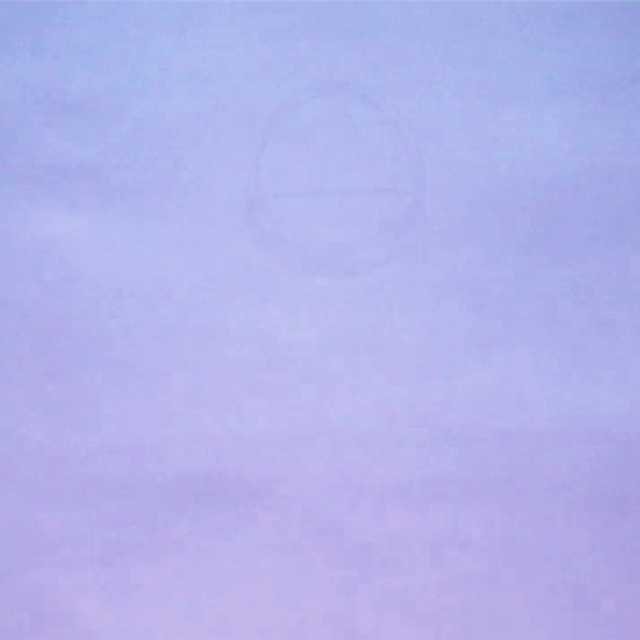
Step 1
First we make a circle, and then we make another circle at the bottom of the first, but this second circle is much flatter.
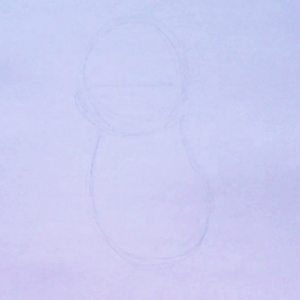
Step 2
Now we make a crooked, downward balloon just below these first two circles we made.
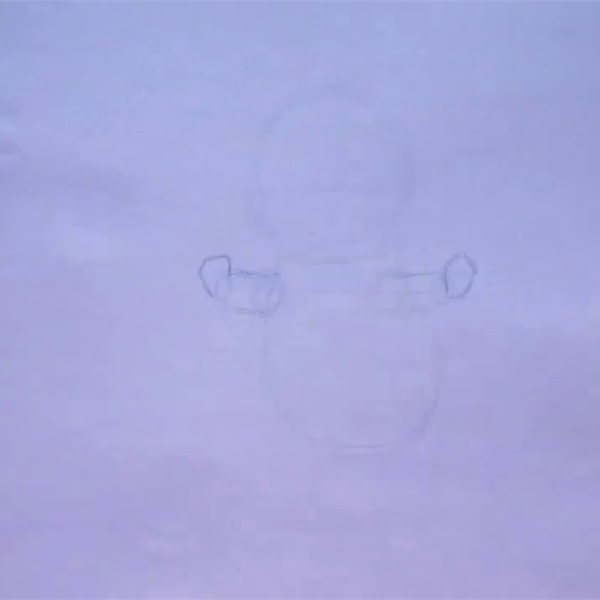
Step 3
Then we make two smaller circles on the upper sides of this balloon to represent the shoulders, and two stripes one above and one below each of these small circles.
After that, at the end of these stripes, we make two other smaller circles to represent the pulses, and in front of them we make two polygons.
Step 4
Now we make two larger oval circles on the bottom of this larger balloon, and two other polygons below these oval circles.
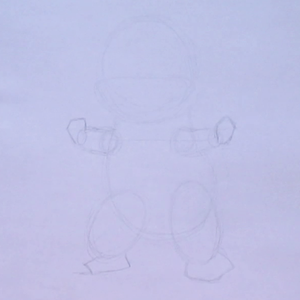
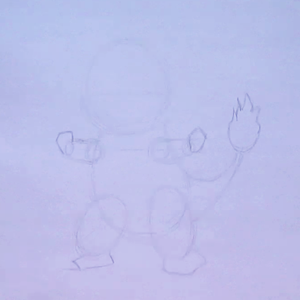
Step 5
Now we make two lines behind the balloon, curved upwards and tapering until they almost meet, and before touching each other, we make the fire.
Step 6
Then, in the circles of the head, we make two upward curved stripes, horizontally and parallel.
In the middle of the head we make a vertical line, and from it, 4 more small lines, two on each side, bounded by the two horizontal lines.

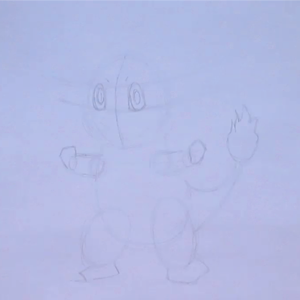
Step 7
Now we make the eyes, simply put, are two upward-facing balloons with a horizontal line below them, and four oval circles within them.
Two within each, and one smaller and within the other.
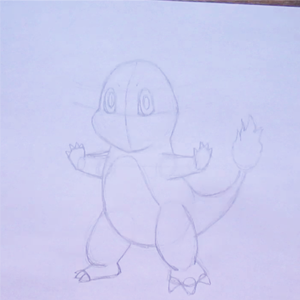
Step 8
Then we get around the shapes giving shape to the character's body, and take the opportunity to make the nails and the lighter part of the belly.
For nails, just make triangles on the polygons, three on the feet, and 4 on the hands.
To delimit the lighter colored part of the belly, simply make another balloon facing upwards.
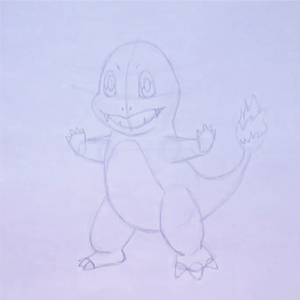
Step 9
To make the mouth, just make a bow almost the same as the one used to make arrow bows, with its curve facing downwards.
And below it, make a downward turn as well, but less than that bow.
For the teeth, just make two small downward facing triangles, one on each side of the arch.
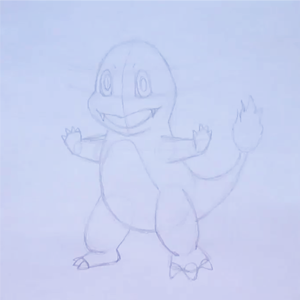
Step 10
Lastly, we make the lower teeth, the process is the same, but now the small triangles are facing upwards.
To make the nose, are two small stripes above the mouth, and face down.
And in fire, just draw the lighter parts of the interior where it is warmer. But this part is optional, you decide whether or not to do it.
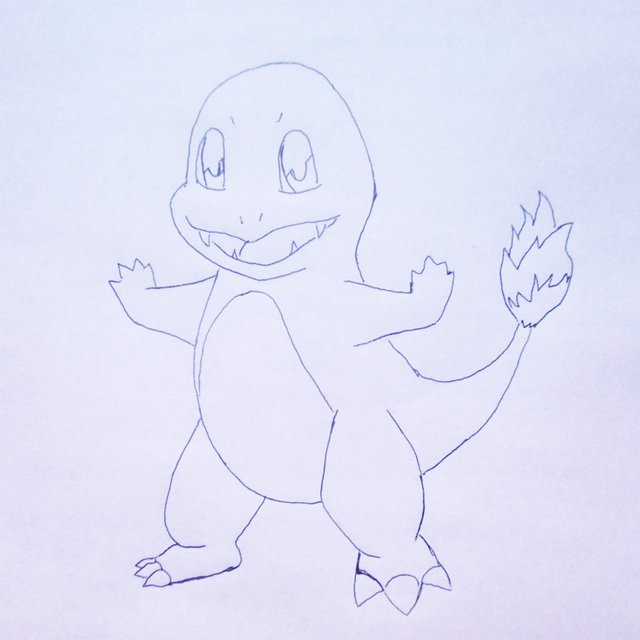
Final result
See how the drawing looked.