DIY Abstract Art Canvas | Easy beginner abstract art tutorial
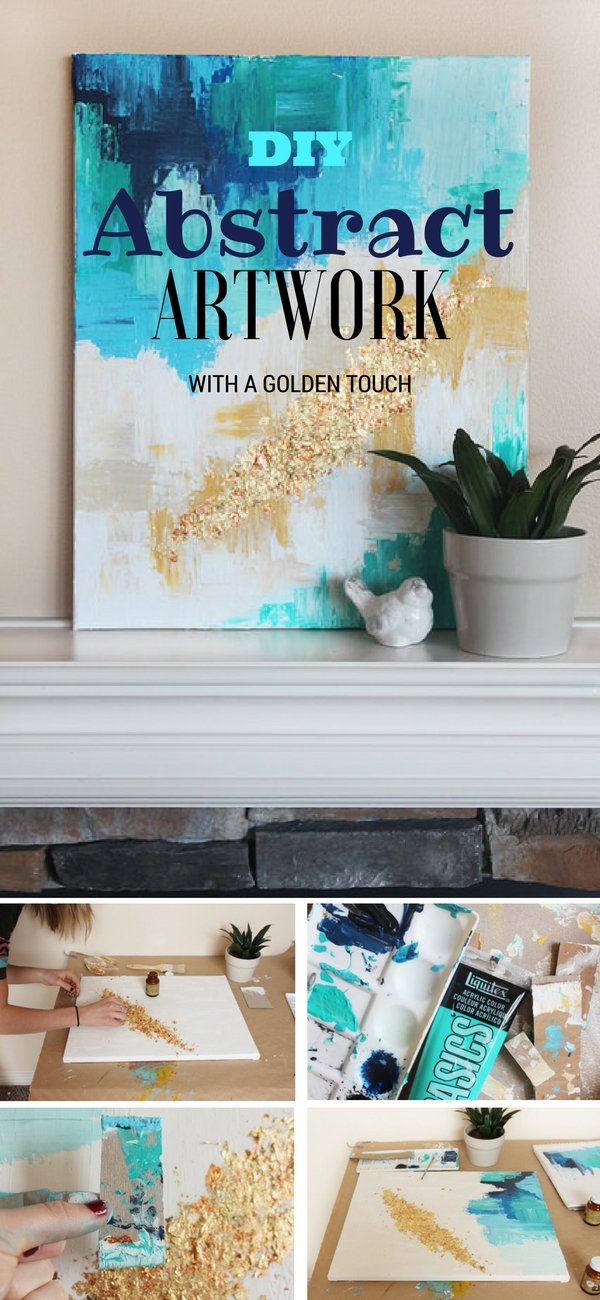
Hello, it's Ashley from Star and Arrow Designs! I'm so eager to share this DIY craftsmanship instructional exercise with you all. Spring is authoritatively upon us, and I figured we would make a theoretical piece to include a dynamic and finished fly to your home. I needed to complete a piece that ANYONE could do. I am a stickler and thus, experience serious difficulties giving up and making dynamic craftsmanship. I was painting with my baby a week ago, and in 30 seconds he made a delightful impasto painting. News streak. Seemed as though I expected to take in an exercise or two from him-let the fun chaotic piece of craftsmanship assume control.
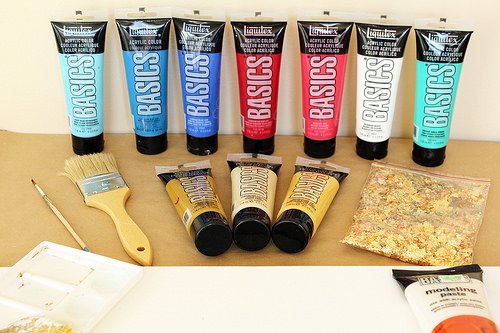
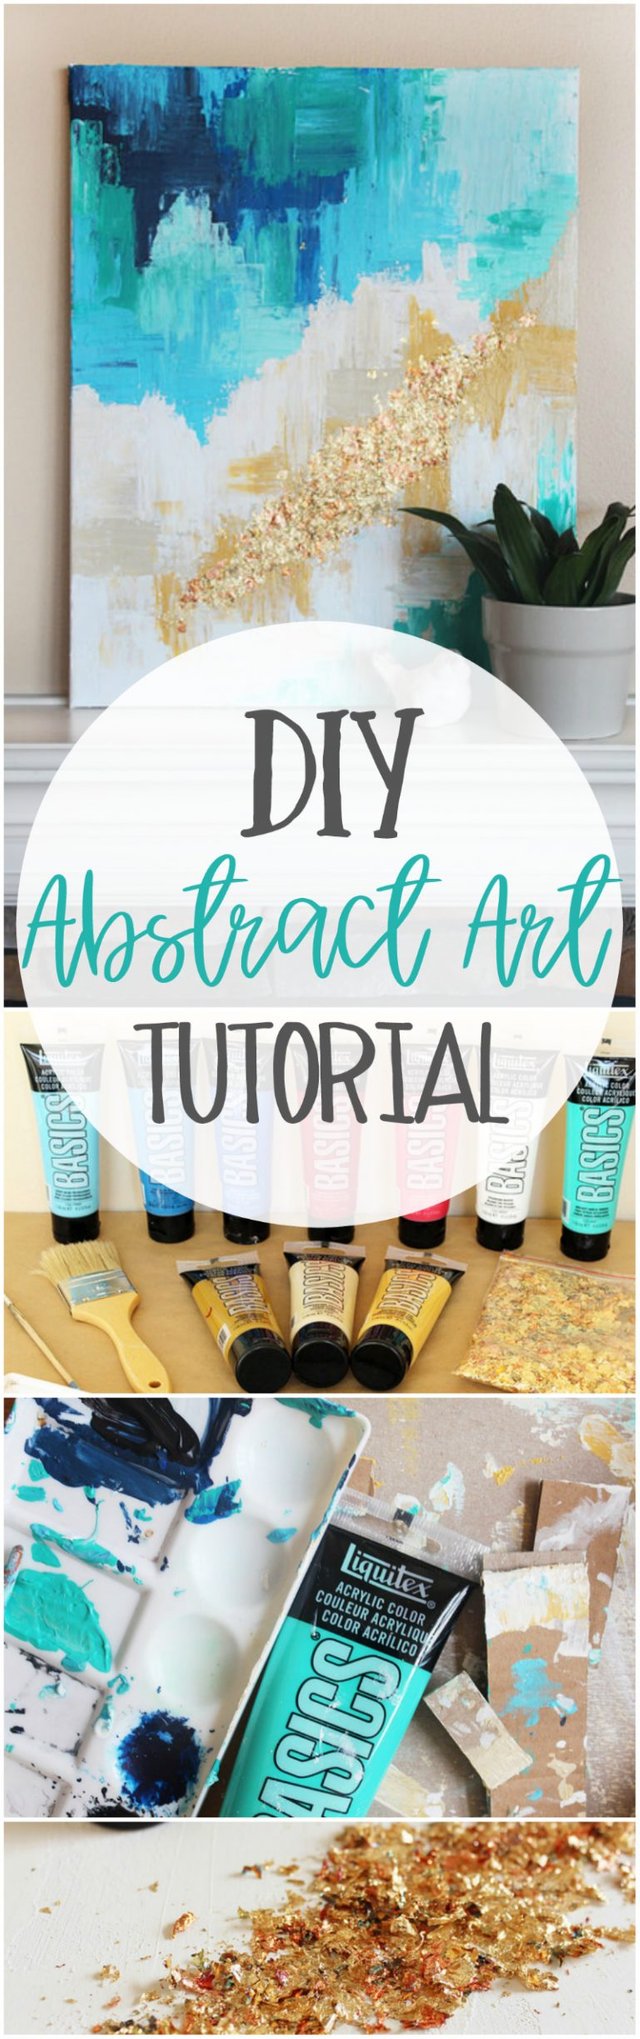
Supplies to Paint an Abstract Art Canvas Tutorial:
In this way, here we are, a chaotic, irregular and beautiful painting instructional exercise. This was one of my first dunks into conceptual workmanship AND acrylic paints, so it is in no way, shape or forms consummate, however, the procedure is a fun one! Here it is:
Butcher (or wrapping paper).
Canvas (16×20 size).
Surface: This is a discretionary advance, yet I prescribe utilizing an acrylic gesso to cover your canvas or potentially a demonstrating glue to include some additional surface.
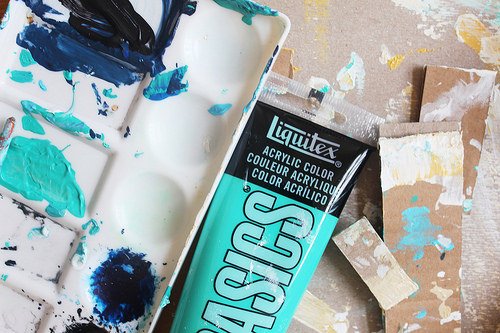
Paint: Liquitex Acrylic paints (I as of now had mine close by, however, there is an extraordinary "starter unit" here).
Brushes: expansive painters brush, bits of chipboard or cardboard for applying paint.
Gold Foil Flakes: I utilized thwart that had a variety of shades and shading.
Elmer's paste or in the event that you are feeling extravagant, Mona Lisa metal leaf cement and sealer.
How to paint an Abstract Art Canvas
I set up shop by covering my table with butcher paper. This venture WILL get muddled so I suggest covering all that you don't need paint splattered.
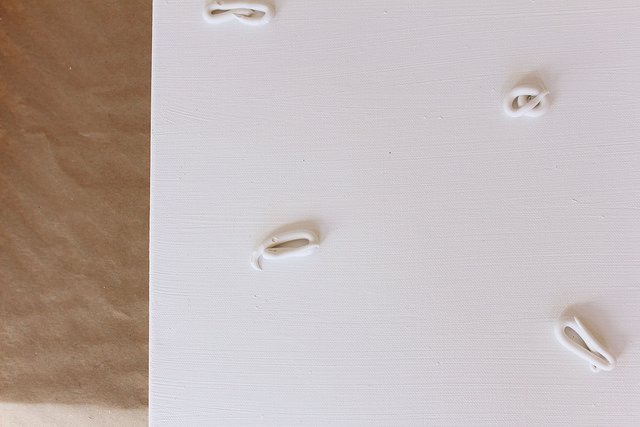
This initial step is discretionary, yet I think it adds an extraordinary base to your piece – Paint acrylic gesso over the surface with a thick painter's brush. This covers the woven canvas surface. Liberally include globs of displaying glue onto the canvas. Utilize a slice portion of chipboard to level out the glue. Make certain to cover the surface of the canvas, however, this is intended to develop the surface. Make sure to let this dry before moving to the subsequent stage.

When you choose where you might want your gold leaf, utilize a little paintbrush to apply a thin layer of Elmer's paste or Metal leaf cement onto the canvas. Wash your brush instantly with warm sudsy water.
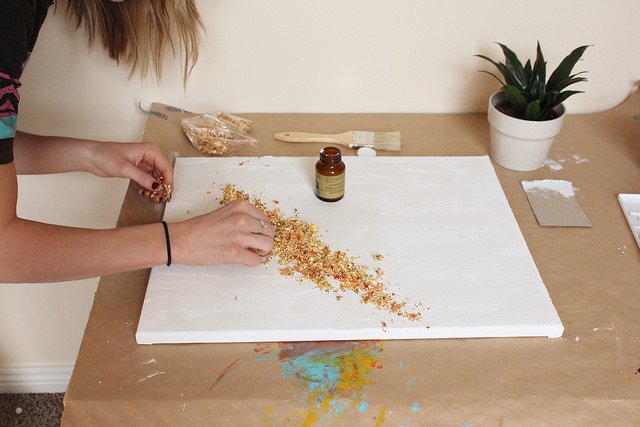
Apply the gold leaf pieces (I utilized my fingers) in a thick layer to the paste. There isn't the much justifiable purpose to this part. You will include a second layer in the wake of painting, so don't whine excessively about it being great. In the event that you are utilizing a sealer, sit tight for the paste/glue to dry before utilizing your brush again to paint it over the drops. The sealer will straighten and coat the gold leaf. You can watch a period slip by a video of the procedure here.
Next, make a shading test. You may have made sense of what hues you need to utilize, however completing a "practice run" will enable you to make sense of how you need to assemble them all. I get a kick out of the chance to do this on a bit of sketchbook or scrap paper.
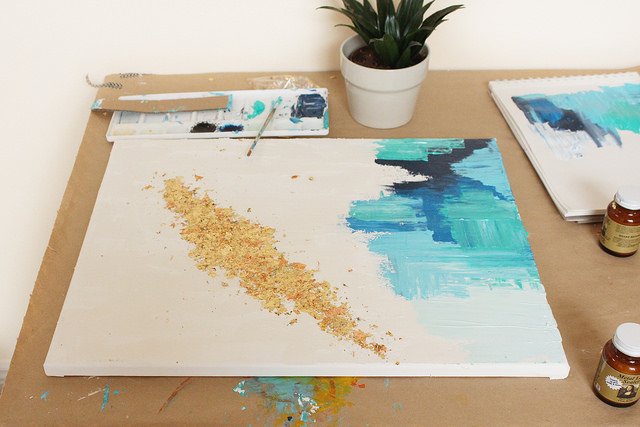
At that point, begin painting! I crushed globs of paint specifically to the canvas and utilized bits of chipboard (cardboard) to delicately stroke down the paint. You can likewise apply the paint to the chipboard and apply it that way. This keeps the paint thick and simple to mix. It likewise keeps that yummy thick surface without demonstrating the white canvas or brush strokes.
I had a couple of various chipboard pieces for my distinctive hues however found that I loved keeping the chipboard pieces a little untidy since it mixes in various hues. Try not to stress over adjusting every one of the hues. Indeed, I think the dynamic craftsmanship looks best when it isn't adjusted flawlessly.

Painting an Abstract Art Canvas tips:
Layer, layer, layer. This paint is about layers and layers include measurement.
Mix when it is wet, layer when it is dry.
Venture back or even take a photo of your advance and take a gander at it. I discover this encourages me to see crazy spots that need more shading or contacting up.
Get a second viewpoint.
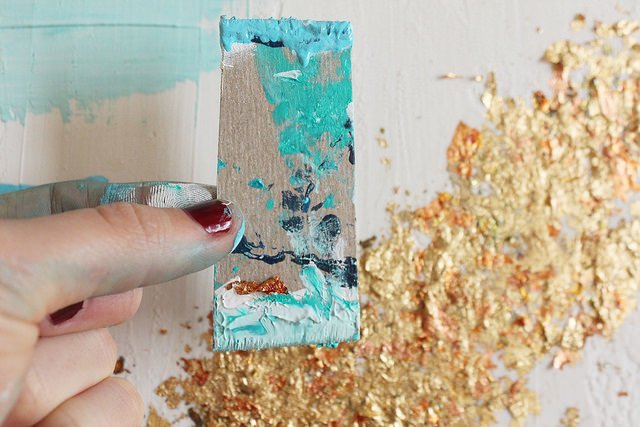
Respond to the gold thwart I utilized thin bits of chipboard and extremely endeavored to react to the gold drops, and utilized the state of the gold thwart to shape my artwork. Magnificence in haphazardness!
Once your paint has dried, you might need to include some more gold leaf. Same strides as above, apply the paste/cement and after that the drops. I scattered two or three drops over the paint to include some more measurement.
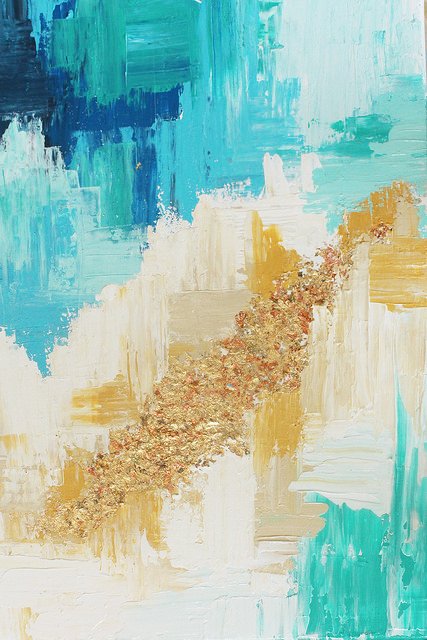
Voila! I think there are two or three spots I may layer some more, yet by and large, I am content with how this task turned out. Like I stated, I am an aggregate amateur with regards to digest craftsmanship, however, I cherished this venture! It's modest and simple. When you begin, it's amusing to get insane with it. XO, Ashley
some text in bold Richard
A cool way to do artworks. Though I only do digital artworks, I really like your way of making this art!
Thank you for your spport
Stop stealing content
https://lollyjane.com/diy-abstract-art-golden-touch/