Dialogflow & Firebase for Slack and Messenger Chatbots — Part 1: The Agent
July 7th, 2018—This tutorial is growing. Be warned that as of now, it's incomplete. Don't throw things when you get to the part you need and it's not yet there. I'll be adding the additional Parts over the coming 2 weeks. At the end of a part, if that's where we drop out, we'll note what's being written next.
There are a lot of services out there vying for attention—and your money—that will allow you to create basic Slack and Facebook Messenger chatbots, but why spend the money when it's more fun to roll your own.
In this growing tutorial, we'll walk through how to:
- Part One: Create a Dialogflow Agent
- Part Two: Build out the Agent
- Part Three: Connect the Agent to Slack
- Part Four: Connect the Agent to Facebook Messenger
- Part Five: Respond to conversations using webhooks to serverless Firebase functions (Firestore)
- Part Six: Chatbot > Dialogflow > Firebase Realtime Database CRUD operations
- Part Seven: Hmmm...what would you like to see? Let us know in the comments.
1. Create a Dialogflow Agent
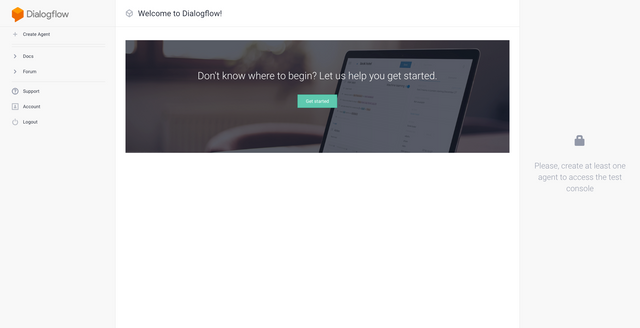
Assuming you already have a Google account and you're logged into Dialogflow, the first thing we need to do is create an Agent.
But what's an 'Agent'?
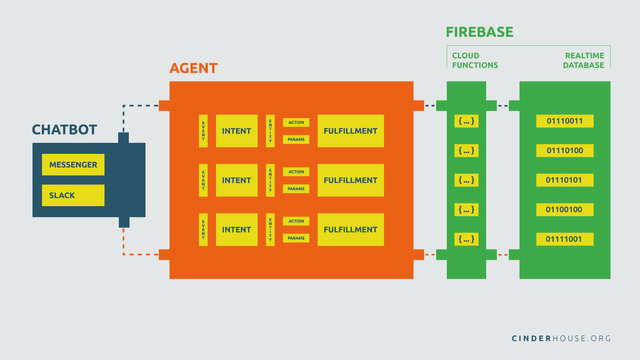
'Project', 'container', 'wrapper' etc... could all be synonyms for 'Agent'. To keep things simple, think of the Agent as our bot's container. It holds some other stuff that we'll need to get our bot to understand and respond to user requests. We'll get to the "other stuff" momentarily.
If you want the detailed answer, here's how Google describes it
Here's how you create and name the Agent:
1. Log into Dialogflow
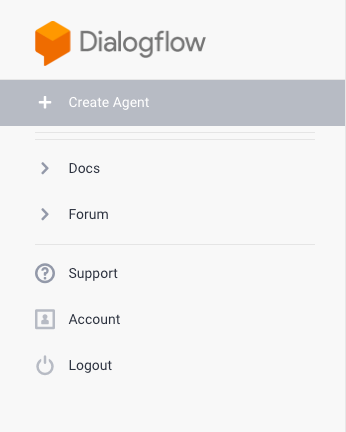
2. Look for "Create Agent" in the left-hand menu
3. Name the agent and choose related options ( Default Time Zone, etc...)
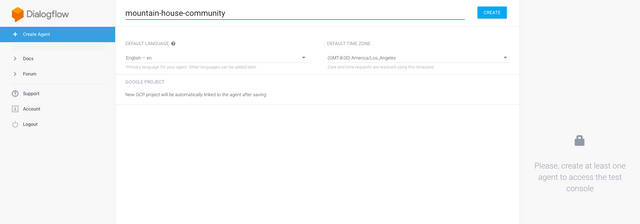
4. Click "Create"
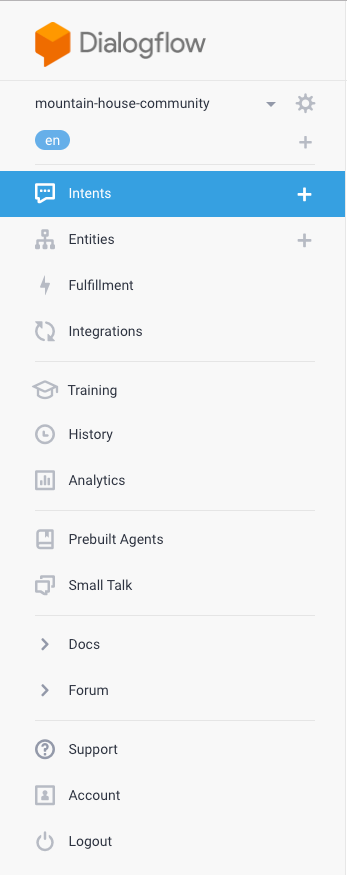
Once you've completed step four, a new set of options, the "other stuff" we mentioned, will appear in the left-hand menu.
Video Recap:
Now that our Agent has been set-up, we can begin filling it with all the stuff that will make it work. We'll start with 'Intent'.
✅ @cinderhouse, I gave you an upvote on your post! Please give me a follow and I will give you a follow in return and possible future votes!
Thank you in advance!