#PinkItUp : Make Your Own Bookstagram Props - Harry Potter Paraphenalia
I've come to realize that I actually enjoy making these items; it relaxes me and I find that the simple task of focusing on what I'm doing gives my mind a little bit of quiet time - no need to dwell on unnecessary things when one is concentrating.
So these items have no value to anyone other than me, but I'm good with that.
Today's D.I.Y's are inspired by the Harry Potter franchise and, believe me, I have a gazillion ideas; most of them, though, are quite impractical and will never see the light of day, lol.
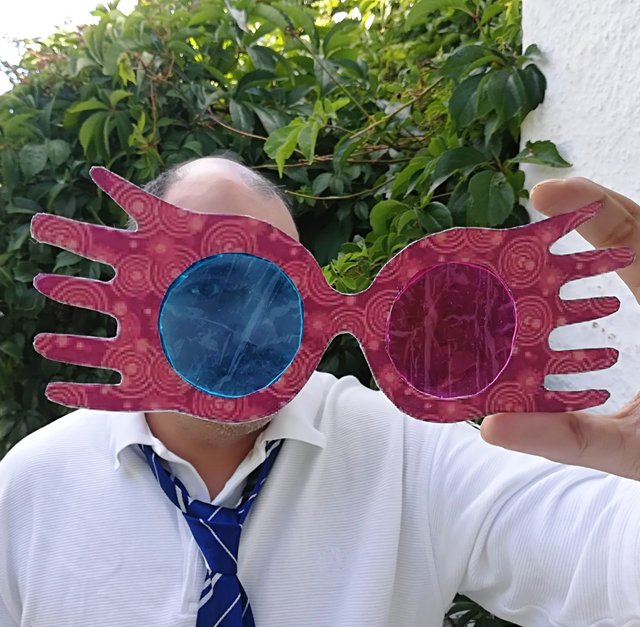
Luna Lovegood's Spectra Specs
I have wanted some SpectraSpecs for an incredibly long time now, so I decided that I will find a way to make my own...
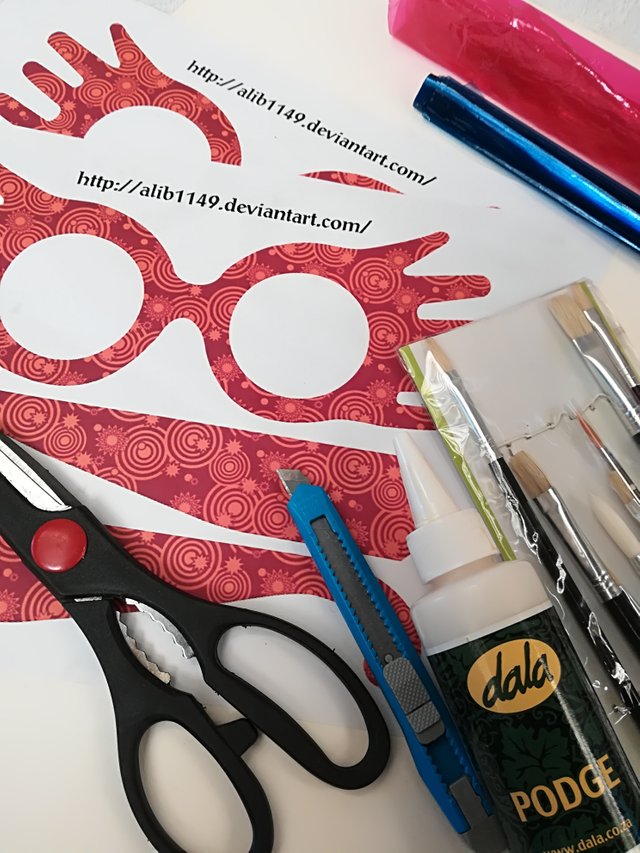
Things You'll Need
2x SpectraSpecs colour printouts (found on the internet)
Card stock
Mod Podge (our version is just called Podge, lol)
Red & blue cellophane (you could also use sheets of acetate)
Scissors / craft knife (and something to cut on)
Brushes for gluing
Cloth (for wiping)
Glass of water (for the brush)
DISCLAIMER: I found this image of the SpectraSpecs via Google. The artists name is clearly printed on the image and all credit goes to him / her.
Putting It Together
Using both images, trim the main frame of the Specs away from the arms and put the arms aside. Take one of the images and line it up nicely on some card stock, trim to size and glue the image on to the card stock with podge.
TIP: Always dip the brush in the water between bits of gluing - this prevents the glue from drying the bristles together. Just dry the brush thoroughly using a dry cloth.
While waiting for this to dry nicely, take the second image and cut it out completely, using a scissors or a craft knife; be very careful not to cut too much away....
Once the card stock image has dried completely, cut out the main shape carefully. Be very careful cutting the eye part out - I highly recommend using a craft knife for this part as it can be a little tricky with a scissors.
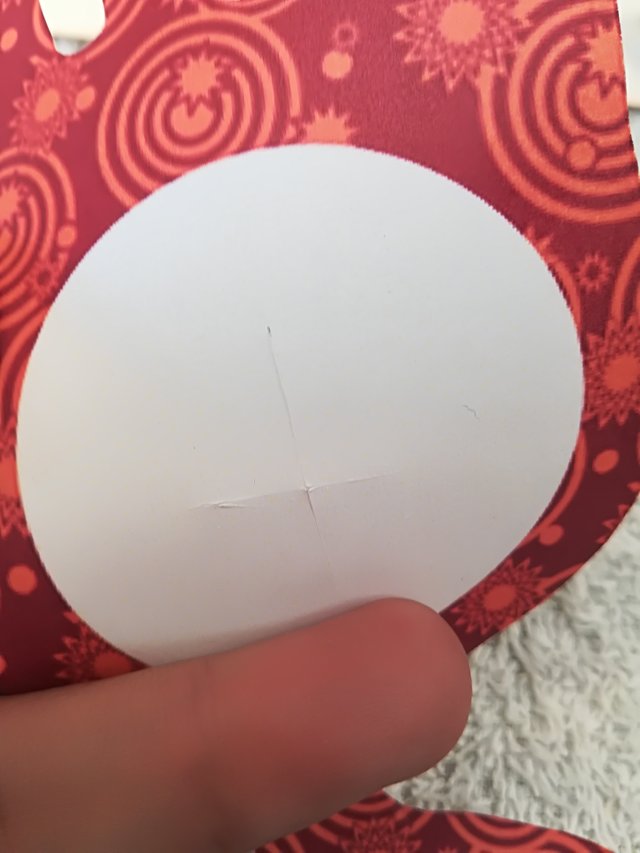
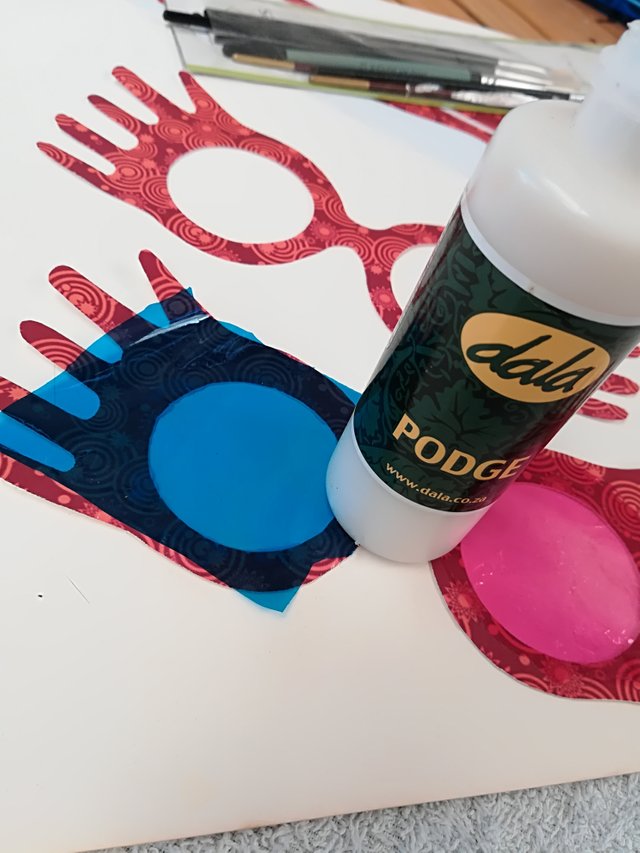
Now comes the trickiest bit... adding the "lenses".
Cut out a piece each of red and blue cellophane, big enough to cover each eye hole. Remember: blue for the right eye and red for the left eye.
Do one hole at a time, finishing one completely before moving on the the other. Brush a thin line of podge all around the eye hole and position the cellophane over the hole. Keep the cellophane flat and evenly spread over the eye hole and hold it down for about a minute until the podge starts to dry.
When the glue is completely dry, trim the excess cellophane away using a craft knife - cellophane proved to be a little hard to cut with a scissors. Repeat with the other eye.
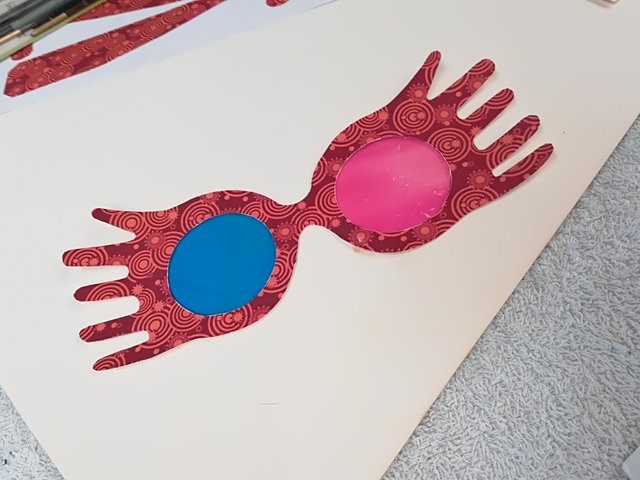
All that is left to do is to carefully, little bit by little bit, glue the second cut out image on top of the whole thing; make sure to align them to each other as accurately as possible.
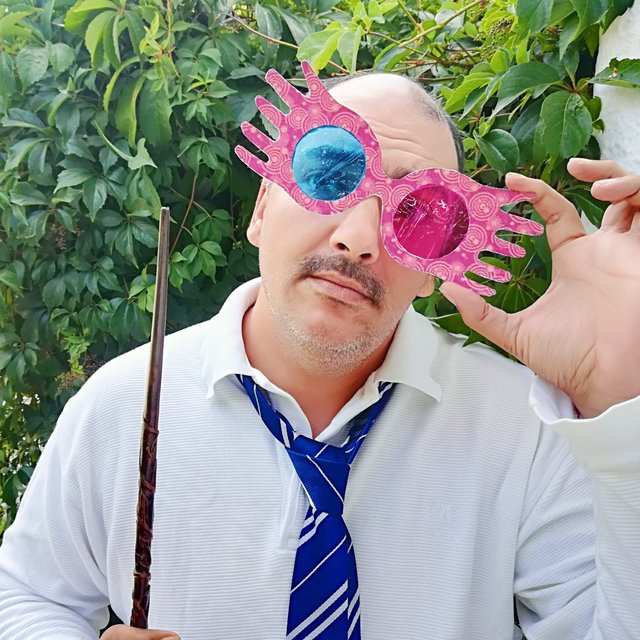
If you want to add the arms to your Specs, just glue the cut out images onto card stock, cut them out and attach them on the back on each side of the eye holes - I did not attach the arms to my Specs, because I have no intention of wearing them... I may, of course, change my mind later...
And VIOLA!!
TIP: Make different sized Specs by enlarging or decreasing the image when printing!
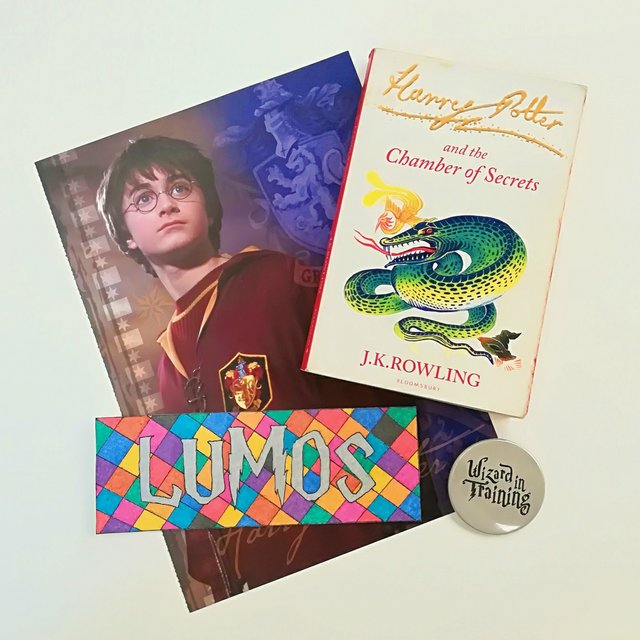
Lumos Bookmark
I have a lot of ideas for bookmarks and I wanted to do a Lumos one. Well, one idea evolved into another into another until I ended up with this...!
Things You'll Need
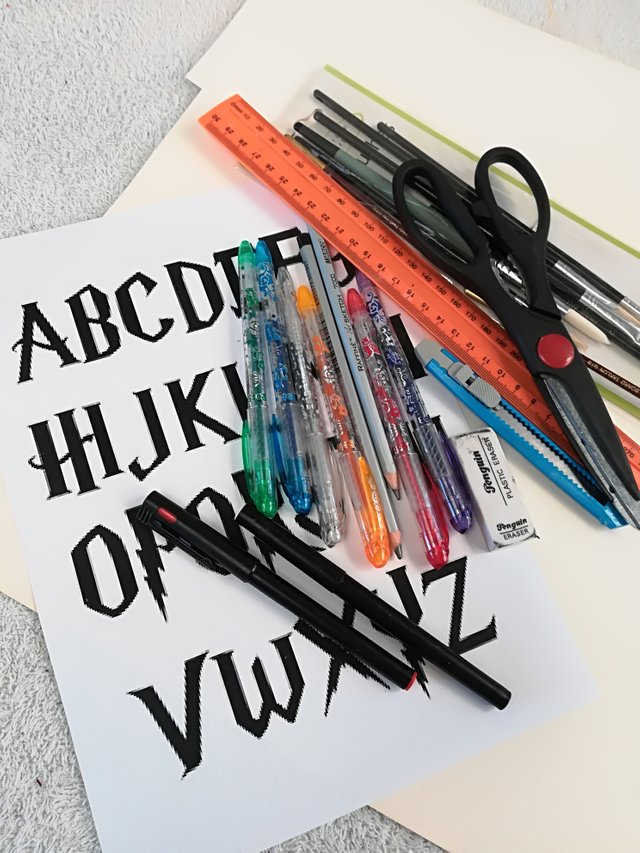
Printout of the alphabet in the Harry Potter font.
Tracing paper
Card stock
Pencil
Ruler
Pens, pencils, markers - whatever you want to use
Eraser
Scissors
DISCLAIMER: I found this image via Google. All credit goes to the artist ? designer / creator.
As a guideline, grab some different sized bookmarks and choose the size that you want to work with; position it on the card stock, near the edge, and draw around the bookmark to give you a clear working area.
Using some tracing paper, trace the letters into the word you want - in this case, I used Lumos.
Position the tracing paper in the middle of your bookmark and trace the word onto the card stock.
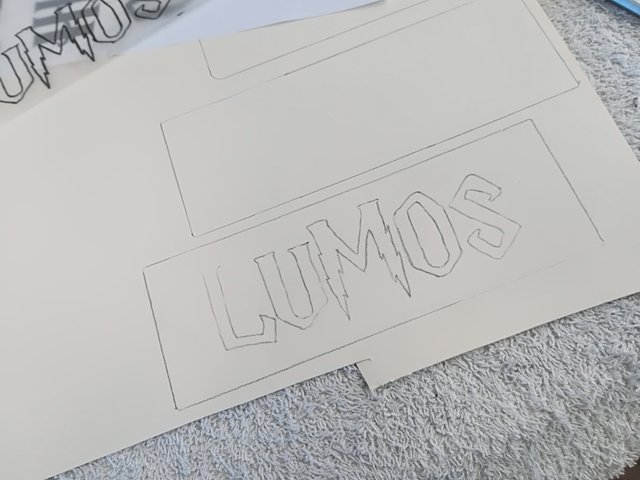
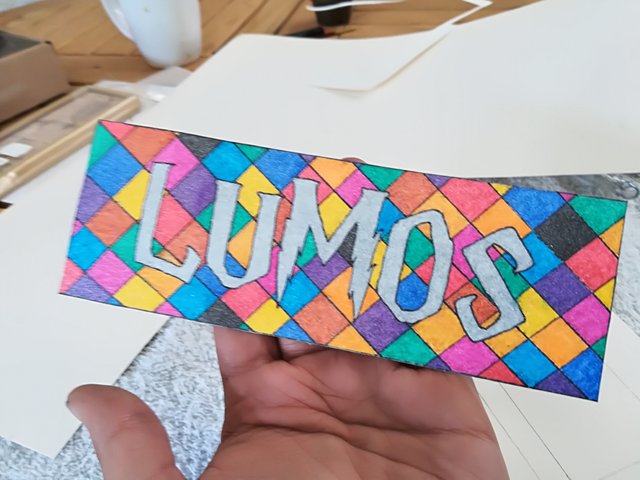
From here, just play with your design - what started out as a simple stripey design, evolved into this...
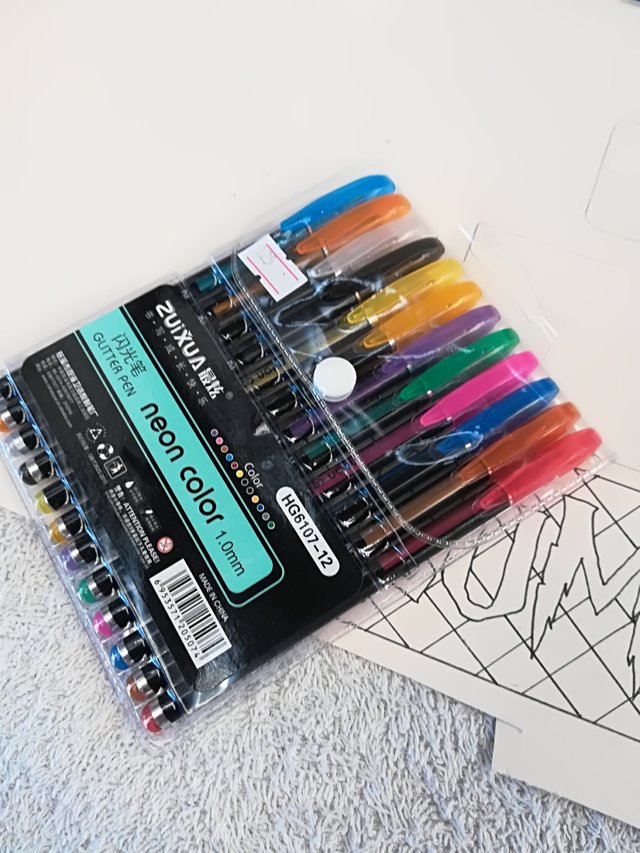
All that's is left to do, is to fill in the colour! Use whichever stationary you want - it's your design, after all. I used these glitter pens that I found at one of those hobby shops.
With a little imagination, a spark of ingenuity and bit of time, the sky really is the limit!
I hope you enjoyed this post as much as I enjoyed making these things and I hope it inspires you in some small way.
I do have more Harry Potter inspired ideas that will be creating soon, including something for a very dear friend, so I will do another post later; in the meantime, I also have ideas for The Lord of the Rings and The Rocky Horror Picture Show, to name a just a few... If you have any suggestions as something you'd like to see me attempt, please feel free to tell me in the comments below.
As usual, don't forget to like and share. Until next time...
Keep smiling