Do It Yourself - Removing, Cleaning and Reinstalling a malfunctioning Idle Switch | BMW M52/54 all models

Welcome to part two of my Q2 2019 maintenance and preventative as well as repairs update on my '99 320i.
Idle Switch
Some of you may have read my 2019 Audi A5 Sportback Review here:
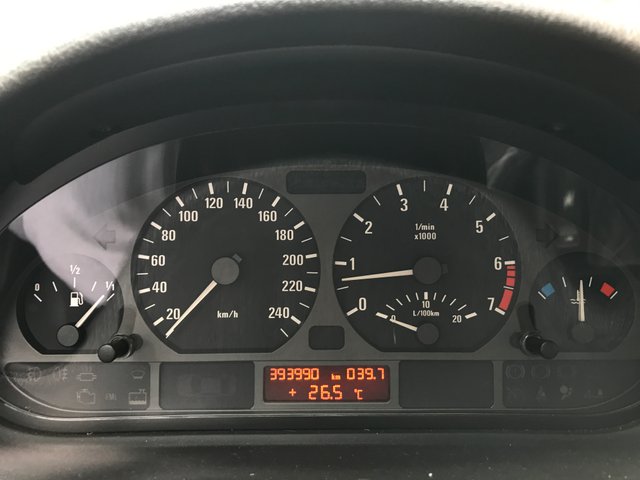
The reason for getting this rental was a failure of the idle switch in my E46 BMW with the 2.0L M52B20TU engine. I recently got a few OBD II interface diagnosis tools to accurately read out the car's systems. Since I did not find any recent failures of the ignition or fuel system nor engine management I was quite stunned when the car shortly before my trip to the beach refused to hold idle at all.
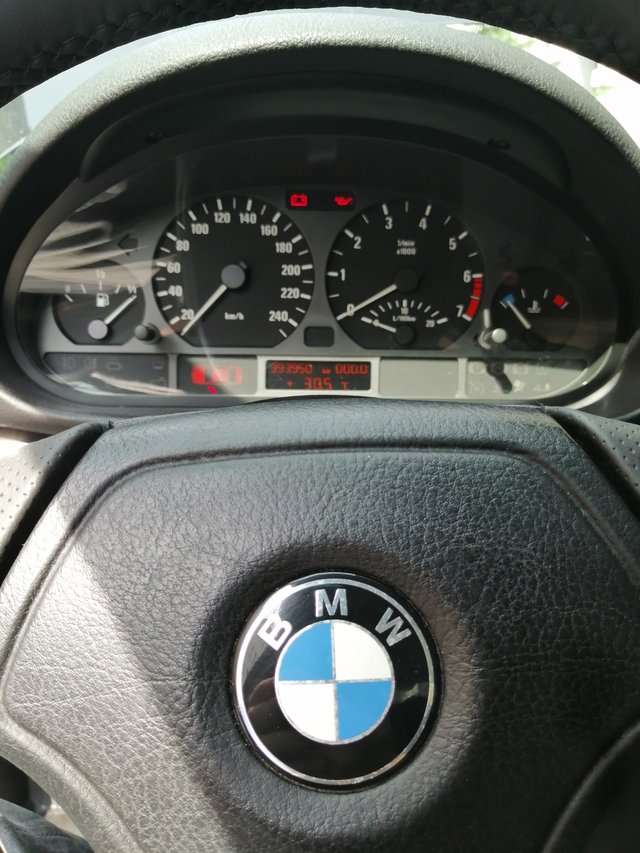
After filling up the tank and with no prior warning the engine simply shut off whenever rpms got close to idle level which on this engine is ~650rpm. With this car I've always had an idle issue in that it would randomly shut off during parking right after throwing it in reverse or when steering heavily standing still but it never did anything like that during normal driving conditions - until now.
Since I had no systems malfunction, engine itself was running fine and it didn't throw any relevant fault codes I figured the only thing to do was to remove the idle switch and either clean or replace it. These switches have a mechanical shutoff valve with eletronic actuation and overtime the valve flap gets dirty and builds up residue which restricts airflow through the switch or, even worse, leads to a locking of the mechanism so the switch can no longer close and hence you have no idle.
Removing the idle switch
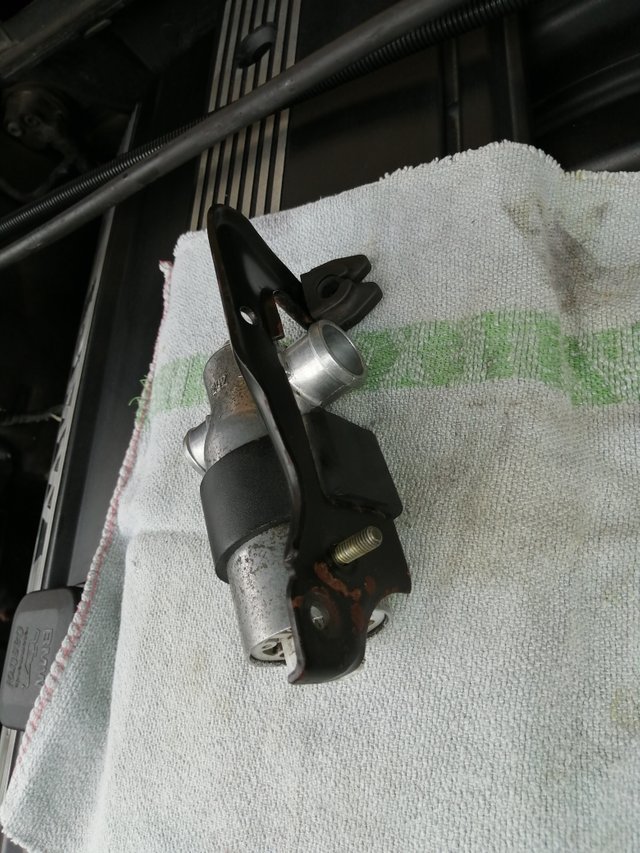
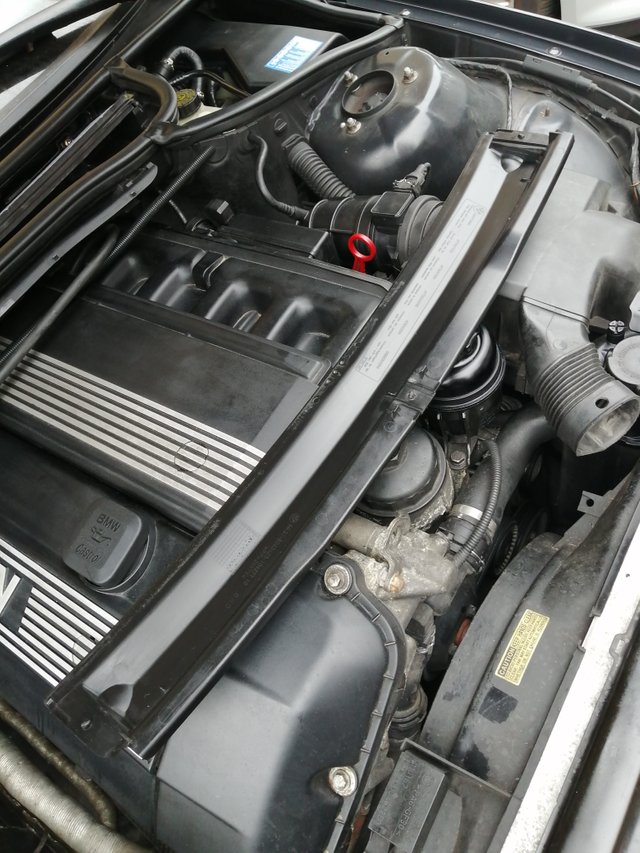
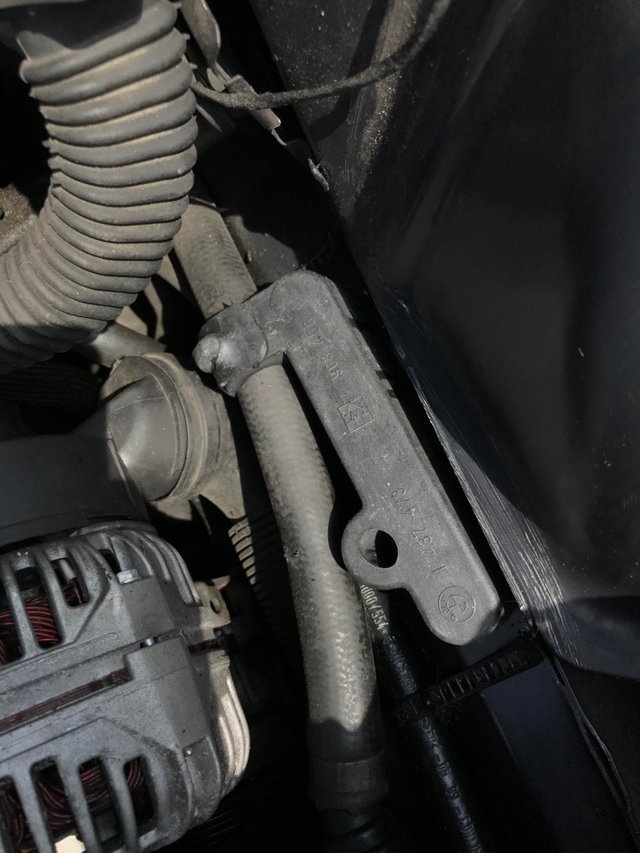
This is the part we're going to remove:
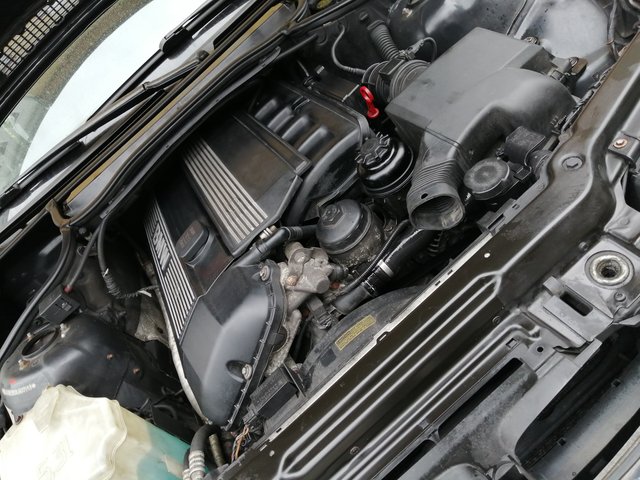
In order to get to it we basically have to remove the entire intake assembly right up to the throttle body which actually is quite easy on this engine and shouldn't take more than 30 minutes. I took the occasion to replace a few tear and wear parts, clean up the intake and interior air filter housing and so it took a bit longer but is not necessary for the idle switch itself.
1
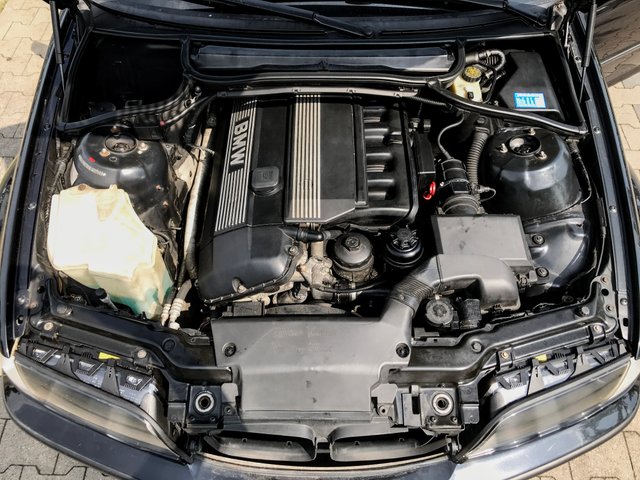
Remove the airbox and intake assembly (front right and center in the image below) by removing
- 4 plastic clips
- 2 M10 screws for airbox
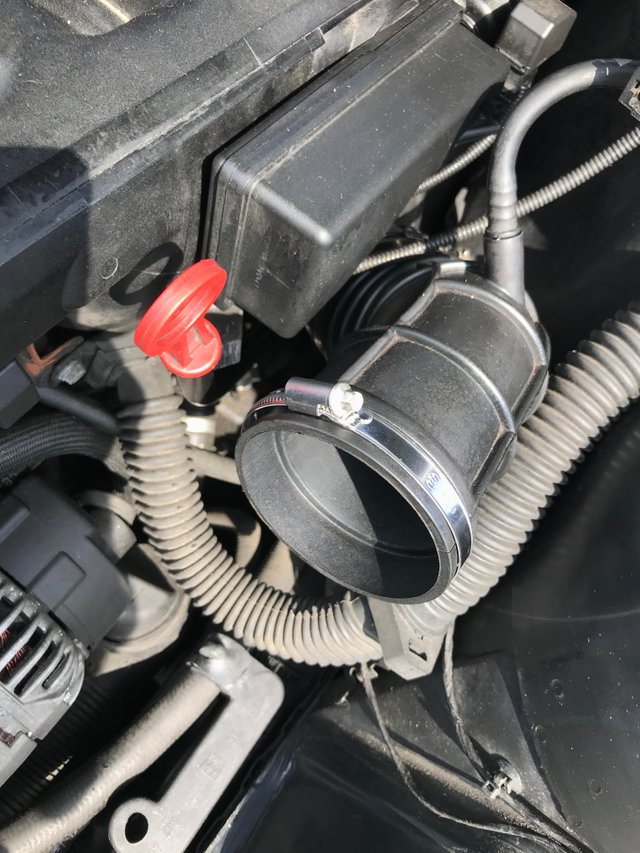
- 1 hose clamp at the mass airflow sensor
- disconnect the mass airflow sensor connector top right

You can also separately remove the air intake and then the airbox:
After removing my airbox I noticed the rubber bushing holding the airbox in place and also guiding one of the coolant water hoses was ripped so I ordered a replacement at the dealer:
2
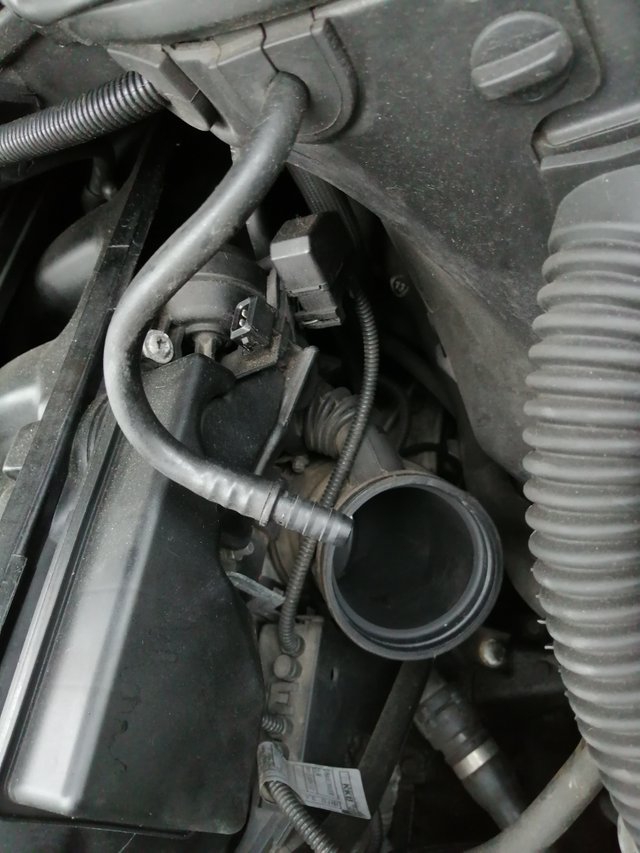
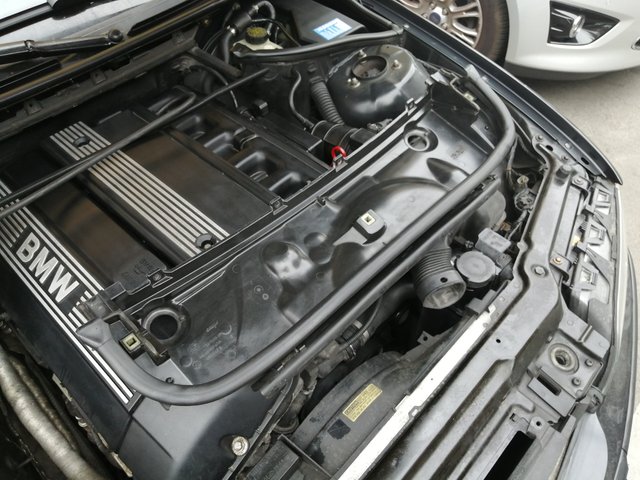
Now we simply work our way futher down to the throttle body:
Now remove the hose clamp and pull out the small hose going into the plug as well as loosening the lower clamp to take out the lower intake hose:
The bottom part is a bit tight but no problem to reach with a small wrench:
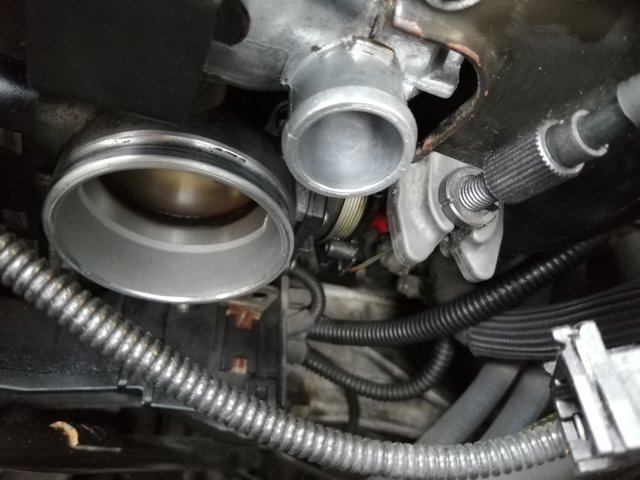
3
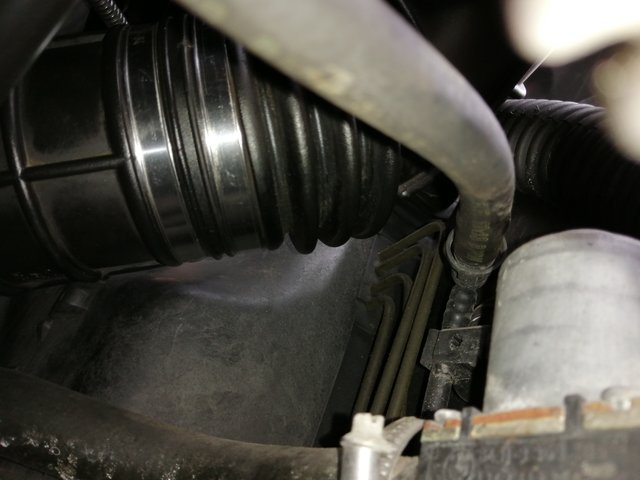
You should now be looking at this, the last intake hose before the throttle body.
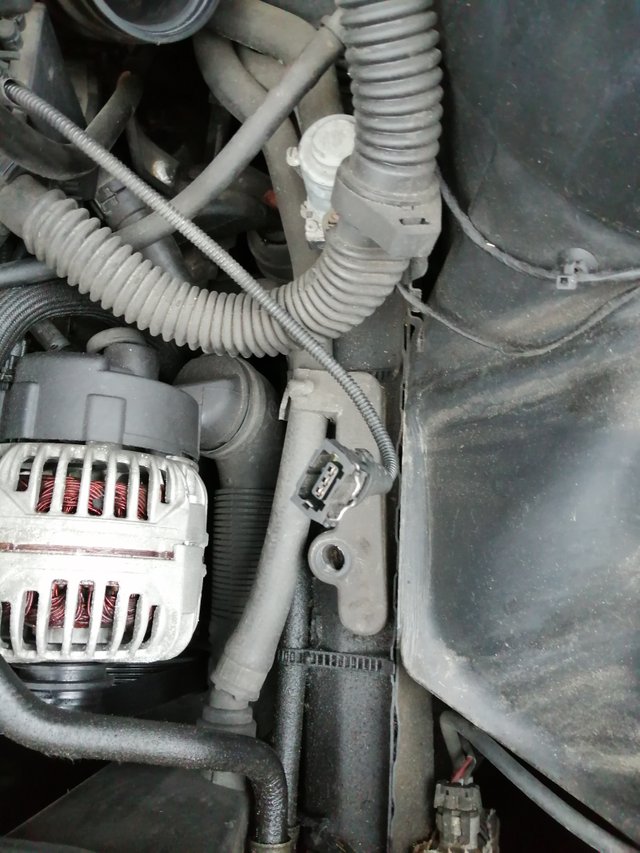
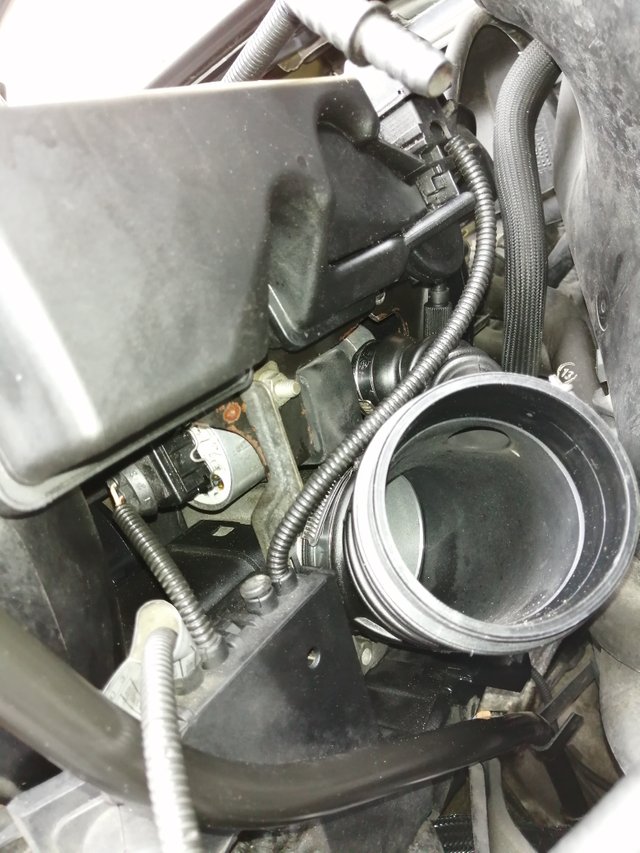
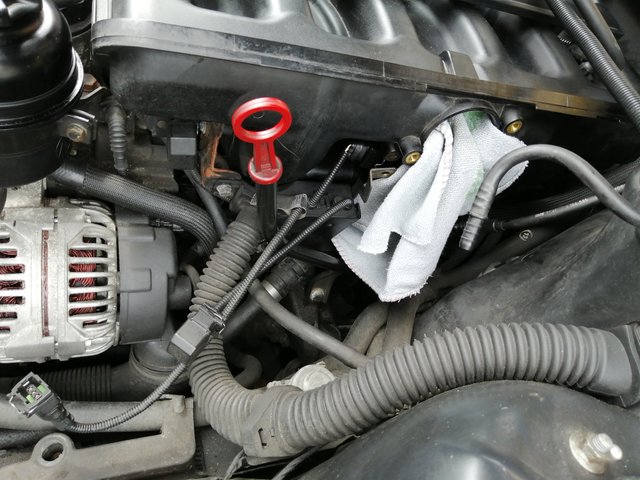
Before we continue we need to remove the 'DISA' assembly which is the little square black box sitting to the right of the intake manifold, again referencing this image you see the square black connector which you pull out vertically and loosen two screws, one visible here on the lower right and one on the upper left of the box:
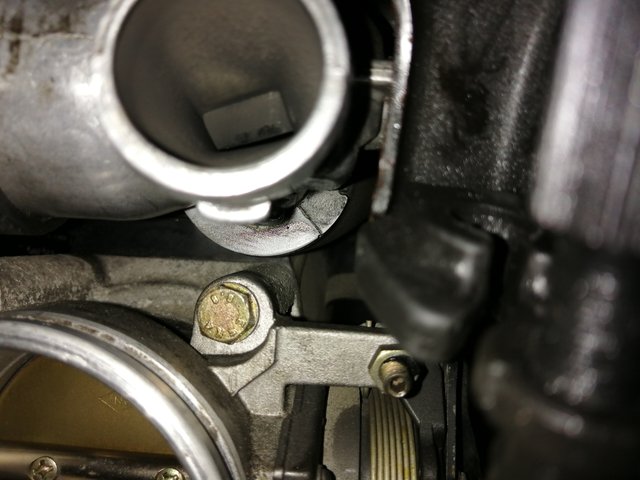
Below the DISA we can already spot the idle switch, you can also see why we need to remove it to get to it:
Cover the intake manifold DISA hole with a machine cloth to avoid dirt to enter the canal:
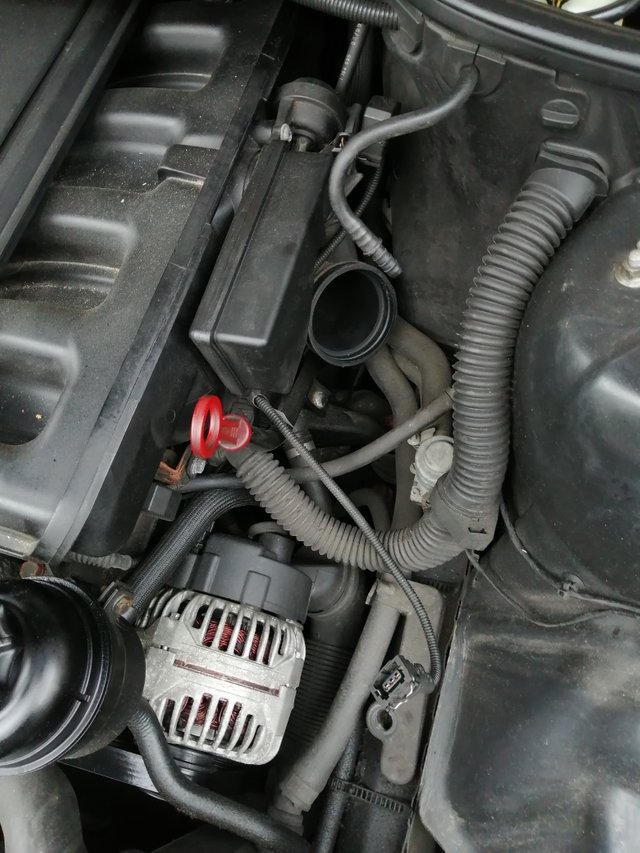
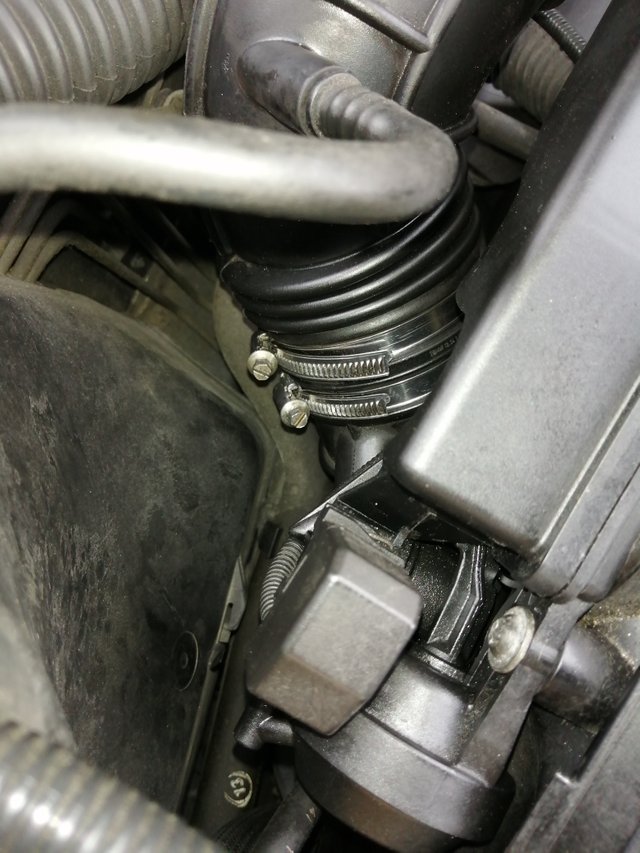
After disconnecting the cable and removing the screws you can pull the DISA switch out horizontally to the right (drivers side) and get access to the hose clamps near the throttle body which you can now loosen and remove:
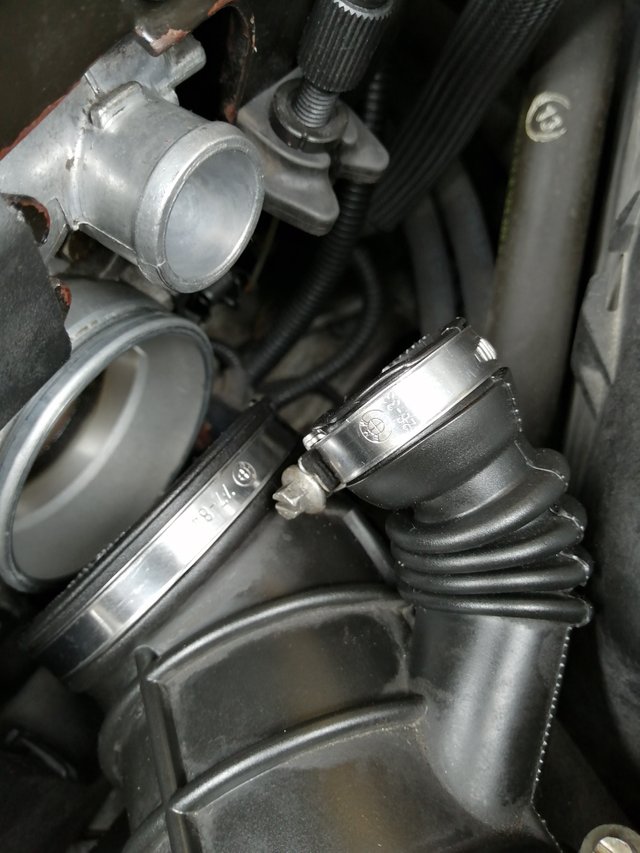
Top one is idle switch, bottom one is throttle body.
3.1
As mentioned I removed a few more parts to clean up the intake manifold, check condition of the air hose running through it and clean the interior air filter housing:
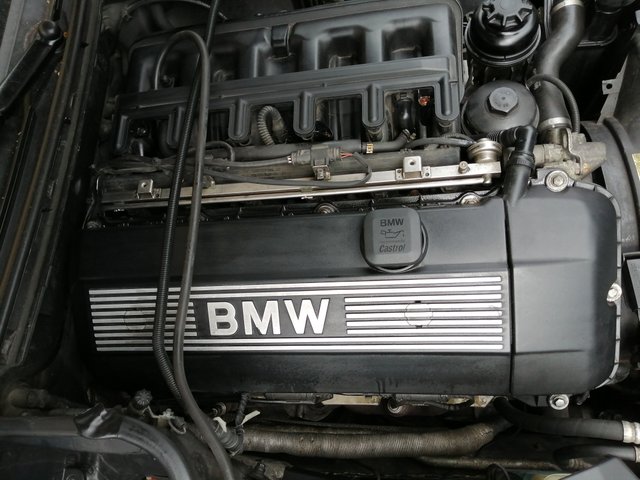
Removed the top intake plastic cover by removing covers and two M10 screws:
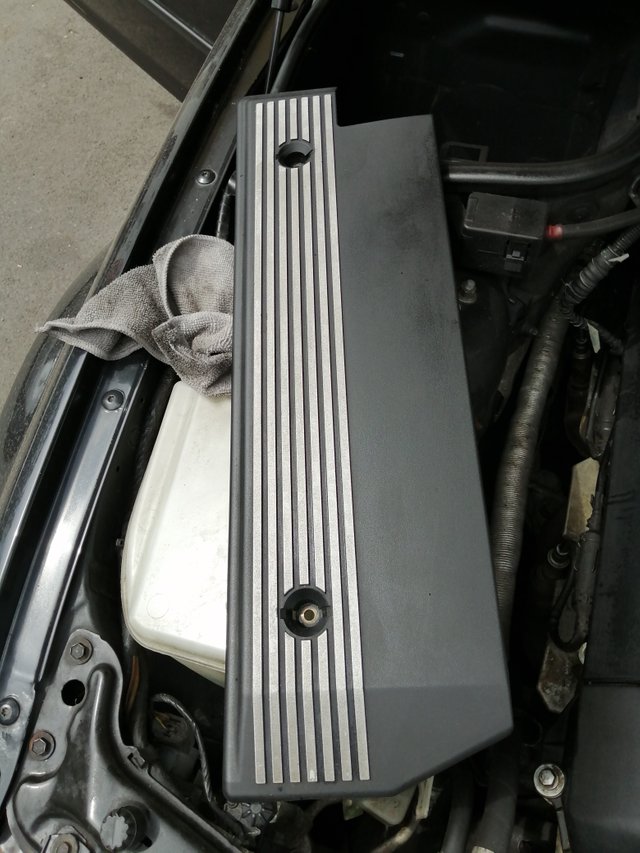
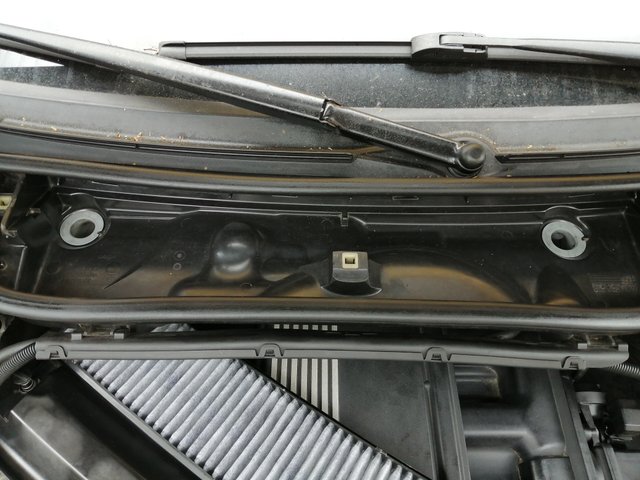
Interior air filter cover:
Interior air filter housing, remove sealings on the side and loosen 4x Torx screws and pull out to front:
These steps are not necessary for the idle switch removal but it's a good opportunity to clean stuff up before putting everthing back together.
4
With clean access you can now start removal of the switch by removing this nut and pull the latch:
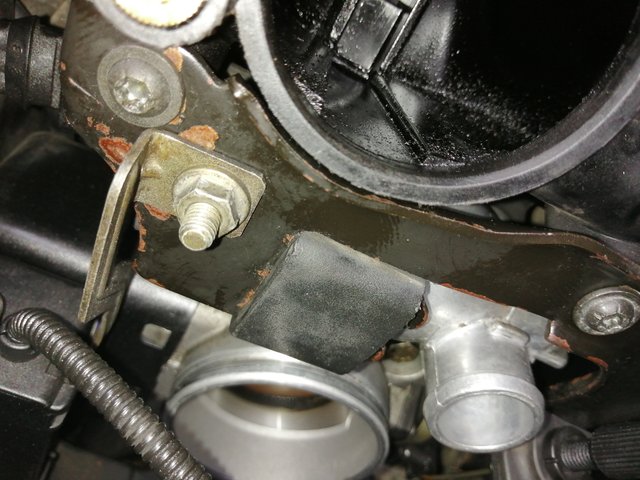
Also remove the two Torx screws which hold the idle switch assembly, we'll pull the switch out with the assembly attached, do not try to pull out the switch itself!
Disconnect the idle cable connector, works the same as all other connectors with the unlock at the bottom this time.
Next remove the throttle cable by pulling it up and out of the holding assembly - no twisting, rotating or pressing necessary.
NOTE: On M54 models the throttle actuation is electronic so there is no cable!
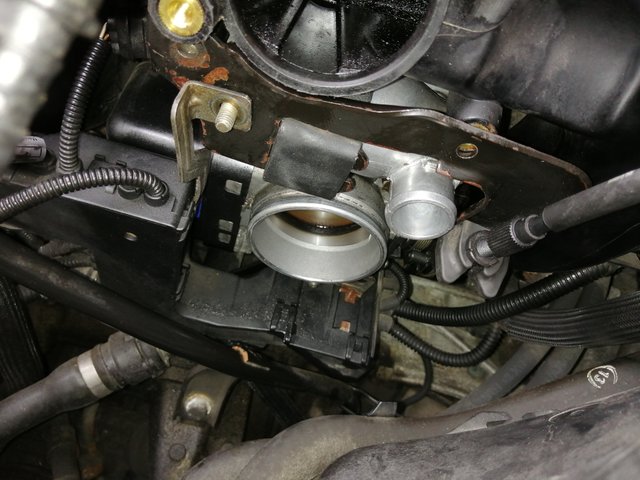
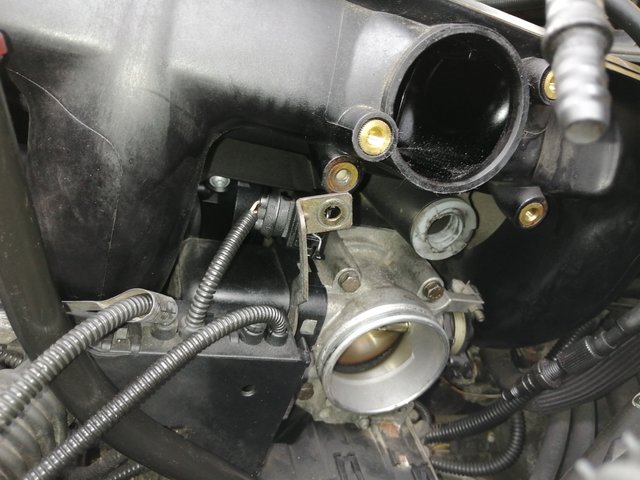
With everything out of the way we can now pull the switch out of the upper part of the intake manifold plug which you can see here:
You need to pull it out horizontally to the right (driver's side) and you don't have enough room to rotate it out so you simply wiggle it out of the plug - it will take some force.
Aaaaand it's out:
Here it is:
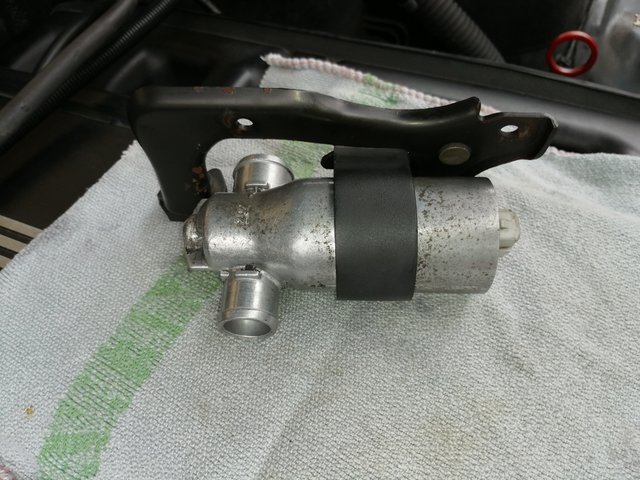
You can now pull it out of the assembly:
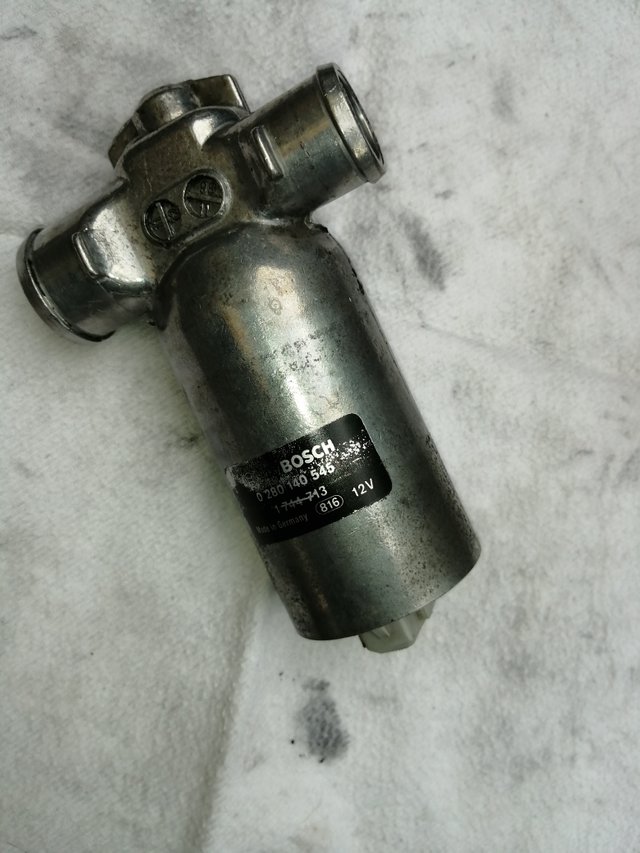
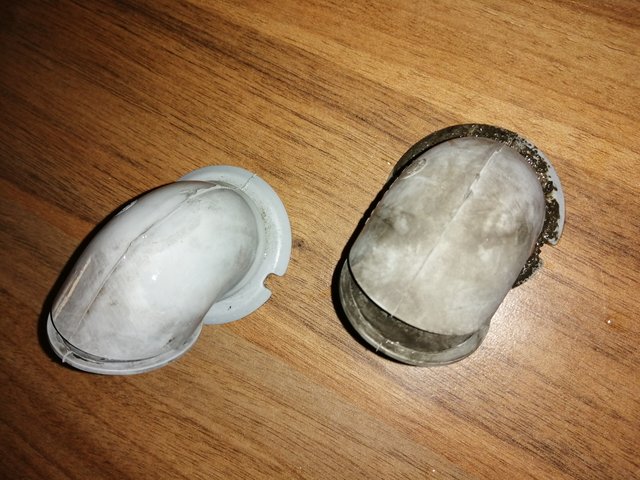
This is the switch after cleaning it, it will most likely be very dirty.
Checking the switch / Cleaning the switch
First thing you want to do is make sure you do not drop the switch as it may be permanently damaged as a consequence.
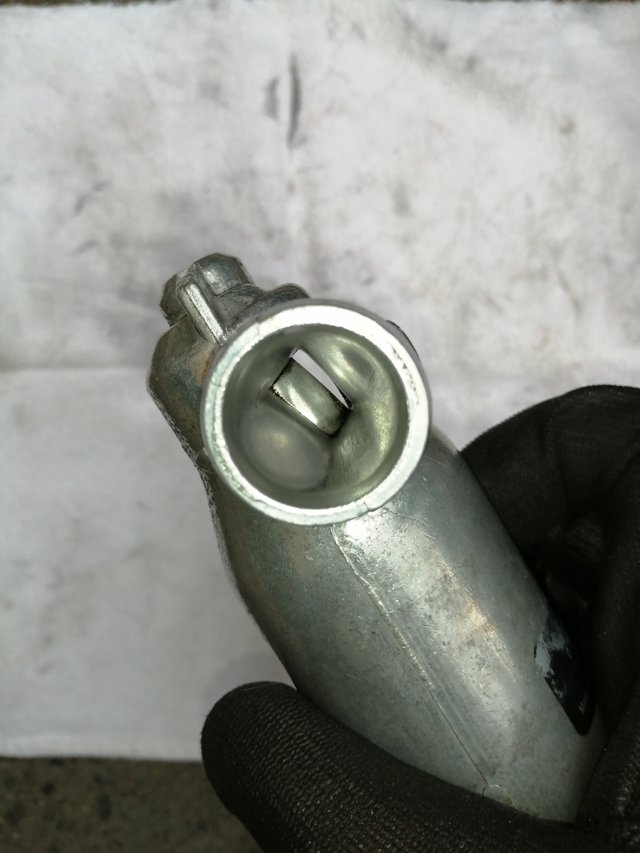
Second thing you want to do is hold it in your hand and shake it. In my case nothing happened as it was completely clogged up as evident here, look at the black and coked up inside:
It should look like this which is how it looked after 30 minutes brake cleaner and gasoline treatment, make sure you use gasoline as a final cleaner. You can also leave the bottom valve part in a container with gas to clean it out.
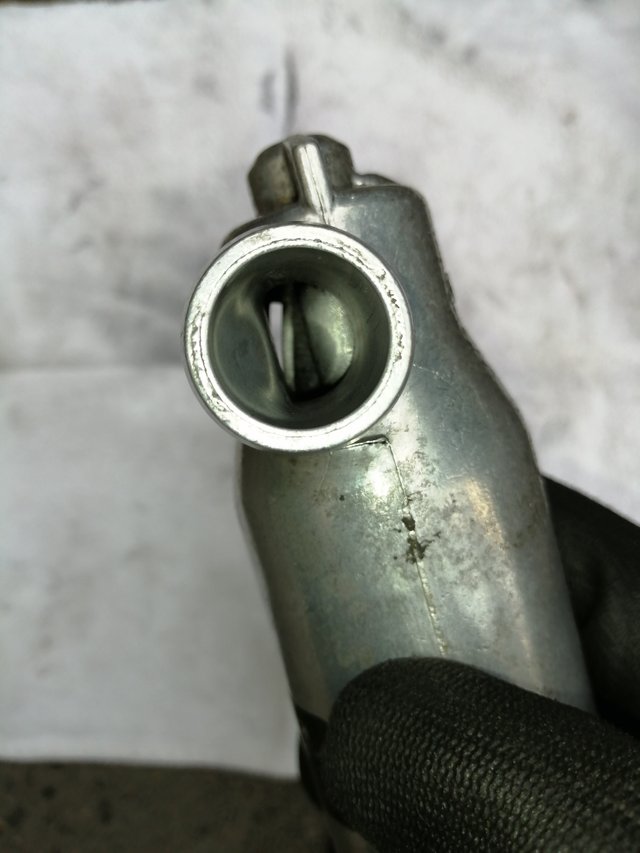
It should start making a metallic clicking noise as you shake it, it should be noticable in your hand and with a slight delay. Mine started doing that after the first 100ml of cleaner.
Simply spray your product into the valve body from both sides and use a brush or towels to remove any dirt and residue until it's clean and has free movement.
At this point it is ready to go back into the car but before it does make sure all other components are clean since they're accessible:

Throttle body looks good. It is recommended to treat any of the electrical connectors with some contact spray.
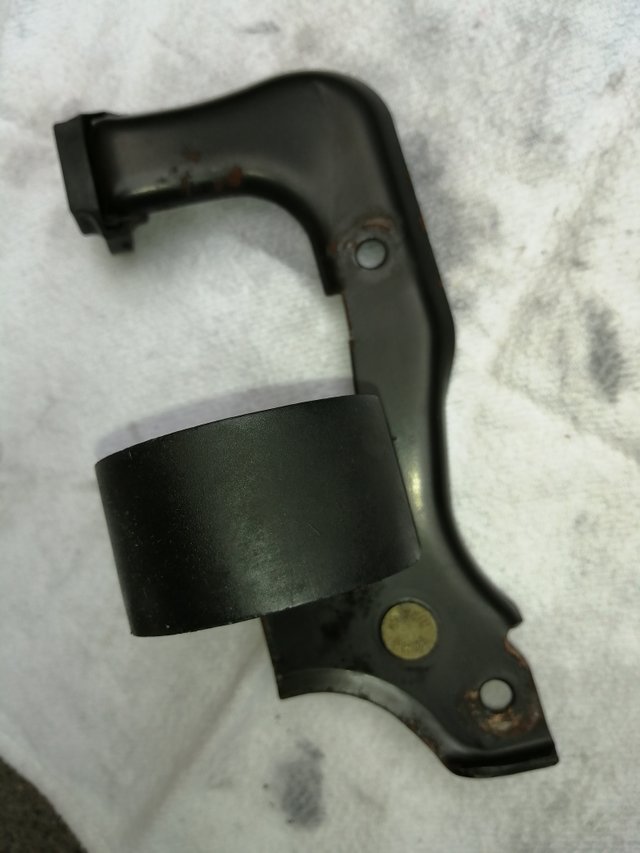
Clean and check the idle assembly with bushing:
Installation
You can now slide the switch back into the intake manifold plug and:
- reconnect idle switch cable
- reinsert two Torx screws
- mount the throttle cable
- mount and fix the lower cable assembly
- mount and fix the lower intake hose to the throttle body and idle switch
- connect the upper intake hose and check clamps for correct fit
- potentially replace the airbox bushing and hook the water hose up into the rubber band
- reinstall DISA, connect it to the electrical system and fix the screws and reconnect the airhose
potentially mount any replacement clamps, this one snapped on me - happens after 20 years
install airbox and reconnect the airflow sensor cable
If you've removed the other parts it is now time to put them back in starting with the intake manifold cover:
- reinstall interior air filter housing with cleaned water drain plugs (used dish washer detergent)

- reinstall interior air filter and cover
Wrap up
Enjoy the clean look one last time and fire it up!
Engine should go into a smooth idle right around 650rpm which it did in my case and I haven't had any issues since. Ironically, the reverse shut offs and other shenanigans also went away since I cleaned it so it is highly recommended!
It shouldn't take more than an hour of your time and is a very straight forward operation with minimal challenge.
Steem on and share your DIY stories!
Let me know if any questions.
Great post - thanks for your efforts.
Therefore a !BEER
To view or trade
BEERgo to steem-engine.com.Hey @peterschroeter, here is your
Do you already know our [BEER Crowdfunding](https://steemit.com/cryptocurrency/@beerlover/let-s-grow-and-update-the-beer-token-huge-crowndfunding-as-crowdsale)BEERtoken. Enjoy it!