Home Improvement with Bozz: Light Replacement
Now that my wife and I have a new deck (see post here), my wife decided that she would like some new lights to go with it.
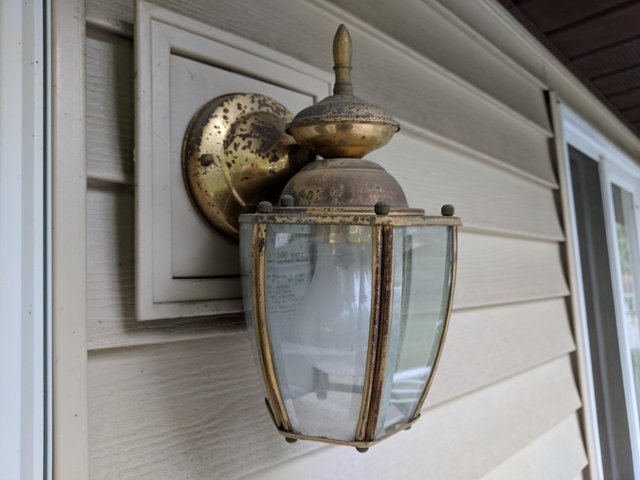
Pictured here are the porch lights that we used to have. You can see that they are tarnished and kind of wore out.
We went to a couple home improvement stores and my wife finally picked out the style that she wanted.
On Saturday morning, I got my tools together and started working...
The first thing I did was make sure there wasn't power running to the old lights. 110v at 15 amps probably won't kill you if you briefly touch it, but the jolt is still scary enough to make you be sure it is off (trust me, I have felt that tingling hum several times).
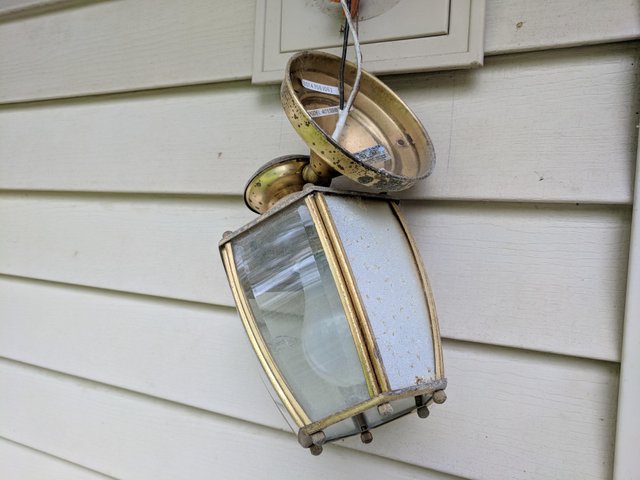
Once I was sure the power was off, I pulled the old light down from the wall. It was a pretty simple process that just required me to loosen the two thumb screws on each side.
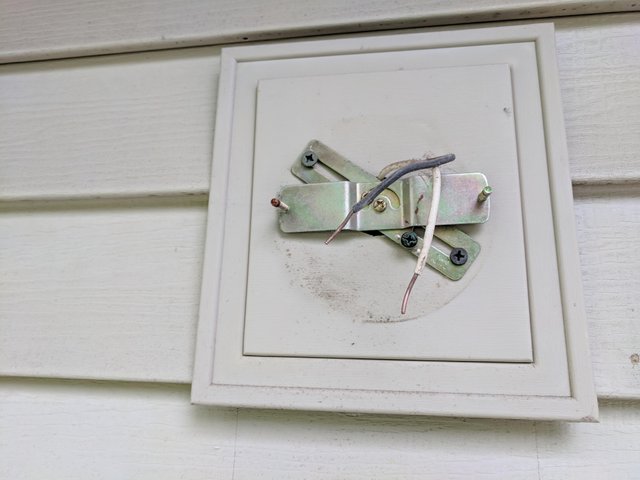
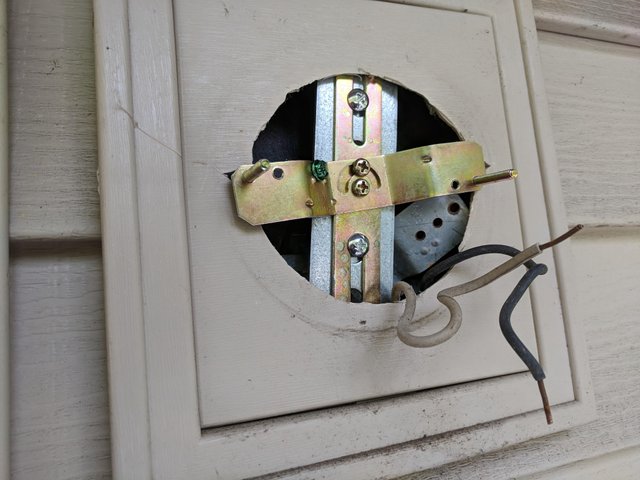
With the light down and the power off I disconnected the power and ground wires from the light. This left me with the old mounting bracket. It would have been nice if I could have used the old mounting bracket, but the new lights stick out a little farther than the old ones.
I removed the two screws that were holding the old bracket in and installed the shiny new bracket.

After that, all I had to do was connect the back wire on the light to the black wire coming out of the wall with the wire nut. I did the same thing with the white wire and then I connected the copper ground wire to the bracket.
Finally, I fitted the light over the two mounting screws on the bracket and placed the thumb screws on to tighten it down.

I had the first one done in probably about five minutes and I am really happy with the way it turned out. My wife did a great job of picking out the lights.
The second one turned out to be much more difficult...
If you are a homeowner in a house that isn't new construction, you probably are very familiar with the way previous owners tend to "jimmy-rig" things to make them fit.
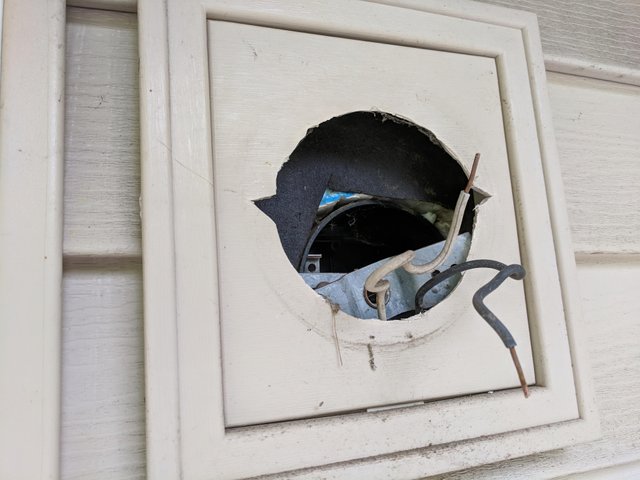
The previous owner had cut much too big of a hole in the mounting plate and the old light was barely hanging on to the side of the house.
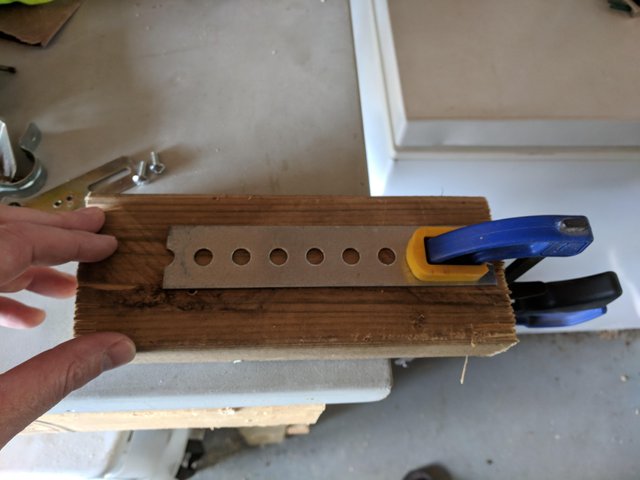
My intital thought was to make a bigger bracket myself. I had some spare metal sitting around so I cut it down to the length I thought I needed and went to work.
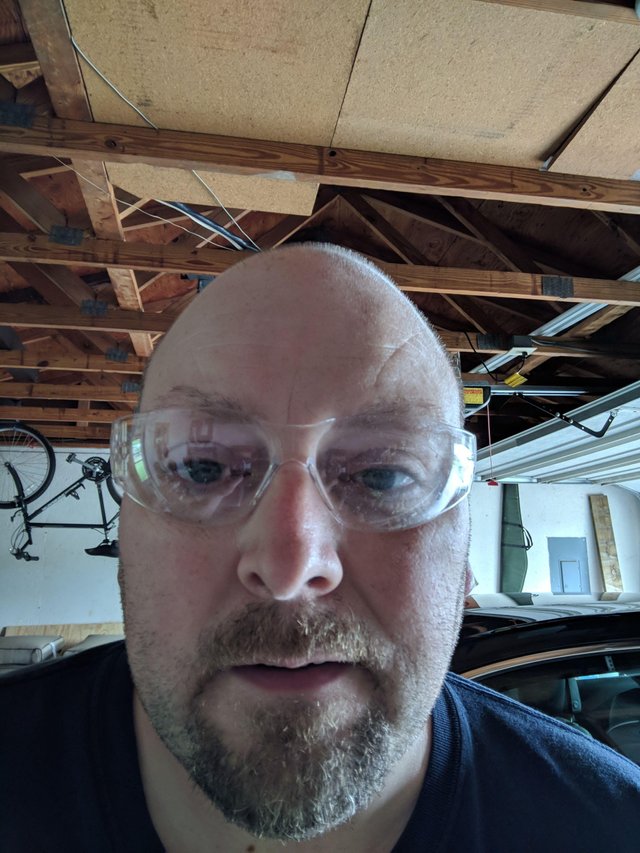
I threw on my saftey glasses and started to grind down the metal in the areas I needed. It was right about then my wife came in and said "nice glasses". She teases me, but we all know if something happened to my beautiful baby blues, she would be devestated.
After adding some nuts and bolts, I thought I had a solution that was going to work for me.
I walked back outside so I could try to fit it in place.
After trimming it down a couple more times, I was finally able to make it fit. There was only one problem. The main mounting bracket was sitting too far back in the hole for the light to mount properly on it.
The set posts weren't even reaching through the holes onthe light for me to put the thumb screws on.
So I went back to the drawing board...
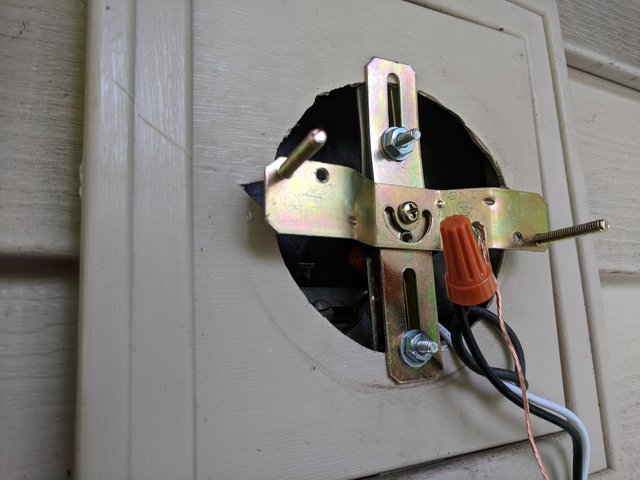
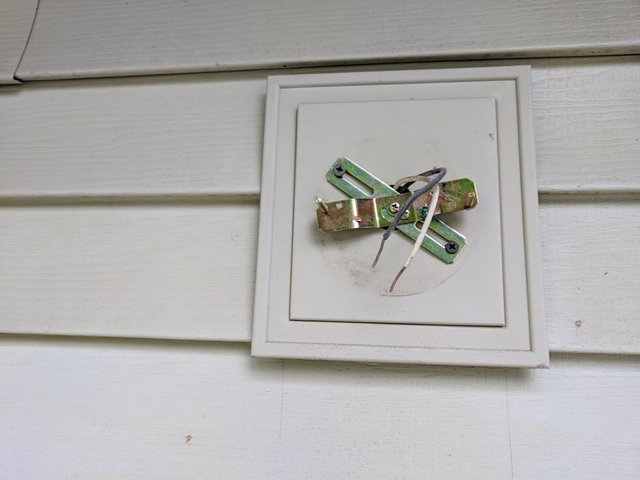
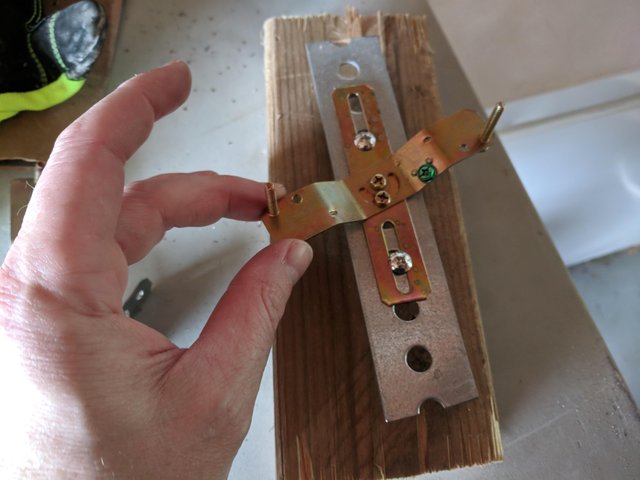
I finally came up with this solution. I used part of the old bracket and the new bracket to make a sort of clamp. I tightened down the bolts and nuts to pinch the opening of the hole. I wouldn't trust a lot of weight on it, but it is definitely strong enough to hold the new light.
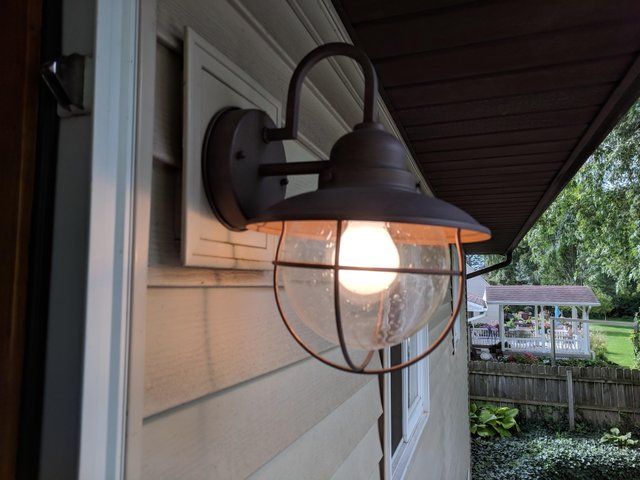
I connected all of the electrical back up and mounted the light on the set posts, then put the tumb screws on and tightened them down. I think the new lights look really nice on our house.
If you have ever wanted to try a project like this but have been intimidated or scared I encourage you to go for it. It isn't as bad as you think and as long as everything goes smoothly you can have the whole project done in 20 minutes or less!
.gif)


Congratulations! This post has been chosen as one of the daily Whistle Stops for The STEEM Engine!
You can see your post's place along the track here: The Daily Whistle Stops, Issue 256 (9/13/18)
Thank you!
Handyman chores you normally end up having to repair/build when replacing old, love the lamps they look really good @bozz
Safety comes first, switch off electricity... the big one that slaps back when you forget!
For sure! Luckily I didn't get zapped this time. A couple months ago I was replacing a light switch and I wasn't so lucky!
Quite the handyman you are, yes I have been zapped many times and survived, but as crazy as I am maybe my brain was zapped LOL
I think it was you that mentioned the Chelsea Hotel and Pub, the pub is still running, the hotel is looking a bit worse for wear but I think refurbishment is going on, when I get a chance I will share some shots of them in a post
Awesome! Thanks for checking that out. I still have some pictures floating around of our room at the Chelsea Star. I think it was a hotel and hostel. There were three of us and we shared our room with five other people. It was during a tattoo conference or something so we met people from all over the world.
It was very grey yesterday so I didnt get great shots but hopefully this weekend I will find time to edit and share them
Thats the cool think about travelling meeting people from all over :)
Great Job , I ve helped out my brother in law last year. A lot of reconstruction of his farm. I was never a real handy man, but ive learned a lot from it. And just like you say,dont let it scare you.... just do it !!
Yeah, there are some things I call in the experts for, but most things I can pretty much handle myself. I am just good enough to be a little dangerous :)
Always. There is just always something, isn't there? I can just feel you thinking "I'm done in 10 minutes and a hero!" after you had the first light up. Then comes the rest of the story.
I really like the 'barn light' look. Very nice on your new deck.
Yeah, I got a little over confident after the first one. I should have known better. Thanks for the comment and the compliment!
Out outside lights are always breaking and Im not one for DIY. They never seem to last longer than around a year and then they are out.
That stinks! Maybe it is a climate thing. We will see how long these ones last for us. They weren't too expensive.
You have a minor misspelling in the following sentence:
It should be familiar instead of familar.Fixed bot, thanks!