Working with Bozz: Shelves/Coat Rack
After suffering an epic fail yesterday in my first attempt at posting to #utopian-io and a somewhat dissatisfying experience posting to dlike.io, I felt it was time to get back to basics.
To be fair, the issues with Utopian were my fault. They have some pretty strict guidelines that are well laid out if you dig through their site enough. I failed to do that, lesson learned!
I am sure dlike.io has some good things going for it. To me it just felt cheap though. Not the interface or the site itself, but the ease with which you can share articles etc. I guess I am used to spending a good deal of time composing a blog post and I am not used to just throwing up a url and a sentence or two and calling it a post. If you have had a different experience with dlike, please let me know, I want to like it, I really do...
Getting to work
When my wife and I moved in to our new house, I built some shelves for the downstairs living room. They mounted to the wall and allowed us to put pictureframes on them. In this way we only had to drill two holes in the wall for the shelve as opposed to several for all of the picture frames.
@mrsbozz is a big fan of redecortating every now and then, so the other day she asked me if I could make some shelves for the upstairs living room like I did for the downstairs one. I had been thinking about making a coat rack for downstairs anyway, so I was happy to oblige (not that I wouldn't have anyway, I am smarter than that!).
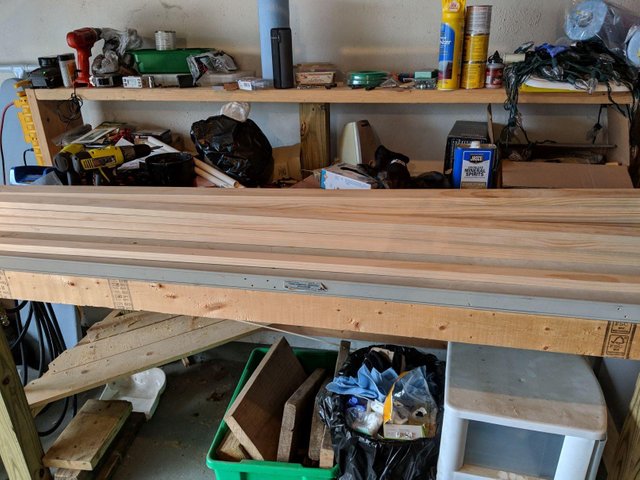
I took a trip to the local home improvement warehouse store and picked up everything I thought I would need for the shelves and the coat rack.
I think the total for all of my lumber and supplies came to right around $50. Not too bad when you consider everything I was able to create from all of that.
I also made a trip over to my parents house to visit with them and ask if I could borrow my dad's brad nailer. I already have an air compressor, but I needed the gun to put everything together.
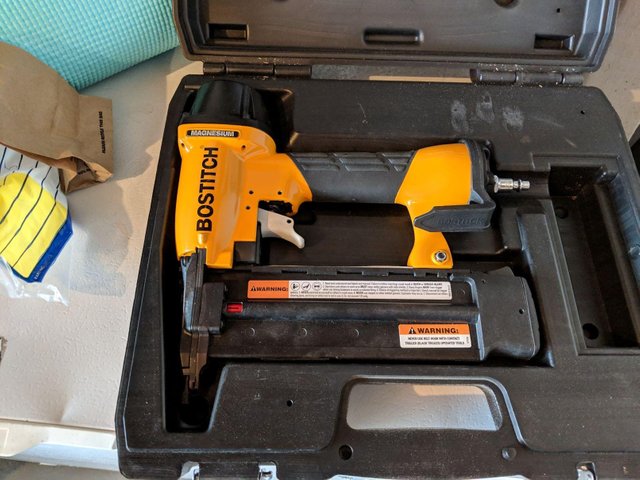
Dad was happy to let me borrow the "nail gun" and with everything in hand, I was ready to get to work this past Saturday.
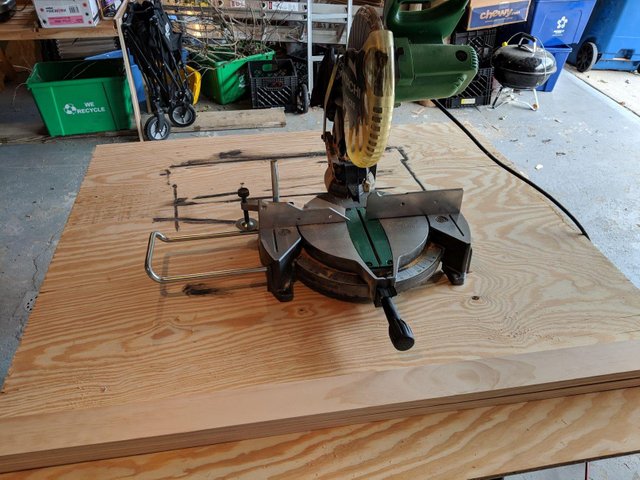
The first thing I did was cut all of the wood down to the length I needed with the miter saw that I have pictured in the intro. I love my miter saw, this is actually my second one because my first one I ruined trying to cut something I should have been (it was a log, stick with a chainsaw for cutting logs). Anyway, I use this thing for pretty much every project I do and it never lets me down.
I decided 4 feet was going to be the ideal length for both the shelves and the coat rack. The pieces of lumber I bought were each six feet in length, so this allowed me to make a couple of smaller two foot shelves that I thought my wife might want to put in another room or mount with the four foot shelves to "mix things up".
After the boards were cut, I used the wood glue I had bought along with my handy clamps to start putting things together.
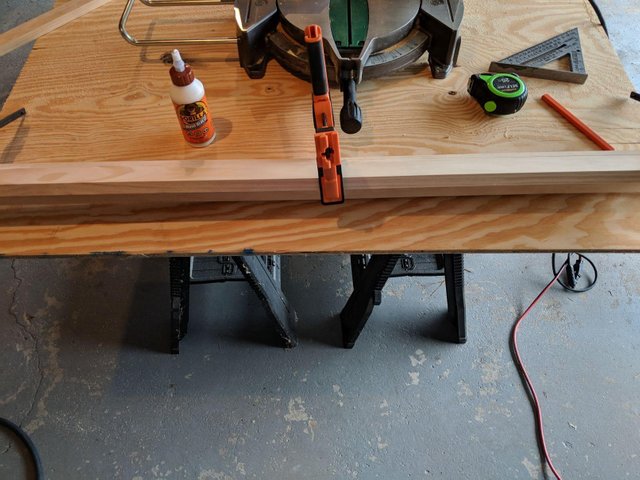
As much as I love my miter saw, I love my clamps too. I don't really know how I ever functioned without them. I own about five of them now and I would gladly double that as handy as they are.
Once I was confident that the bead of glue I ran down the length of the board had set, I used the brad nailer to put a couple of small brads in the edge to pin the boards together. I think the glue would have been strong enough on its own, but I figured better safe than sorry. Plus how fun is it to be able to play with a nail gun!
The coat rack was pretty easy to put together. I just attached two 1" x 3" pieces of wood togther in an "L" shape. After the glue dried on those, I then used a 1" x 2" board on the front to give it a small step and a little bit of depth. Finally, I decided to get a little crazy and add the angle pieces each side just for some flare. They don't really serve any purpose except to be decorative.
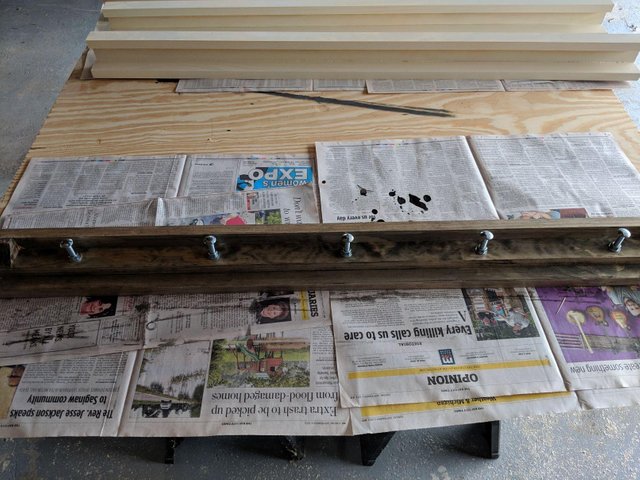
I then determined the distance I wanted to have the hooks apart from each other and drilled the holes. I decided to use carriage bolts for the hooks because I thought it would give the whole thing a kind of rustic industrial feel. I drilled the holes all the way through both the back 1x3 and the front 1x2, then I removed the 1x2 and made the hole through the 1x3 large enough to accept the washer and lock nut I planned to use with the carriage bolts.
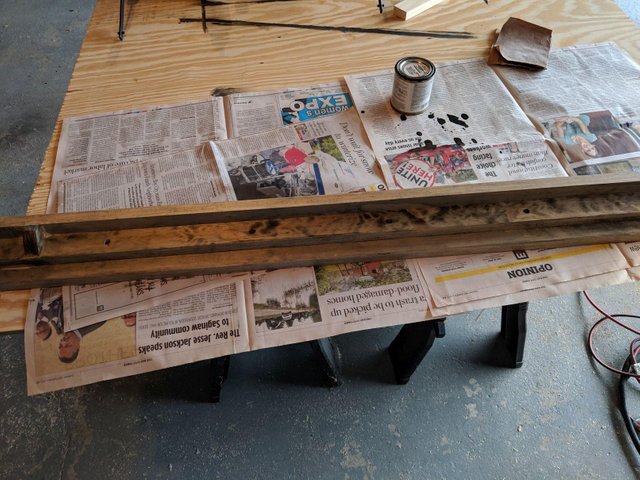
After drilling all of the holes I attached the front 1x2 to the back 1x3 and decided to use a nice dark stain I had laying around on it. After the stain had adequately dried, I put my bolts and nuts through the holes and I ended up with my finished product.
I am really happy with how it turned out and it looks really nice on the wall next to the outside door downstairs. I am sure @mrsbozz is happy that I now have a place to hang my coats instead of throwing them over the chair.
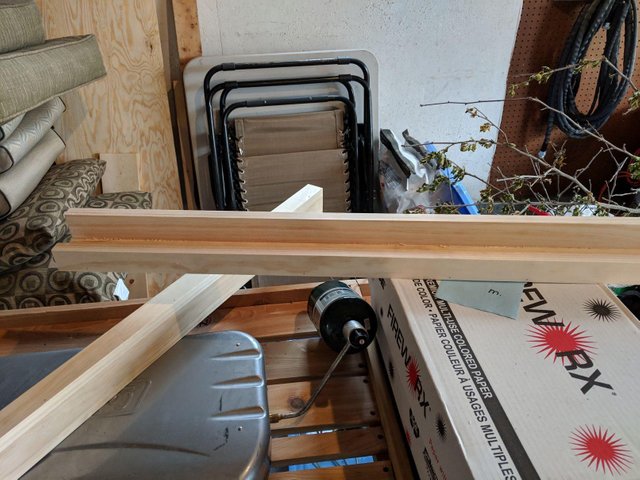
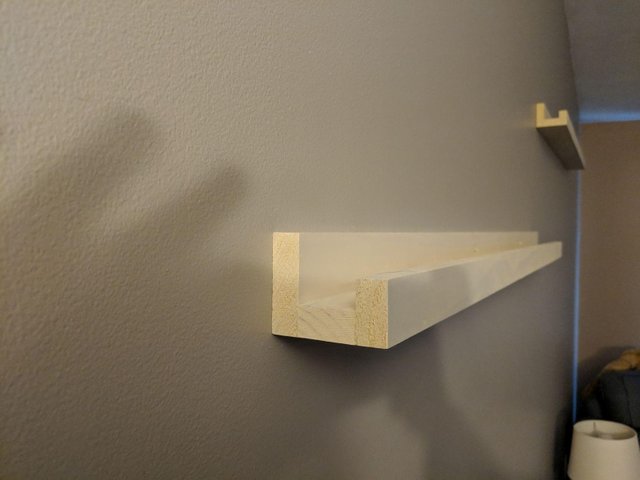
In between waiting for things to dry with the coat rack, I was also working on the shelves. These were much easier to put together than the coat rack. Simply two 1"x2" boards and one 1"x3" board. That is all you need. Just put them together in a squared "J" shape and let the glue dry.

These are the two smaller two foot shelves that I put together. You can see that this is just the first step of getting the lower 1x2 attached to the back 1x3.

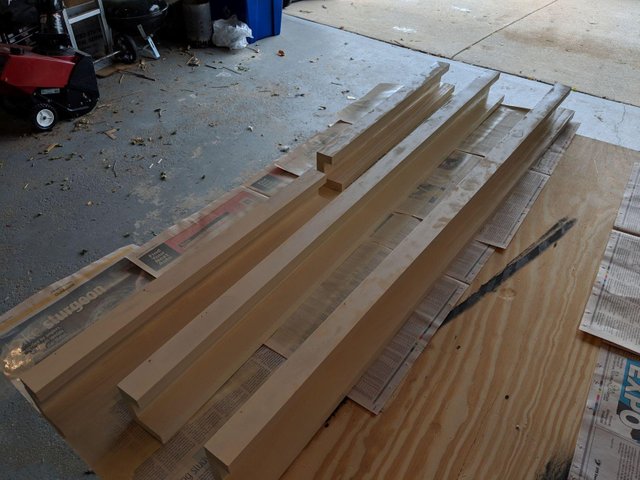
After all of the glue had dried, I sanded down the areas where the glue had seeped out of the cracks. I knew that if I didn't sand that down it would give the paint I later applied a wierd texture and look in those spots.
My wife had a leftover can of ivory paint that matched pretty well with some of the other decor we have in that room, so I decied to use it with the shelves.
After applying a couple of coats I let them dry over night and they were ready for me to install the next day.
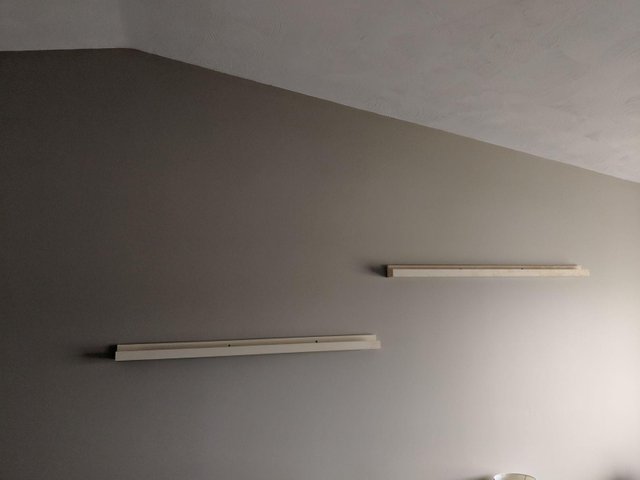
Mounting them was pretty easy. I just found the studs in the wall behind the dry wall and then marked each of them with some painters tape. From there I just held the shelves up where my wife thought she wanted them and marked where the holes needed to be drilled in the shelf to go through the stud. I took the shelves back downstairs and drilled a counter sink hole in them so the screws would be as hidden as possible. Eventually the picture frames will hide the screw holes completely.
We haven't taken the time yet to get any picture frames put up on them, but I think they turned out really well. @mrsbozz seems to be pretty satisfied with them as well. I think she has some big plans for this wall and it is going to look pretty awesome when it is all finished.
With the right tools, doing little projects like this can be a lot of fun. If you don't have the tools yourself, hopefully you know someone who does that you can borrow them from!
We are getting our first significant snow of the Fall/Winter here in Michigan, so I am going to go enjoy that for a little. Have a great weekend Steemians and safe travels those of you that will be returning from Steemfest!
.gif)

I would not doubthave had the same issues so I guess for now I will stick with the regular way I post
Carpentry is something I have no talent for but my Dad was a master carpenter, something I never got from him
I often wish I had taken a woodshop class in highschool.
Posted using Partiko Android
I did and failed so badly I think its the only subject I struggled with
great tutorial, I am a lover of carpentry but in my case I have used it for the manufacture of puppets, however I have done some work or other.
I like your tools including your father's nail gun, in the theater where I trained we have very old tools and not so technologically advanced.
I like that you do things yourself and your partner is a fan of the remodeling that's an extra point for both of us.
I like graphics, they go very well with your explanation.
Thank you for sharing handmade things.
greetings, peace and love
Thank you, I appreciate the feedback! The new tools sure do come in handy, but I appreciate doing things the old fashioned way too!
Posted using Partiko Android
I love do it yourself projects like this! Great work, Your pictures will have a happy home (;
Thanks! Yes, we already bought a bunch of frames so we can get them on display when we are ready!
That's some hard work you are doing! But the results are great and I love it! :)
Thank you!
That's a nice way to display painting, like books on a shelf. I also have a Hitachi miter saw but with a slide for bigger boards. One of the central tools of any workshop. following for more. It's nice to see another meet another Maker on Steem.
Thanks! I might be putting my tools for the Winter though, as I said, we are getting our first round of snow today. I wish mine had a slide for the bigger boards. I can usually get through most anything I need to though. There were some 2 x 8's that I had some issue with though :)
Hi bozz,
Visit curiesteem.com or join the Curie Discord community to learn more.
Thank you!
Posted using Partiko Android
This looks like a really cool project, I doubt if I ever will be able to do it anyways. I have never heard of a nail gun (as you call it/ lol) well, probably because I am not into "diy- ing" especially those ones that have to do with woods. Lol
I think this turned out to be really good, well done! Well, you should be on the lookout for how she's gonna turn that into a real beauty!
And oh! About dlike, i have never really tried it because I think I am uses to the idea of writing my own stuff. Maybe there is a bigger idea behind it than just sharing urls and a few thoughs?
Thank you! Yes, I think @mrsbozz is going to do something really special with it!
Great diy kind of tutorial. I enjoyed reading about your project. I see that your wife has better influence over you than I have over my husband :D When I ask him to fix something at home it's always tomorrow :D He only does it when I start doing that and then he is afraid that I will hurt myself (being pretty clumsy :D) so this is the only way that works at our home.
I like the coat rack and the shelves look good too. I can imagine some nice photos or paintings there. Does she know already what she wants to put there?
How long did it take you to finish all of them? I guess you had it ready within one day? (not counting drying and waiting times :))
Thank you for sharing. I'm looking forward to more tutorials and diy ideas :)
Thanks, I appreciate it! I had them all done within about two hours. The part that took the longest was the glue and paint drying time. We bought some picture frames already to match our decor.
Posted using Partiko Android
Thanks, I appreciate it! I had them all done within about two hours. The part that took the longest was the glue and paint drying time. We bought some picture frames already to match our decor.
Posted using Partiko Android
Enjoy your new home and great pics showing how you do the shelves!
Thanks I appreciate it! We have been here a couple of years now and love it. The wife just wanted to shake things up a little! :)
Hi, @bozz!
You just got a 0.61% upvote from SteemPlus!
To get higher upvotes, earn more SteemPlus Points (SPP). On your Steemit wallet, check your SPP balance and click on "How to earn SPP?" to find out all the ways to earn.
If you're not using SteemPlus yet, please check our last posts in here to see the many ways in which SteemPlus can improve your Steem experience on Steemit and Busy.