TASTY TREAT TUESDAY #15 - ☕Tiramisu Cheesecake🎂
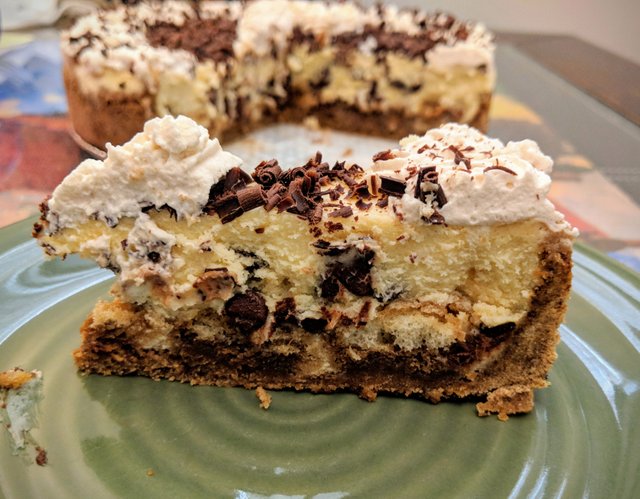
A few weeks ago my husband had a birthday. And since we started dating, I have taken it as my job to make him some sort of drool-worthy birthday cake. I don't do the basic chocolate or vanilla birthday cake, though, I always try to come up with something that is custom-created to suit his tastes (as I do with every family member, for their given birthdays). I know he loves red velvet cake, and I've made a few of those over the years. But he also loves cheesecake, which is something we definitely don't have very often. And his favorite dessert, which he will order pretty much any time he sees it on a menu, is tiramisu. And, so, this year I decided to combine the latter 2, and created this Tiramisu Cheesecake!
This baby has tiramisu flavor all throughout, from the crust, which has a combination ladyfinger crumbs and coffee, to the soaked ladyfingers on the inside, to the rich, creamy, silky mascarpone-and-kahlua-laced filling, to the coffee-flavored whipped cream on top. Oh, and let's not forget about the layer of dark chocolate shavings, and little treasures chocolate chips studded throughout. He was definitely not disappointed. 😁
So, keep on scrolling, if you'd like to see how it's done!
(And remember that my food blog posts are image heavy!)
Pls wait a moment for the gifs to load.
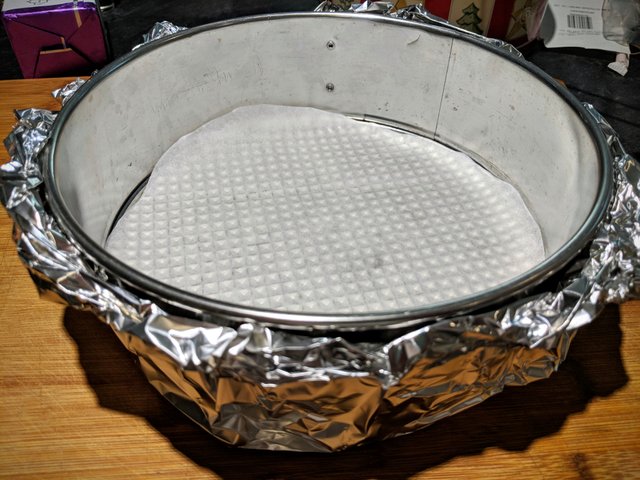
The very first thing we're going to need to prepare is the pan. Get a 9" springform pan, and line the bottom with a piece of parchment paper. You can do the old trick of folding a piece into a triangle, then measuring the radius (half length of the circle) and cutting it to size. Or you can do what I did, and take out the bottom of the pan, put a piece of parchment over it, and cut around it. Then, lay the paper inside, and spray the bottom/sides with non-stick cooking spray. And THEN you need to wrap a large piece of aluminum foil around the outside of the pan. Make sure there are no seams. The whole thing needs to be covered with no holes, so that you can set it in a water bath. More on that later.
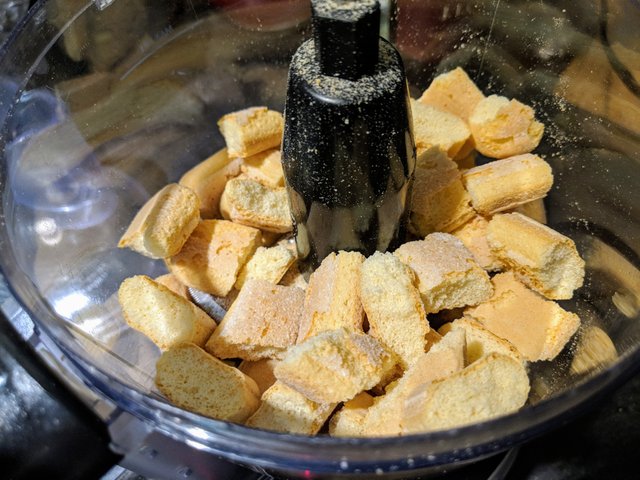
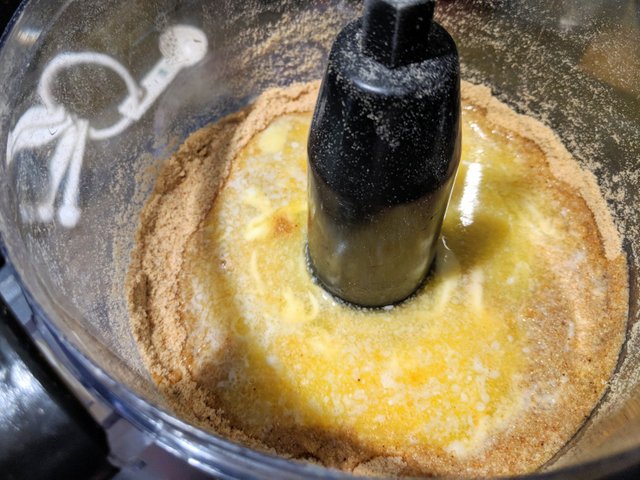
Now it's time to make something to put in the pan. Crust! Take out a sleeve of ladyfingers, and grind them down into crumbs. The food processor makes quick work of them, but you could do this by hand, in a ziplock bag, with a rolling pin, should you choose. Break them into smaller pieces, and whiz for a minute or so.
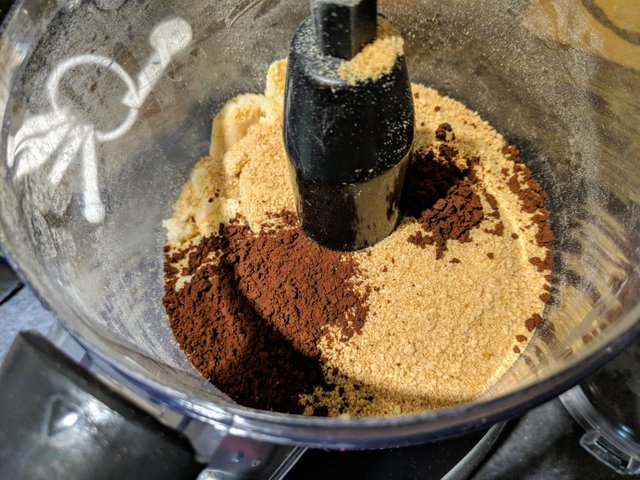
I chose to use some graham cracker crumbs in there as well, for more flavor. And of course, the instant coffee/espresso, for flavor. Give them all a whiz together, to make sure it's mixed and nice and fine.
Then, once it's all finely ground, it's time to add in the butter. Whiz it together, until it's all moistened.
Pour the mixture into your pan, and give it a good press down into the bottom, corner, and up the sides.
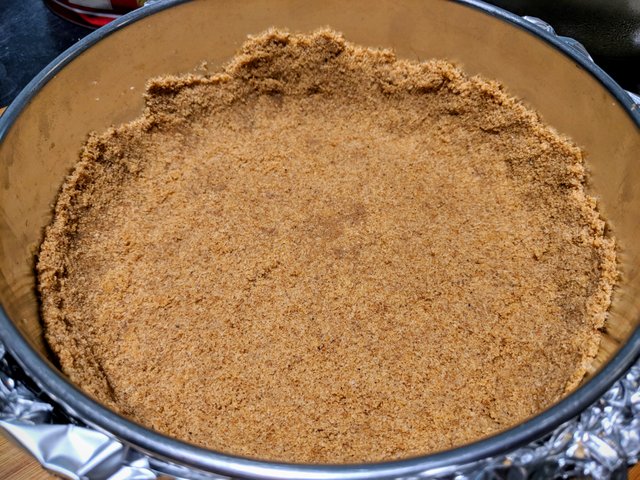
Bake it at 350 F for about 8-10 min, until it's set, to ensure the crust keeps a nice crunch. Allow it to cool before you fill it.
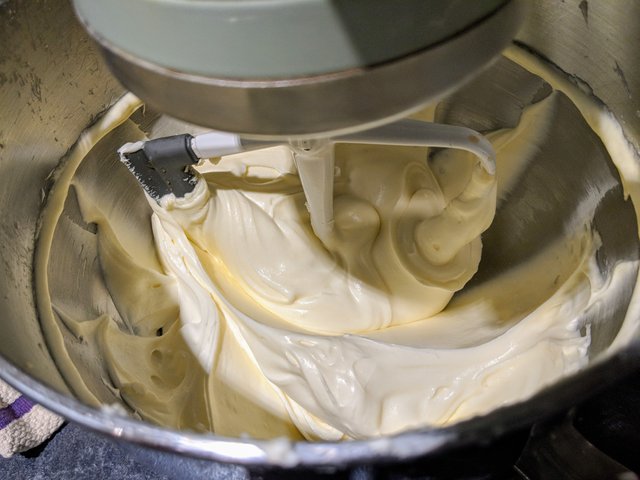
Now we're going to work on the filling. Did you see my How To post from yesterday? It showed how to make your own homemade mascarpone cheese. Just look at this luscious stuff!
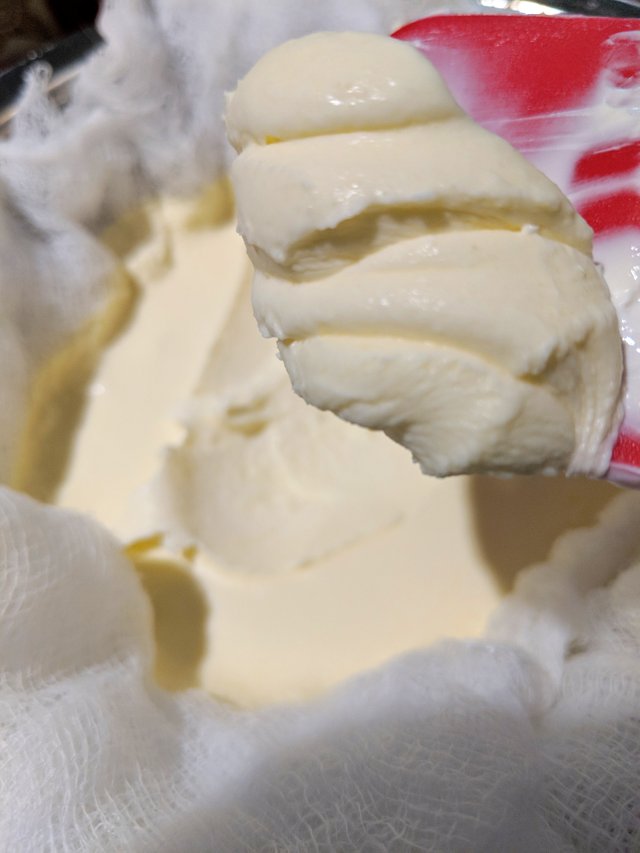
Of course, you can definitely skip the step of making your own, and buy some at the store. It's a bit pricey, but the convenience is nice, and you don't want to skip out on it.
Ok, so cream the mascarpone and regular cream cheese together. (They need to be at room temperature to make sure everything is mixed thoroughly... you don't want little nuggets of cream cheese in your cake!) Slowly pour in the sugar while it's mixing, to make sure it's nice and smooth. Then mix in your vanilla and salt, and a splash of kahlua, if you choose to use it. (You don't need much, but I really like the flavor it adds.)
And then stir in your eggs, one at a time. (These should also be at room temperature.) And be sure to be gentle. You don't want to over-beat the filling, and incorporate a lot of air. That leads to cracks and sunken middles. Just a gentle stir on low speed, or even by hand. And then fold in your chocolate chips.
Now we're going to prepare the soak for our layer of ladyfingers. Some very strong coffee, or espresso, and a splash of kahlua or marsala. (I would've liked to use instant espresso for both the crust and the soak, but I waited until the last minute to pick it up, and the local grocery store didn't have any, so I opted to just use extra instant coffee granules.)
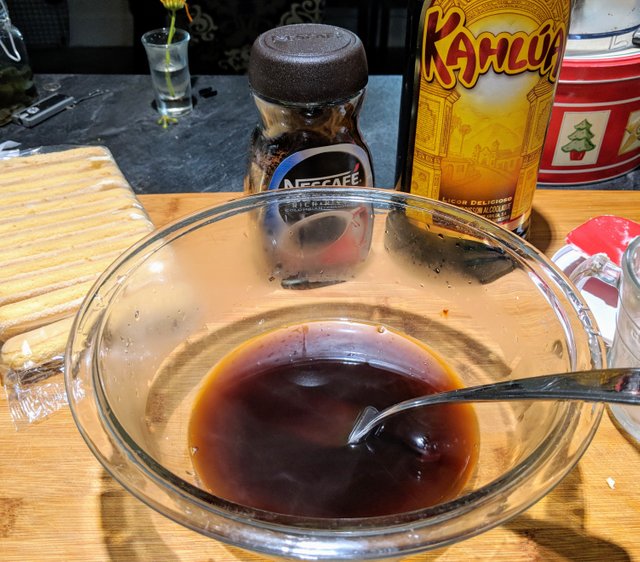
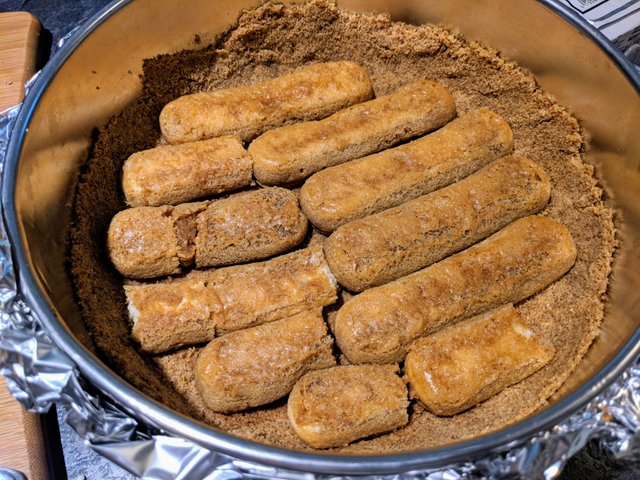
All that you need to do is mix it all together, drop a ladyfinger in, give it a flip, and then put it in the pan. Careful, it's hot! I laid mine directly on the crust, but you could choose to put a small layer of the filling in between, or even a layer of chocolate chips (I may try this next time...) If you try to lay them in the center of the filling, they may start to float, so that's why I decided to just pop them onto the bottom.😉
Now, set the kettle to boil, and pour the filling right over the top of the ladyfingers.
Put your cake pan in the center of another, larger pan. This is to make a water bath for the cake, so it can cook gently. It really is an important step when making a baked cheesecake!
Water evaporates at the boiling point, so the water bath will never get hotter than 212 F (100 C), no matter what the oven temperature is. The water insulates the sides of the cake, so the outside won't bake faster than the center, which can cause it to puff up, sink, and crack. I don't have a roaster that's wide enough to accommodate my 9" pan, so I've opted to use a cookie sheet. It works even better if you can have the water come about halfway up the sides of your cake pan, but something is better than nothing.
When your kettle boils, set your cake, inside of the other pan, into the oven, and pour the boiling water into the outer pan. Like so:
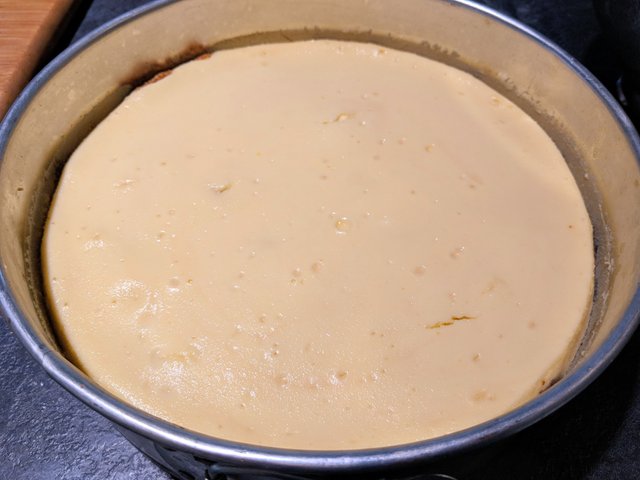
Now leave it to bake in a 325 F oven for about 50-60 min, until the edges are set, and the center has just a little jiggle. (Maybe slightly more jiggle than this.)
You can see that mine got a wee little crack. My water bath wasn't high enough. But that's ok, it'll be hidden under all the delicious toppings.
BUT let's not get ahead of ourselves. First this cake needs to cool. GENTLY! This will keep the consistency of the cake creamy, and prevent any further cracks. So, shut off your oven, and leave it open a crack (I leave a silicone oven mitt sticking halfway out) for an hour. Then, remove the cake from the oven, and from the water bath, and allow it to cool to room temperature on a cooling rack. And, finally, let it set in the fridge overnight. Yup, it takes some planning and patience to make something like this. I promise it's worth it, though!
Here it is all cooled, and you can see that the surface settled nicely, and that the crack remained very tiny.
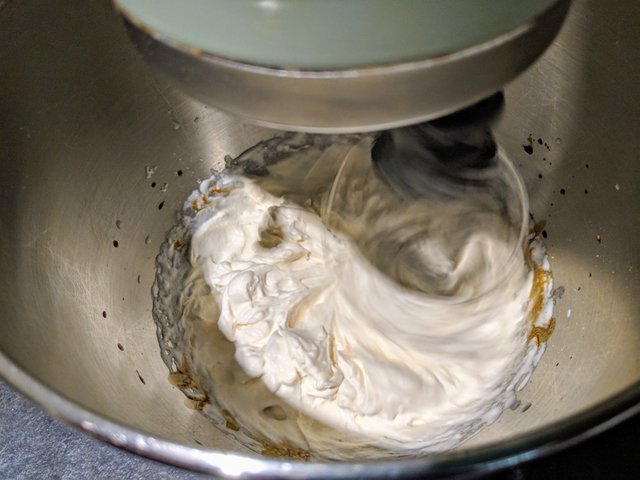
Now it's time to make it pretty! Whip up some whipping cream and powdered sugar. And once that's thick and fluffy, stir in some vanilla and/or cooled coffee. (I warmed a small scoop of instant coffee granules in a bit of vanilla, and allowed it to cool.)
I put it in a piping bag, fitted with a large star tip.
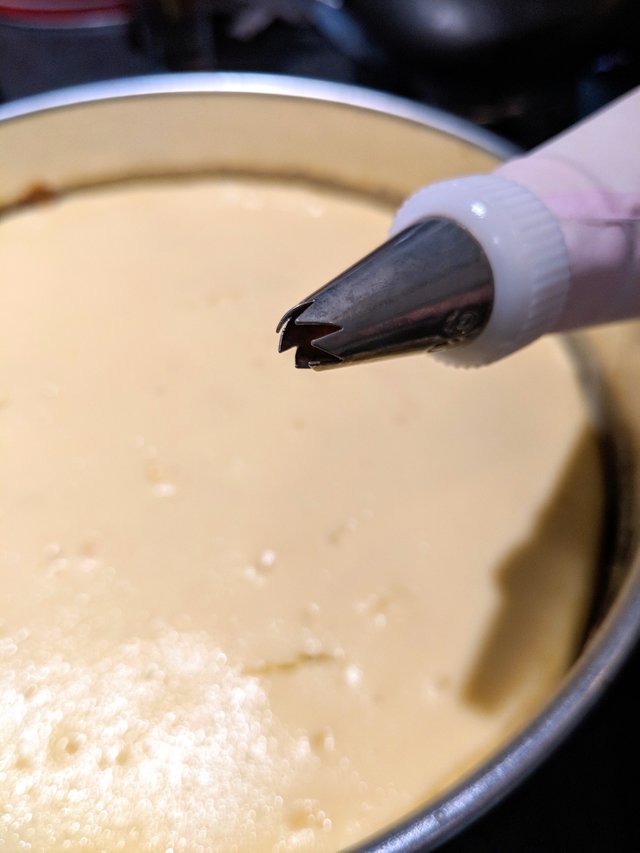
Pipe on the whipped cream however you'd like. I did a border of swirls. Then shaved a pile of dark chocolate curls onto the center.
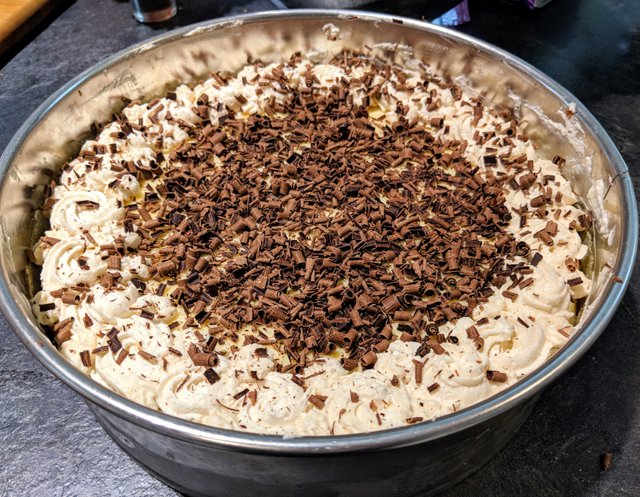
And then I piped on a big ol' "C", hubby's initial.

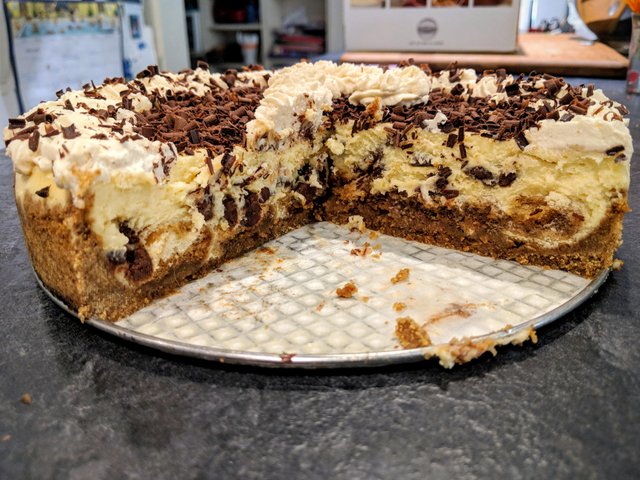
It's fluffy, creamy, smooth, and rich, with just a little crunch. The flavor is slightly less tangy than you might get from a regular cheesecake, while also not being overly sweet. There's a definite coffee punch, and the kahlua and chocolate complement it ever so nicely.
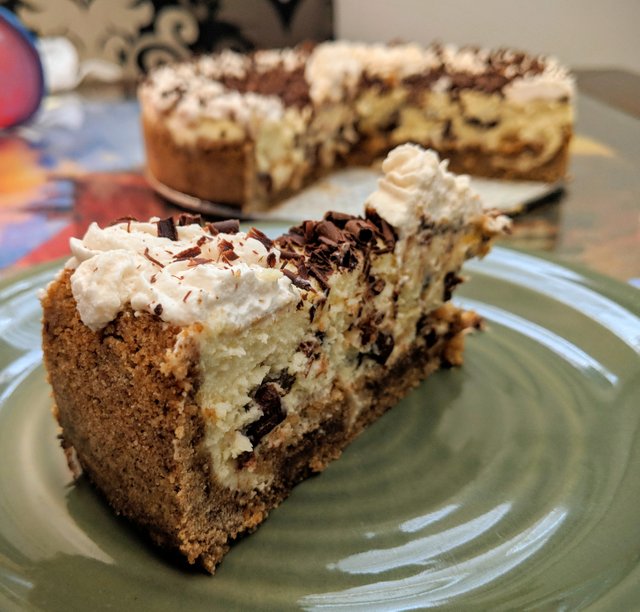
I'm almost afraid to admit how quickly this bad boy disappeared. 🙈
omg that looks delicious! @ketopian check it out
Thank you!
I am a die-hard fan of tiramisu and have seen it in couple of different ways...just loved the way you have created the magic for your husband...lucky him! Brilliant post and totally liked your step by step detailing of the entire process. Thanks for sharing such wonderful recipe.
Thanks very much! It's really hard to go wrong with tiramisu, even if you re-imagine it... within reason. 😉
Haha Yes, he is definitely a pretty lucky guy. 😁
Hi offbeatbroad,
Visit curiesteem.com or join the Curie Discord community to learn more.
Thank you for the support, @curie!
This is like the best thing ever, only drawback is I can only drool looking at it. Your husband is a very lucky person, but be careful about his weight. I would be very fat if I live at your house.
-upvoted-
HAHAHA Yeah, we often send things to work so he can share with his co-workers, so we don't eat the whole thing ourselves. Or invite people over to help us eat them... I love to experiment with goodies, but you're so right, it's dangerous sometimes. 😅
It’s the very good kind of dangerous though ... yummy danger XD.
And congrats on the curie ^_^.
My dear are you Gemini?
Look, each time I read and watch your blog I wish to lick screen hahaaha :)
And this time I thought, you should consider opening your shop for home-made cakes and all other treats. It's a shame not to use your talent and great love for creating in something like job @offbeatbroad.
And here is recipe for my favorite cake, traditionally made in my country - Vasa cake - Vasa is short for personal name Vasilije :)
I found it with English translation
Oh wow, that looks really tasty! Look at all that meringue. I bet it's so light and fluffy. What type of nuts are typically used in it?
My husband is a Gemini. Truly. Such a gemini. haha I'm Virgo.
Nuts we use in most of cakes here are those that many houses have in their yard and it's walnut :) Even my aunt has one hugee tree in her backyard. So mostly we don't need to go to market for them. And we put a loot of it in cakes.
O you are good combination then. I am Gemini ascendant Scorpio, and it's hard so hard to live with those two in my mind hahaha.
Oh, that must be sooo lovely! I would love to have nut trees... maybe one day, once we can finally get a house of our own, I will plant some in our yard.
lol We seem to be a good balance. I can't recall his rising sign, but mine is Libra rising, so it helps to balance out some of my Virgo tendencies. 😂
Hi...the cake looks mouthwatering👍
Great post to..make me curious,I want to imitate the recipe...my husband will be amazed🙄
Thanks!
If you'd like the recipe written out, I can type it up for you later.😊
I'm more a tiramisu fan, but your idea is just soooo yummy, i'd gladly try it :P
It's hard to go wrong with tiramisu.
I was never a cheesecake fan until recently... and I'm fairly picky. I don't like them to be too tangy. That's where the mascarpone is a nice addition, because it gives it a creamier, less "cheesy" flavor.
I like your recipes because they very delicious!
I have new drawing and hope you look at them;)
Wow, that looks so delicious! I'll try your recipe.
Congratulations @offbeatbroad!
You raised your level and are now a Minnow!
Do not miss the last post from @steemitboard:
SteemitBoard World Cup Contest - Belgium vs England
Participate in the SteemitBoard World Cup Contest!
Collect World Cup badges and win free SBD
Support the Gold Sponsors of the contest: @good-karma and @lukestokes