BEST DEFENSE IS OFFENSE: Call of Duty Strike Team Walkthrough Part 3
It has been a hell of a fight, there have been casualties from the enemies side and the path still looks gloomy. Taking out the Russians has been an herculean task all the way and it doesn't seem to have an end. The last episode saw us go deep into their base and we were able to get some intel through the infiltration, we blew up their electronics, yeah! But there is still a huge pile of work up ahead. Welcome to another episode of my Call of duty series, just look out for Russian Soldiers as you walk with me, stay sharp!
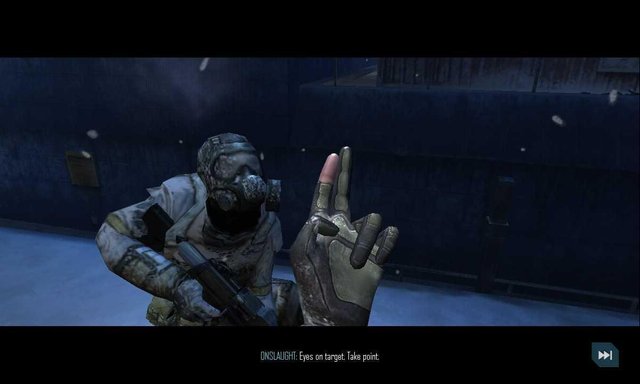
A quick swapping is done as Marshall is made to take the "LSAT" while Reed takes the "Vector KIO" gun. No more sneaking, no more hiding, we are going large and loud. The alarm is on full throttle now as it continuously blares. As it appears, a rude reception here. The hostiles welcome us with gunshot sounds and we are fully aware that we have been detected. Even the squad has been split due to the early chaos, some members of the squad have been gunned down. Onslaught tries to get the team back on track and tells 'em to meet at a rendezvous point, our primary mission now but first, we need to take care of these hostiles.
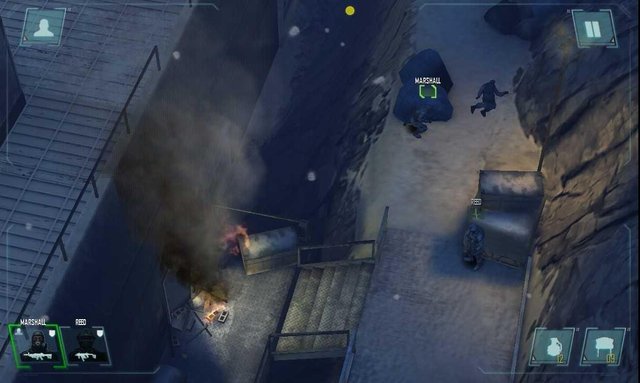
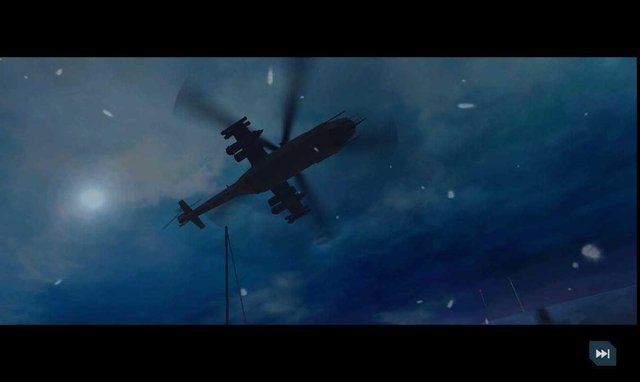
The weather is not helping matters now as the snow and fog denies us the important long range visibility that we need to spot hostiles from afar off, an alternative - which is not to be considered - is switching to the drone view but autonomous shooting can't be totally relied upon, the enemies are venomous. We make our way through the shootings with Marshall spearheading the attack (The best defense is offense huh?). And in a moment of apparent relief, a "kill-joy" comes in, an enemy helo full of reinforcements. Will this get any better? There are barricades which will make perfect cover. Marshall appears confident though as he mans his position, Reed aims the gun. Something is about to go down.
We are closing in on the enemy now, we've secured the Helo and it's immediate environment but the enemies are still out there, the fight is on. Nervy moment! Reed almost gets himself killed as he walks down the landing zone, oblivious of a lurking enemy who opened fire as soon as he stepped into firing range. His quick reflexes saved him. Too many enemies now, it's time to soften the battlefield; Fire in the hole! The grenade explodes nears some tanks which subsequently explodes. Now a quick swap is done, Reed's constant shots appears to be ineffective, Marshal has to go close and take them out with the "LSAT", my best gun at the moment. This he does and the path is somewhat silent now.
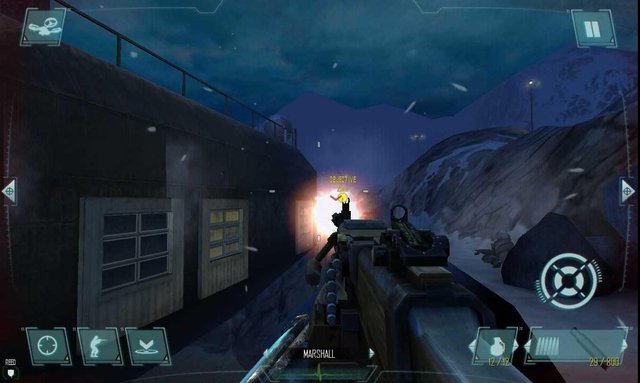
We may have reached our final spot, but there are problems, Onslaught asks Marshall what they are seeing and... It isn't good. An automated sentry, some soldiers and a sniper. Our mission is to hack the sentry. The sentry is protected a soldier who is not in firing range - more like a symbiotic protection- and the sniper is looking out for them both. A gate is up ahead. This is where the drone view comes in, we need to move and act fast. Reed makes the run and boom! Another sniper pops out behind him, two snipers, too many. Fortunately though, he is just right below him and can't be spotted. Some hostile move into our area but we are not spotted. Marshall takes out one silently. Can we do this undetected?
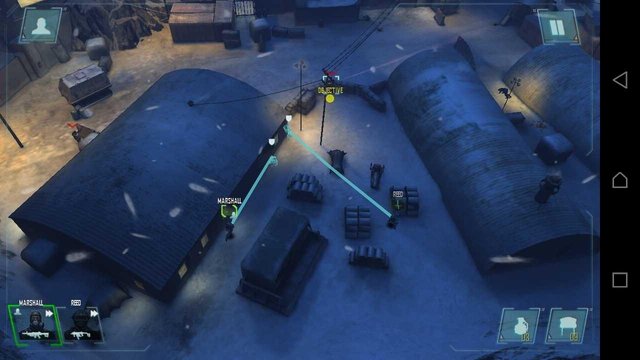
Marshall gets in a good position and takes down the sniper who was hitherto pinning down Reed. Now the turret! Apparently, there's a path that leads to the back of the turret and Marshall makes the run. He gets there and as he made to move, some new hostiles sweep in, Reed is all alone. Luckily for him, I was fast enough to switch back to FPS mode and I help him take the hostile out, he just missed death by the hair's breadth. Now we proceed with the plan, hack the turret. He can't possibly hack it with the sniper lurking so he tries to take him out but he isn't within the range. Both of them now at the back of the turret and Reed moves in on it while Marshall distracts the sniper. Now we have the sentry hacked and it helps take out some hostiles, the sniper is all we have to worry about.
Reed distracts the sniper and Marshall takes him out, as we relish the moment of victory having taken down all hostiles, a worry! 5 hostiles rush in from no where in commando style and almost kills Marshall, it took the synergy between both of them to overpower the enemies. They get to the rendezvous point and the proceed to another section of the area.
IT IS BIGGER THAN WE THINK IT IS...

REED- 11 Kills
MARSHALL- 15 Kills
HEADSHOTS- 10
ACCURACY- 13.1%
TIME TO COMPLETE- 18:32

Your post was upvoted by the @archdruid gaming curation team in partnership with @curie to support spreading the rewards to great content. Join the Archdruid Gaming Community at https://discord.gg/nAUkxws. Good Game, Well Played!
Thanks team
Congratulations @marvel1206,
You and this post have been selected to be featured in this week’s Author Showcase. Thank you for creating outstanding gaming content and sharing it with Archdruid Gaming!
https://steemit.com/curation/@enjar/archdruid-gaming-author-showcase-issue-4

This post was shared in the Curation Collective Discord community for curators, and upvoted and resteemed by the @c-squared community account after manual review.