Taming the Wild West: Building our First Fire Pit
Welcome to my new series "Taming the Wild West"
This will be an ongoing series that cover our efforts to tame the back yard from a vast empty piece of dirt into a beautiful , enjoyable, and productive homestead. We call this the wild west because this is west side of town where the yards are bigger, neighbors are chickens, and city life is just yonder out of sight. We have moved here and the yard is still wild - so we need to "tame the wild west". We spend a lot of time around a fire - so it is fitting that this should be the first project we tackle - that way we always have someplace nice to relax after a hard day of working in the yard.
So excited about building our new firepit!!
When we first moved in, I was excited about the prospects of being able to build a fire whenever I want since my wife and I both love to sit around the firepit in the evenings and enjoy the cool night air. Where we were before, the yard was very small and we didn't really have the space to do it. We were limited to smaller confined fires in a small enclosed bbq. Now that we have more space to work with - it wasn't long before we etched out some space in our new yard where we could put in a larger permanent firepit.
Initially - we just laid some bricks down to mark the space that would eventually be the main pit. In the meantime - we simply made fires in the half circle of bricks we brought from our other house. They were being used as a retaining wall to hold in some dirt that our grapevine was planted in. We removed it and brought it to our new house and dumped them in the back yard. Rather than have a pile of bricks - I simply laid them out in a half circle and we began using using it right away.
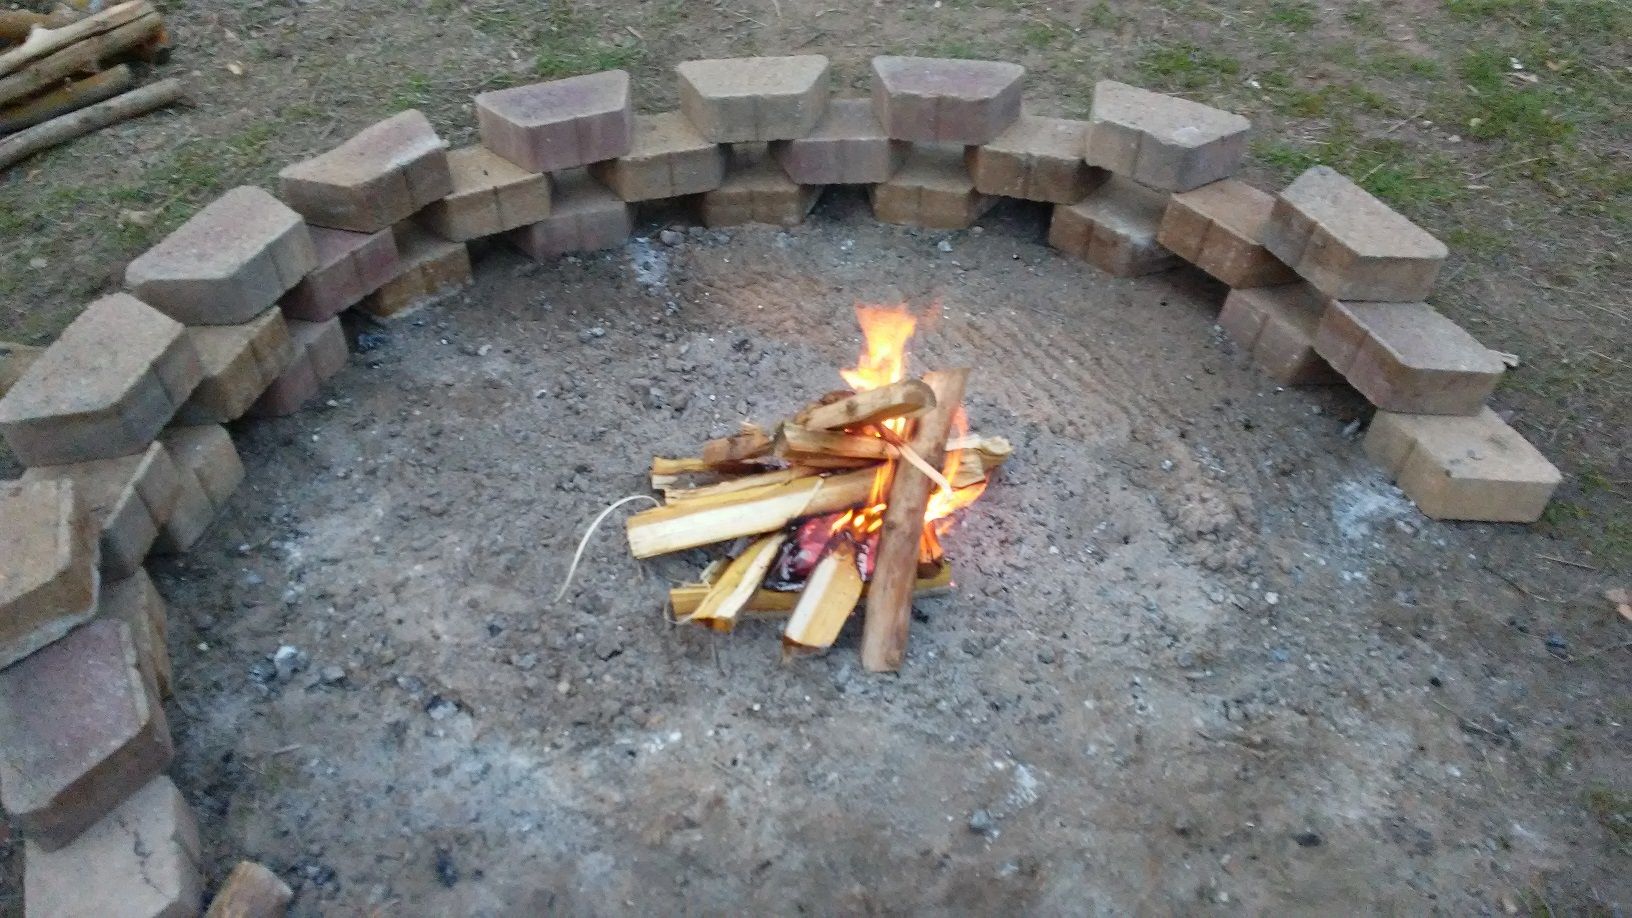
This is the old fire pit - just bricks quickly piled up to give us an area. Here we are using it before it is ready - but works great and we have had more fires than I can remember.

We didn't plan to build it out any further until we got around to working on the backyard but there was a sale at the Home Depot and so we got the materials earlier than expected. Now that I had the materials, it was hard to refrain from putting it all together.
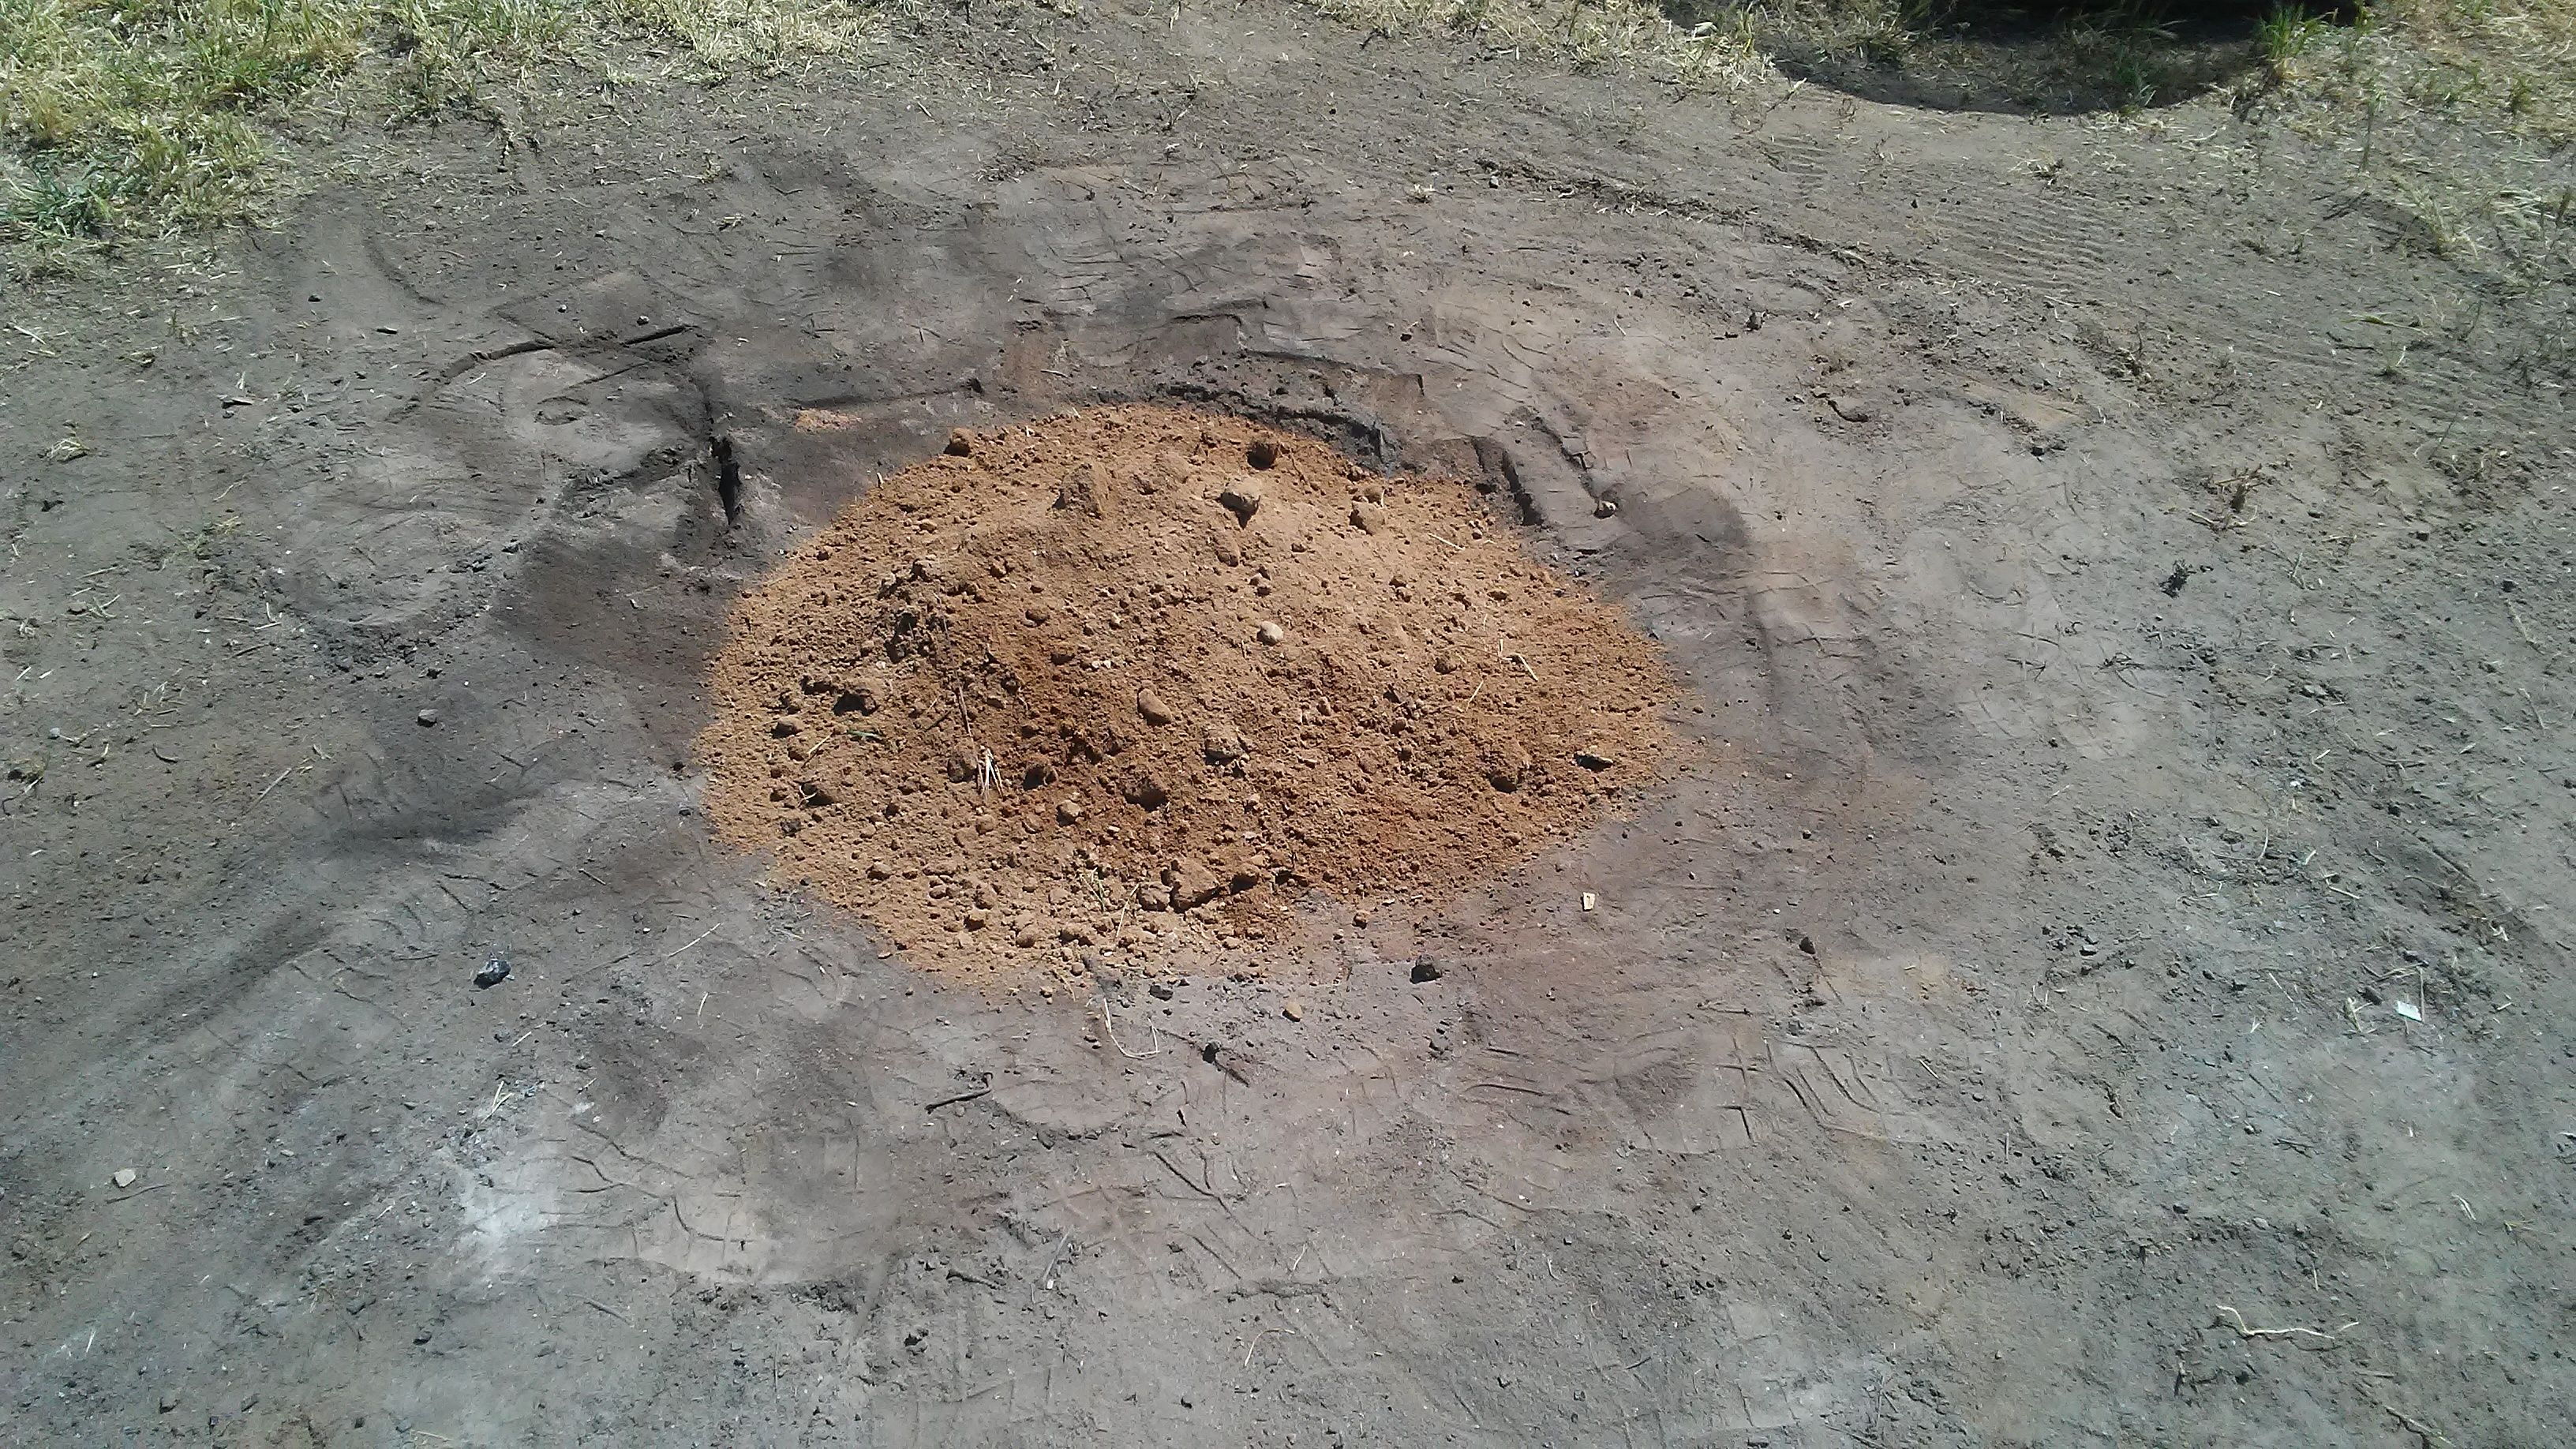
The first part was to clean up all the old ashes and coals from all our previous fires. I filled up 3 five-gallon buckets full of ash before I hit dirt. Then I had fill in the center with more dirt to smooth it out.
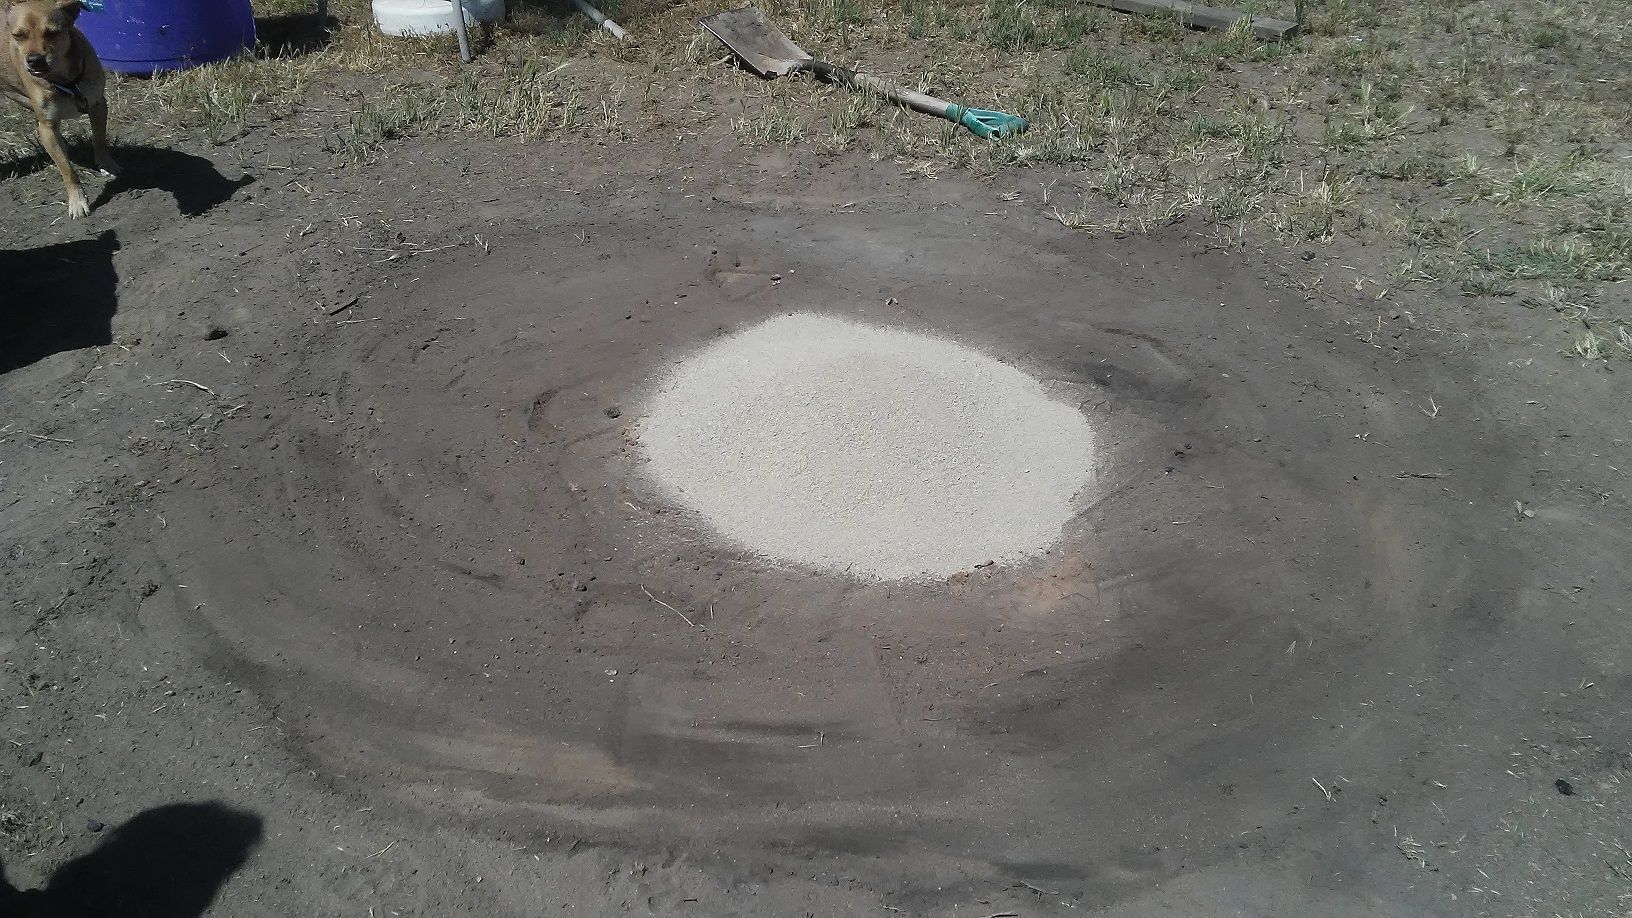
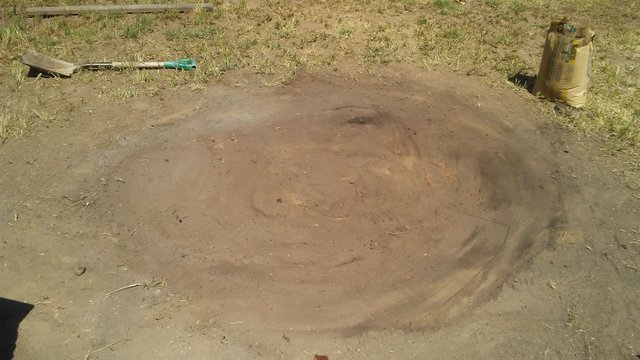
I added sand to it so we could spread it around and create a flat level surface to build on
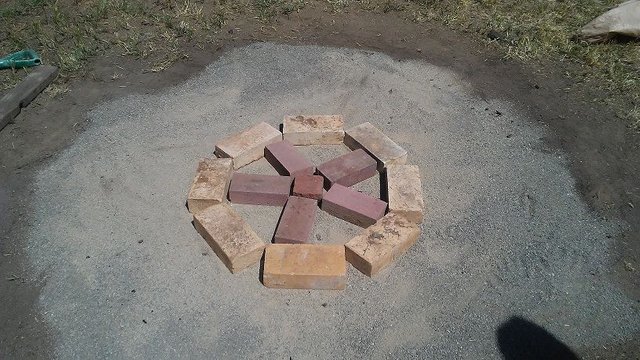
We started with a star and circle formation making sure that all the bricks were level with each other.
Painstakingly, we set down each brick and leveled it to the previous brick - working our way around the pit.
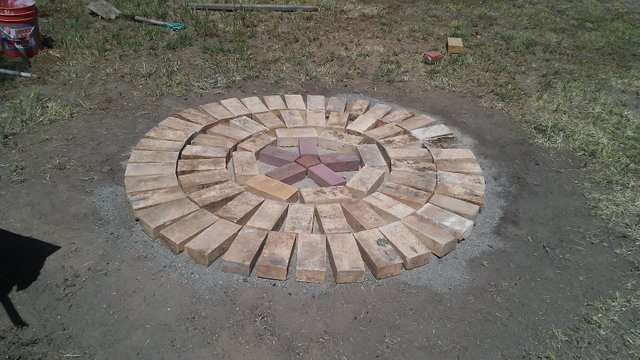
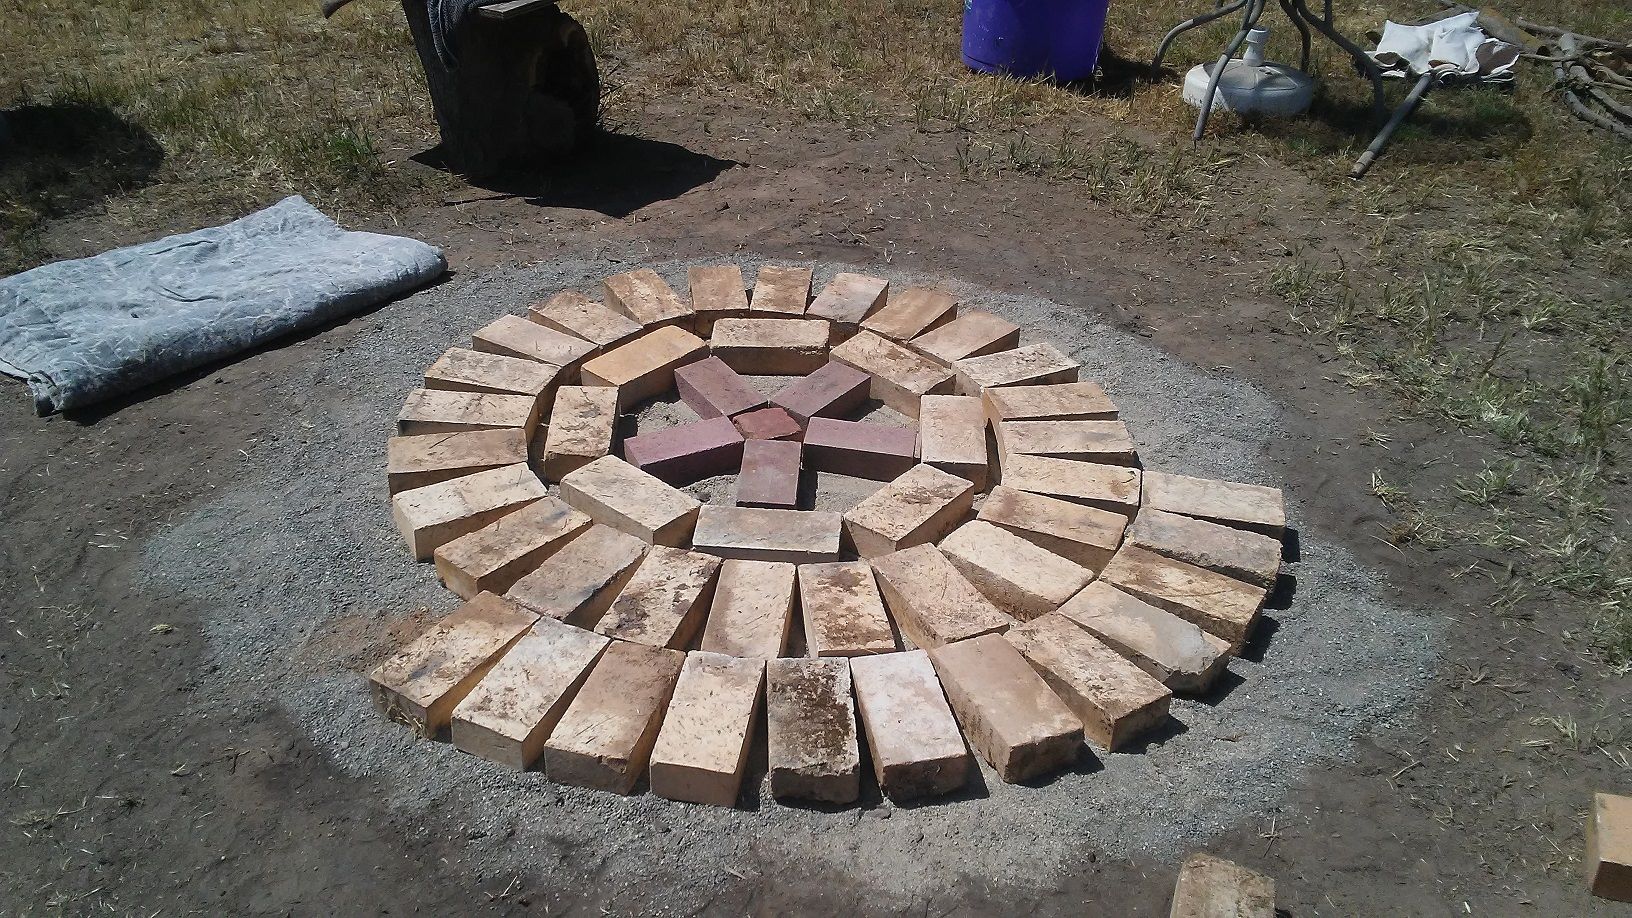
Eventually, we got them all laid out in a circle.
Inspector Cinnamon comes by to take a look at our progress - you can see by the smile on her face that she is pleased with our work.
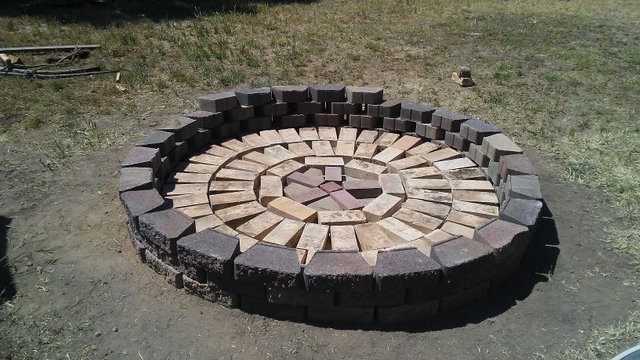
We then started the first course of stones to build it up to four bricks high
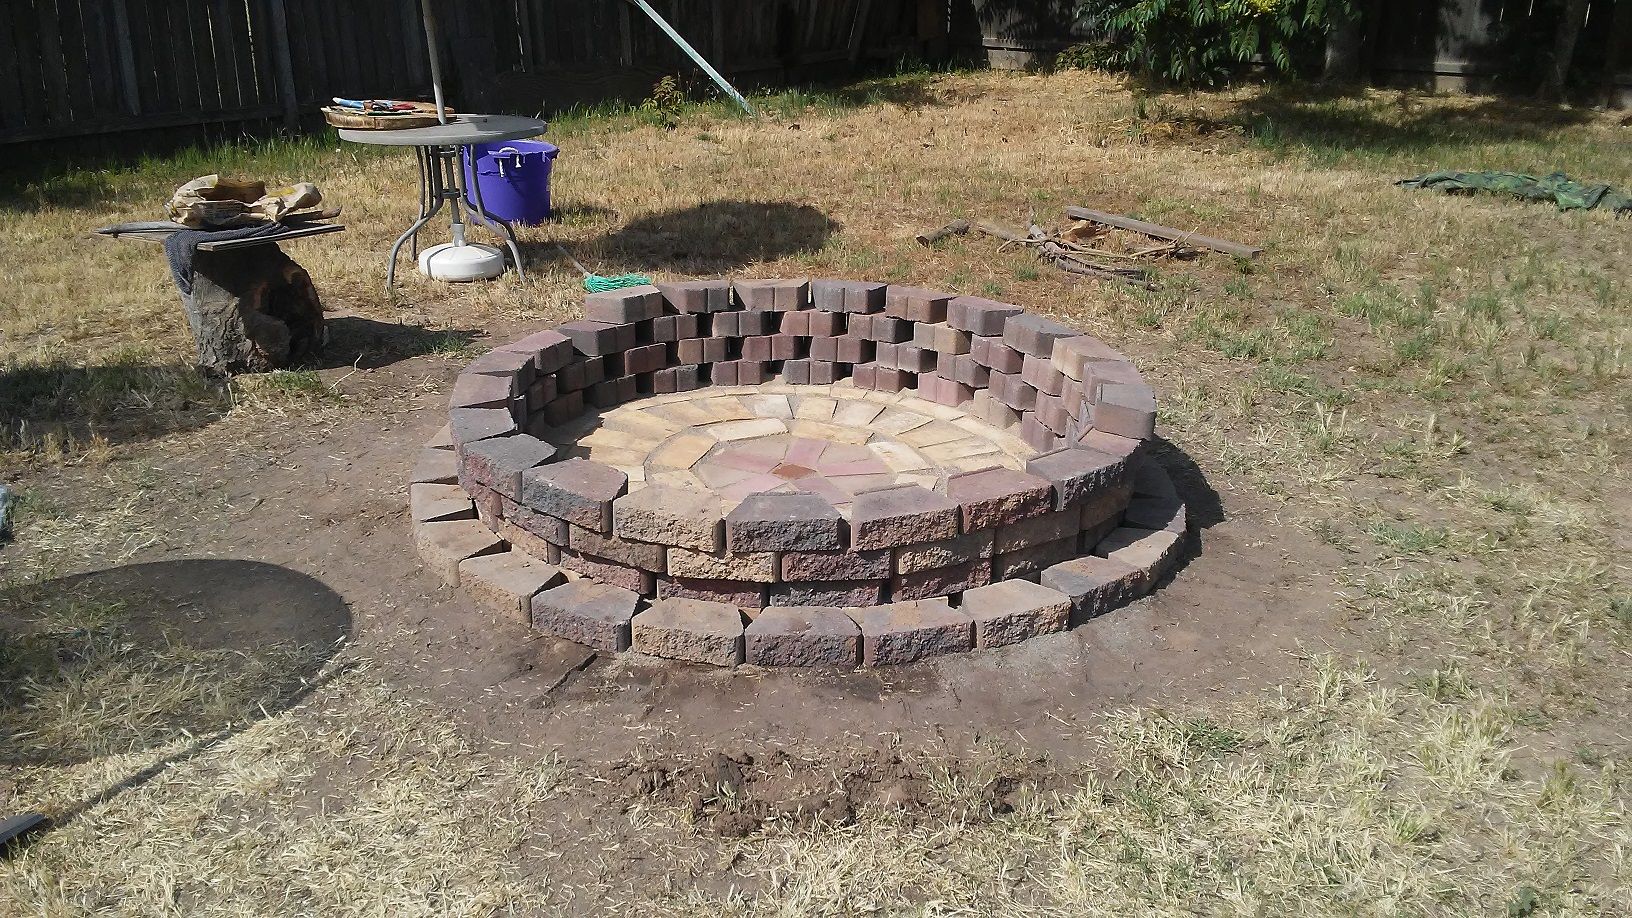
We now have the firepit completed and are ready to start the next part of it.
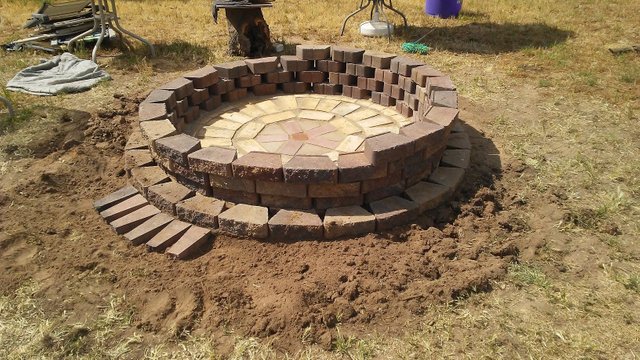
Once the pit was built - we wanted to put in some stepping stones provide a place to sit as well as for decor. We started by laying them out in the design we wanted. Here we have dug out the dirt around the pit so that we can lay down the brick pavers .
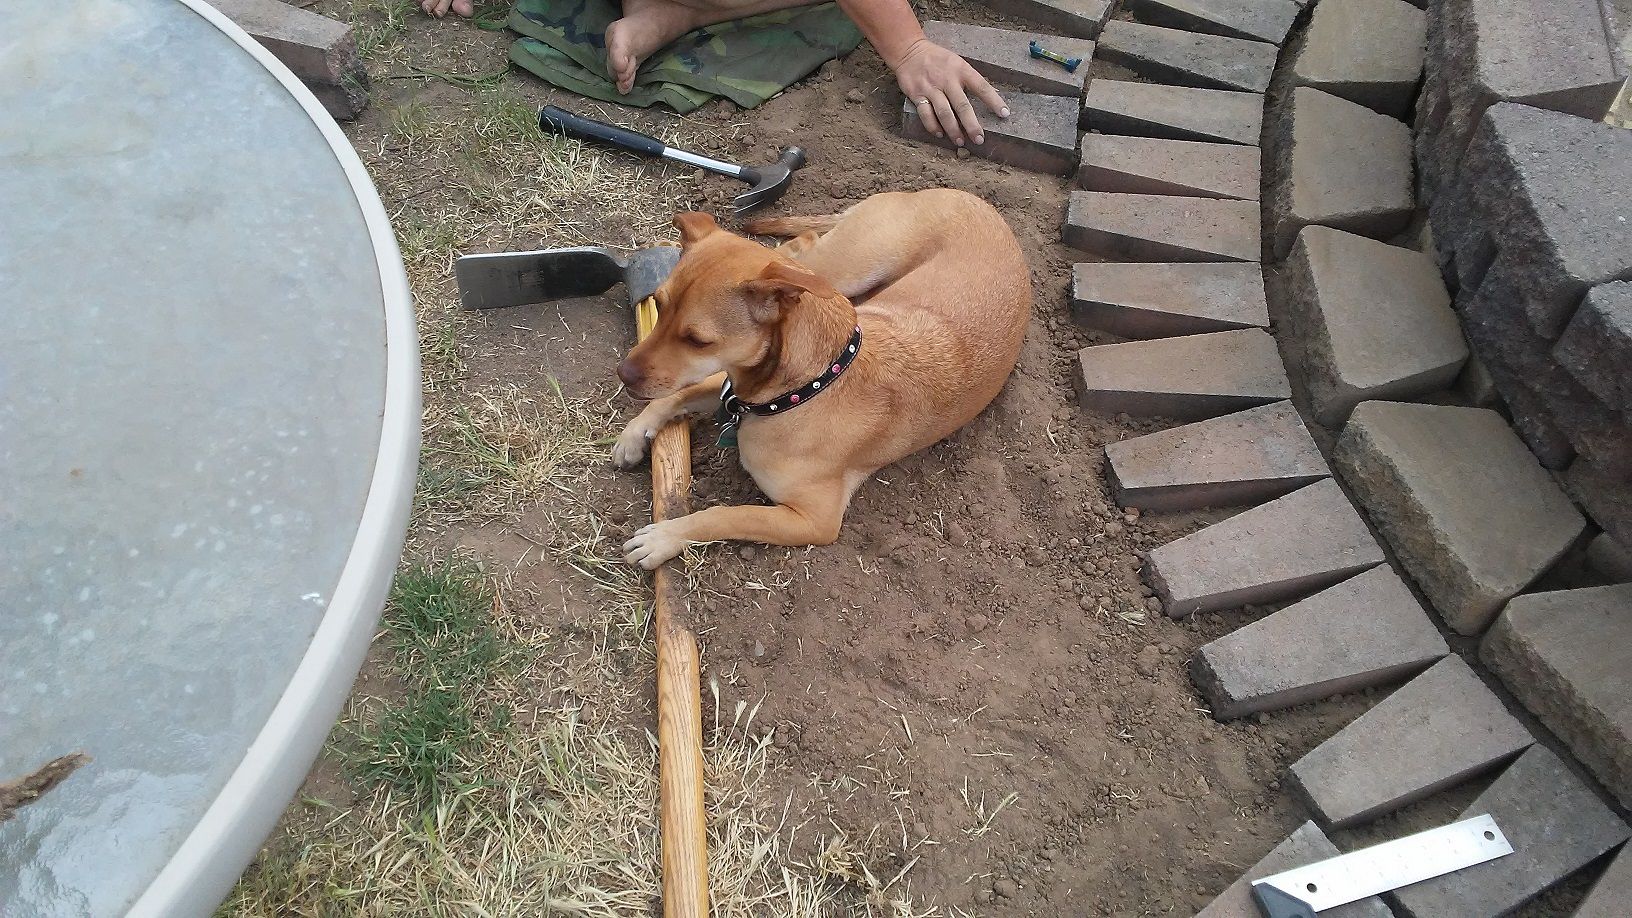
Cinnamon, like many other dogs, enjoys digging.. she just has better tools than most dogs ....
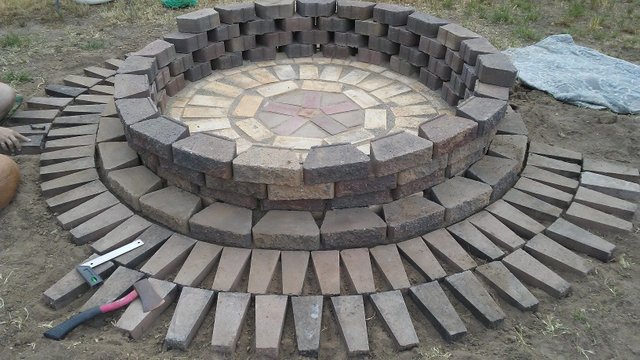
The pattern starts taking shape. The job goes slow because we have to level every single brick to the bricks surrounding it - it is precision works that takes a lot of time to get right -
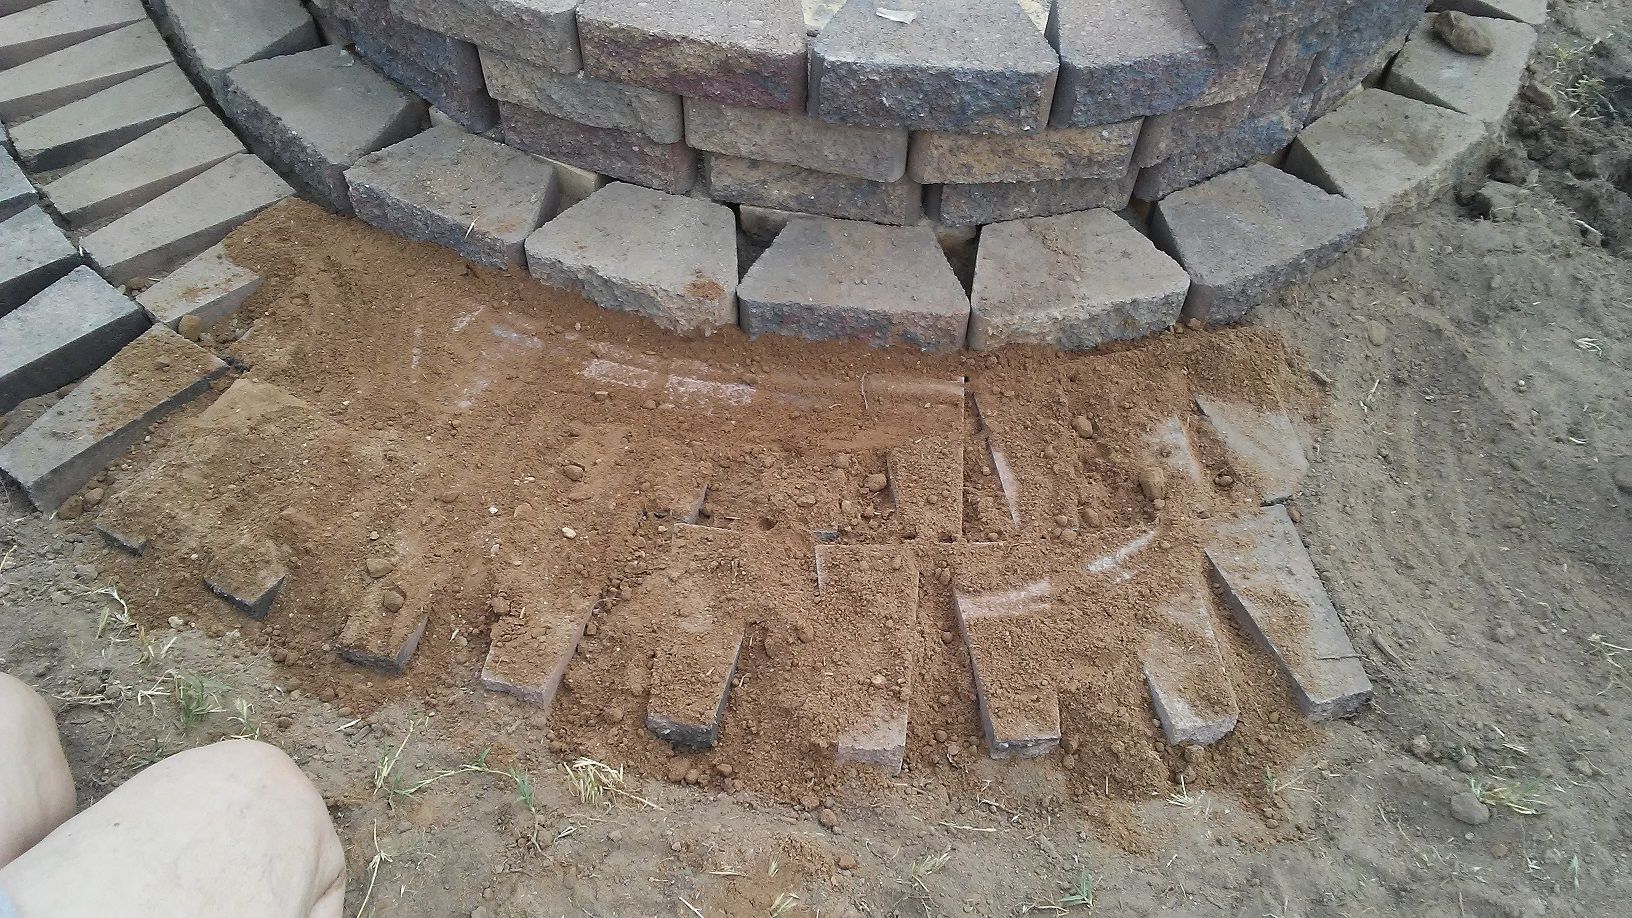
We bury the bricks in the ground once they are placed and leveled - they will be level with the ground.
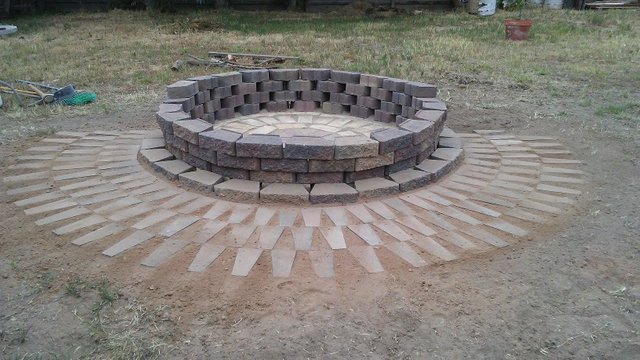
And here is what it looks like with all the brick pavers in place. A little over 3/4 of it is filled in and we still need to get some more brick pavers to finish the back of it to have a complete circle, but there plenty of space for seating still.
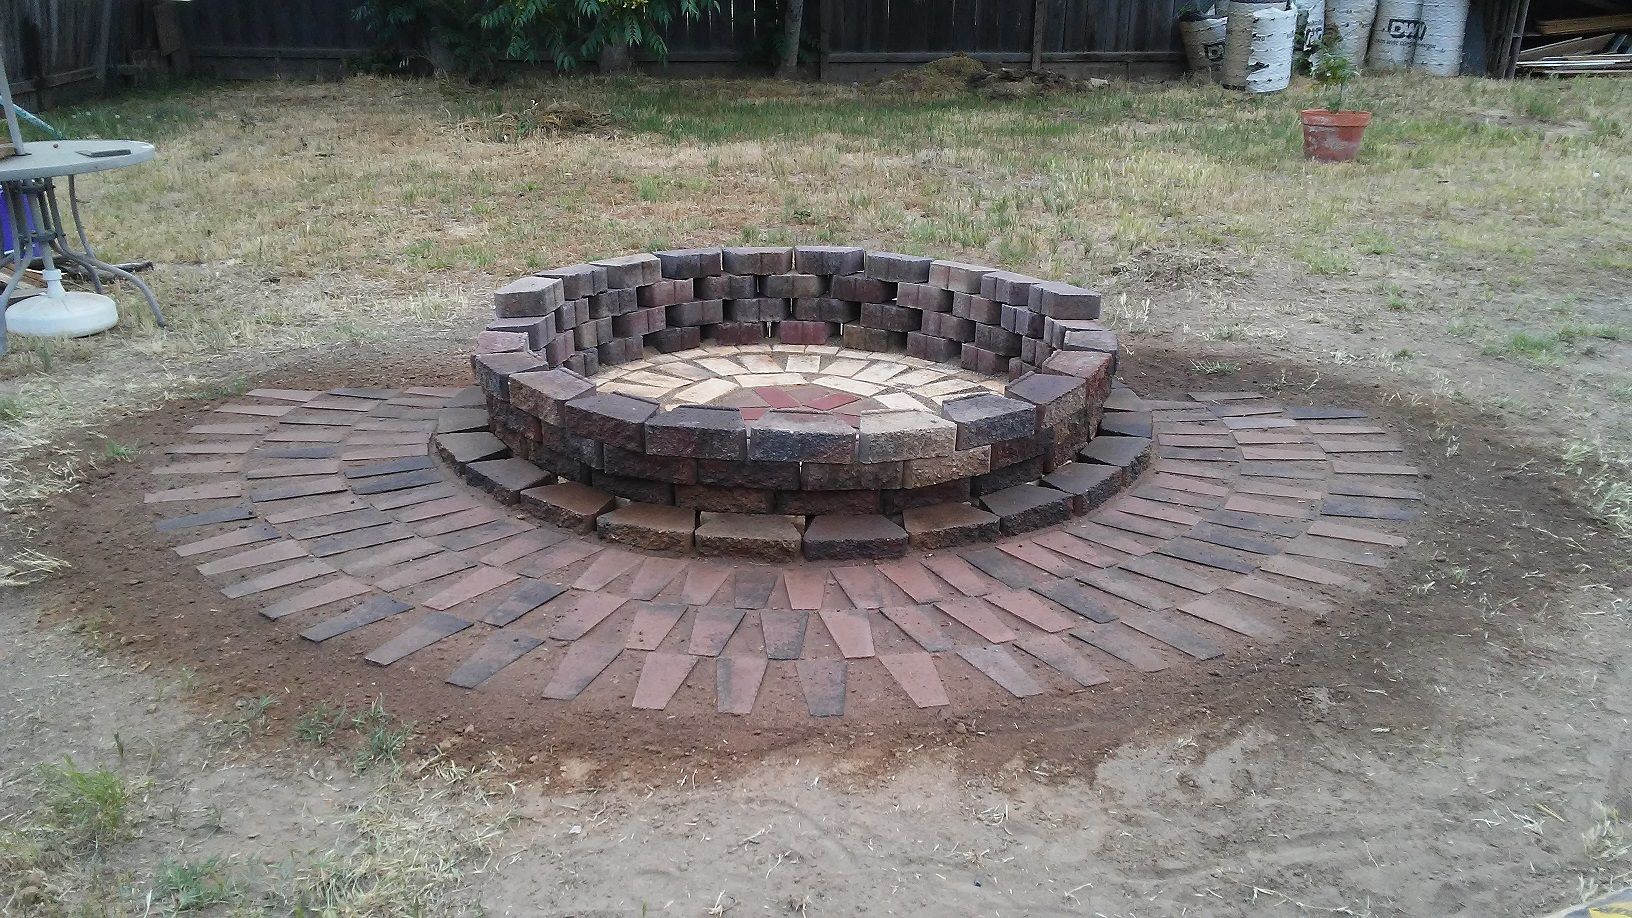
Then we sweep out the excess dirt and wet it down so that the dirt can sink into it and fill all the cracks and crevices
Presto!
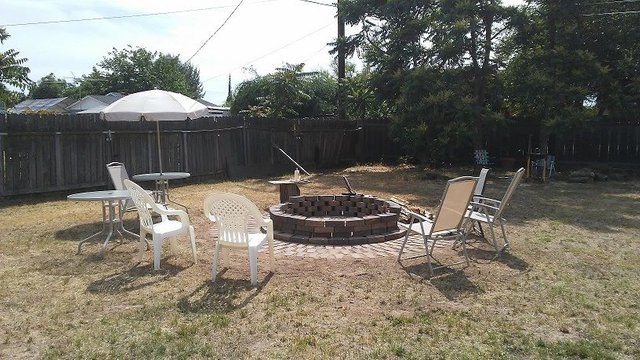
Just add a few finishing touches like the table, chairs and shade umbrella and you have yourself a nice picnic area / fire pit.
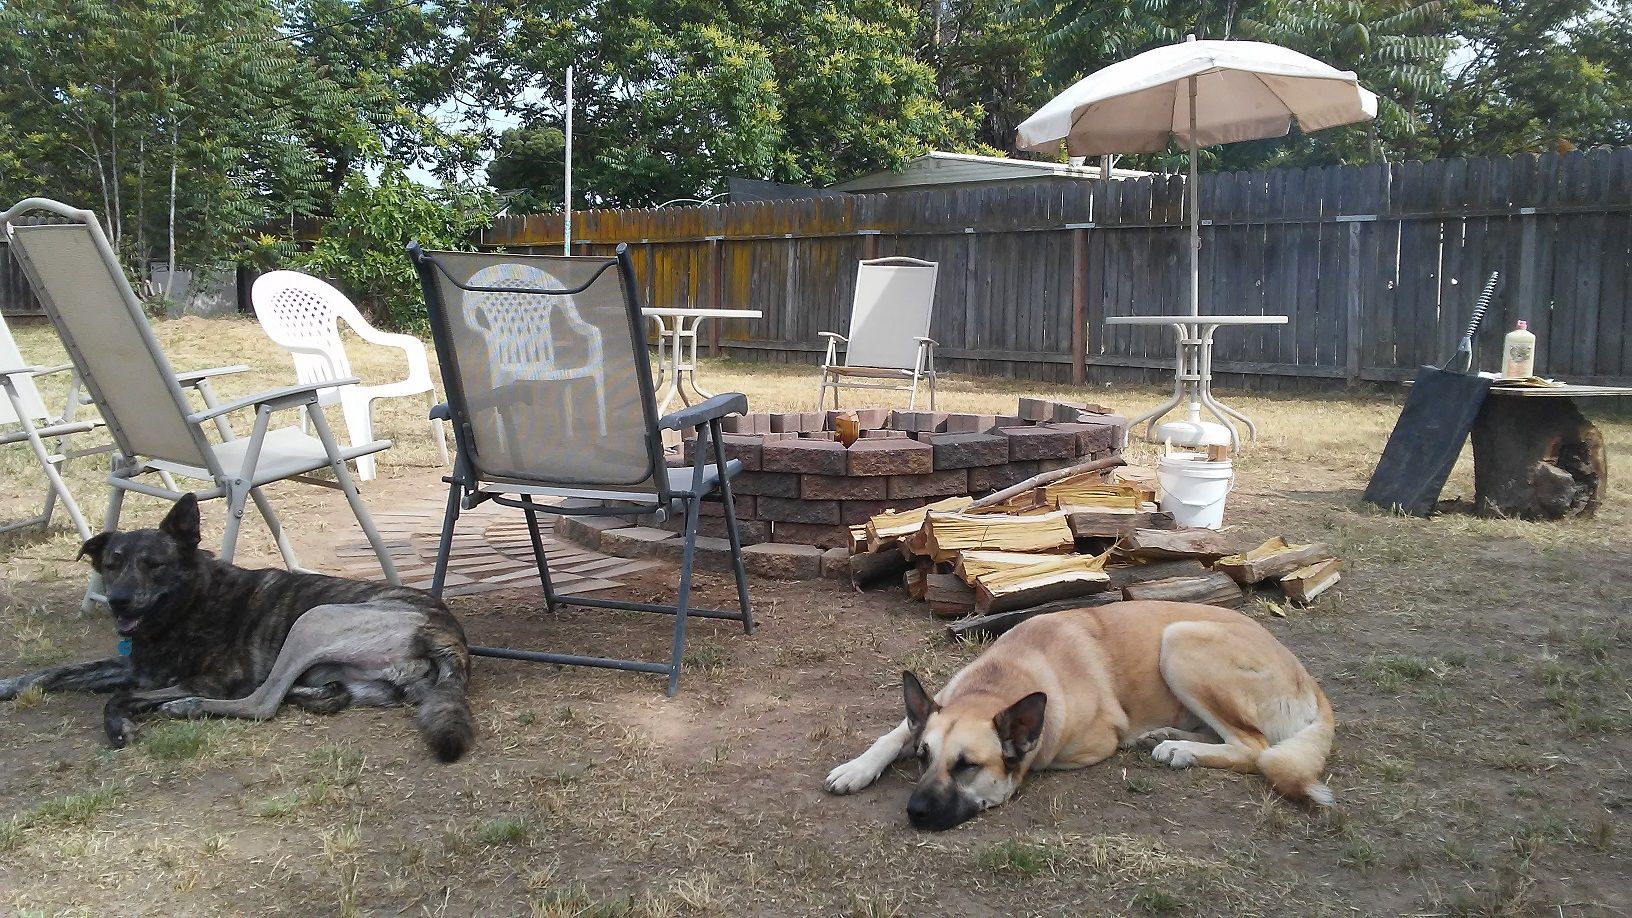
The dogs certainly enjoy the new addition
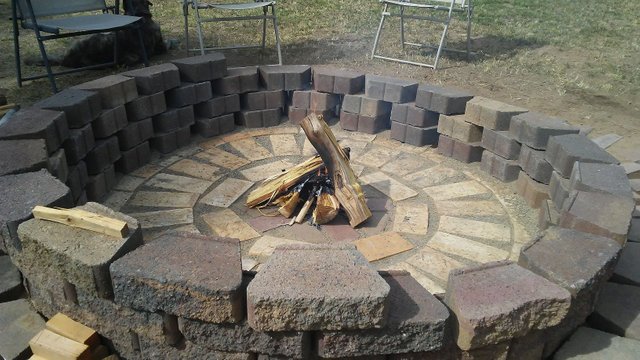
Getting prepped for the inaugural fire
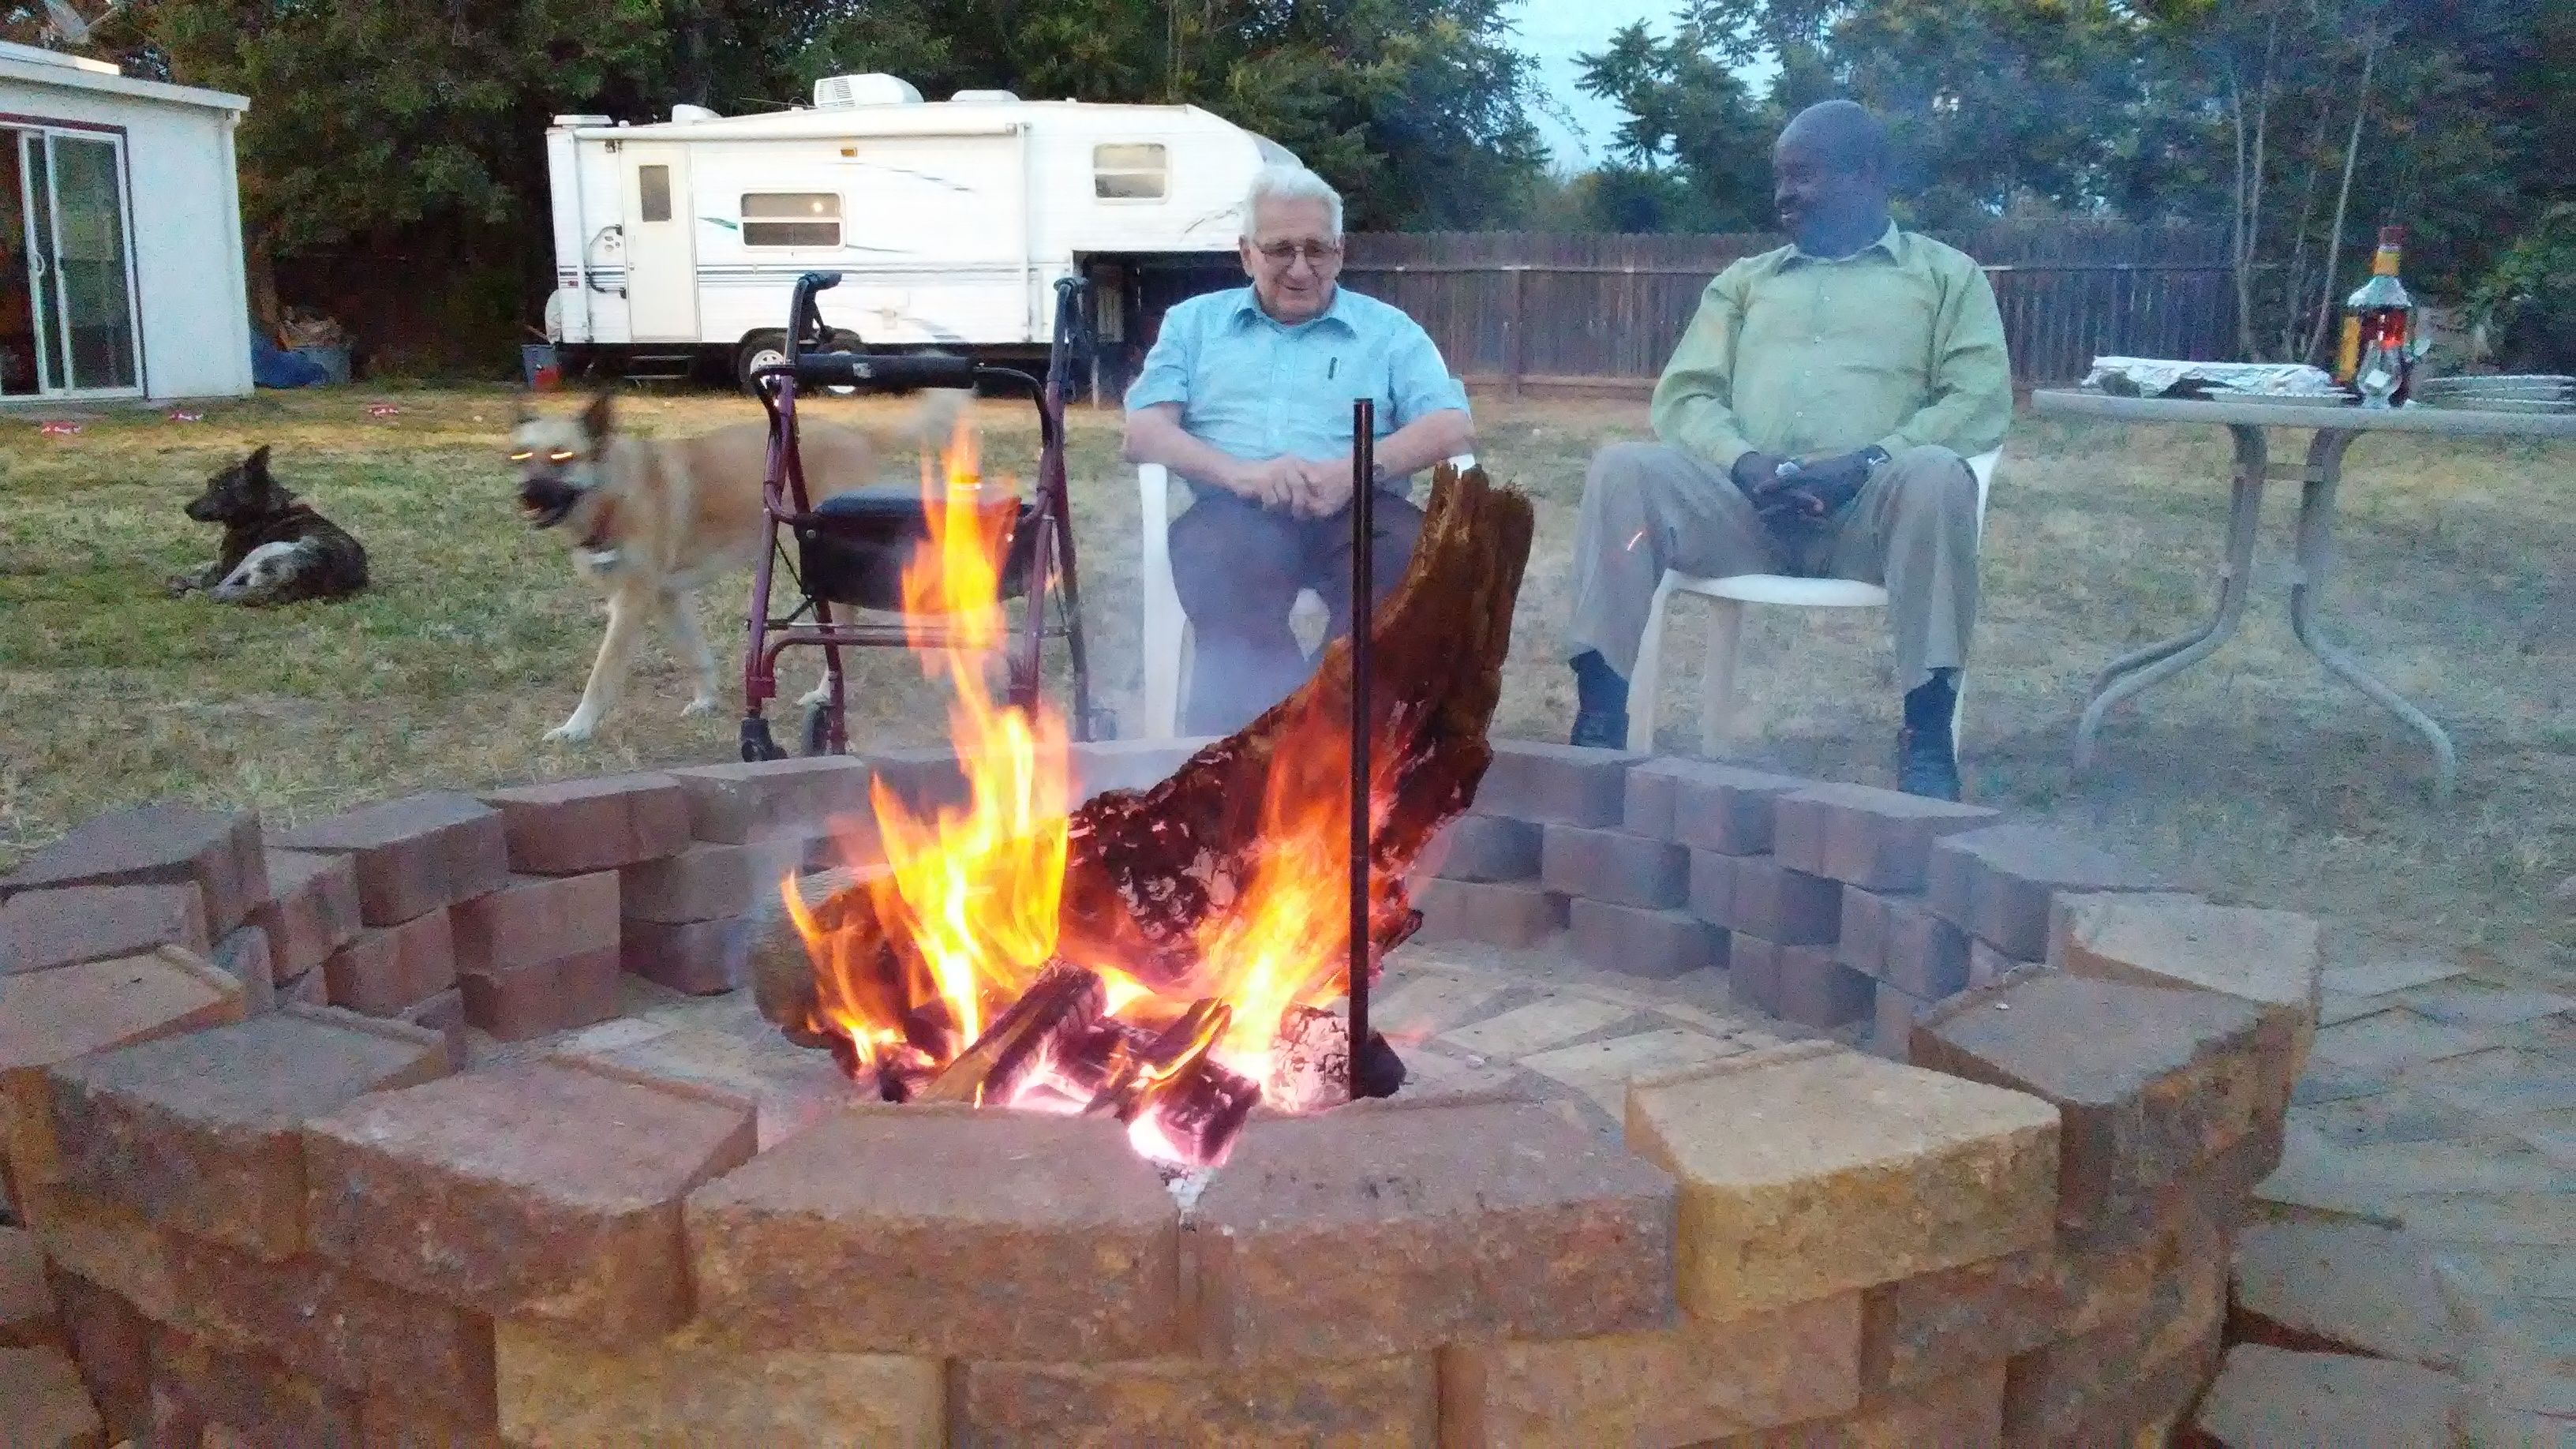
The first flames of night
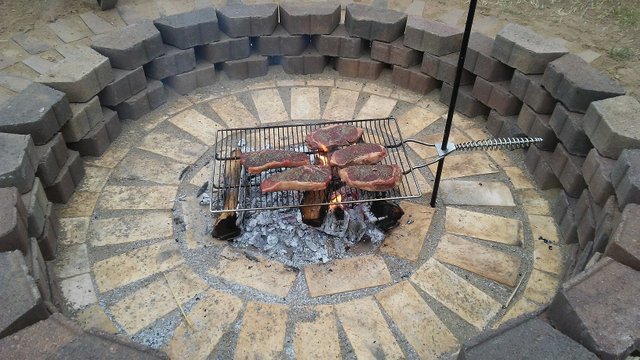
What good is a firepit without some ribeyes ?
Thank you all for checking out my blog - I really enjoy sharing these projects with you -
I hope you will continue to follow our journey as we continue to tame this piece of land and make it into our homestead.
Please be sure to check out my others articles on real estate, investing , and cryptocurrency ( and some other random dog stuff)
I always upvote comments to my blog posts
Wow, that's awesome! You clearly put a lot of work into it. I know the leveling process can be painstaking work, but it looks like it turned out really well. You should be able to enjoy that for years to come! :D
thanks for the kind words! about half way through I was cussing up a storm and wondering why I was doing this ( leveling every brick to every other brick) ... but in the end I was really happy that we did it - it could have been done with a lot more ease if I would have just bought 4 more bags of sand and laid down a level surface first like I did in the center....... but you live and learn - I didn't want to go back to the store and deal with it so we made due ... all in all I am happy with how it turned out and we do plan to use it for years to come so I think we will get our money'sworth out of it...we got to break it in the first night with my father in law and some guests and we all had a blast.
I know the feeling of just wanting to get on with it. You've already been to the store 10 times and you just want to get it done, so you take even longer just pushing forward... but at least you're working on it. And now any time someone comes over for a fire, you can tell them that you built it!
love the architecture of the fire pit! this is truly a labor of love! great job my friend and thanks for sharing this with us! :)
it looks very nice.
I hope you have a good time @jorlauski
Hey, look at that! I was just talking about how hard it is to receive support again. I'm happy they stopped by!!!
That firepit looks amazing!
yes....I was shocked to see that continued support myself... but again , very grateful. Thanks for the compliments.. if you're ever in the area let me know and show you first hand how well the firepit works.
pretty :) upvoted and followed
https://steemit.com/introduceyourself/@lostambores/196q0y7d
What a good fire print. You did it like an architect. I'm not good at building. I am jealous of you. Are these fire bricks?