Devil Gundam: Extending Piston Casing [Leg Modification - Part 83]
Hi guys!
Today, I want to extend the piston casing since from the test fit I did yesterday it was a bit too short. So here are updates on Project Devil Gundam!
Today, I want to extend the piston casing since from the test fit I did yesterday it was a bit too short. So here are updates on Project Devil Gundam!
Prepping the Pla Plates
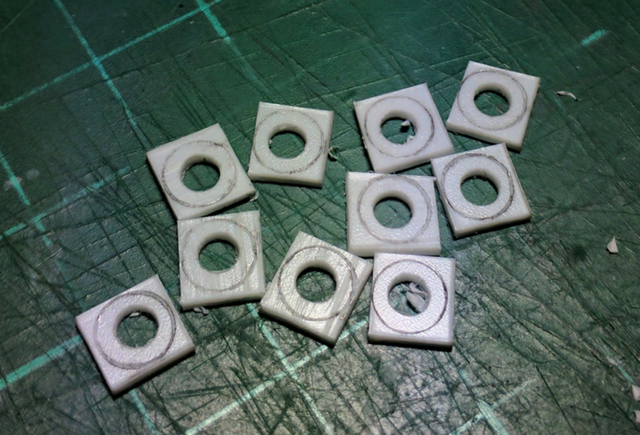
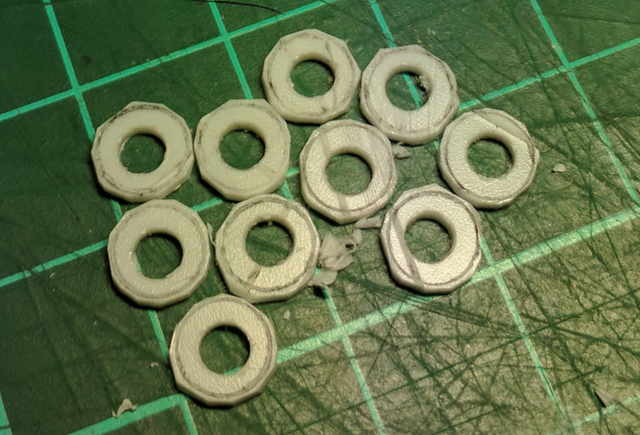
First, I prep all the pla plates. Measure it, mark it and trim it. I will skip the sanding part since I already know where to stop sanding the piston casing.
Cementing Process

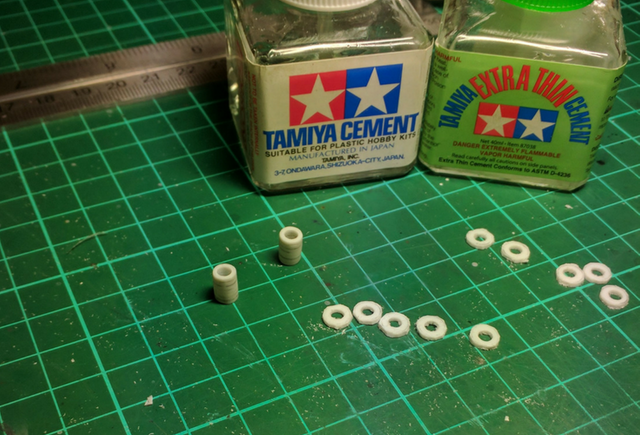
Next, I grab all the tools I need for cementing process. I use gunpla runer to align the holes so the piston can go in and out later when the piston is complete.
Letting the Cement Cure Overnight
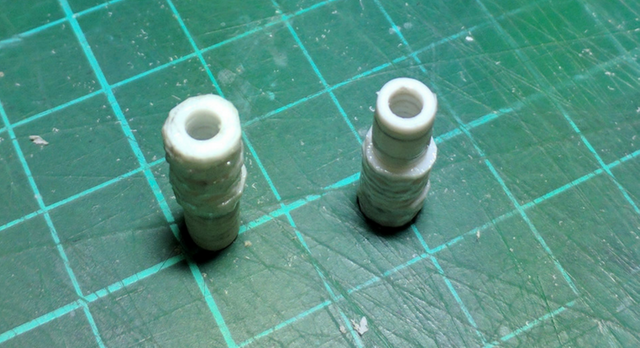

Now I will let the cement cure overnight and I will clean this up tomorrow. So these are my update on Project Devil Gundam for today.
So tomorrow, I will clean up these piston casing and I will show you why I can skip the sanding process on the rings. Keep on building! Keep on steeming! Have a nice day!
So tomorrow, I will clean up these piston casing and I will show you why I can skip the sanding process on the rings. Keep on building! Keep on steeming! Have a nice day!
Quick access tutorial:
- Fixing broken peg using gunpla runer and several tools.
- Fixing holes using cement and plastic scraps.
- Making C-Joints using pla plates.