Devil Gundam: Modifying Bottom Leg [Leg Modification - Part 75]
Hi guys!
Today I will do several test fit before moving to the next modification. So here are updates on Project Devil Gundam!
Today I will do several test fit before moving to the next modification. So here are updates on Project Devil Gundam!
Ideas for Detailing


For detailing this part I will try to trim the bottom leg a little bit since this will tidy up the trimmings I did previously as well. Then I will add a small pla plates on both sides that will compliment the trimmings.
Trim and Clean
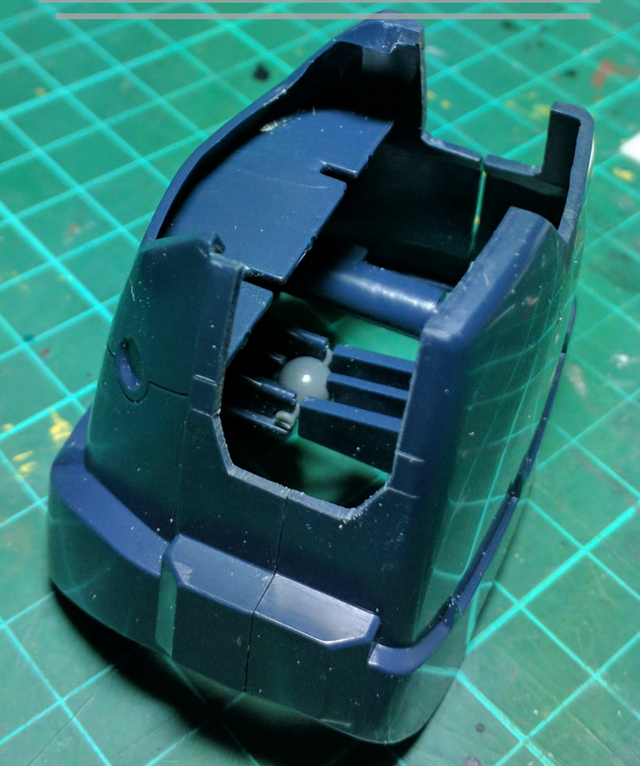
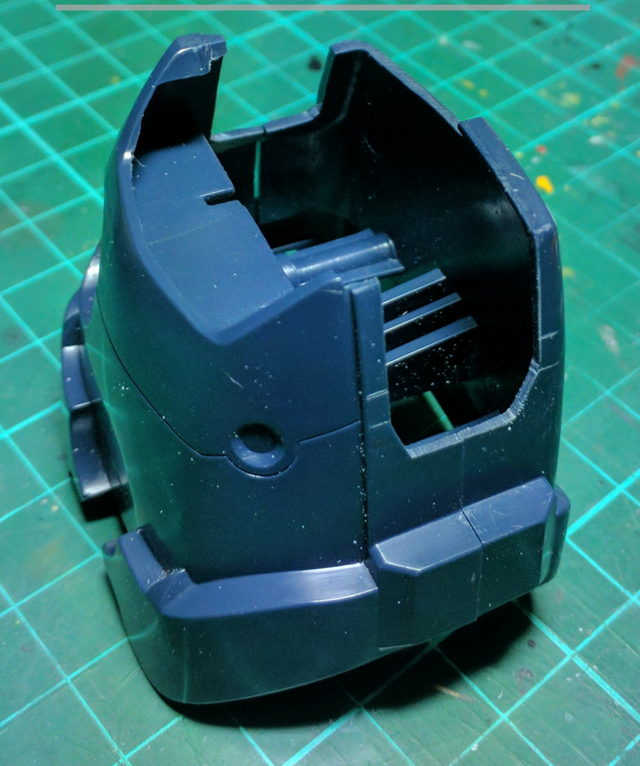
Next, I carefully trim the bottom leg using the guide I made previously. For this step I'm using hobby knife and file to finish. I trim off most of the plastic using hobby knife and switch to file for more control and precision.
Adding Pla Plates
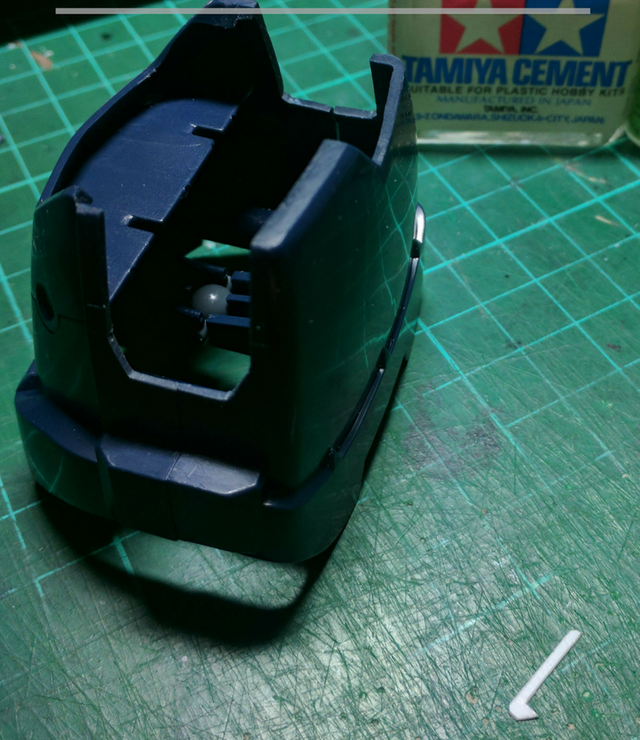
Next, I cement down the pla plates to the side of the bottom leg. For this step I am using tamiya regular and thin cement since cleaning the excess shouldn't be a problem later.
And this is why I'm detailing this part first before cementing down the mechanism between knee and bottom leg. Imagine that part is already cemented down, cleaning is such tight space is quite hard.
However, I will try to find some method of cleaning in such tight space later.
And this is why I'm detailing this part first before cementing down the mechanism between knee and bottom leg. Imagine that part is already cemented down, cleaning is such tight space is quite hard.
However, I will try to find some method of cleaning in such tight space later.
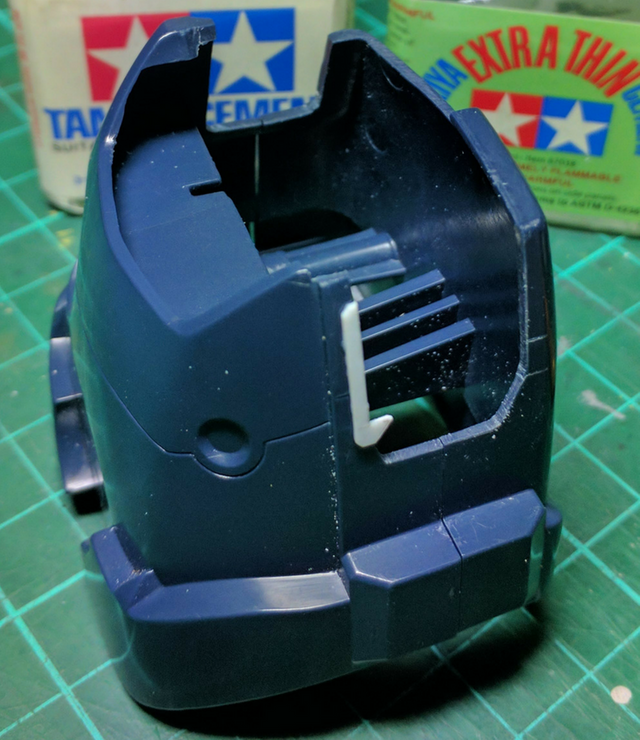
Progress Test Fit
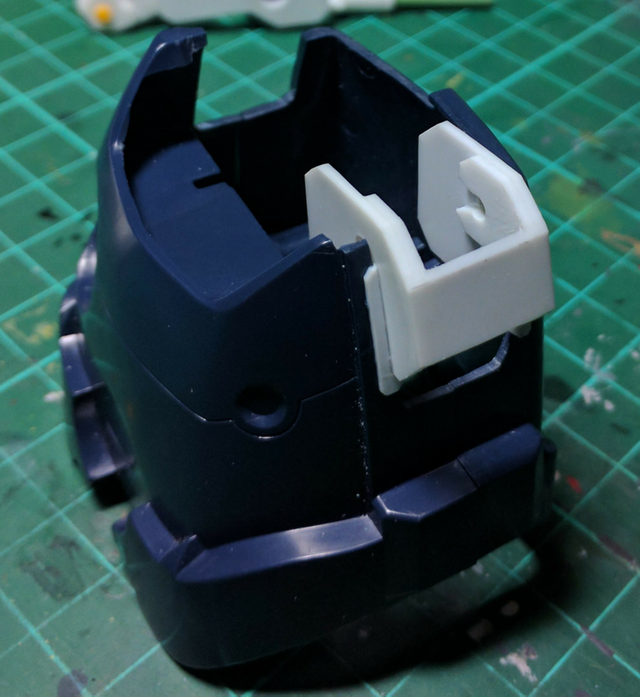
Here is progress test fit with the mechanism and I think with a few more details this part should be ready to be cemented down.
Now I will leave the cement to cure overnight then I will check if any adjustment is necessary.
Then if everything is good I will do the other leg before moving to the next modification. So these are my update on Project Devil Gundam for today.
Keep on building! Keep on steeming! Have a nice day!
Now I will leave the cement to cure overnight then I will check if any adjustment is necessary.
Then if everything is good I will do the other leg before moving to the next modification. So these are my update on Project Devil Gundam for today.
Keep on building! Keep on steeming! Have a nice day!
Quick access tutorial:
- Fixing broken peg using gunpla runer and several tools.
- Fixing holes using cement and plastic scraps.
- Making C-Joints using pla plates.