Back in the SOAP Kitchen
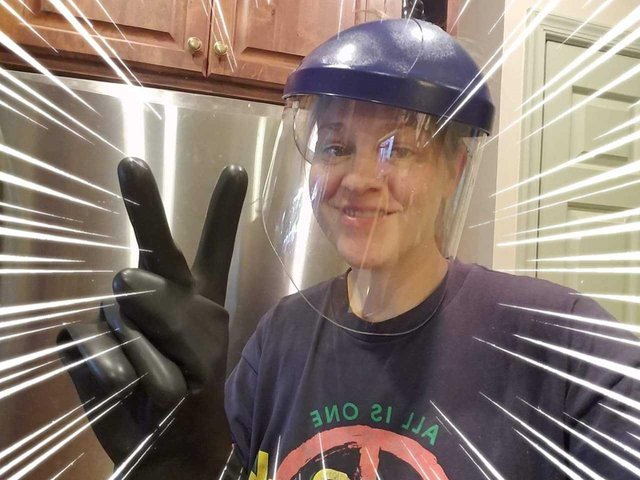
The last time I made soap I was stupid and used regular medical gloves and a short sleeve shirt. Upon pouring the soap into molds I discovered too late that I accidentally splashed the mixture onto my right wrist. I didn't feel a thing, but it had already eaten through the skin and some tissue. I quickly put my arm under cold water, but the damage was done. Thankfully, the burn wasn't too bad, and there is hardly a scar left behind, but it was indeed a good lesson!
Making soap is EASY, you just have to be careful, no matter how experienced you may be. This is only my third batch of soap, but I am already fairly confident in the procedure. Now, I just need to experiment and play with colors and aromas. It is very fun! FYI, this is NOT a tutorial, just proof that making soap isn't difficult, and you get to choose the ingredients (environmentally friendly, natural substances, oils that work specifically for your skin type and provide the lather you desire. Some people prefer to use washcloths, in that case, an exfoliating bar isn't suitable.)
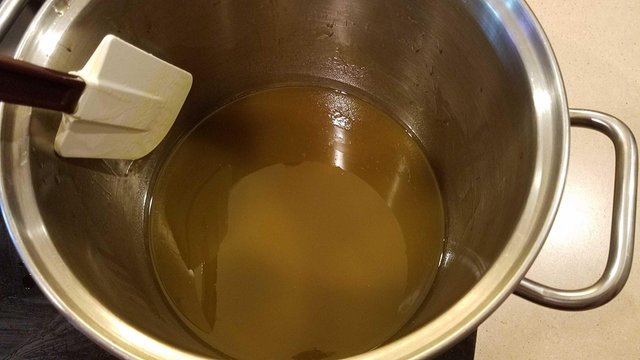 Right after mixing the lye-water solution into oil and beeswax. It immediately starts to cloud.
 15 or so minutes after adding the lye-water.
So, the soap I am making now is Pollen Soap! The other day Felix and I found a local bee shop and found lots of cool stuff, except for propolis (for another soap I wanted to make). Apparently, it is less common and I will have to find a local beekeeper willing to scrape some out of the hive. Not sure how much that will cost! So, I settled for the pollen soap, which is still great, especially for acne-prone skin and wrinkles. I will be using peppermint and spearmint essential oils for aroma. Peppermint is also known to help with many skin problems, so I believe this will be quite nourishing.
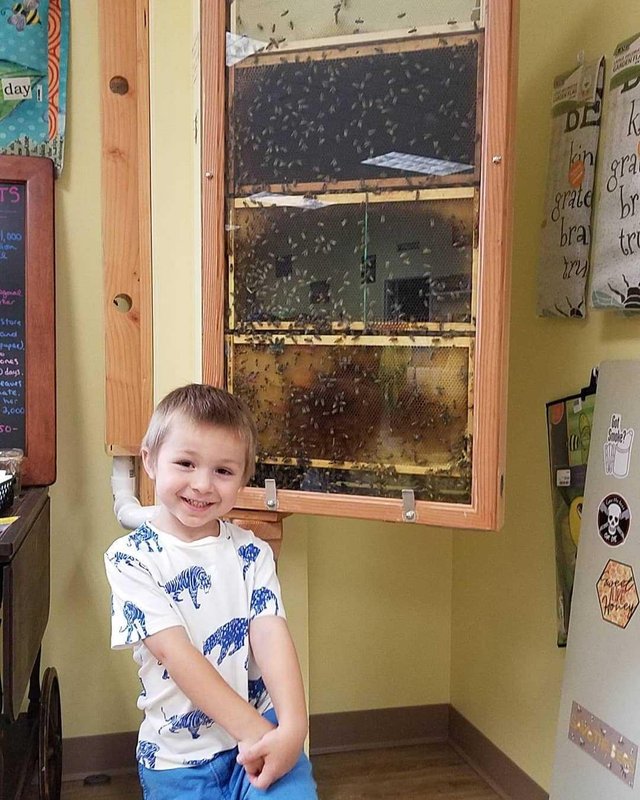 Felix at the Bee store (called Sweet Sophia), standing in front of an active hive that has a pipe leading outside for bees to enter and exit.
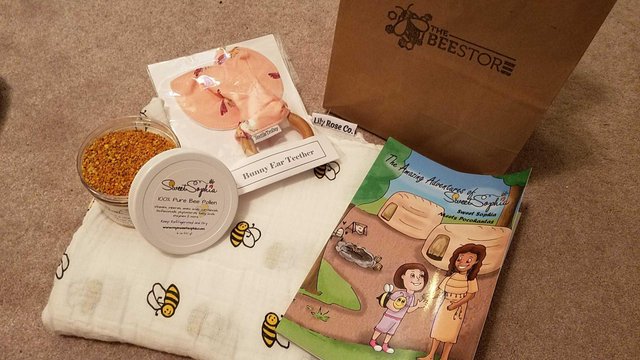 All the goodies we walked out with, that I shouldn't have grabbed, cuz now I have less than $50 until next payday. It was worth it - babe is spoiled and not even born yet! The book is a bit odd, but that's the one Felix chose.
Now I am just waiting for the soap to thicken up and come to what soapers call trace. It resembles the consistency of light mayonnaise, and leaves markings on the surface when holding the utensil above the batch. Normally I use an inversion, or immersion, blender, but I was trying a new method out. It just never did thicken up by stirring with the spatula. I thought maybe my lye was bad, but once I busted out the blender the mixture was at trace in seconds. Now I know better!
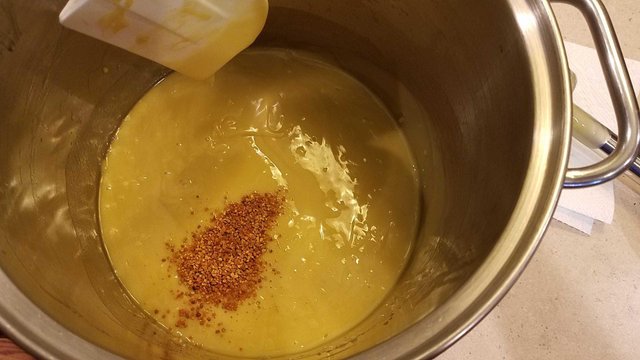 Add the bee pollen and essential oils, now that the batch is at trace.
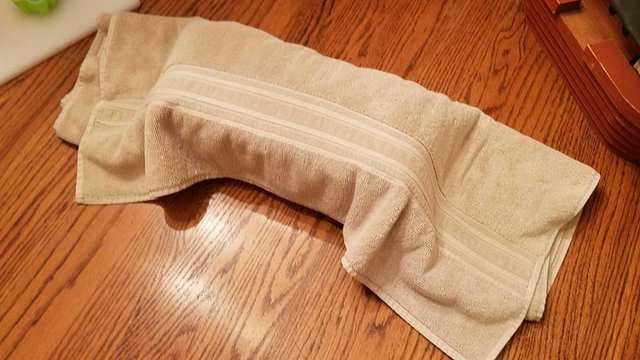
 Have a thick towel ready to cover or wrap the batch up. This mold has a lid that I set in place before wrapping with a towel. If you texturize the top, the lid won't sit flat on top so a cardboard box is tented over the mold instead.
Soap goes through a gel phase where it heats up quite a bit, unless it goes into the fridge or freezer immediately. The gel phase is an important stage for soaps colored naturally, because it makes the colors more dramatic. Other soaps, like those made with milk, will be ruined if it goes through a gel phase, turning it brown and giving a nasty smell. That would be terrible after all that work!
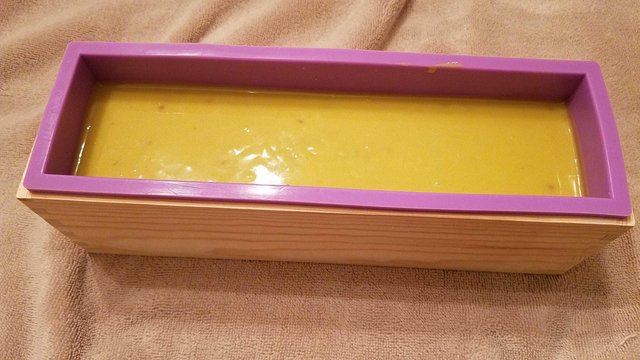
 All done for the next 24 hours at least! Depending on your mold, it may need more time.
This particular recipe calls for a 48 hour period before unmolding, let sit another 24 hours, and then cut into bars. The bars will still need to cure for another month or so. All that means is to set out to dry, making sure the room is not too humid or sunny.
I am excited to see the results! I peeked at it a few hours ago and it seems to be fine, no cracking, and it has hardened nicely. I am prepared to make another batch today, this one will be Orange soap! I have lots of orange essential oil, and I liked the idea of using fresh orange juice instead of water for the lye mixture. Also, it will use the zest of one orange. I will have to figure out what to use as a mold though, unless I use the christmas molds. Not sure if I want orange Christmas soap, though, and crafting my own mold sounds fun!