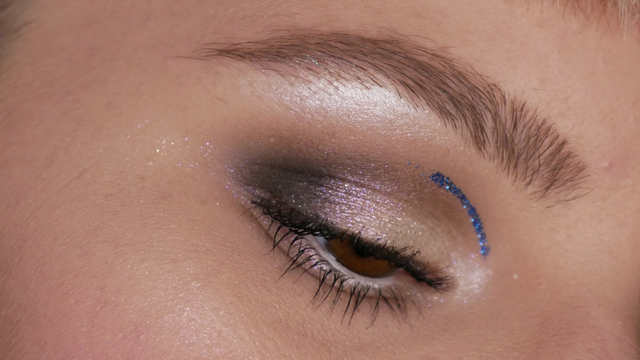
Sparkle Night-out Eye Makeup Look
Today, my husband and I went to the post office because we’ve received some packages from Luxembourg. We didn't have a tracking number, so we had no idea if there were some packages or not.
As we arrived at the post office, the woman has recognized us immediately and gave us all the packages from Luxembourg. She told us that they already there for over a week at the office even though we hadn’t received any e-mails or messages to collect them.
Between all of the packages from Luxembourg, there was one package from the UK. I had no idea about that one because I didn’t order anything from the UK but my husband did.
Back home, I unboxed the one from the UK and found out that he had ordered some makeup products for me. They are gorgeous! And that’s what today’s makeup tutorial is about.
I created an eye makeup look with some of the new makeup products that my husband ordered for me.
So, let’s start:
Step 1: Prime.
Start off with a proper base by priming your eyelid.
Use your favorite eye primer and apply a bit to your eyelids and then blend it with your finger. Give it a few seconds to dry before you’re moving on.

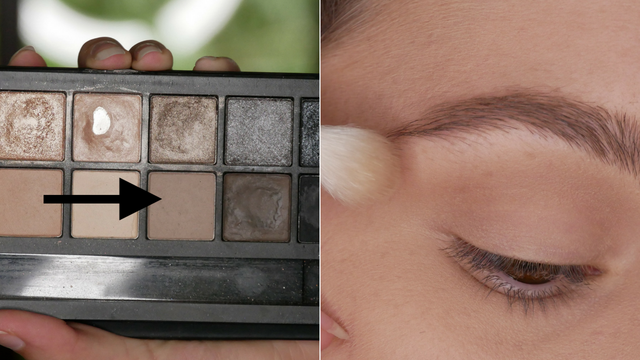
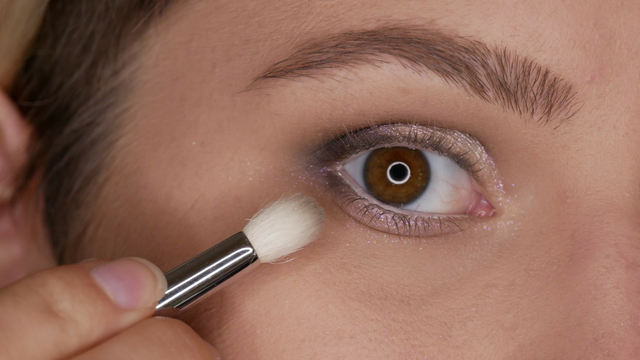
Step 2: Light Grey.
Go for a matte light grey eyeshadow and pop this in your crease and above.
Choosing a fluffy eyeshadow brush will help you to blend the shade.
This shade doesn’t need to be fully pigmented because it should work as a transition shade.
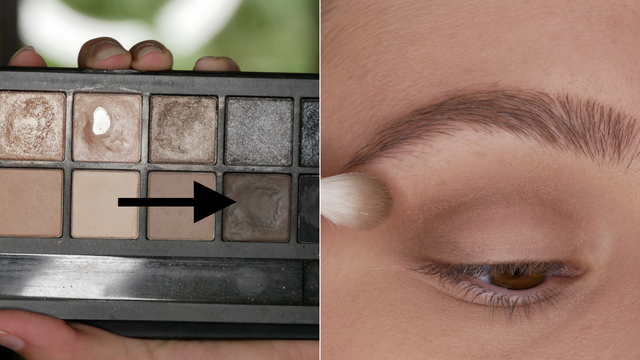
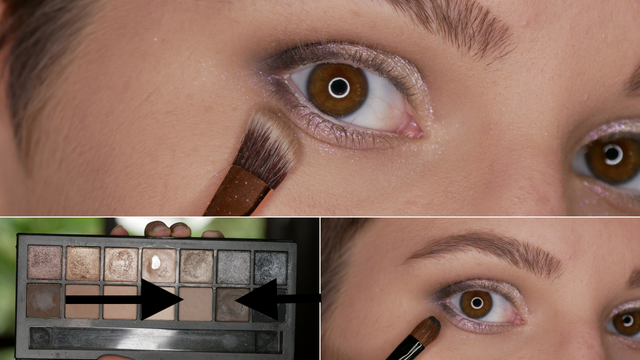
Step 3: Darker Brown-Grayish Shade.
On a denser rounded eyeshadow brush, you can now place this dark brown-grayish shade right into the crease. Don’t go too far up, keep it only in the crease.
Also, add this shade to the outer corner of your eye and keep the edges rounded.
You can apply this shade in a ‘V’ shape to emphasize the outer part of the lash line and crease.
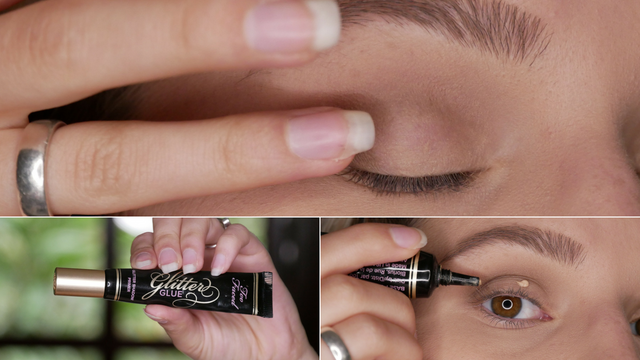
Step 4: Glitter Glue.
If you’re working with any kind of makeup glitter, you can apply some glitter glue before you’re actually applying the glitter. This will help the glitter to stick to the lid and make it more pigmented.
It’s similar to an eye primer, the only difference is that you don’t let it dry.
Add a tiny bit of glue to the lid and dab it in with your finger. Right after you’ve applied the glitter glue, move on to the glitter application.
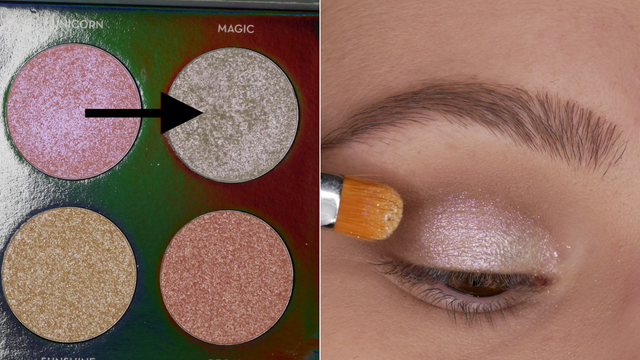
Step 5: Highlighter.
One of the new makeup products was the highlighting palette and one of the shades I used on my eyelids where I applied the glue.
Of course, you could use any type of glitter to put on top of the glue, but you also can use highlighters as eyeshadows as I did.
Use your finger or a bit denser flat eyeshadow brush and apply the highlighter. Spread it out even over 2/3 of your eyelid, keep the outer corner clean.
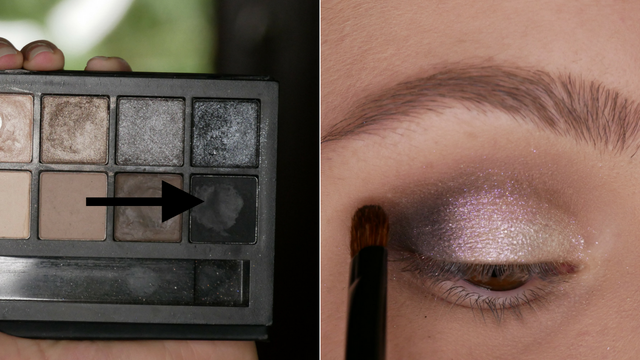
Step 6: Black.
Take a brush that fits in the outer corner of your eye and add some black shadow to it.
I used a fluffier flat eyeshadow brush with a bit of a tip shape so that I was able to place it right in the inner corner of my eye and spread it out a bit.
Step 7: Blend.
Taking the same denser brush from earlier (step 3) and blend the various shades into each other so that they are melting into each other. There shouldn’t be any harsh lines to see.
Step 8: Lower Lash Line.
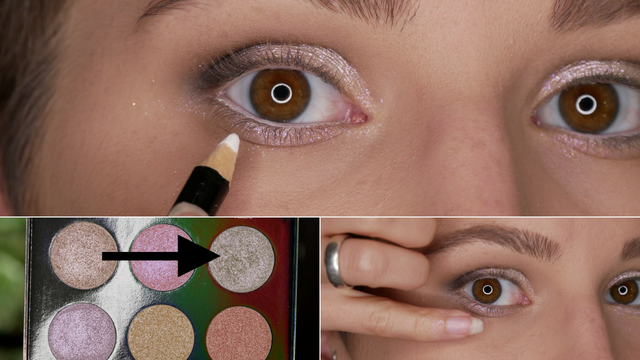
Use the highlighter shade again and pop this onto the entire lower lash line. Use your finger as a applicator.
Then go ahead and line your waterline with a white eyeliner pencil.
Step 9: Depth On Lower Lash Line.
To match the top outer corner to the bottom, I would suggest you take the same two shades that you mostly used for the crease and outer corner. In my case: black and dark brown grayish shade.
Only apply these two shade on the outer part of the lower lash line and connect it with the upper outer corner.
Step 10: Blend again.
Blending is so important! Blend the darker shades into the highlighting shades on your lower lash line by using a clean blending brush.
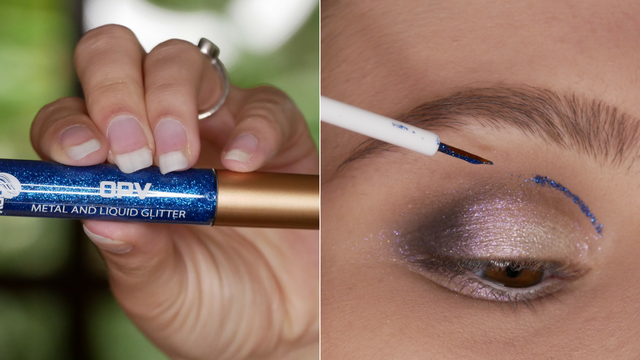
Step 11: Glitter Liner.
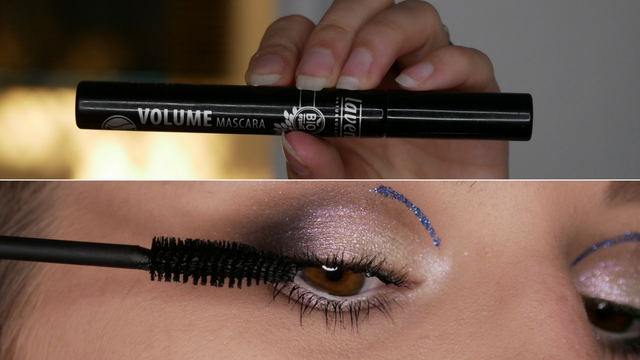
I also got this new glitter liner in that package. This glitter liner is in blue and it’s a liquid glitter liner that dries after a couple of minutes. It’s a bit on the watery side, so you need to give it some time until it dries completely.
I wanted to give it ago and tried it out for the first time. So, this is where I thought that I needed a good spot to see how this product performed. This is why I placed it in the inner corner but at the height of where my crease is and let it dried.
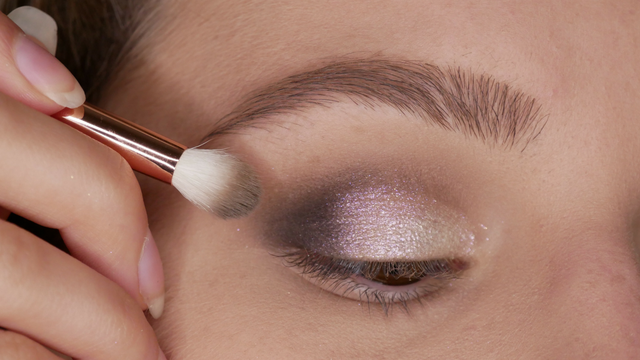
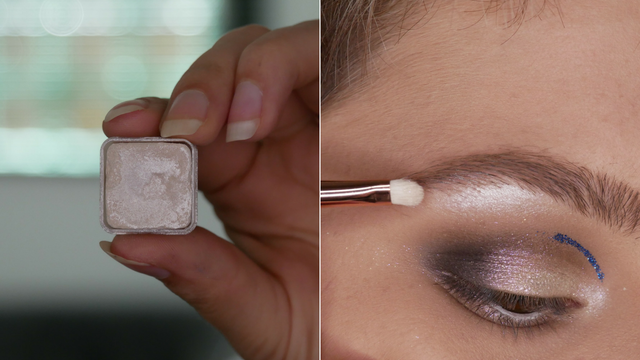
Step 12: Highlighting.
I went for an icy type of eyeshadow and used it as a highlighter since it’s also shimmery and because the colors which are on my lid are quite cool-toned and this was the perfect highlighter.
Use a small lip brush and dampen it with a bit of water or setting spray then place it in the inner corner of your eye and brow bone.
Also highlight the rest of your face with a fan or highlighting brush or even your finger.
Step 13: Mascara.
Finish off your eye makeup look by adding a few coats of mascara to see the end result of the beautiful eye makeup that you’ve created.
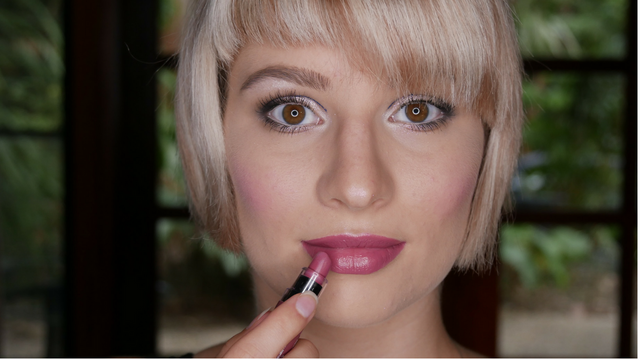
Step 14: Lips.
Since everything is a bit more on the pinkish side, I added a soft pink lipstick to complete the total makeup look.
This makeup look isn’t as dark as my previous makeup look because I used lighter shades and highlighter as eyeshadow which really open ups your eyes so, that they will look bigger.
Great tip for beauties that are having smaller eyes.
xoxo, Melissa
Follow me on Twitter
Follow me on Facebook
Subscribe to my YouTube Channel
ALL MAKEUP GEEKS, feel free to RESTEEM this article! Let's keep spreading the word with real life everyday makeup application!
If you're someone who needs recognition for amazing an special content, don't be afraid to join the Promo-Mentor Channel