Gardening Top UpCycle Inspired by A Sister's Love
I found myself with a quiet moment alone on Mother's Day morning.
I decided to tackle a 'just for me' sewing project that was needing to be done. Here's the story of that project.
A Sister's Love
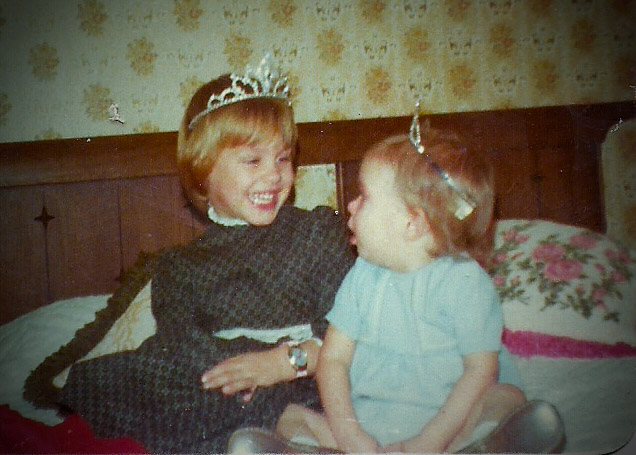
Growing up it was just my Little Sister and I, two and half years apart.
In three weeks, I will be Maid of Honor in her Wedding.
This is where today's project fits into the story.
This is where I introduce you to how much I Love my Sister!
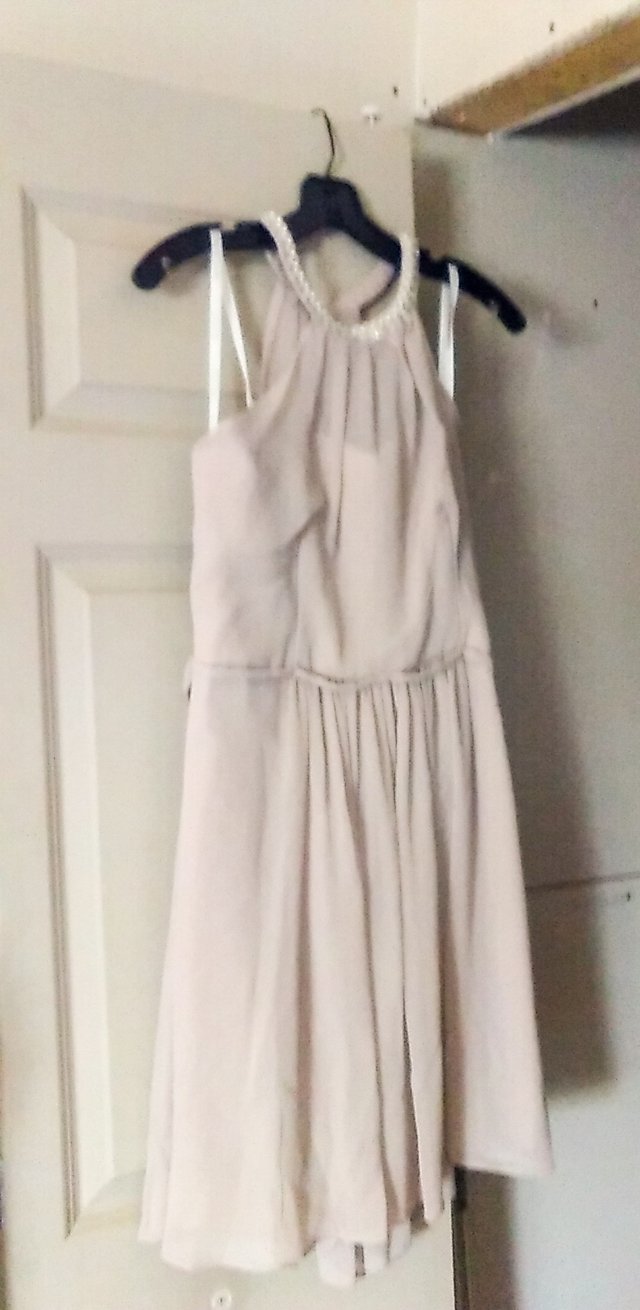
Her wedding is the classic fancy dress with a personal twist of country!
I Love the simple lines of the dress she has chosen. I will feel beautiful wearing it and enjoy the day dressing up like a Proper Lady.
The problem requiring today's sewing solution is that I am always outside...
...most of us have heard of the term Farmer's Tan... well...that is nothing compared to the reality that is my Life. Homesteaders can be spotted from twice as far away as a Farmers! I will spare you the pics!
Homesteaders have that well baked suntan with hard tan lines just like a Farmer. Then add on top of the tan all of the tick bites, the berry bramble scratches, and the kinds of knicks and knocks that working all day everyday with your hands will give you.
Looking like a Lady becomes a much more involved process!
This project addresses getting the right tan lines.
I need to be wearing strapless tops for the next few weeks. I do not have a single strapless top, much less one that is comfortable, cool, able to be worked in. I needed to come up with something quick and easy!
Earlier this spring, Project plan 1.0 was started. The idea was to make a strapless spin upon the traditional apron tops that I make all the time.
I was just going to relocate the ties and turn it strapless. I dove in and planned on making it all pretty. I got as far as prepping the pieces and selecting the decorative additions. I didn't have the dress yet, so the pile was set to the side.
When I approached it again, project 2.0, I decided to work with one of my Dad's old work shirts as the base. I wanted the comfy broken in T-shirt material. I quickly scrounged up some shoe laces and we were ready to go.
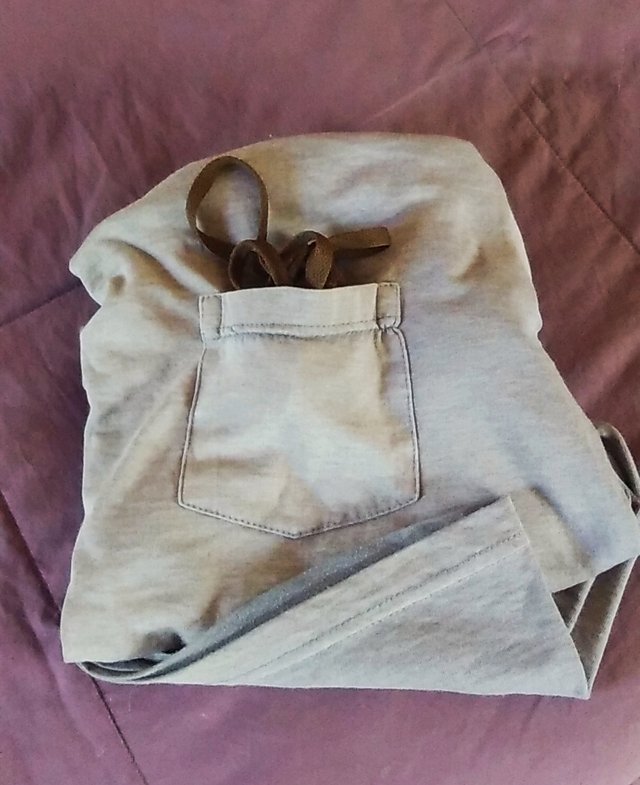
I started by eyeing up a shirt that fit and making decisions where to cut the t-shirt.
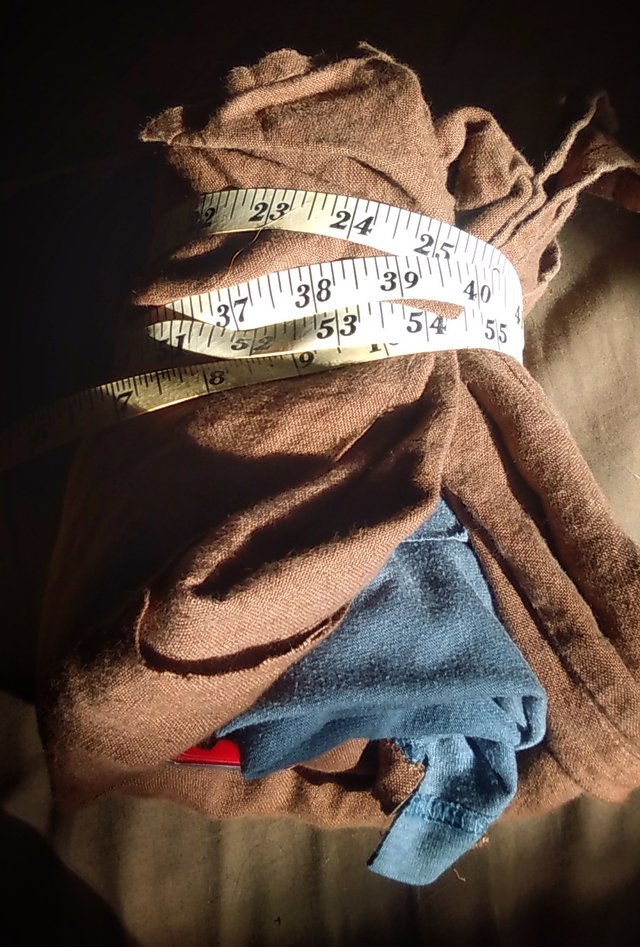
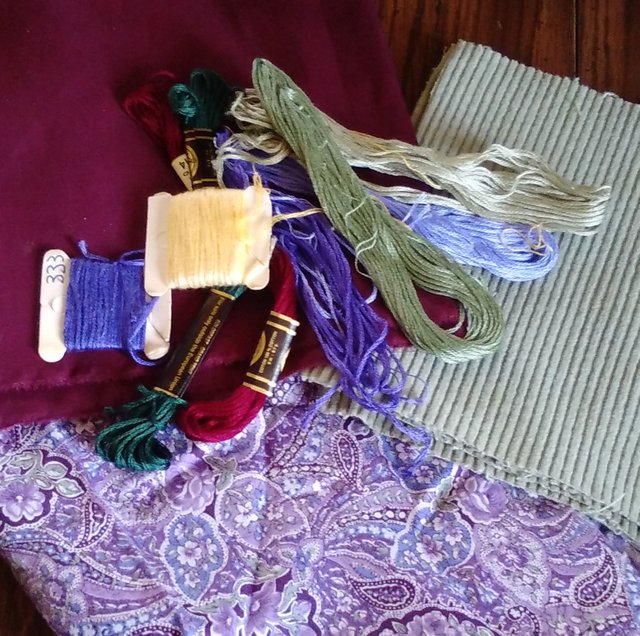
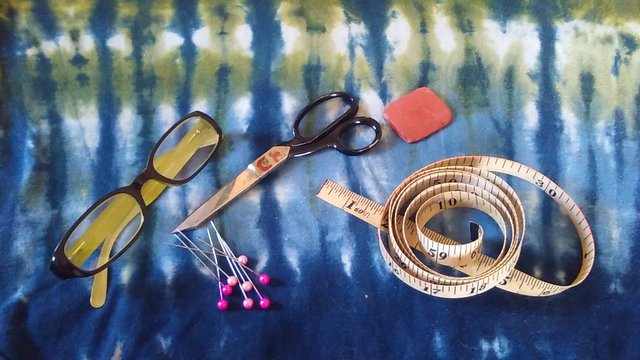
Ready to start, I first gather my tools. This is a pile of tools with memories.
The CK on the scissors is from my sister taking them to home economics class in 7th grade, in nail polish.
The measuring tape and chalk were my mother and grandmother's.
These details matter to me. These tools have a history that includes me... a history I continue to create.
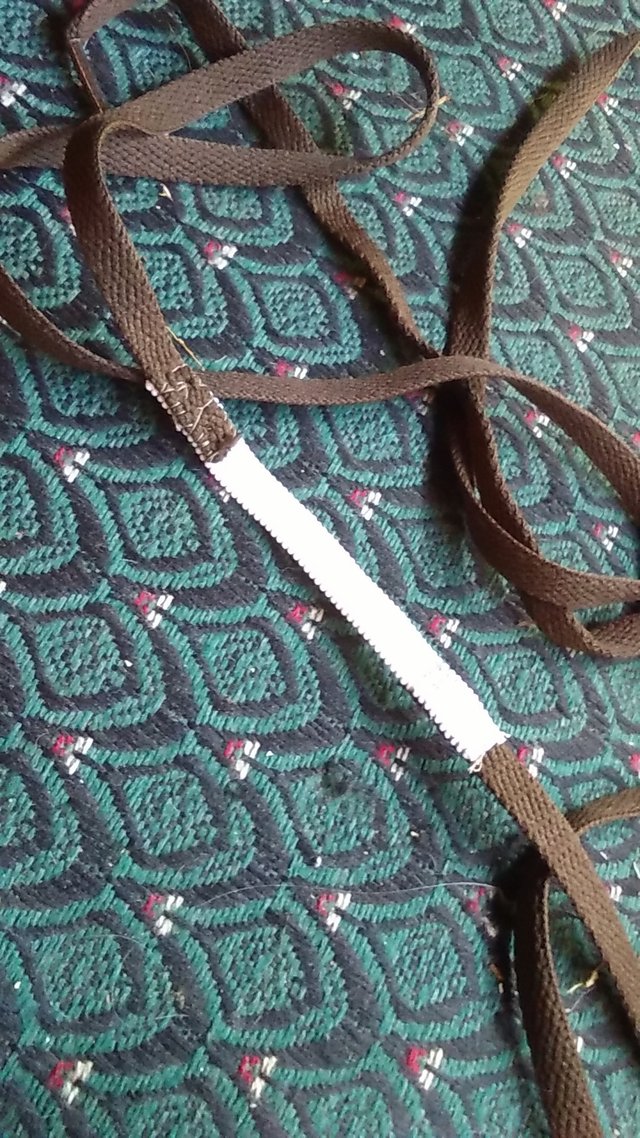
Comfort is the goal. I decided to add a chunk of elastic so this strapless top can be snug and yet give with the movement that gardening requires.
Here is my drawstring finished. I really try to do a lot of these kind of little bits ahead. It is satisfying to have things done and ready
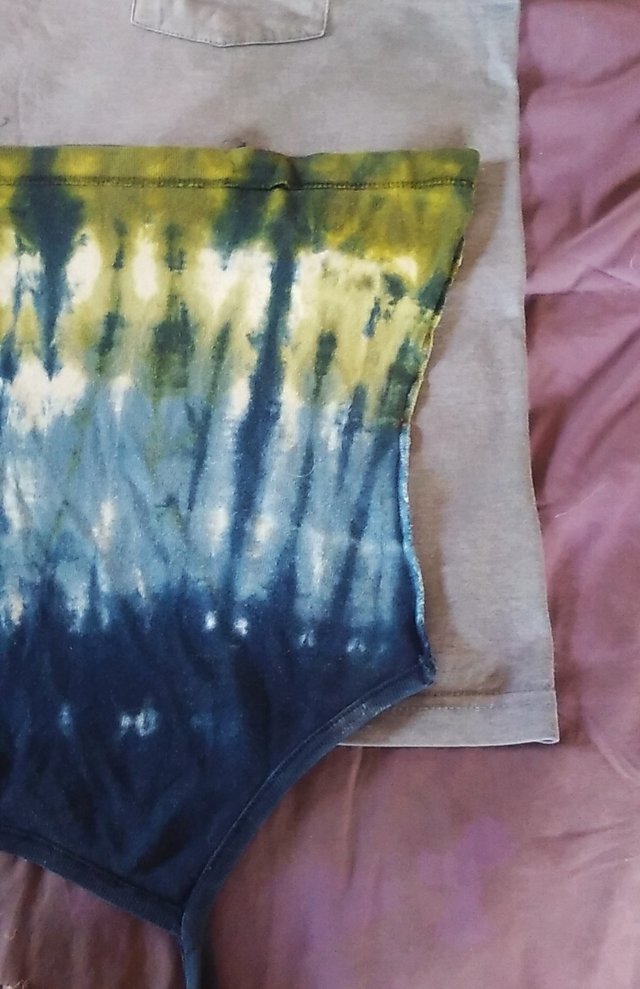
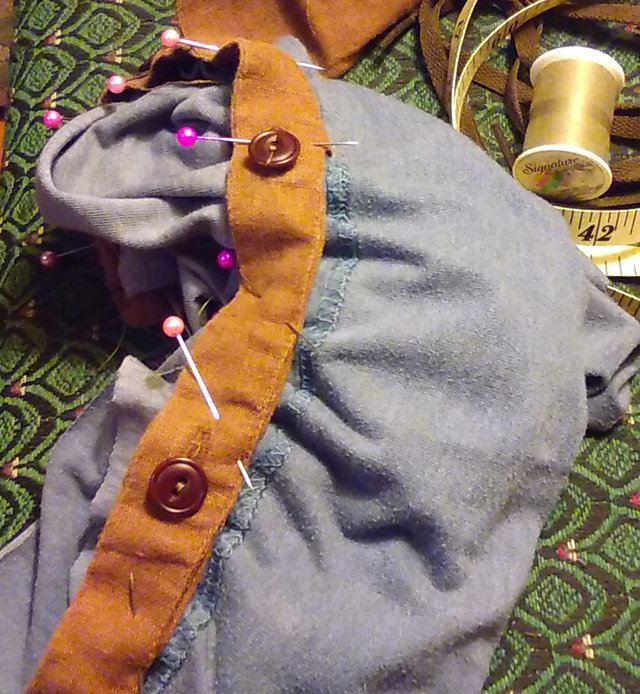
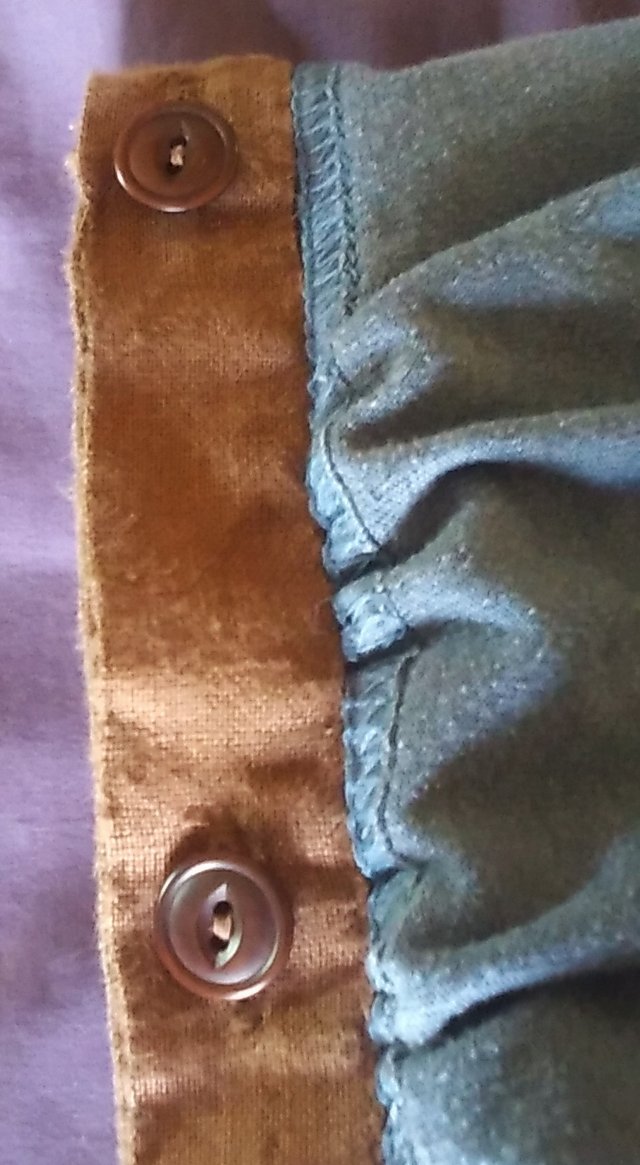
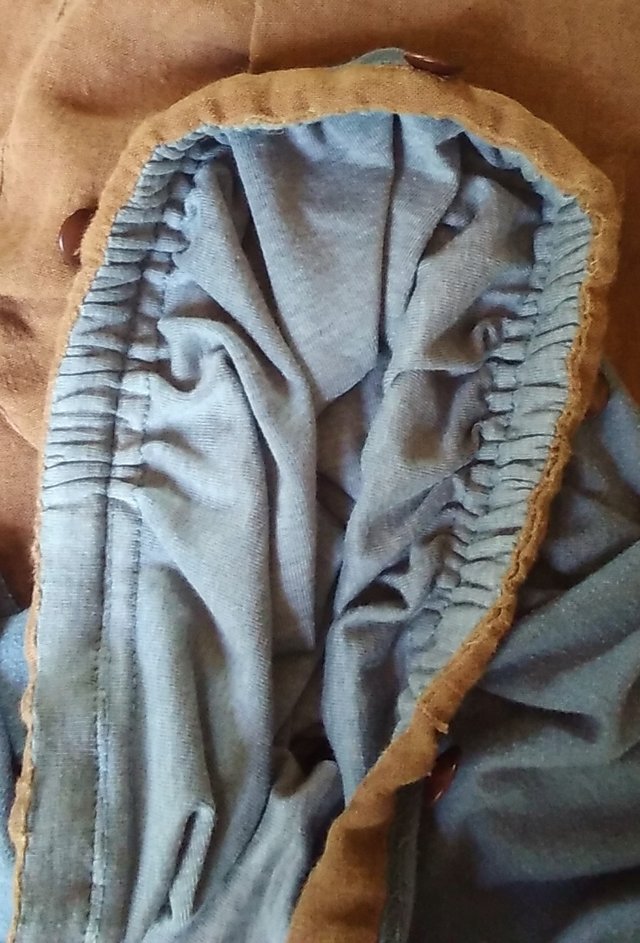
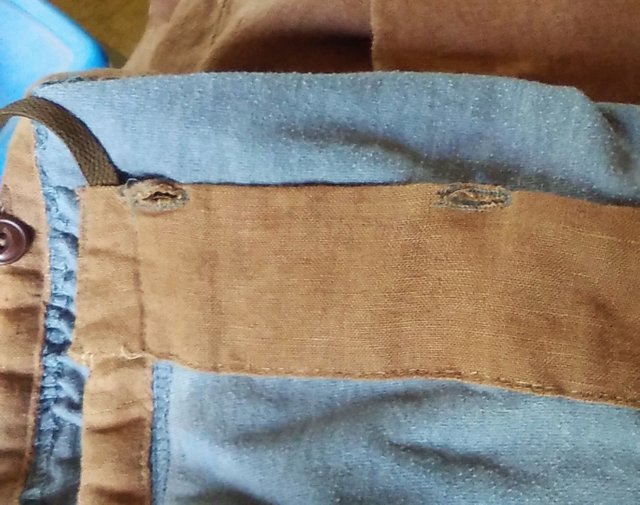
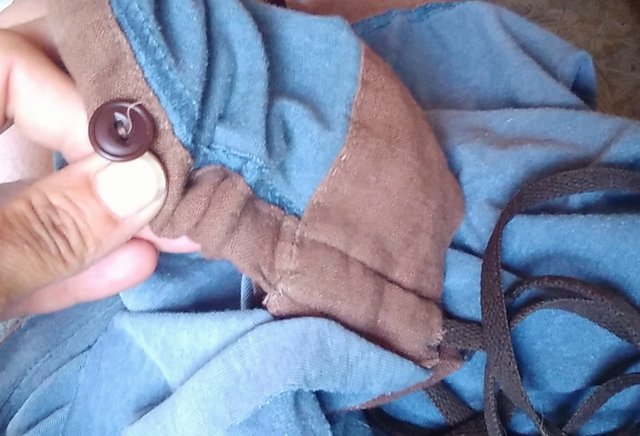
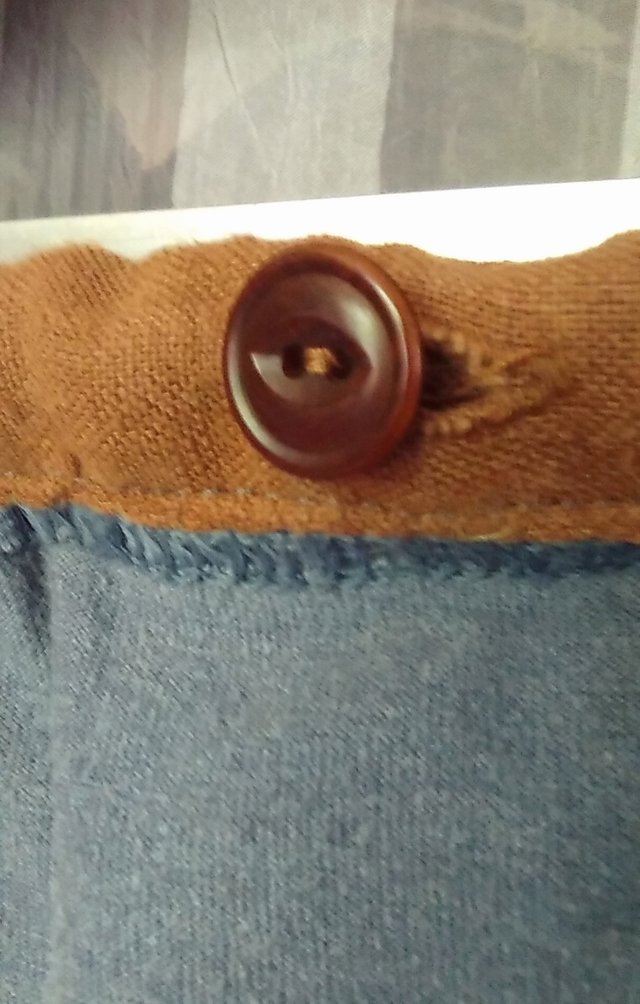
I found a linen shirt that provided it's button bands and cuffs to the structural stability of this shirt.
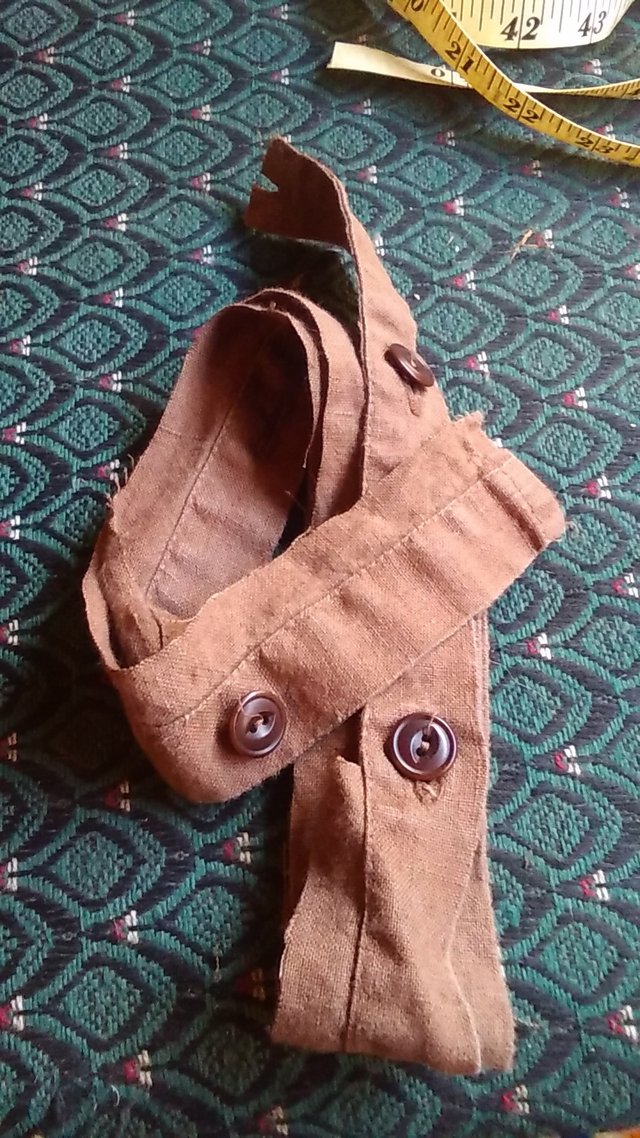
I needed to offset the button bands by a couple of buttons to gain length. I whip stitched the two bands together where they met. This will become the casing and top finished edge of the shirt.
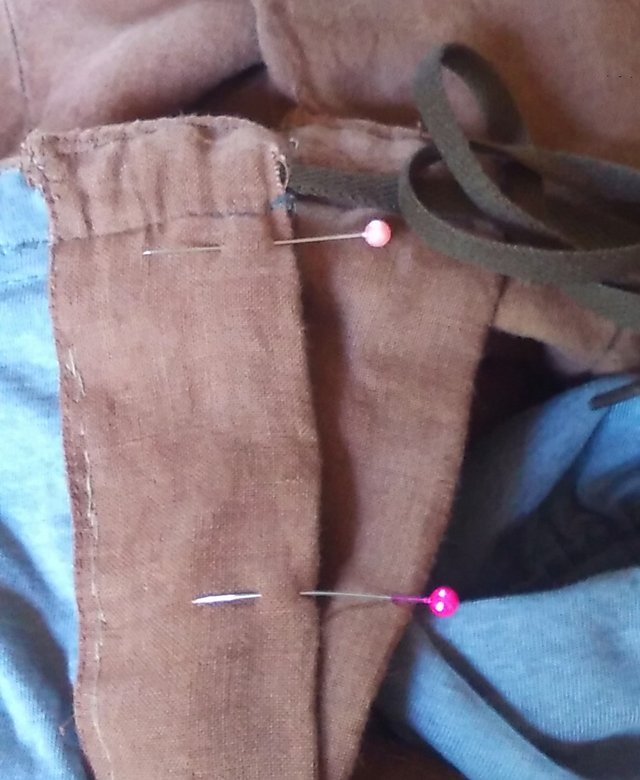
To attach this band to the shirt, I pin it to the t-shirt at key points, half, quarters, etc.
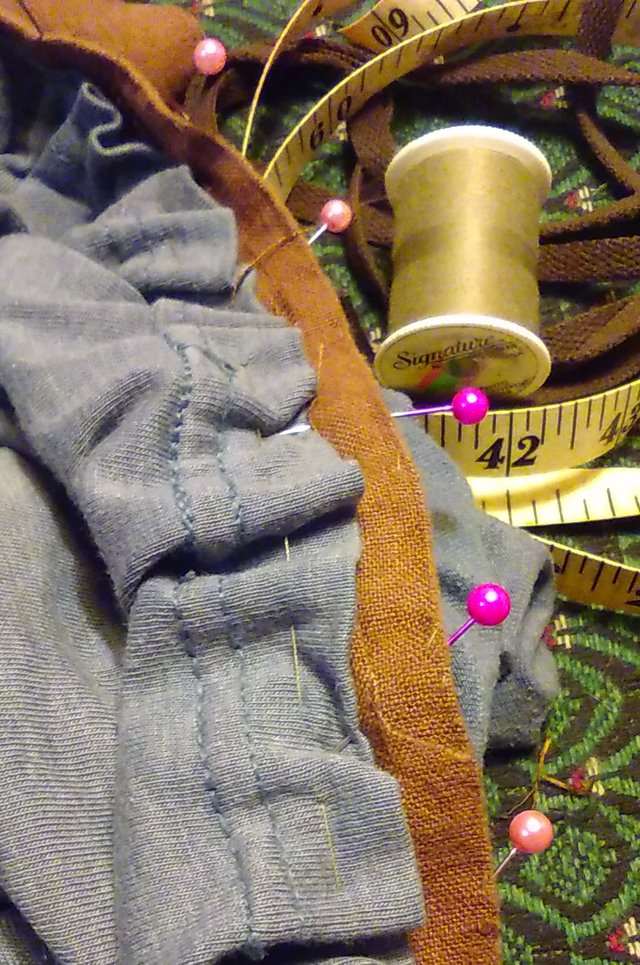
The finished bottom of the T-shirt has become the top leaving a nice top edge to work with. I run a large basting stitch across the edge of the t-shirt so I can gather and adjust the fabric to fit the top band.
This one is just love of these button bands I chose.
Here you can see the gathering has been completed. I targeted the bust for more gathers. This has been sewn across the bottom edge to attach the top band and lock in my gathers.
The next step is to sew the two loose edges together. I took a pic today as I realized I had missed photographing a few key bits.
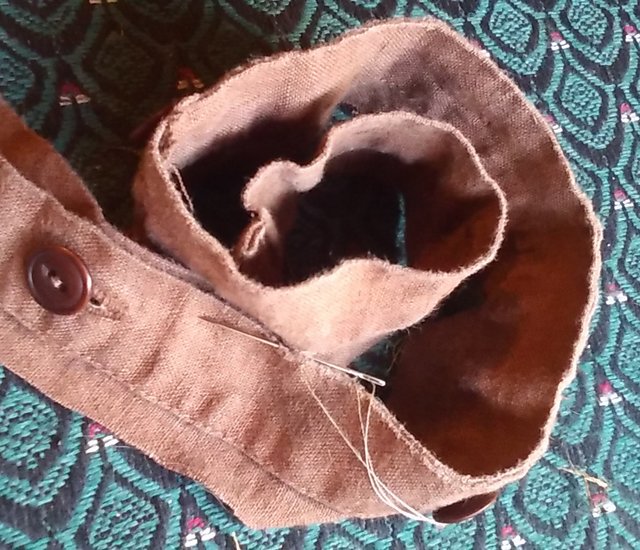
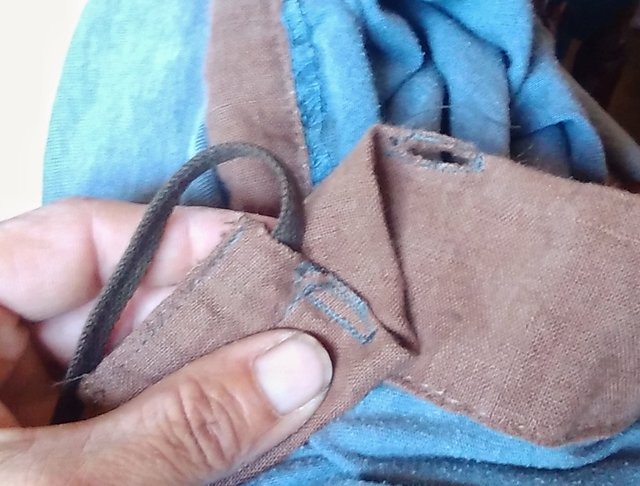
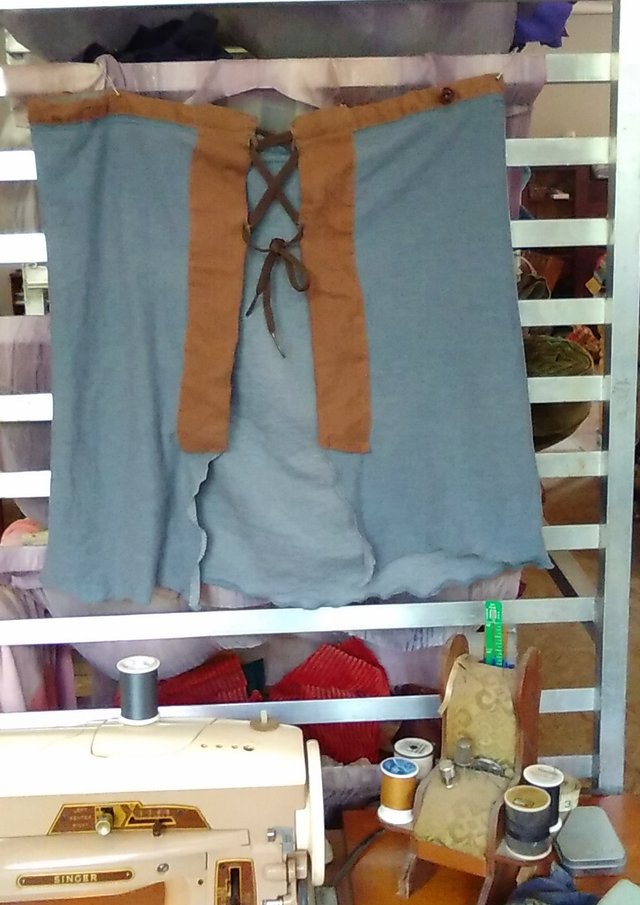
This is where the linen cuffs were used. To tie the back I would need the stable fabric again. It ends short, so I draw it to a point and leave it.
Have I mentioned that everything I have done so far has been by hand?
Today I became grateful for the hand sewing as I realized I had sewn my drawstring casing shut in four places!
A quick undo, a few more hand stitches, and now the machine can do the rest.
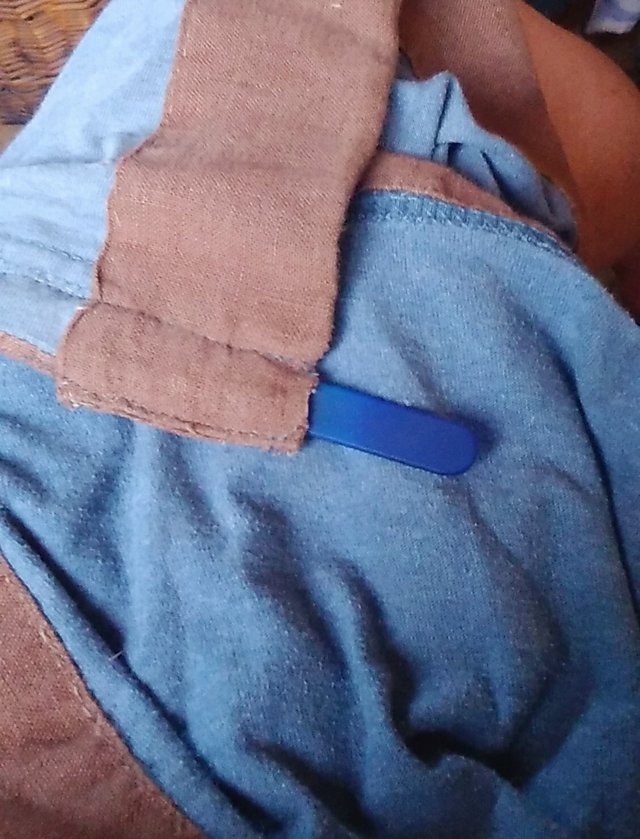
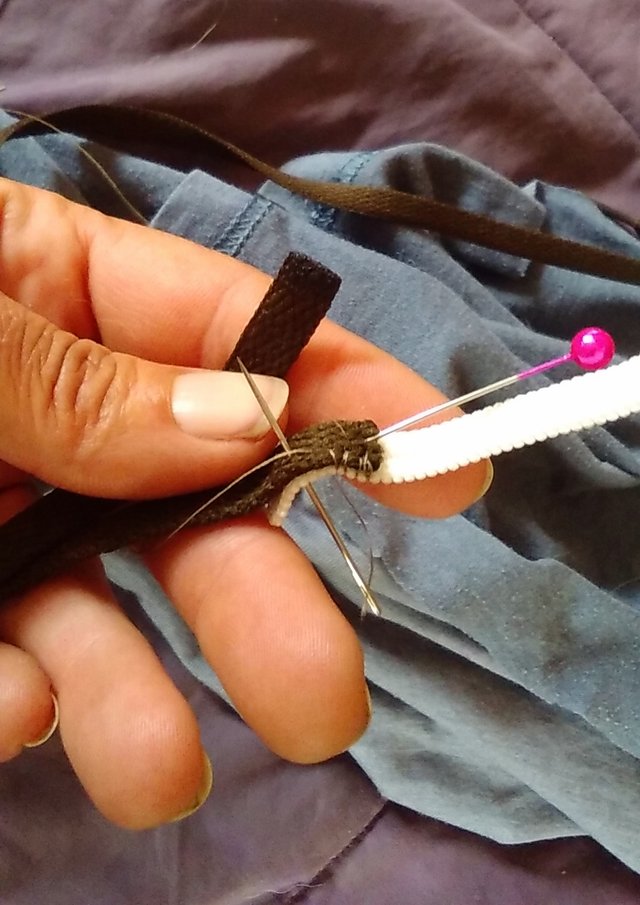
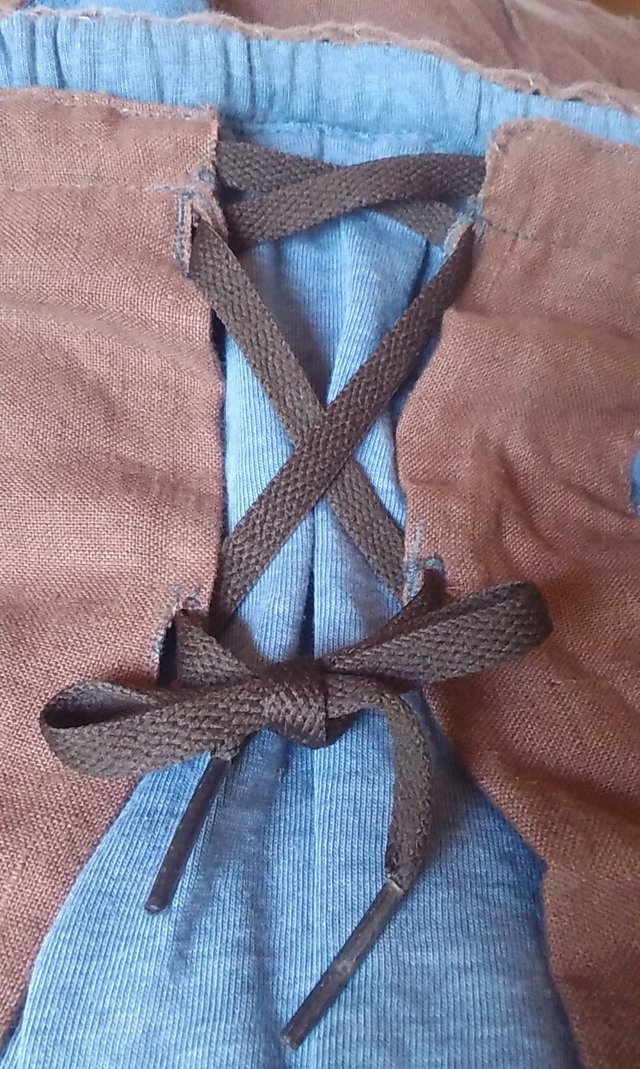
Time to thread the drawstring through the casing.
Next, I mark where to place the holes for lacing the drawstring through.
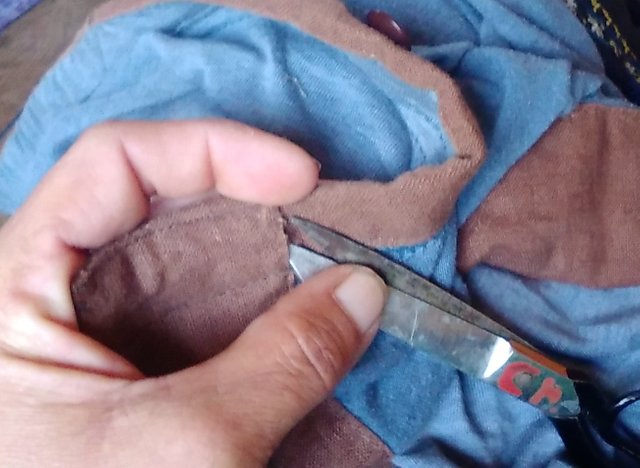
I decided to use the button hole technique for the eyelet holes.
I learned I suck at them and need to practice! I cut open the centers and trim away extra fibers.
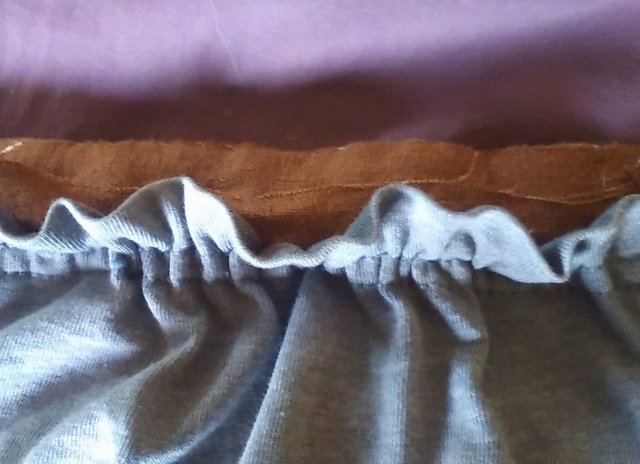
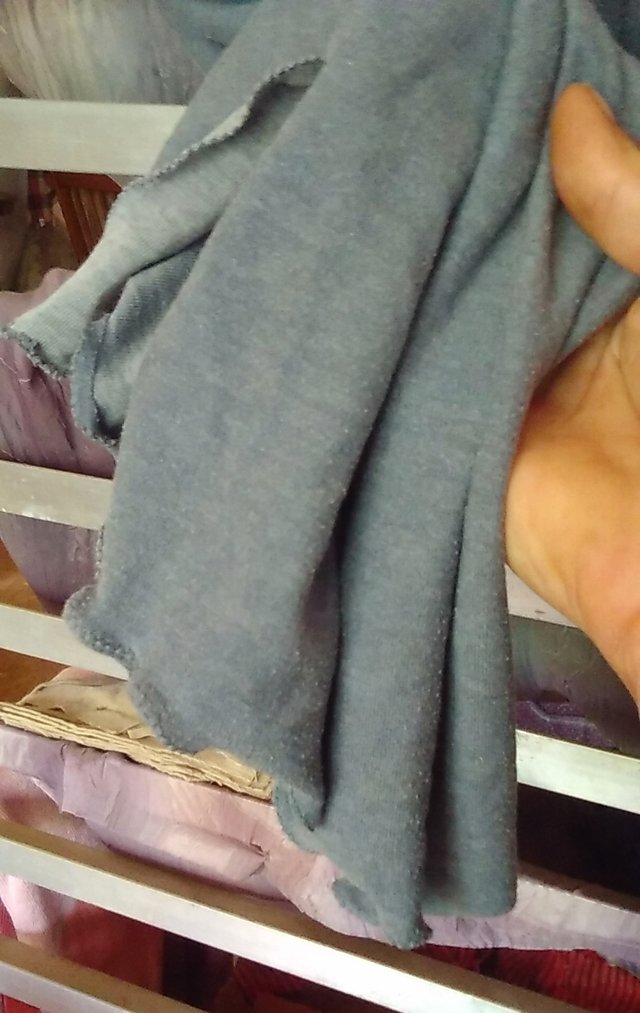
I laced her up! Finished the raw t-shirt edge with a zigzag stitch, letting the material stretch and warp how it wanted.
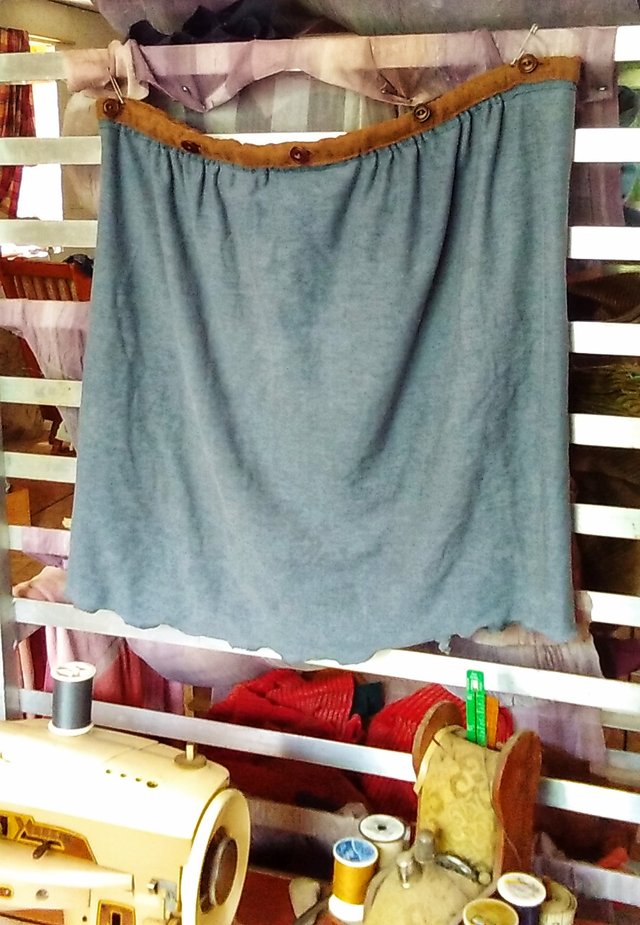
I love the buttons, and the t-shirt stiching I left exposed. I enjoy using seams and functional bits from donor clothing as design elements on the new piece.
The free-to-be edge across the bottom gives it a feminine feeling flow.
Well, we have arrived at the end, the finished project. Extra points for those if you who journeyed the whole way through.
Here is the view of the back.
And the Front. I'm digging it!
I will update once I try it out.
Here's a quick heads up to those who seemed interested in this project from last week's preview in my May Studio Journal.
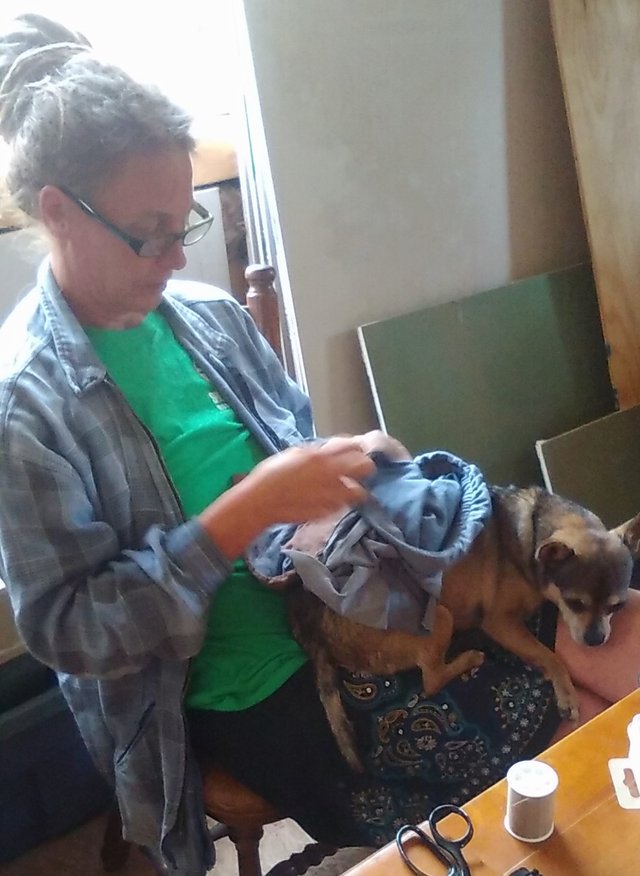
I leave you with a candid shot one of the fam snapped while I was stitching this morning.
Until next week...happy #NeedleworkMonday!
~all text and images are my own unless otherwise credited
Just a girl...
Living, Loving and Dancing her way to Wholeness with the help of a Mountaintop and a Purpose.
Follow the Adventure

Wow - what a cute top! I love how you hand sewed much of it before using the machine. The buttons at the top make it decorative, too. Love it!
Thanks! My machine was broken! The hand sewing was a necessity here.
However, I prefer to hand sew whenever I can. Just like my yarn projects I find hand work relaxing and meditative.
Love the creativity! Brilliant using the button bands!! You have inspired me to start digging through my material! Thank you!
I am curious to see what you dig up! My favorite thing is to make something old new and sassy again!
I am just finishing a sweater quilt. Made from the sweaters of the 80s. :) will have to post when i am done! Will have to whip a few things up. :) should try to make a space for the sewing machine. Especially for the winter! You are a motivator!
I really enjoyed reading all the steps you took to create this top! I think leaving the bottom edge unfinished was a great idea because you're right, it does give it a slightly frilly/feminine look.
What are you going to do with that lovely lavender paisley fabric now? I have to admit I immediately coveted it when I saw it :)
Not a clue... Would you like it?
You're tempting me!! Though looking at my current piles of fabric...I should probably pass...how large is it though? ;)
This seems so complicatet (to me) but beautiful. Great it worked out so fine.
Thank you for sharing this sewing project <3
I like how organic your top looks! It looks cute, sexy and comfy. Your hand stitching skill is nice. Thanks for sharing the detailed process. Am sure you will look great in it!
Looking forward to seeing it modeled. 🤗
I like your project blouse with ropes like this are so freeing to wear and good in nice weather. I wanted to ask why you were hand sewing but I already read in the comments that you like to hand sew.
Yeah I also have a sewing material with history, I still have my grandmother's tape with me although its really pale looking now.
I like how you placed buttons on the front parts of the blouse that way if would ever want to connect some remove able straps to the front of the top then the buttons can come in handy.
Your dog is so comfortable on your lap with all the needlework going on on its back lol!
Hi @borrowedearth, I just stopped back to let you know your post was one of my favourite reads and I included it in my Fiber Ramble. You can read what I wrote about your post here.
Join us on Mondays for Creatives' Coffee Hour at 1pm EDT in the Steemit Ramble on Discord.
This post was shared in the Curation Collective Discord community for curators, and upvoted and resteemed by the @c-squared community account after manual review.
I would also like to see it modelled please @borrowedearth 😊