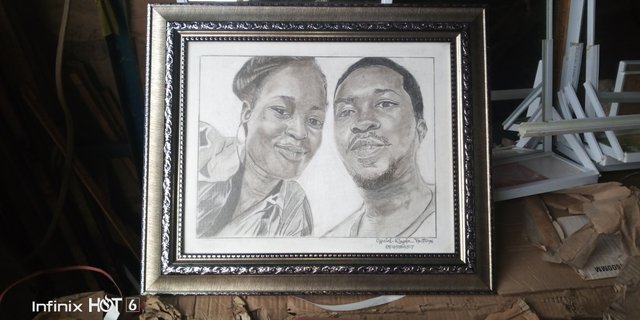
Portrait 18 - Original Drawing with Pencil
There is more to creativity in life. One of the ways is through representation of image sequences on paper with pencils or pen. In this post, i will be making a pencil tutorial for you all to gain from STEP by STEP.
Now lets go to the Step by Step stages of this portrait.
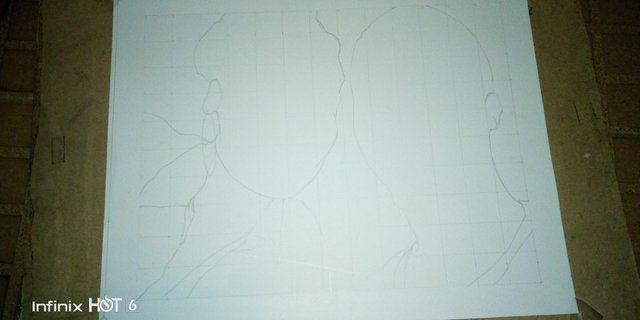
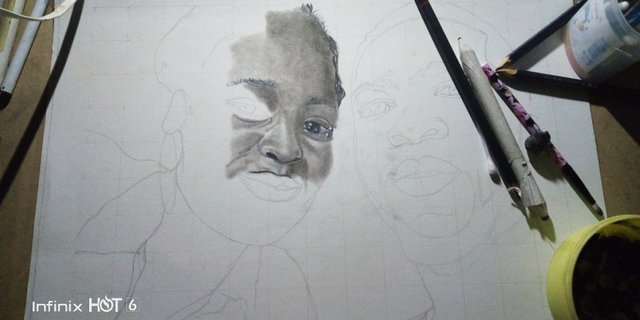
This is the stage where the paper is prepared for sketch. in getting the paper ready, a pencil and a ruler is used to make grid on the paper so as to be able to capture the resemblance of the reference picture i intend working with. When this is done, i was able to sketch out the shape of the reference picture. This is what i mean in the image below:
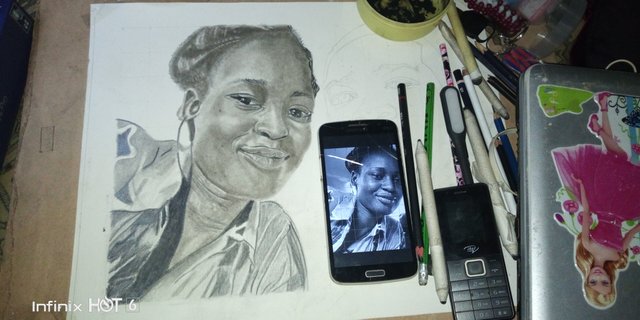
After sketching the shape of the reference picture, i moved on to the stage of highlighting the figures and parts of the face which shows the format and sequencial representation of where the eyes, nose, mouth and the ear. In this stage, this is where the detailing starts and this shows whether your resemblance is perfect with what you have on the reference picture. If there is mistake in the sketch, there will be problem with the resemblance in the reference picture. This means that this stage is a crucial stage where enough time is needed to be spent on the sequencing. Here is the image below:
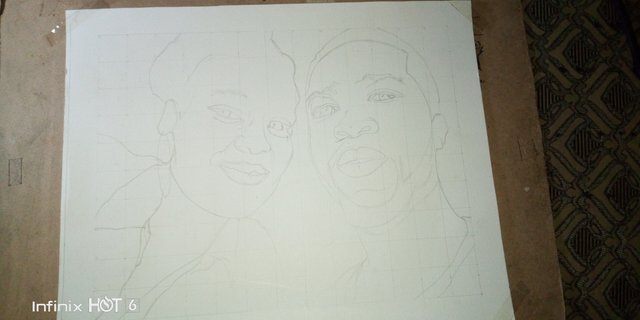
Just as seen in the above picture, the sketch is accurate and perfect and this means that we are ready for the next stage.
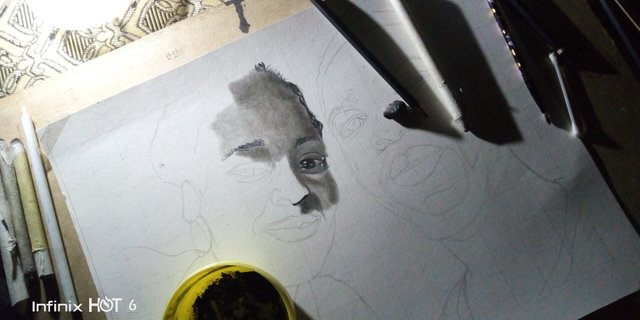
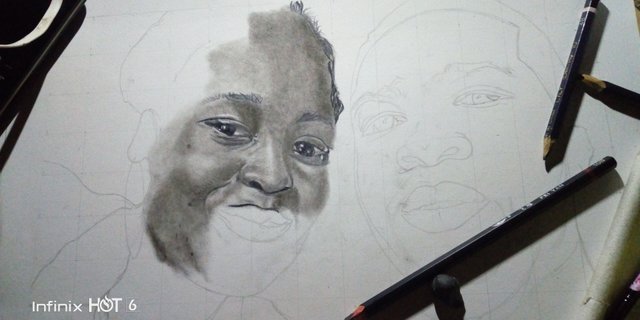
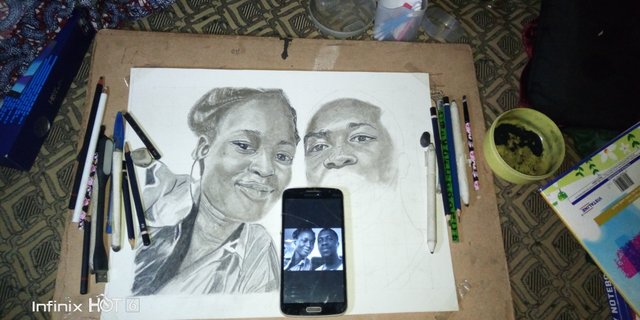
- At this stage, we go into the shading of the sketch that we have made. when shading, it should be done gradually following box by box. This stage entails the detailing of the skin just as it is seen in the picture.
some of my students often complain that they have difficulty shading and controlling both the tone and the tint from the reference picture to the sketch, but i show them in practicals that it is the easiest thing to do. In controlling this challenge, it is best to pick the shading box by box.
In this stage also, the blending is done just as the shading is done box by box.
See the shading and blending sequences below:
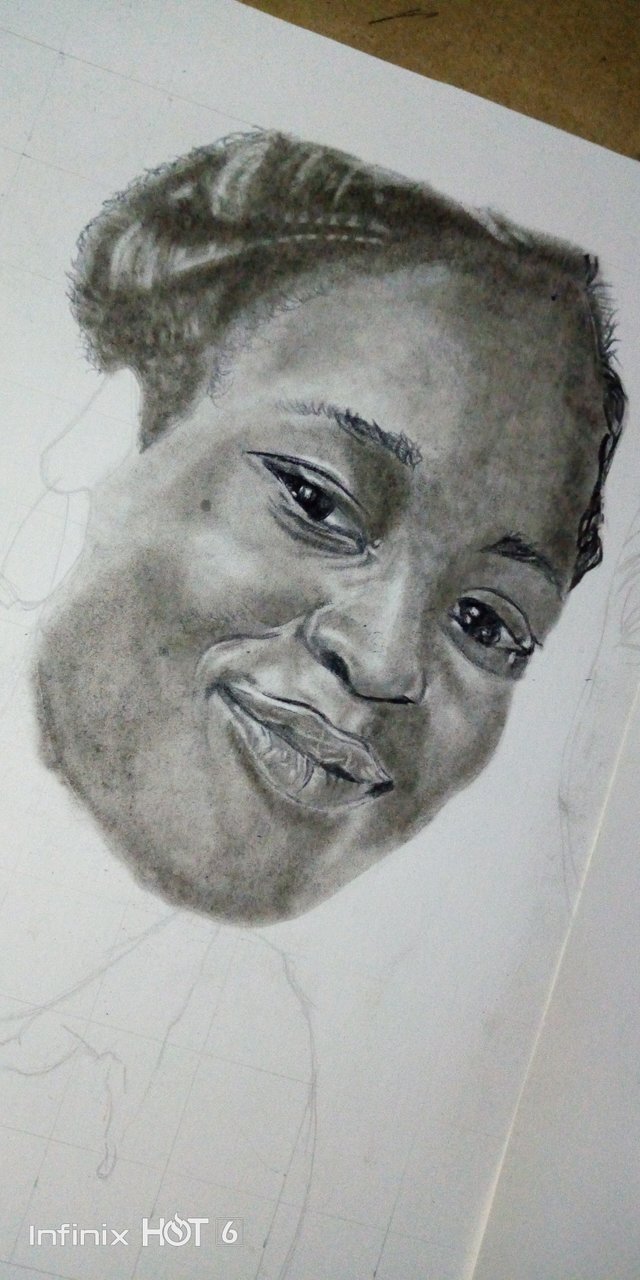
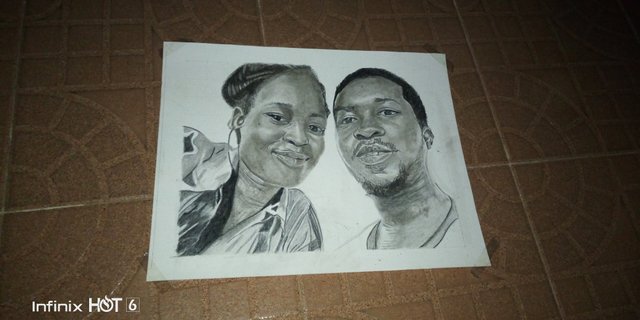
In showing the 3D Effect, lets see this image below. The way its position is what explains the tone and the tint which made the drawing 3D Effect. See the image below:
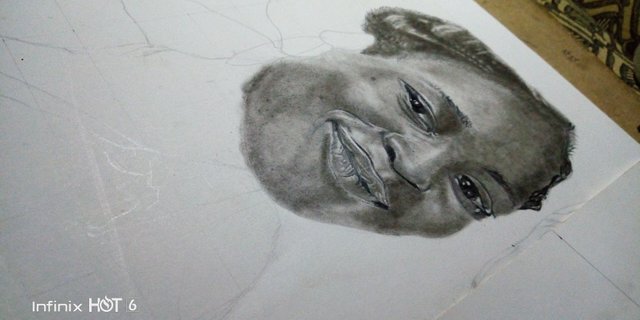
Just in the same process of shading, the whole boxes will be shaded accordingly. Other pictures till its final processing till framing are shown below:


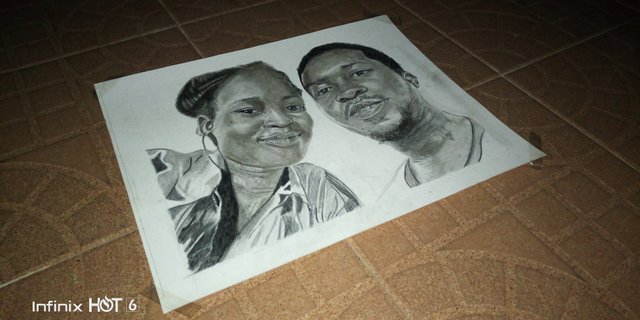
To my viewers and readers, thanks for sparing your time to attend to this post and i believe this stages in producing this drawing is effective in guiding you through on how you can make a portrait.
Love from @kayda-ventures
To my supporters, i appreciate you all. Thanks for your encouragement, I cant mention you all.
@matthewtonyit @ayopeju @ayayash-art @theycallmedan @nathanmars @wesphilbin @artzone @art @wafrica @art-venture @bdcommunity
I love you all.
Amazing as always 😍
Have w !rabbit
Sourced from giphy.com
Thanks friend
This is really amazing buddy, great artworks from you 👌
thanks brother
Your post has been featured on @artzone
Courtesy of @nmalove
Your post was upvoted by the @art-venture account after manual review and included in Art-Venture magazine. The upvote and support of Art-venture magazine would greatly appreciated!
Hello!
This post has been manually curated, resteemed
and gifted with some virtually delicious cake
from the @helpiecake curation team!
Much love to you from all of us at @helpie!
Keep up the great work!
Manually curated by @livvu.
Thank you
Posted using Partiko Android