Practical lesson in the Art of photo processing
Hi everyone. Today I want to show you in practice the whole process of my personal photo processing. I use the program Photoshop and Lightroom.
Photo processing is one of the most important components of a beautiful frame. It's like a cherry on a cake. Of course, processing will not save if the original frame is made unsuccessfully. Therefore, we must strive to shoot high quality immediately. But to give the photo style and completeness need photo processing . I use artistic photo processing in my work. It's a little longer in time, but the result pleases me.
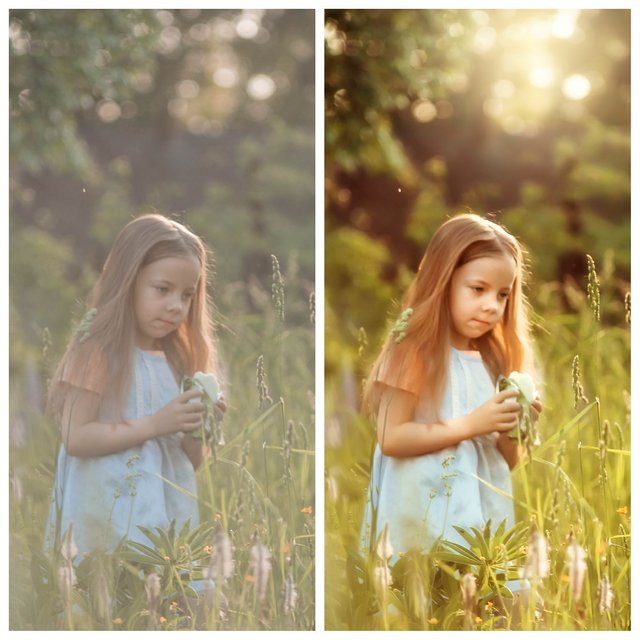
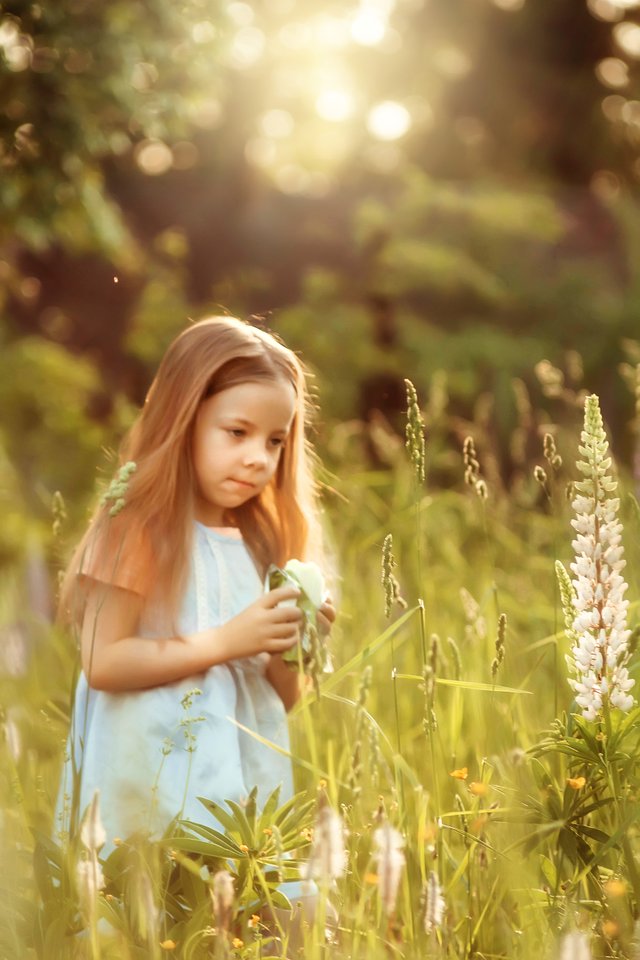
This is the result we will come to today. Before/After processing in photoshop and Lightroom.
So, the first thing I do. I will be doing developing Raw frame. I always shoot in the format of Raw, it helps to insure. After all, this format allows you to work perfectly with light and shadows. Saves a lot of information in shadows and highlights.
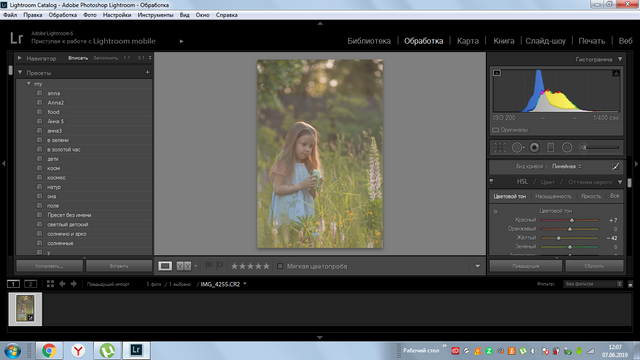
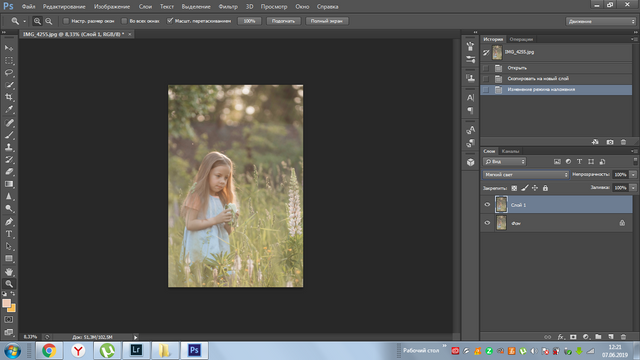
I open the file in the program Lightroom.
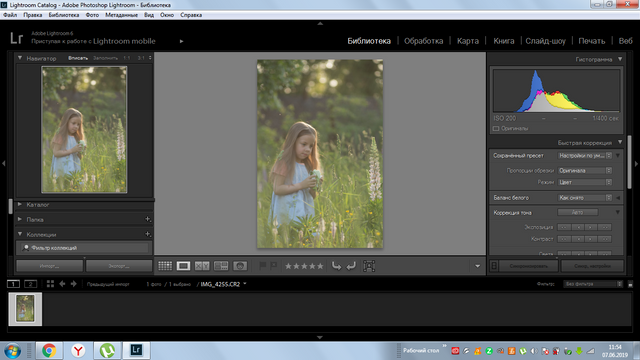
Now I'll work on the shadows and lights. To do this, I take the slider lights and highlights in the minus. And the shadows and dark areas I pull in a plus.
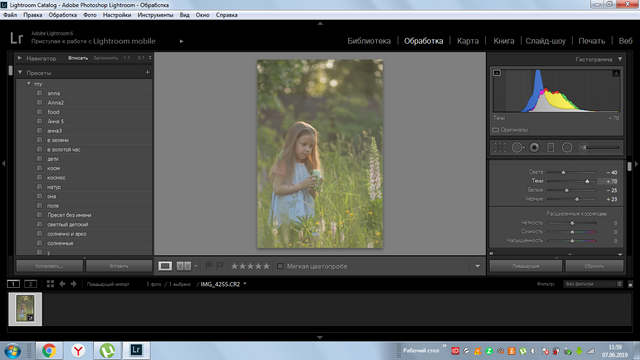
I do not touch the indicator of Clarity, saturation and vibration. I slightly raise the black point on the curve. Literally +3
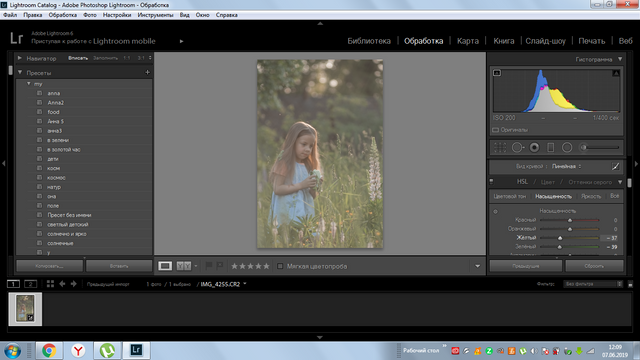
After that I make a color correction in the HSL tab. Yellow and red color I slightly shift towards orange shade.
And I reduce the saturation of green and yellow. Bright colorful greens takes a lot of attention. So I invite her brilliance to highlight the person in the photo.
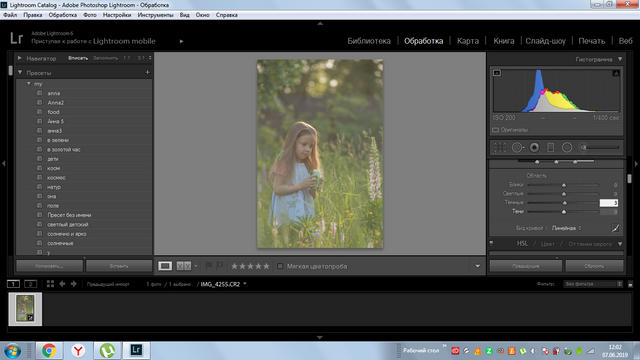
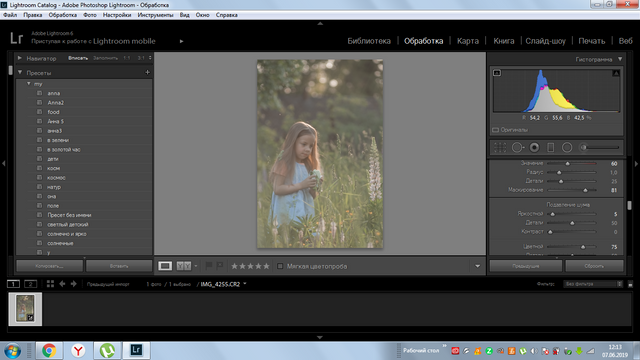
Now I'll work with the sharpness and the noise. I add sharpness to +60. Within a radius of 1 pixel.Masking is about 90 percent. You can hold down the Alt key and see the white sharpness area. We mask until we achieve the desired result. Light noises about move to +10. Color noise +75.
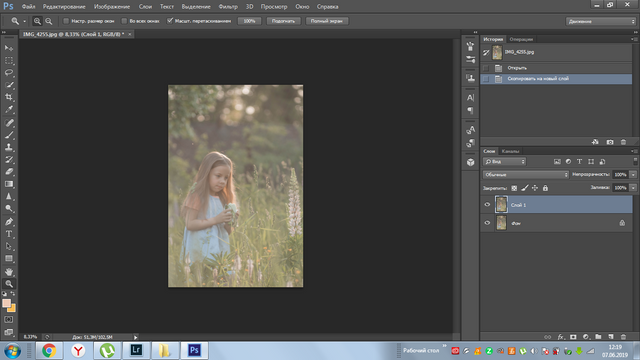
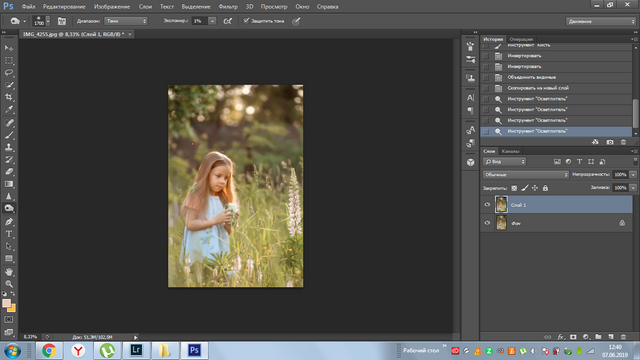
I finished in Lightroom and open a photo in photoshop.
In photoshop I will work with contrast, skin color and photo volume. And also I will do soft toning in brown tones. To convey the atmosphere of a summer sunset hour. This is a good fit for my photo in the contra light.
First of all, I make a duplicate layer. I press the key combination contrl + J.
I am trying to do contrast. For this top layer I translate in mode to soft light.
After that, I merge the layers and duplicate them again. I'll remove the noise now. I use this plugin in portrait mode.
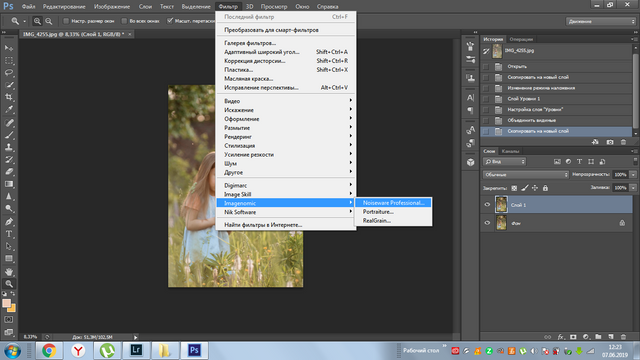
I'm merging layers again. Copying the resulting layer. Now I will make a beautiful skin color. To do this I use the plugin Nick Collection. Color Effect 4.
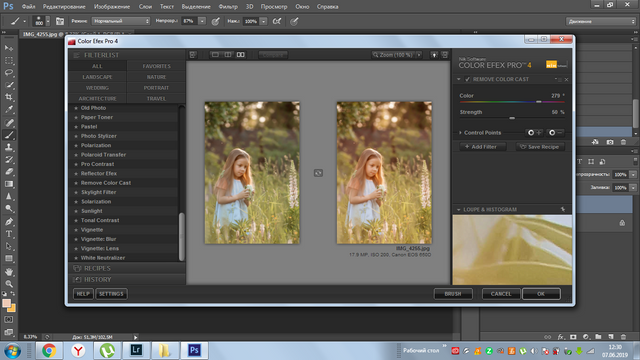
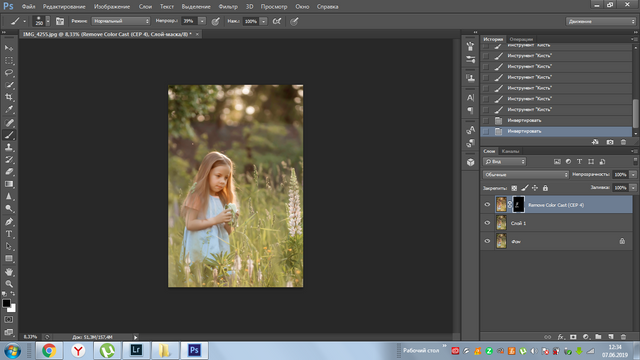
I use this filter in the area of 279 shades. It's a warm skin tone. But this effect we need only on the skin, not the whole photo. So I apply the mask to the top layer. I'm inverting it to black. I take a soft white brush with transparency of 40 percent. And pass it on the skin model.
I merge the layers again and copy the result. Now I'll work on the volume of the photo. Namely I will make light and shadow more pronounced. I take the Brightener tool in the backlight mode with an intensity of one percent. I walk them all over the photo. Then I switch it to dimmer mode. Shadows, 1 percent. And also pass on the photo.
Now let's tint with the Curves tool. I'm opening the blue channel. I'm taking the lights to yellow. To do this, lower the top point in the blue channel. In the red channel I raise the bottom point. Thus the shadows become red. As a result, we get a brown tinted photo.
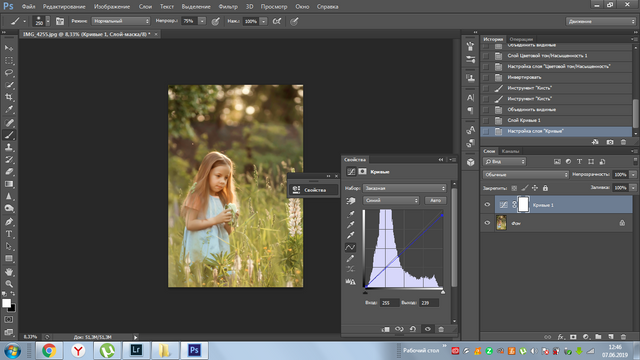
That's what the color was.
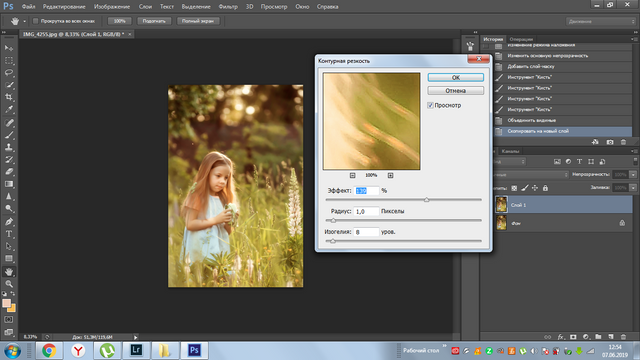
Now add sharpness. I duplicate the layer. I apply a contour Sharpness filter on it in a radius of 1 pixel. About 100-150 percent. Then I cover the layer with a black mask. And with a white brush show the sharpness only on the desired areas. It's hair, eyes and lips.
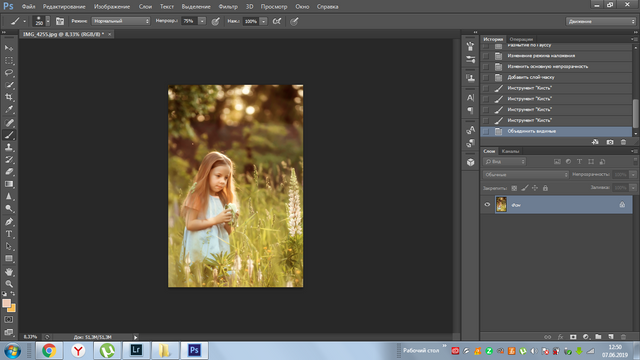
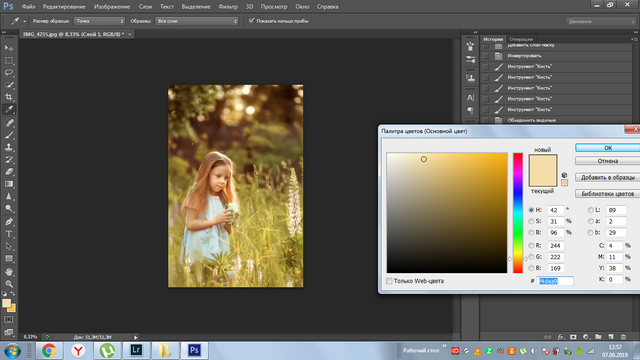
At the end I will draw more sun. To do this, create a clean layer. I choose the color of the sun shade on the palette. And soft large brush paint where you can see the solar flare. Switching layer mode to Screen. I got the sun shining.

Merge the layers and save the photo. That's all she wrote. Thanks for coming. I hope my message today was useful to you. See you soon.
I thank my friends who are always around and waiting for my messages. Despite the fact that I so rarely visit you. Thank you for being with me.
@mnallica
@raj808
@gtg
@dmcamera
@projectgiving
@tristanoliff
@fabien
@fyrstikken
@hanshotfirst
@creativecrypto
@karja
@elteamgordo
@choogirl
@axeman
@artizm
@guyfawkes4-20
@meanmommy33
@rea
@donkeypong
@lugina
@thekittygirl
@themagus
@kotturinn
@staceyjean
@natureofbeing
This post was shared in the Curation Collective Discord community for curators, and upvoted and resteemed by the @c-squared community account after manual review.
@c-squared runs a community witness. Please consider using one of your witness votes on us here
Respect for such a long detailed post. Just a goodie for a newbies aiming to improve their skill in achieving some stronger final result
Posted using Partiko iOS
This is photo magic 📸😀👌👍
Thanks for your effort and for sharing your skill!
Awesome post! Most don't realize the time and effort needed to create something great out of an ordinary image. Lot of care, time and know how. Actually learned something from this post that I can use! Thanks for posting.
I do not know that much on how to use the lightroom. That was a detailed post and I love your effort. The result was really astonishing.
Hi, It's a long time I don't use Lightroom to process a frame. Since I discovered Photoshop Raw I'm In Love with It, Cause I can do all the process very quickly. I recommend it to you.
Regards!