My experience for the first time in PhotoScape
Hello Steemit, these days have consisted of tv, music and PC, however, the routine is not mine, so I decided to install the PhotoScape application today; I'm not a professional designer, I just wanted to do something new and see how I was doing, because I like everything that goes into art and photography, it made me attractive to edit a photo of myself so that it would be psychodelic.

Final editing photo in PhotoScape
Next I will show you the step by step that you make in the photo, it should be noted that to guide me more easily I put it in my main language "Spanish".
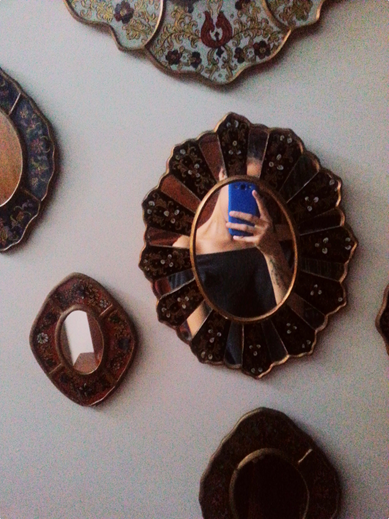
Original photo
This picture was taken with my samsung s3 cell phone in the apartment of one of my grandmothers, it is a wall with different mirrors full of different colors and textures.
Since I was little I loved this place in particular, they bring me very beautiful memories and I love it because it gives the illusion of modernist art.
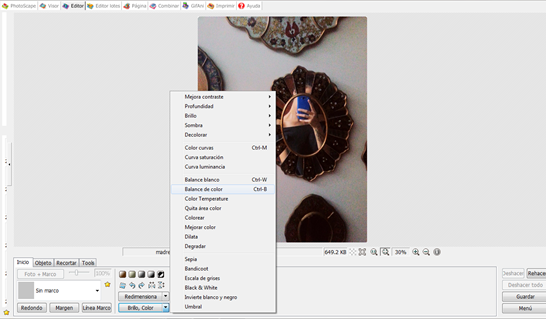
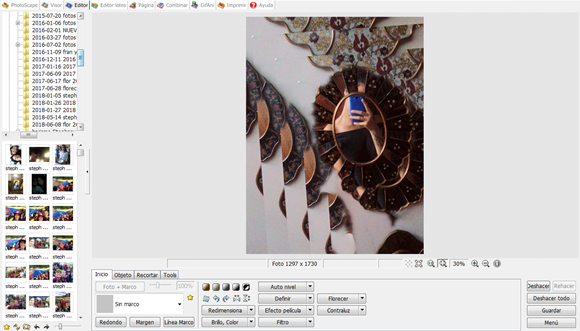
Initial edition
Start editing the photo with tools such as: color balance, contrast, depth and shadow, I always try to do this in many photos since they usually come out in low light and therefore make the image less pleasant, in some cases of course!
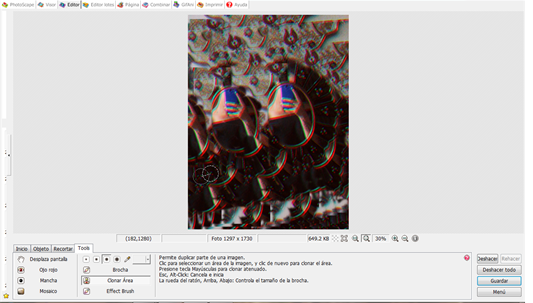
Cloning in: 3,2,1 ...
After editing I went to the option to clone area and started to randomly select some parts of the image creating a magical and abstract illustration.
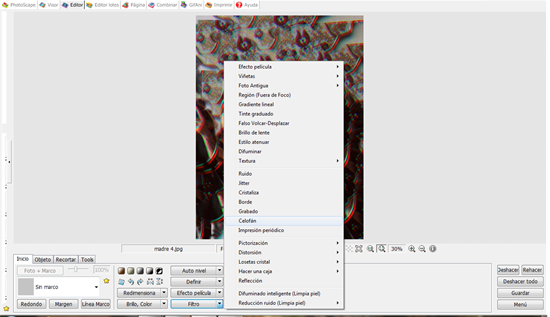
Adding cellophane filter
And finally culminate by placing the cellophane filter, it was the psychedelic touch that was missing from my photo, being a novice I loved photoscape, it has been a good experience and I applaud all the graphic designers, photographers and all those people who go into the artistic and creative part is incredible as the world is becoming increasingly relevant and that you have the opportunity to express them creatively.
See you soon! Gif created in GIPHY by @stephanyvrh
Neato!