Digital Bas Relief photography
Bas Relief was traditionally done in the analogue era by sandwiching a negative and a positive film together and moving them a little bit out of register.
At iDigitalPhoto they define Bas Relief as a "Special effect photograph in which subject appears as if sculpted in low relief. Obtained by combining a negative film of subject with a positive film of same subject: when superimposed slightly out of register -- i.e. not quite exactly on top of each other -- bas-relief effect is seen. Effective when subject has clearly defined edges and when positive film is of high contrast."
In the film days, we create this effect with good results by using Litho film. The litho film is a very high contrast film resulting in a photograph with mostly black and white and very little grey areas.
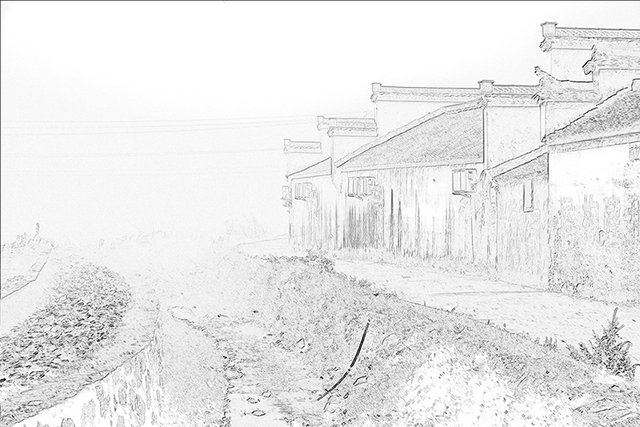
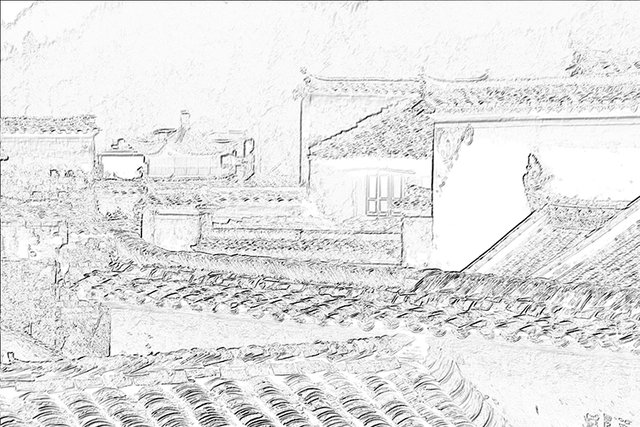
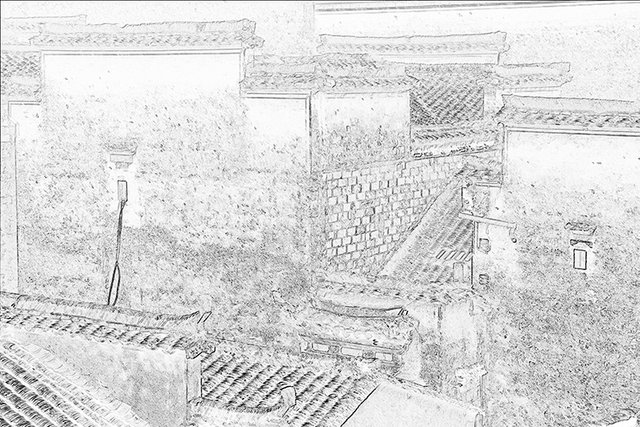
I cannot remember what triggered my current interest in Bas Relief, but tonight I decided to look at some of my photographs of Old Chinese villages as the buildings are mostly in white with black slate roofs, creating a natural contrast.
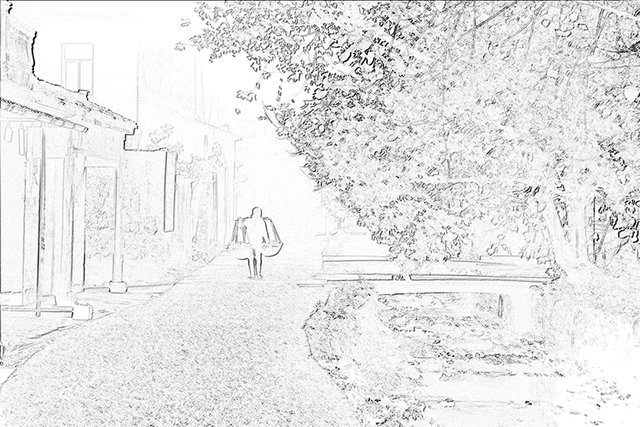
And I was right, they lend themselves well to creating Bas Relief photos.
It is very easy to create this effect in Photoshop.

Here are the steps:
- Start by converting the photo to black and white, and in the process also add some extra contrast to the photo. I normally use the levels adjustment and move the white point beyond where the whitest point in the photo is. Do the same for the black point.
- Having a high contrast black and white photo, duplicate the layer to have two layers that are identical.
- Change the top layer's blending mode to "Difference"
- The result will be that you do not see anything, just a pure black canvas! But don't stress, the next step will rectify this.
- Select the "Move" tool from the tool palette.
- Using the arrow keys, press the right arrow once followed by pressing the down arrow once. You will start seeing the lines of you Bas Relief photo appear. You have moved the layer "out of register" by one pixel.
- Depending on the size of your photo, you may want to repeat the step once or twice, but not too much as you do not want the lines to become too thick.
- The photo will be black with white lines, and if you like the effect, you are finished.
- I, normally, go one step further by flattening the photo and then pressing Ctrl-I to inverse the photo. This will result in the photo turning white with black lines. Almost like a pencil sketch.
Tutorial on how to achieve finished result we done.
Your post has been selected to be entered into @teamsouthafrica's Daily Nominated Post section in Teamsouthafrica's Discord group. Congratulations!