How to Solve the Rubik's Cube in Under 5 Minutes Within 6 Steps

While I'm sitting in bed sick with bronchitis, I thought I would write an article on solving a Rubik's Cube in under 5 minutes. No matter how jumbled up someone makes your cube, this is the method I use that solves it each and everytime. It is based on research I did, but I have fine tuned it in a way that makes it easier for me to remember.
Following the main steps is easy, but feel free to find your own way to memorise the specific formulae.
Please note: it may take several tries to master this until you can do it without instruction and under 5 minutes.
Be warned. After you master this, solving a Rubik's cube may become boring after a while. Me, I still do it to keep my mind sharp while sick in bed.
I am going to explain each step first, and then at the end of this article give a summary of each step.
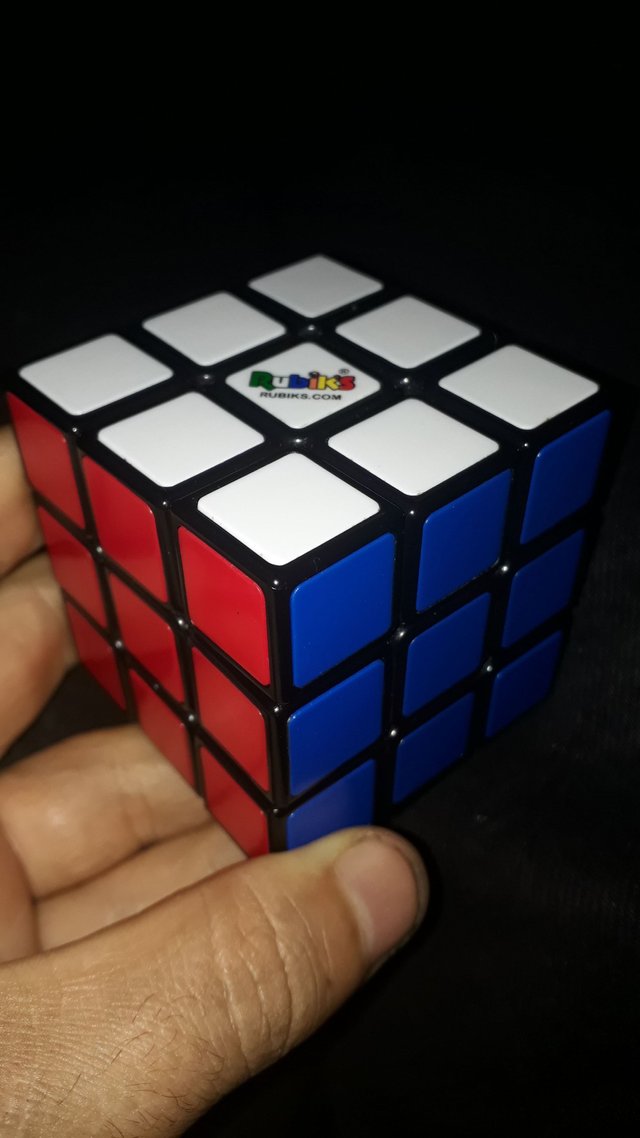
LEARN YOUR CUBE
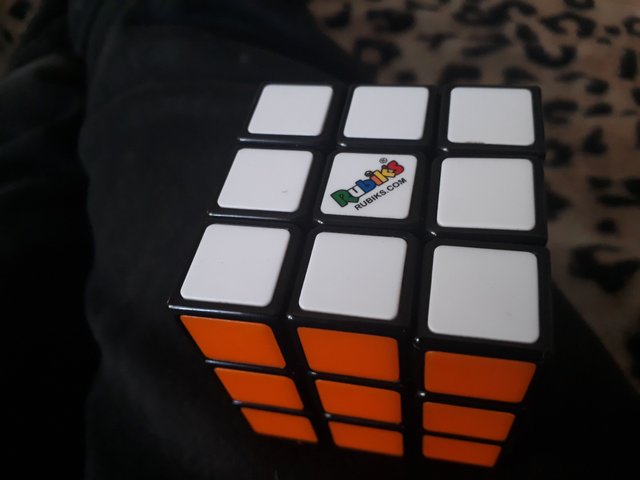
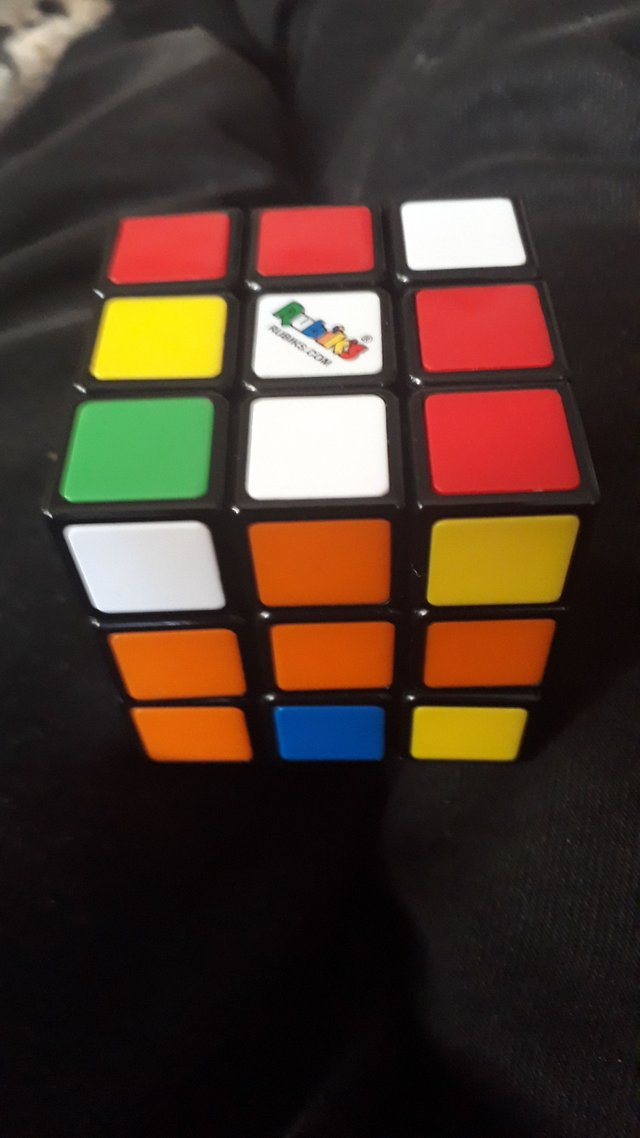
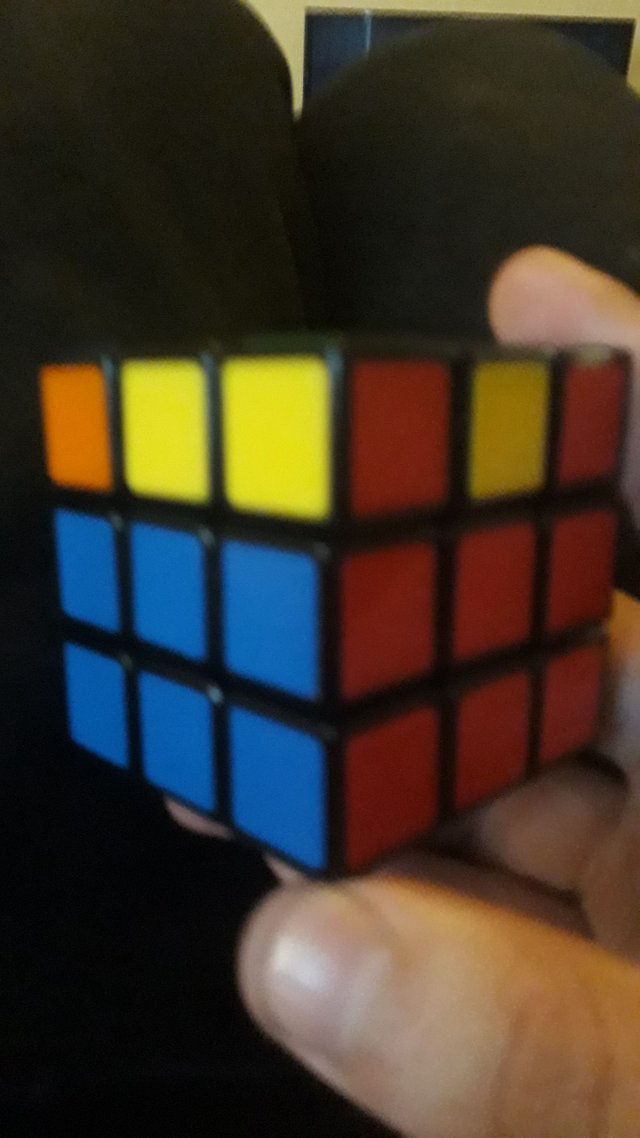
So that's my cube right there. If you're going to learn how to do this, you need to learn some terminology I am going to use throughout this articles.
CORE: There are 6 core pieces that are attached to the central inner part of the cube. They only have 1 face. These are your white, green, blue, red, orange and yellow core pieces.
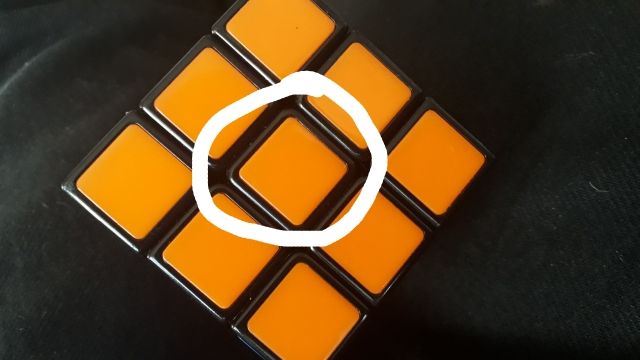
That right there be 'em orange CORE.
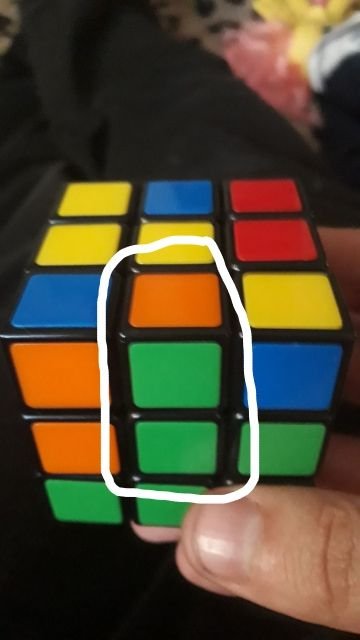
EDGE: The edge is the central piece along any side. These usually have 2 colours, 1 on 2 different sides, and is the central bridge to 2 different cores.
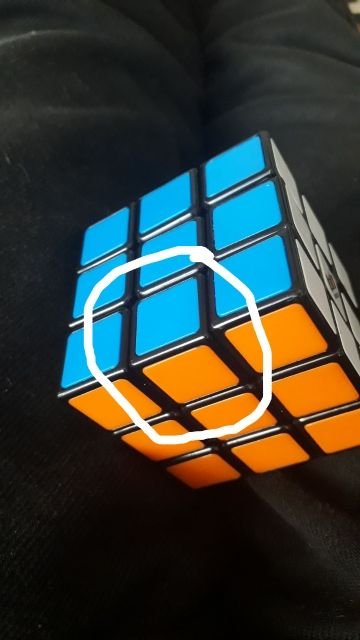
There is an EDGE with orange and blue colours, aligned with their CORES.
CORNER: This is obviously a corner piece that has 3 colours, 1 on 3 separate faces of the cube. I are the bridges between 3 separate edges.
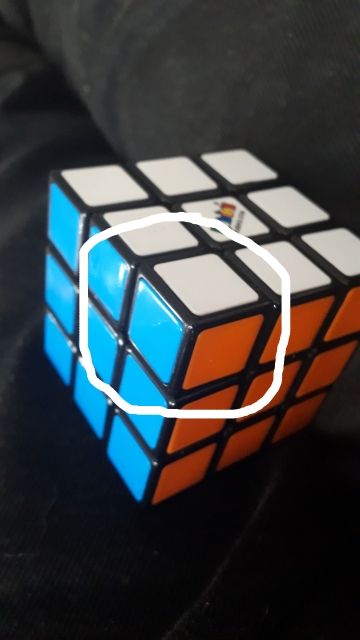
Here you can see a corner piece with blue, orange and white colours.
FOCAL FACE: This is the side of the cube facing you. {F}
BACK FACE: The is the side of the cube opposite to the one facing you, at the back. {B}
RIGHT FACE: The face to the right of the one facing you. {R}
LEFT FACE: The face to the left of the one facing you. {L}
UPPER FACE: The face above the one facing you. {U}
DOWN FACE: The face below the one facing you. {D}
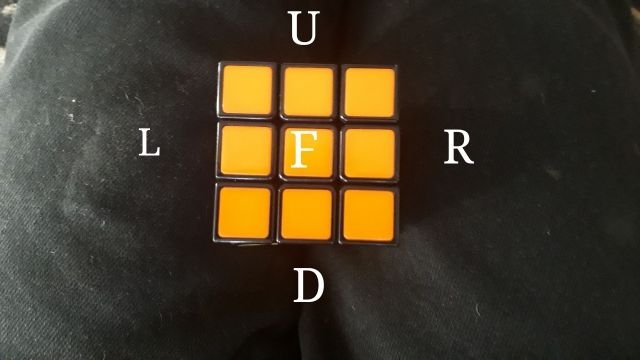
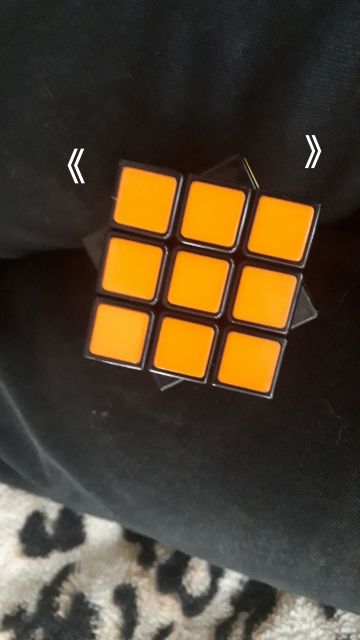
CLOCKWISE: This refers to turning a certain face clockwise. Note clockwise relevant to that face, not to you. { 》}
COUNTER-CLOCKWISE: This refers to turning a certain face counter-clockwise. Note counter-clockwise relevant to that face, not to you. {《 }
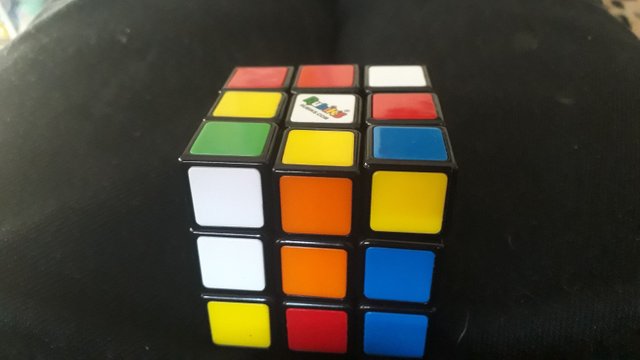
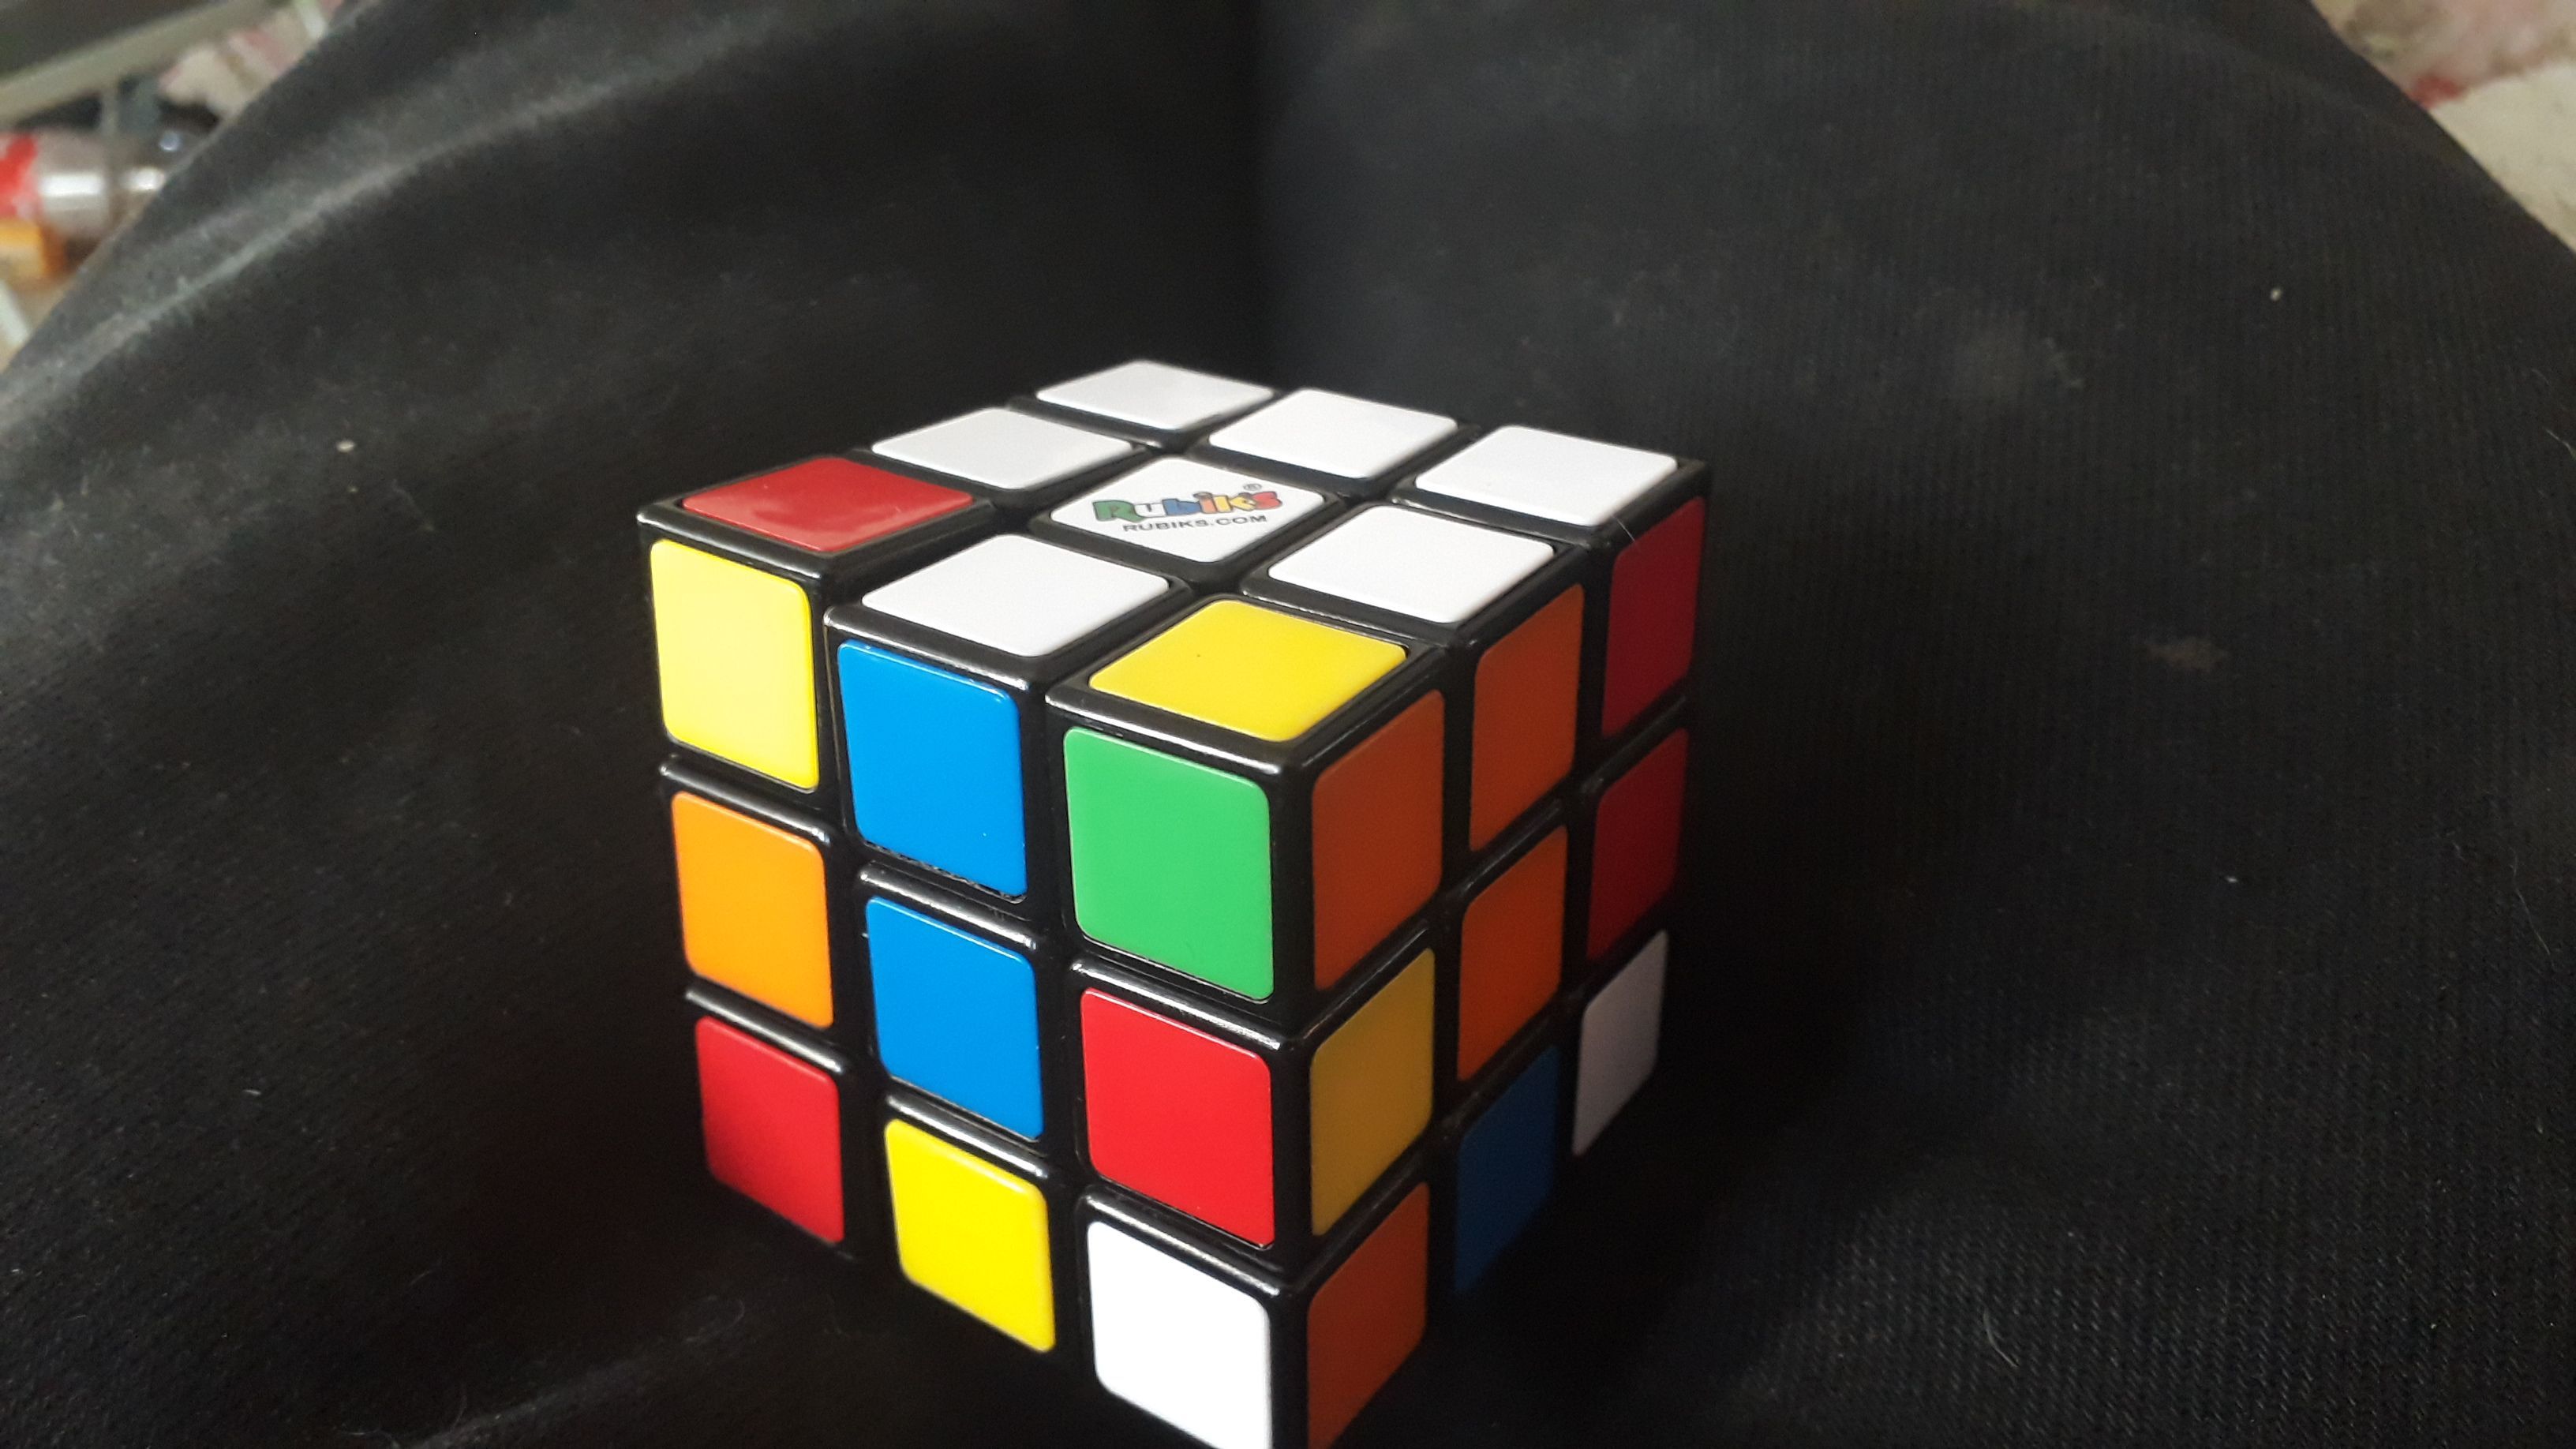
Now, let's mess this cube up.
1. THE WHITE CROSS
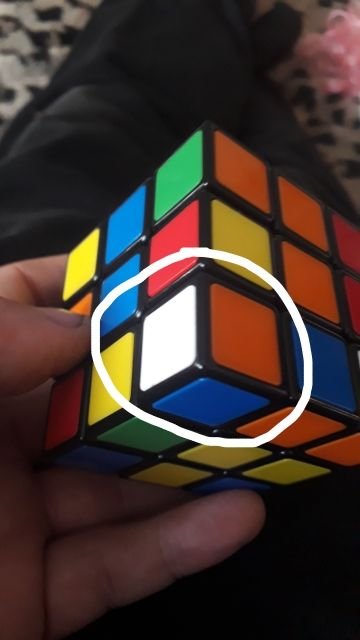
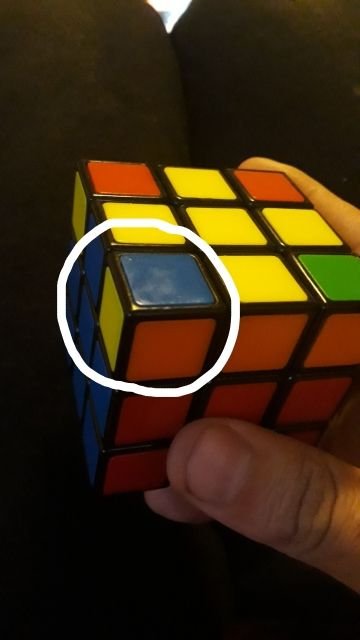
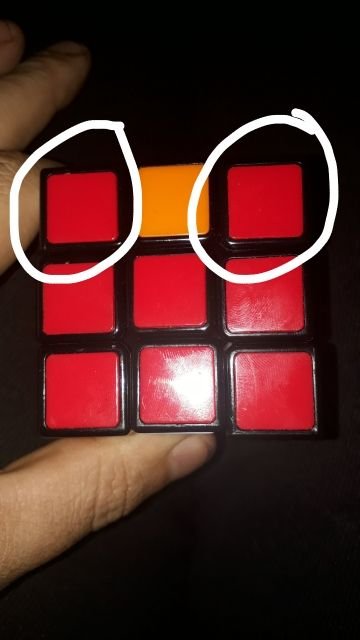
As you can see, my cube is messed up now. It is essential that the white core be in the U face at all times during this step. What you want to do is not only get the upper white edges to meet the white core in a cross formation, but also make sure the F upper edge is the same colour as the F core.
So in my image above, the F core is orange. I now need to find the edge that has the orange and white colour and make sure to have it on the bottom first so we dont mess the U face up.
Once you have that edge below the F core, you flip the whole F around until it is on top. In the perfect world, you will have the white upper edge by the white U core and the orange F edge by the orange F core.
In a non perfect setup, this will happen...
Whoops. That's not a problem. All you have to do is turn the cube in your hand until the F face becomes the R face. Now follow this formula:
R 《 ; U 》 ; F 《 ; U 《
Noice....
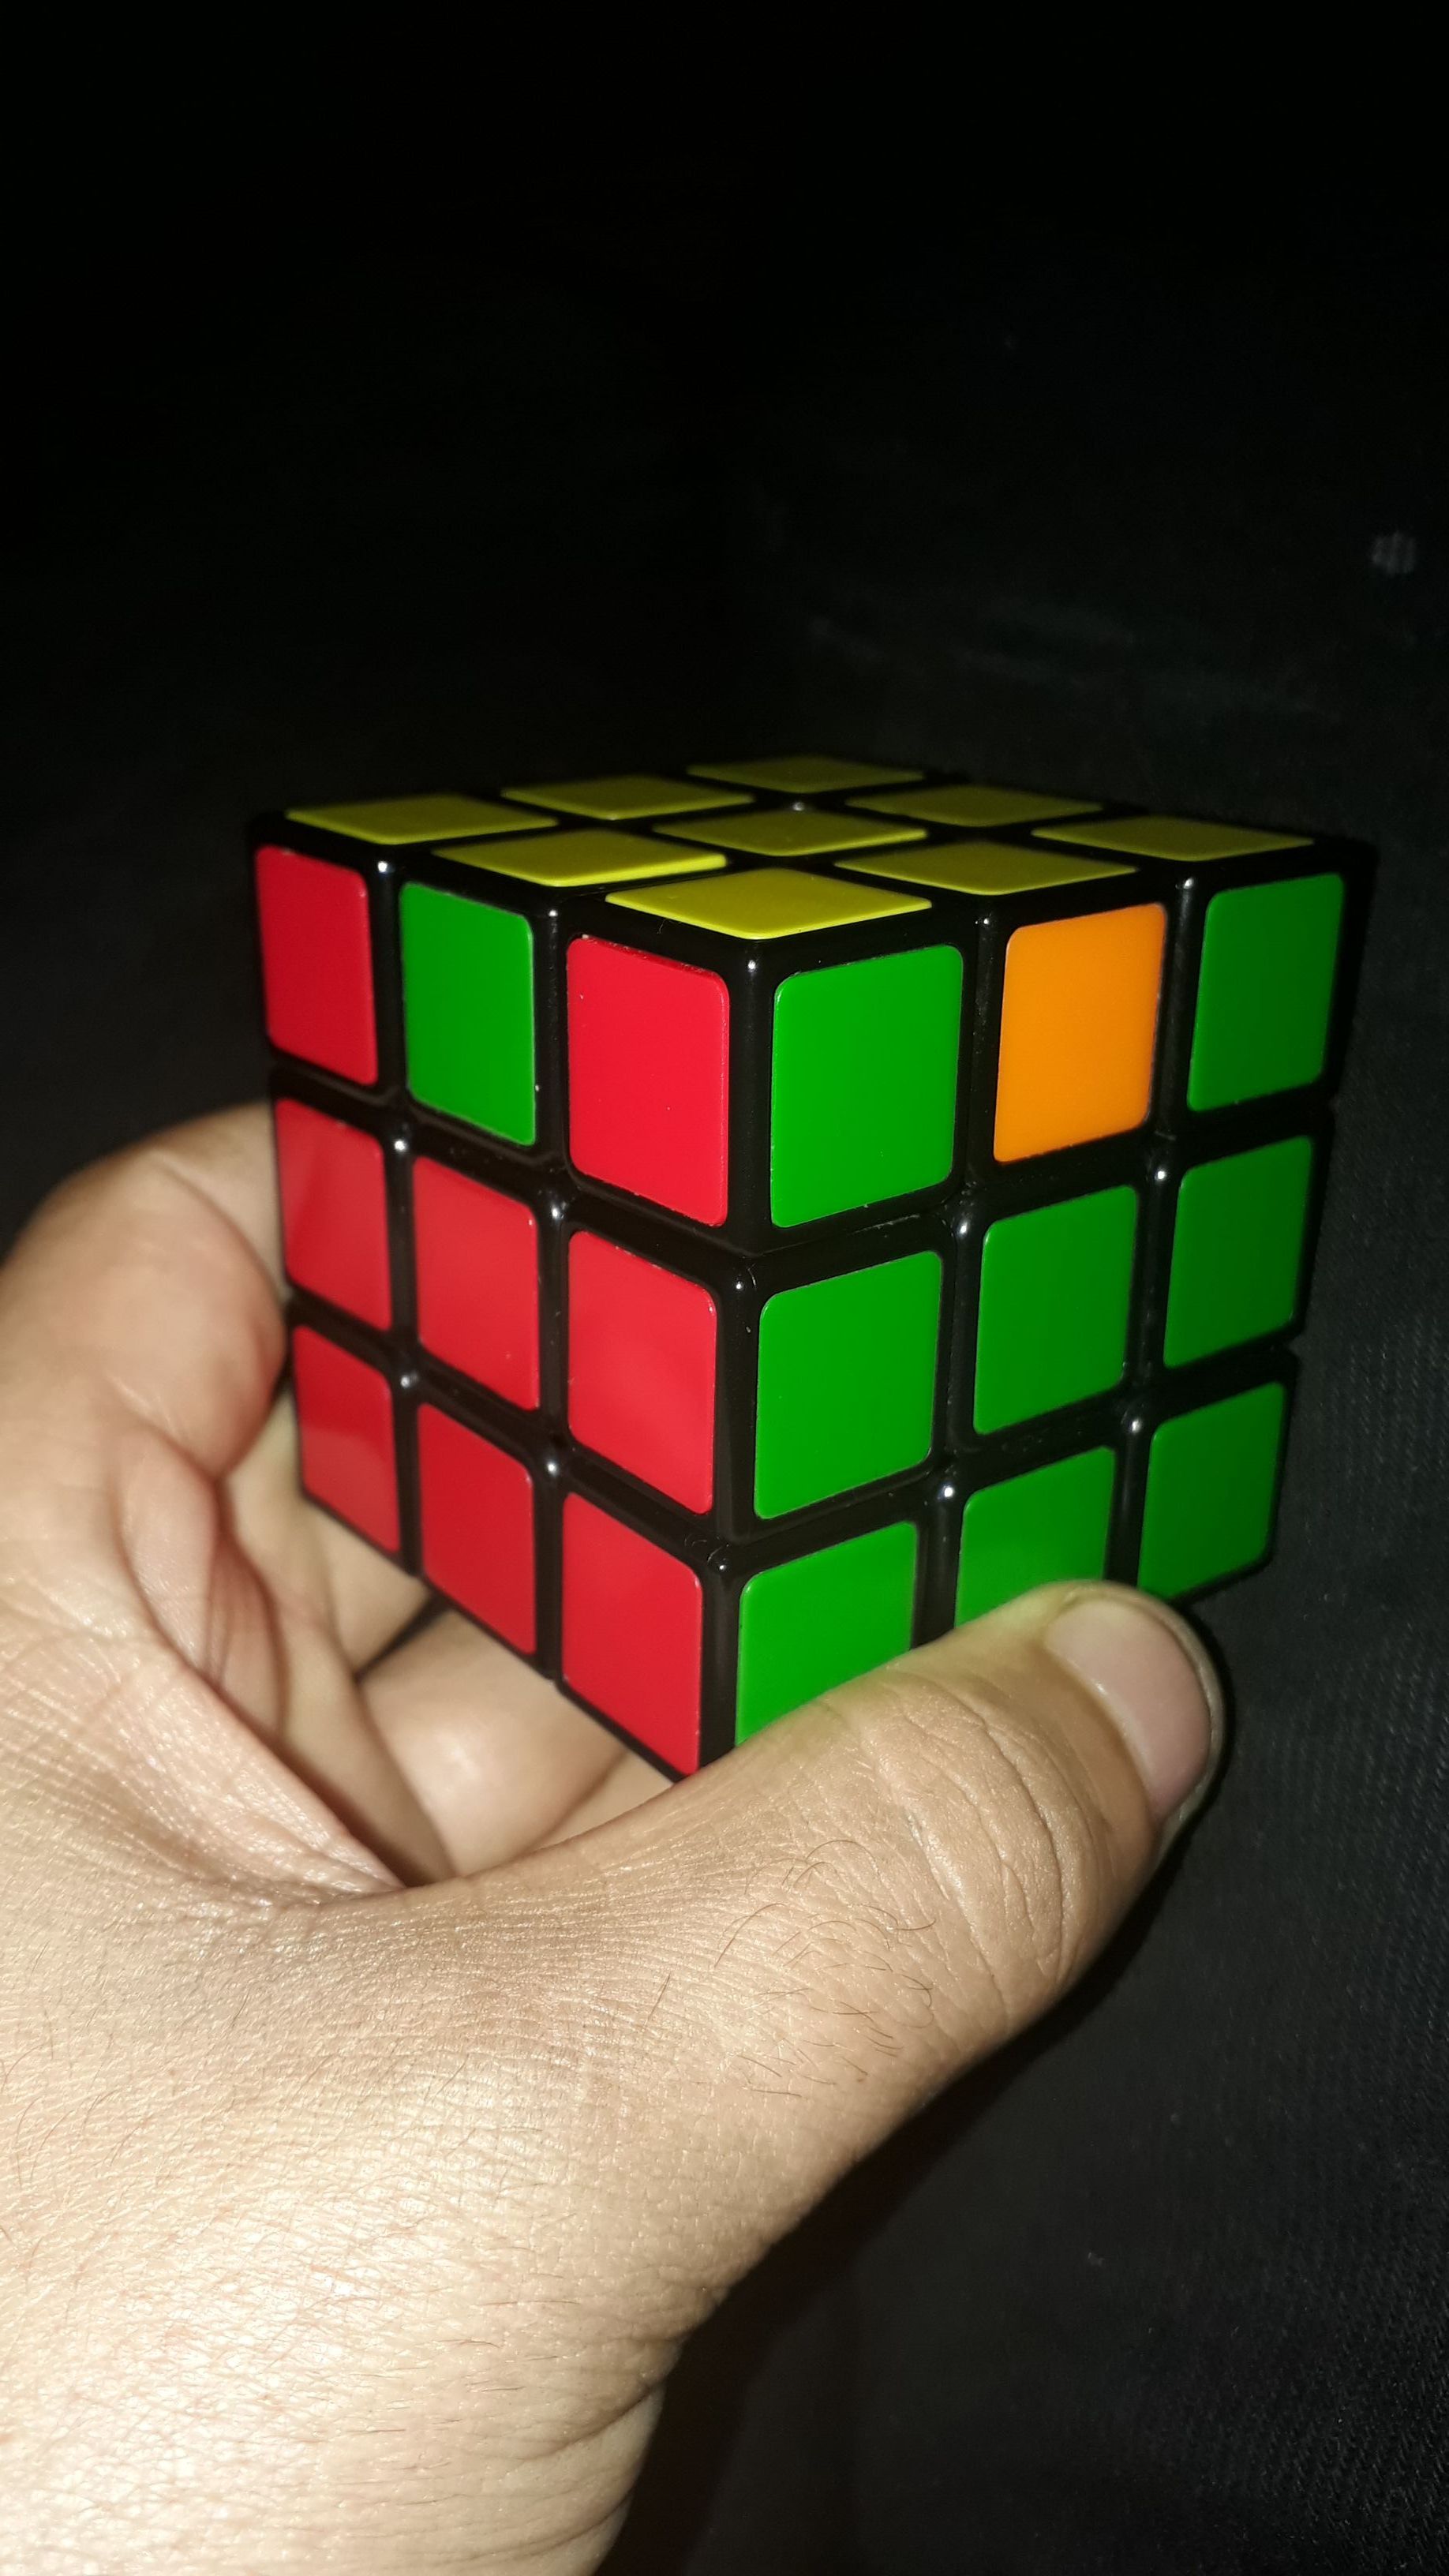
Now, keep doing that with the other 3 core colours (green, blue, red) until you have a white cross on top and each side face by the corresponding core. Make sure to align at the bottom with core first before swinging to the top.
Perfect.
2. WHITE UPPER FACE
Now you need to make the entire U face white. But you also need to create what I call T-junctions. You need to ensure that the right white corner ends up in the right place.
And here is how.
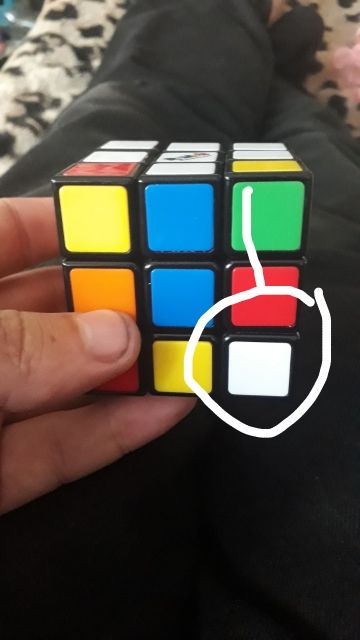
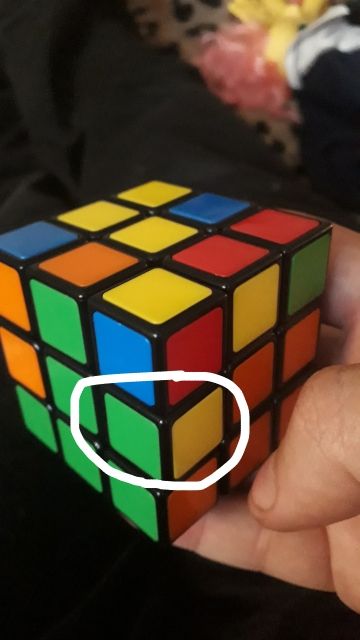
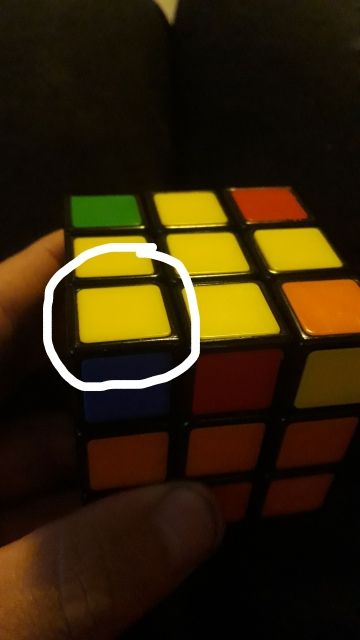
Find a white corner you want to start with, and look at what colours the two cores are on either side.
For me, that top corner piece needs to have white on top, blue to the left and orange to the right.
Now look at your D face. You need to find the corner piece with all 3 colours and move it until it in exactly under where it needs to be.
You see, my white, blue and orange corner is exactly between the orange and blue core faces, and now I just need to move that piece from D face to U face.
Here's the formula. Pay attention as you do each move so can see how the piece shuffles into place. Also, when you do this, the piece needs to be bottom right of the F facing you.
R《 ; D 《 ; R 》 ; D 》
You need to keep repeating this until the piece is in place.
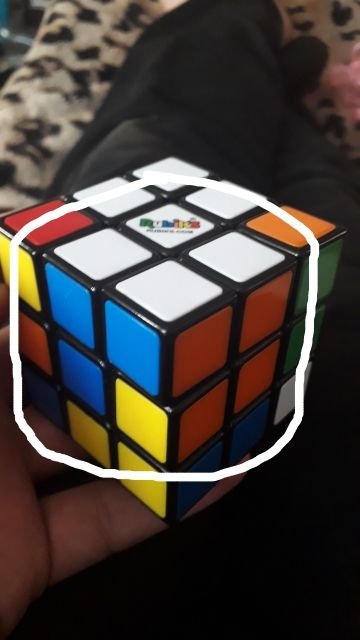
See how the corner side colours are aligned to the same edge and core colours? Beautiful.
Now find those other corner pieces at the bottom, align them to where they need to be, and rinse and repeat.
R《 ; D 《 ; R 》 ; D 》
When you are done, you will have your white upper face and your T colours on each side face.
3. THE BOTTOM LINES
This is probably the most difficult part to understand. But bear with me. I'm going to explain how best I associate the move with the colours.
You need to turn the cube upside down so that the white layer is at the bottom now. The bottom row on each side will all have their colours in place. Now the trick is to get the middle row in place.
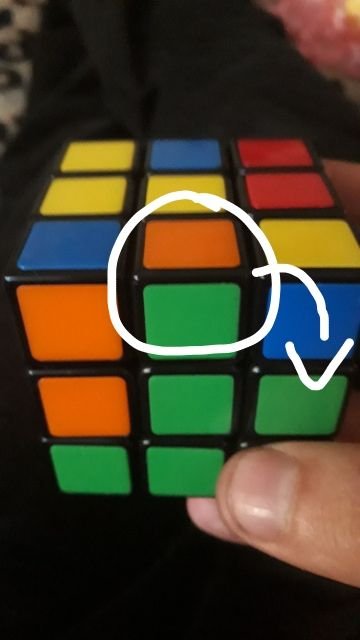
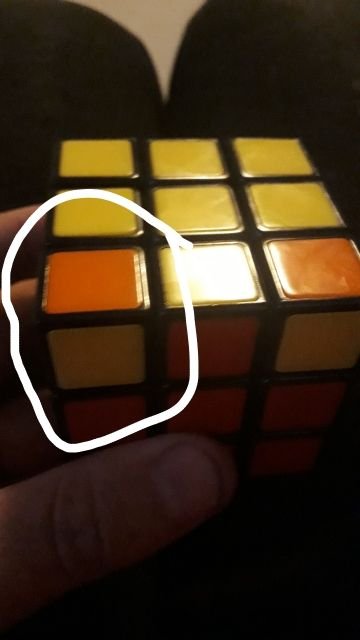
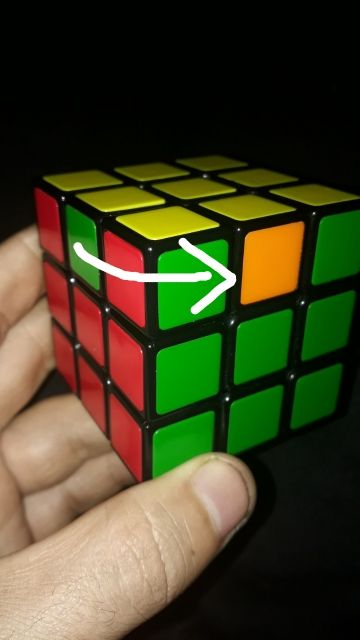
The secret to this is paying attention to the top middle edge above the core on your F. You need to find 2 colours on that edge that you want to move to a specific side. Let me show you.
That upper edge has green and orange, with green above the green core. That means we need to move it between the green and orange cores.
Now in my example, we need to move the piece CW 》 .
You may come into a situation where you need to move an edge piece CCW 《 like so:
So after you find the upper piece with the corresponding colours, make sure you move the U face until that edge is on the face you will be working with. The colour on the F on the top edge should match the core on the F.
Then decide, do you need to move that piece 《 or 》. Here are the formulae for either circumstance.
CW 》-: U 》 ; R 》; U 《 ; R 《 // U 《 ; F 《 ; U 》 ; F 》
CCW 《-: U 《 ; L 《 ; U 》 ; L》 // U 》 ; F 》 ; U 《 ; F 《
Now if you and I did this right, all bottom 2 rows should be right once you have done all pieces.
4. THE YELLOW CROSS
Now we need to make the U face have a yellow cross with the white face still down below. There are 1 of 3 STATES you find yourself in.
There is only the yellow core on the U face.
There is a reverse L-shape yellow core, like I find myself in. You might have to turn your cube for it to look like this on the U face.
. 3. A straight horizontal yellow line running from L to R on the U face.
For states 1 and 2 ( yellow on U face)
F 》 ; U 》; R 》 ; U 《 ; R 《 ; F 《 (or what I call Fur-Urf)
For state 3 only ( yellow on U face)
F 》 ; R 》 ; U 》; R《 ; U 《 ; F 《 (Fru-Ruf)
Now you should have the yellow cross on the U face.
5. THE YELLOW UPPER
Your mission now, should you choose to accept it, is to complete the upper yellow face. Again, there are one of 3 STATES:
- No yellow corners: you need to position a yellow piece on the right upper corner of the L face:
. 2. One yellow corner: place that yellow corner one the bottom left of the U face:
. 3. Two yellow corners: place a yellow side on the top left corner of the F face:
The key is determing which state you are in and then making the bottom left corner of the U face face correctly. Once you have the setup right, the formula is:
R 》 ; U 》 ; R 《 ; U 》 ; R 》 ; U 》 》 ; R 《
The first time you do this it might not complete the U face, but just place you in a new state. Check the state, orientate your cube accordingly, and repeat until done.
6. THE FINAL LAYER
Here comes the fun part. Completing your cube. We now stand with just the top layer on F, L, R and B to complete. This final step comes in 2 phases.
A. Aligning all Corners.
At least 1 side of your cube will have 2 corners that agree with the colours on that face. You might need to turn the U yellow face to align it, but this is what you are going for.
This phase involves getting all upper corners like that. The face that is now correct must become your B face. If none are like that, follow the formula anyway and the cube will correct.
With the correct face at the back, do this:
R 《 ; F 》 ; R 《 //
B 》 》 ; R 》 //
F 《 ; R 《 //
B 》》; R 》》
Once this is done, all your upper corners will be right, but might not be aligned with the right face. Just rotate the U yellow face until they are correct.
B. Finalising the Top Row.
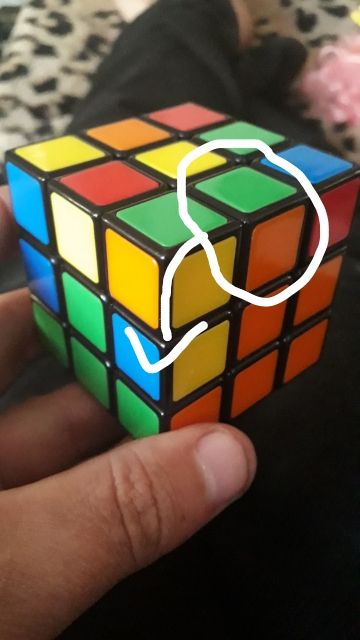
At this stage, one of your other faces should be complete. For me it was the blue face.
If there isn't a side face completed, just do what I show you below once and that should give you 1 complete face.
With the complete face at the back, look at the other 3 sides. Identify the colours in the top centre edges and determine whether you need to turn the U yellow face CW 》 or CCW 《.
If you didn't have a complete face, you can pick which direction you want to turn it.
In my example, I need to turn the U yellow face CCW 《.
Once you know which way, place complete side at back and do the following based on which direction you had to go:
F 》》; U 《 or 》//
L 》; R 《 //
F》》; L《; R》 //
U 《 or 》; F 》》
AND DONE!!
CONCLUSION
Chances are good that you didn't get that right in the first go. It took me several tries until I could memorise the formulae in my own way. I would take it step by step, muddle it up and retry those same steps until I knew it off by heart and continued to the next step.
No one said it was easy but it works for me. I can now do it in 3 minutes and hoping to improve.
Let me know if this has helped you or if you get stuck understanding any step. Here is the summary:
.1. White cross on U face:
- Use bottom layer to orientate colour edge withe colour core;
- Turn F face over to get white edge to top;
- If white and colour need to swop faces then
R 《 ; U 》 ; F 《 ; U 《
.2. White Upper
- Align bottom white corner with 2 other colours with position between 2 corresponding cores;
- Switch bottom corner piece with top by
R《 ; D 《 ; R 》 ; D 》
.3. Bottom Lines
- Turn cube upside down so white is on bottom,
- Align top centre colour edge with colour core;
- Spot U face colour and determine whether piece should move CW 》 or CCW 《 to move edge to the right side;
CW 》-: U 》 ; R 》; U 《 ; R 《 // U 《 ; F 《 ; U 》 ; F 》
CCW 《-: U 《 ; L 《 ; U 》 ; L》 // U 》 ; F 》 ; U 《 ; F 《
.4. Yellow Cross
- Determine correct state of U face:
i. Only yellow core
ii. Reverse L shape top left
iii. Horizontal line
For states 1 and 2 ( yellow on U face)
F 》 ; U 》; R 》 ; U 《 ; R 《 ; F 《 (or what I call Fur-Urf)
For state 3 only ( yellow on U face)
F 》 ; R 》 ; U 》; R《 ; U 《 ; F 《 (Fru-Ruf)
.5. Upper Yellow
- Determine state and position:
i. No yellow corners: you need to position a yellow piece on the right upper corner of the L face:
ii. One yellow corner: place that yellow corner one the bottom left of the U face:
iii.. Two yellow corners: place a yellow side on the top left corner of the F face:
- Once aligned, wash rince repeat and align until done:
R 》 ; U 》 ; R 《 ; U 》 ; R 》 ; U 》 》 ; R 《
.6. Final Upper Layer
Phase A: Correct Side Face Corners
- Find one Face that has sides correct, and turn Upper face until aligned with correct face;
- Place correct face at Back;
R 《 ; F 》 ; R 《 //
B 》 》 ; R 》 //
F 《 ; R 《 //
B 》》; R 》》
Phase B: Final Alignment
- Place once complete side Face at back, yellow on upper and white on lower;
- Determine if U layer needs to turn Cw 》 or Ccw 《 to complete;
F 》》; U 《 or 》//
L 》; R 《 //
F》》; L《; R》 //
U 《 or 》; F 》》
This might seem very complicated at first, but with enough determination and practice you will succeed.
NB: If you would prefer to study the source website where I learnt how to do this you can visit it here
Header Image: Pixabay Mobile App
All other images captured with phone and altered with Pixlr app
Please support my work by subscribing to one of the following:
@shadowolfdg is a  steemPunk and Steemit article Mentor for @schoolofminnows
Member of @teamsouthafrica
Post of the Day Award - @adsactly
Official Promoter for @tpot -- join our discord channel


Kind regards
Shaun M Jooste
Joint-Owner: AIR Entertainment (https://airentertainment.biz)
Director: Celenic Earth Publications (https://celenicearthpublications.wordpress.com)
Author, Screenwriter, Gamewriter, Journalist (https://celenicearth.wordpress.com)
I could never solve these bloody things as a kid... I'm going to go out tomorrow and buy one, just to see if I can follow the instructions :-)
Let me know how it goes, buddy. :)
it will be great if you will vote me too .i already done. Thank you
Congratulations, Your Post Has Been Added To The Steemit Worldmap!
Author link: http://steemitworldmap.com?author=shadowolfdg
Post link: http://steemitworldmap.com?post=how-to-solve-the-rubik-s-cube-in-under-5-minutes-within-6-steps
Want to have your post on the map too?
You have been scouted by @promo-mentors. We are a community of new and veteran Steemians and we are always on the look out for promising authors.
I would like to invite you to our discord group https://discord.gg/vDPAFqb.
When you are there send me a message if you get lost! (My Discord name is the same as here on Steemit)
Resteemed your article. This article was resteemed because you are part of the New Steemians project. You can learn more about it here: https://steemit.com/introduceyourself/@gaman/new-steemians-project-launch