Reverse Engineering a Skirt.
My daughter has an hourglass figure and finds it hard to get clothes which fit her. When she was in England she found a skirt which fit her hips, but was a little wide on the waist, so my mother-in-law adjusted the buttons so it would fit her and now it's her favourite and only skirt. She's been asking if we can make some more like it and I finally started getting to work on that in time for summer.
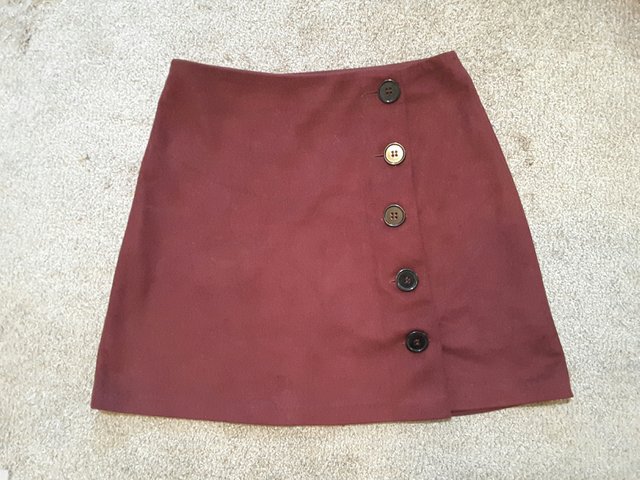
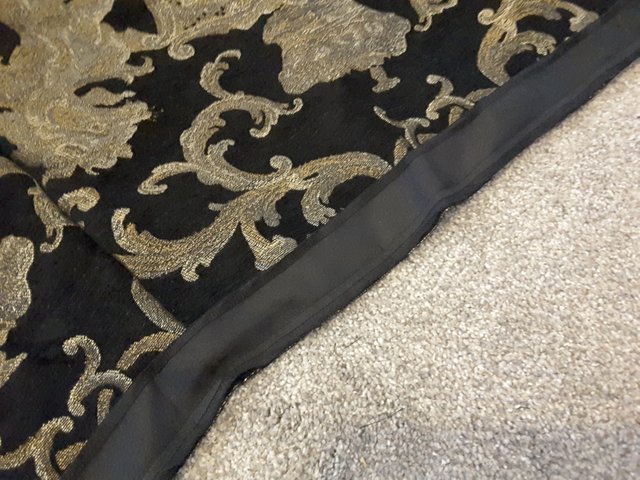
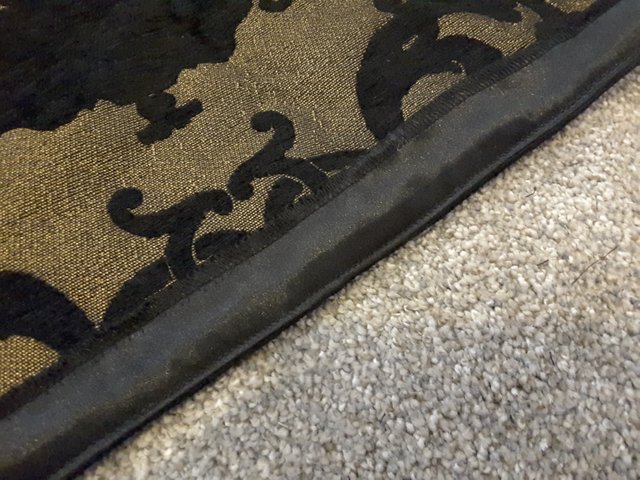
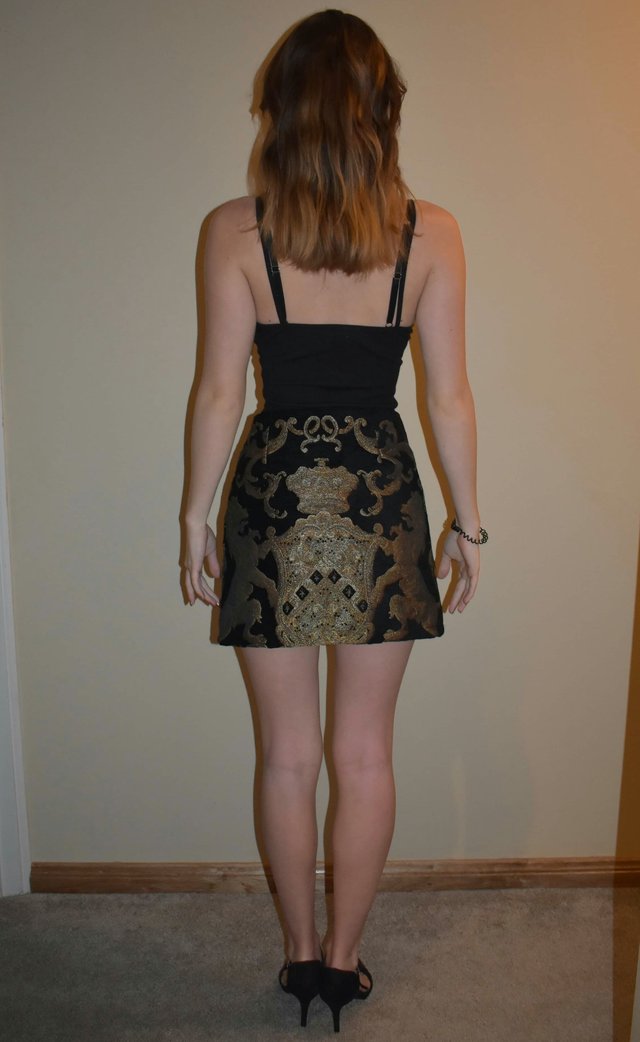
The skirt to be reverse engineered.
Reverse engineering clothing is never straight forward, especially if you want to make adjustments to the original pattern. It's hard to try and remember everything you need to add in.
Making the pattern
The first job was to measure the skirt and make a pattern. Measure twice, cut once is definitely a good rule to follow in these circumstances. I started by measuring the back panel along the base and the height. There were tucks at the top, so I thought that this was the only means of shaping it and I'd have a regular rectangle. That was my first mistake. I measured the width, adding in a centimetre either side for the seams. Then the height, adding in the width of the hems, top and bottom. It was as I was measuring the next panel that it finally sunk in that the top hem wasn't so much a hem as a separate waist band. Not to worry, she didn't mind a little more length.
Trying to speed things up led to my next mistake when I thought I'd remembered the height of the panel from the first one I measured. It turned out to be the length I remembered and it was way too long! I double checked my measurements after that. Too big is fixable, too small is not.
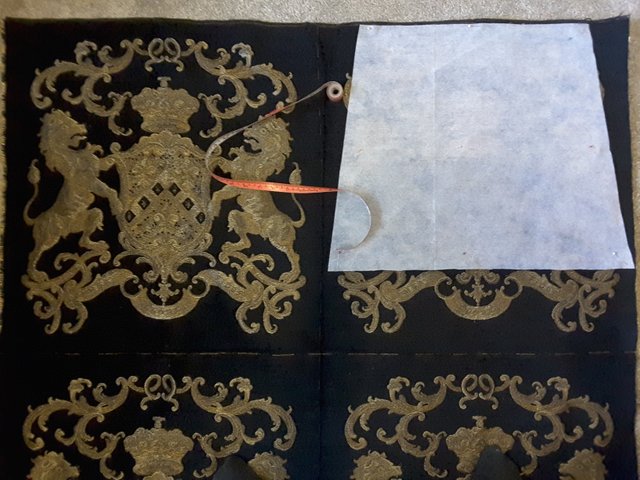
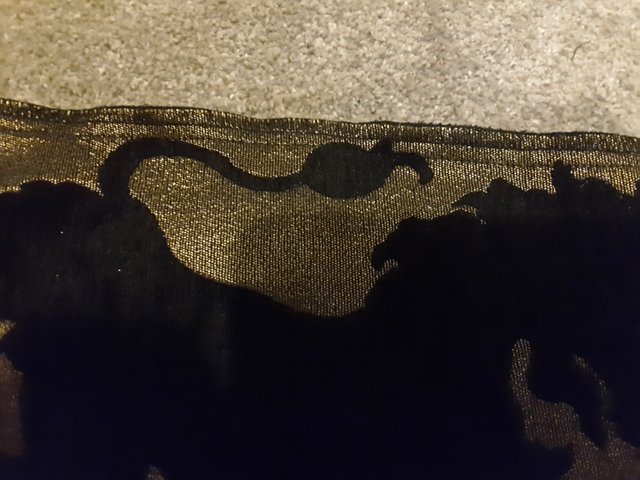
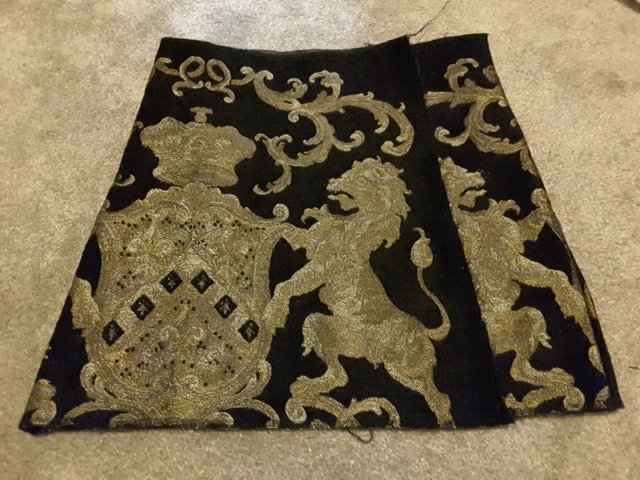
With the pattern done and all mistakes corrected it was time to cut the material. The material she chose is actually an upholstery material we had left over from a project around 20 years ago. It's a heavy fabric, but it works well for the style of the skirt.
Sewing time
Because it's not a very tight weave fabric, it benefited from the edges being overlocked to stop fraying. I overlocked the panels together, then added a straight stitch row for extra support.
At this point I should have checked the size against the original skirt, but I was over confident I'd gotten it right and wanted it finished.
Rather than doing the waistband in the rougher heavy material, I cut a length of a sateen type material for it. It's another easily frayed material, so it got overlocked again. I stitched the waistband to the top of the skirt with the good sides facing...
...then turned the band to the inside and stitched the top to secure it in place.
Then it was a case of hemming the bottom and sides.
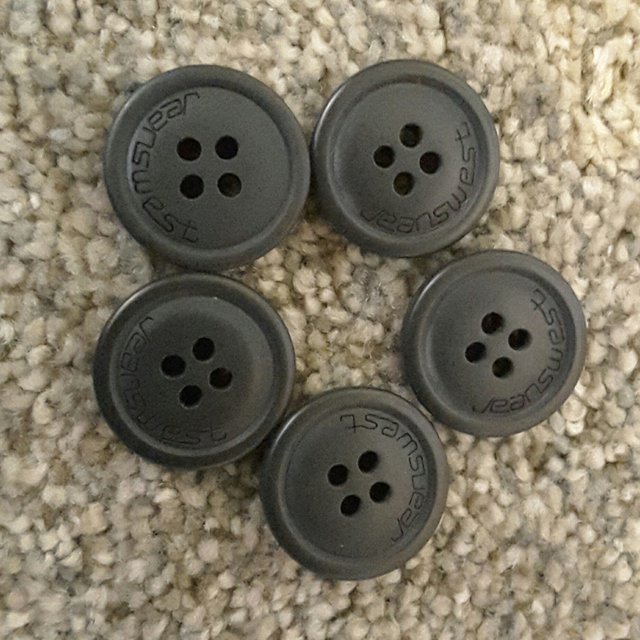
My daughter selected some buttons she liked from the collection we've over the years. These ones were salvaged from an old pair of my husband's cargo pants.
I did the button holes one the sewing machine with a special foot which you put the button in and it's supposed to stitch to the right size.
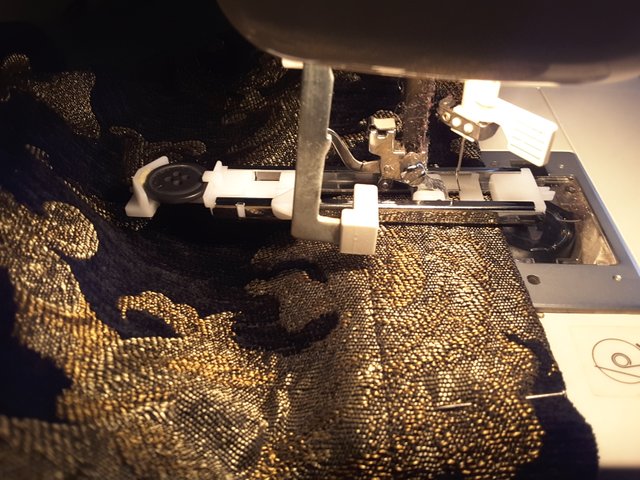
I should have checked the first hole to make sure. They were too small. I did at least get it set up on a scrap piece of fabric before moving on to the skirt. The button holes are cut after sewing and I accidentally snipped some of the stitching on some, but as they all needed lengthening anyway, they all got finished by hand.
Mistakes made
The first time I thought I'd finished, my daughter tried it on and it didn't fit. We realised I'd completely forgotten to put the tucks in the waist and the main body of the skirt was too tight at the hips. I couldn't reclaim anything from the hem with the button holes in, so I had to unpick nearly every other seam to get some width back. I also had to take most of the waist band off to make the tucks in the back of the skirt.
Even reclaiming something from the seams and hem wasn't quite enough, so the buttons had to be positioned closer to the edge of the skirt. Then the top one needed moving in a bit more again to pull it in at the waist more.
I got there eventually!

Lessons Learnt
I may have taken a bit much from the edges when overlocking, so I should probably give a little extra when cutting the pattern out, particularly on the smallest panel. The skirt would benefit from a little more shaping in on the side seams to fit the waist better. I should measure her waist to get a better fit there, instead of just working off a skirt which doesn't quite fit right.
This post was shared in the Curation Collective Discord community for curators, and upvoted and resteemed by the @c-squared community account after manual review.
@c-squared runs a community witness. Please consider using one of your witness votes on us here
Love, love, love the fabric she chose! That upholstery material worked really well for this skirt.
Thank you for sharing your mistakes, that’s one thing I think is important to talk about within this community. There are so many different levels of skill sets and we can easily learn from each other as we try new things. I’m taking note as a beginner sewer :)
It was such a good idea to use that satin material as a waistband to give her more stretch and plus it looks great! Your daughter is beautiful and the skirt looks darling on her. Thanks for sharing this week ~
I would never have considered that fabric for clothing! Probably too stuck on the idea of it being upholstery fabric and trying to think of that sort of use for it.
Sharing the mistake was also for my own benefit, so I could look back as a reference for the next time. If I hadn't recorded it, then by the time I make another I'd probably make the same mistakes again! 😆
I figured the sateen would feel a bit nicer against the skin too. Now I'm just hoping that we don't get a lot of shrinkage when we wash it. I guess I could always replace the small panel if we do.
Posted using Partiko Android
Lol yes that’s good you have it here for your reference too! I hope it doesn’t shrink!
The skirt turned out great! I think you made a smart decision choosing the fabric.
Credit goes to my daughter for the fabric decision. I wouldn't have thought of it.
Posted using Partiko Android
smashed it! skills are everything. great work.
Thank you.
Posted using Partiko Android
Thank you for using the #how-to tag. We have rewarded this post from our @build-it.curator account with BUILD tokens in the form of an upvote.
Build-it is a central hub for DIY and How-To projects. It's an opportunity to find and share the latest in DIY, and How-To tutorials. The recommended tags required when creating a DIY article are #diy, #build-it. #how-to, or #doityourself. Please read our guide
Need help? Live technical support on Discord or Telegram
This project is run and supported by our witness @gulfwaves.net. If you like what we do, click here to vote for us
Sounds like me when I try to sew... :))
So much easier when you have patterns and instructions laid out! 😆
Posted using Partiko Android
Looks great, and just in time for the warmer weather.
Could you smash out a few more real quick now given the right materials, or would it still be difficult?
It would hopefully be a bit quicker, I just need to make a couple of alterations to curve the waist in better.
Posted using Partiko Android
I was wondering how you got 5 matching buttons of a pair of cargo shorts, but I guess the map pockets have two each, plus the fly.
What a beautiful skirt! Especially if you know how much work went into finishing it :) We all know: a lot of mistakes means we learnt a lot...
You've definitely earned yourself a !BEER (I hope it works)
More work than necessary, if I hadn't tried to rush! 😆
Posted using Partiko Android
Looks pretty good! Now she's wearing art ;D
That fabric was originally for art too! We stretched a couple of panels across frames and hung them as pictures.
NICE JOB mom!! I'm a sewer and yes, just soooo important to fit, check, measure and fit again! Making something that you KNOW will be worn, as opposed to buying junk 'fashion' is a super cool environmental project. Your daughter is lovely BTW and the skirt is very flattering on her!! 100% A1 :)
Leading the curation trail for both @ecotrain & @eco-alex.
Together We’re Making This World A Better Place.
Click Here To Join the manually curated trail "@artemislives" to support quality eco-green content.
Thank you!
So glad to have find a use for the fabric too! I should put a day aside for sewing, now and again. I have way to much fabric building up from old clothes and gifted second hands. Great to come across another sewer. You'll have to share some of your work sometime. Or have I already missed some?