Tutorial effects 3D split glasses.
Hello everyone
As this is the most creative community of steemit, lso tutorials are always productive and positive for the growth of designers and illustrators that is why I love doing it, today I will show you something peculiar, easy to do but that calls a lot attention, the effect of glass, and you will wonder how it looks so realistic.
3d effect of broken glass, I want you to know that everything will depend on the design if it is clear, dark, the lighting of what you want to make. the background plays an important role since this will give the final touch to make the glass look incredible.You will think that it is very difficult to do it since it does not have any complication everything is in the variations of color and gradients.
I want to tell you that it has solved all kinds of challenges and without a doubt, the most important one has been to start in the illustration. Not everyone feels safe enough to take that big step and as an act of solidarity with those who come behind, we share the essential steps to start in this vast world.
Information has to circulate and that responsibility always falls to the generations that are already more or less situated. Therefore, to help those who start, I have decided to write this little guide to guide you (as far as possible) on how to start in the illustration

The colors used:

the gradients have become the attractive and joyful side of the new interfaces 🙌🏽. After all, who does not like a little color. Use gradient fills to apply a gradual fusion of colors as you would any other color. Creating a gradient fill is a good way to create a smooth color gradient on one or more objects. If desired, you can save a gradient as a sample to make it easier to apply the gradient to several objects.
Applying a gradient with the Gradient tool
Select the Gradient tool in the Tools panel.
With the Gradient tool selected, click the object to which you want to apply a gradient.
To define the color of a gradient, double-click the gradient stop below the gradient bar. Specify the color in the panel that appears. To change the panel that appears, click on the Color icon or the Samples icon on the left. Click outside the panel to accept the selection.
To adjust the midpoint between two gradient colors (the point where the colors are at 50%), drag the square icon above the bar.
To change the origin of the gradient, place the Gradient tool at the beginning of the gradient annotator of the object and drag it to the desired location. For more information, see Changing the direction, radius, or origin of the gradient.
Click the New Sample button in the Samples panel to save the new or modified gradient as shown. Or, drag the gradient from the Tools panel to the Swatches panel.
Process
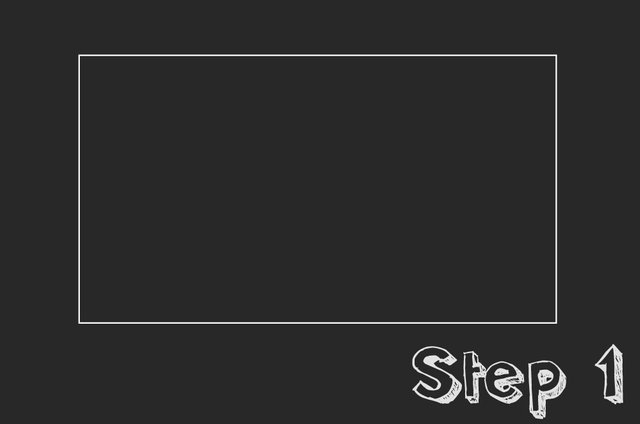
We start with a square shape, this will be the base of our glass here varies the shape and your taste if you want to circulate it is also valid.
Lines or cracks
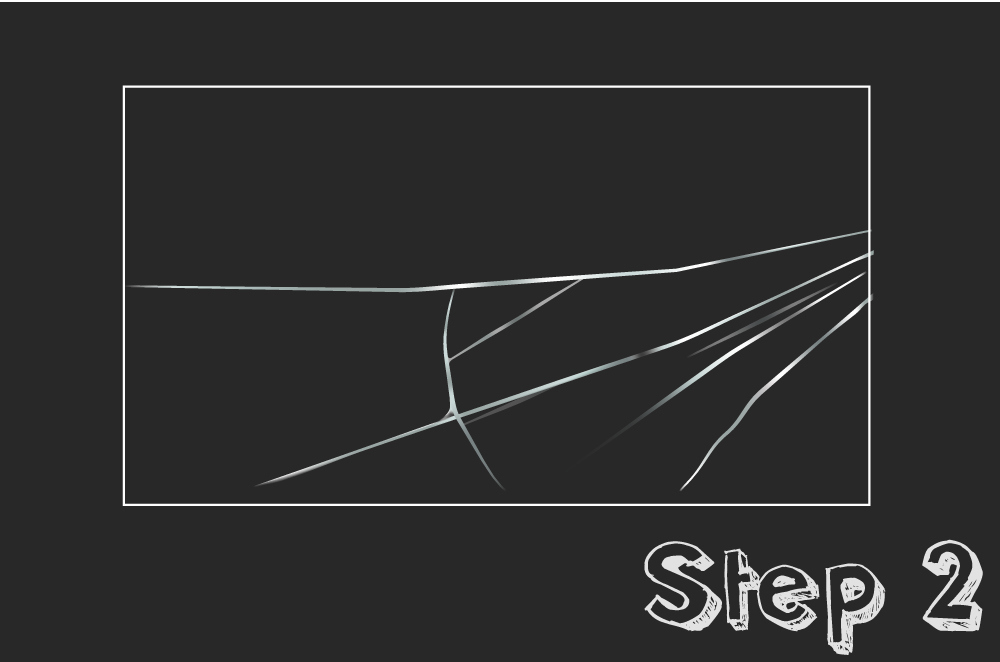
in this next step, play an important point the number of cracks you make do not make senseless try to be consistent and all in one same harmony.
Circles in gradients
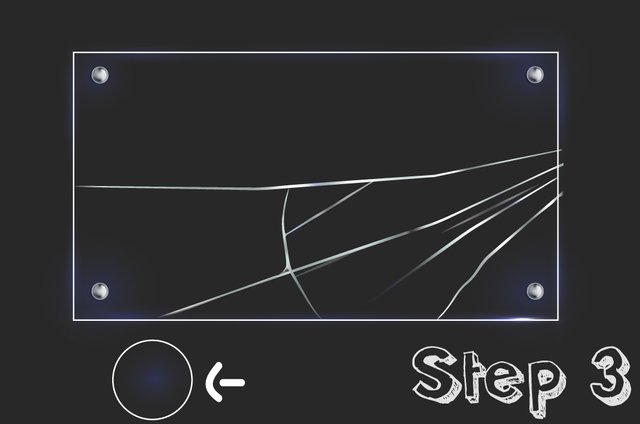
Circles in gradients specifically in blue and with an opacity of 30% give the sensation of depth and light at the same time.
Final step
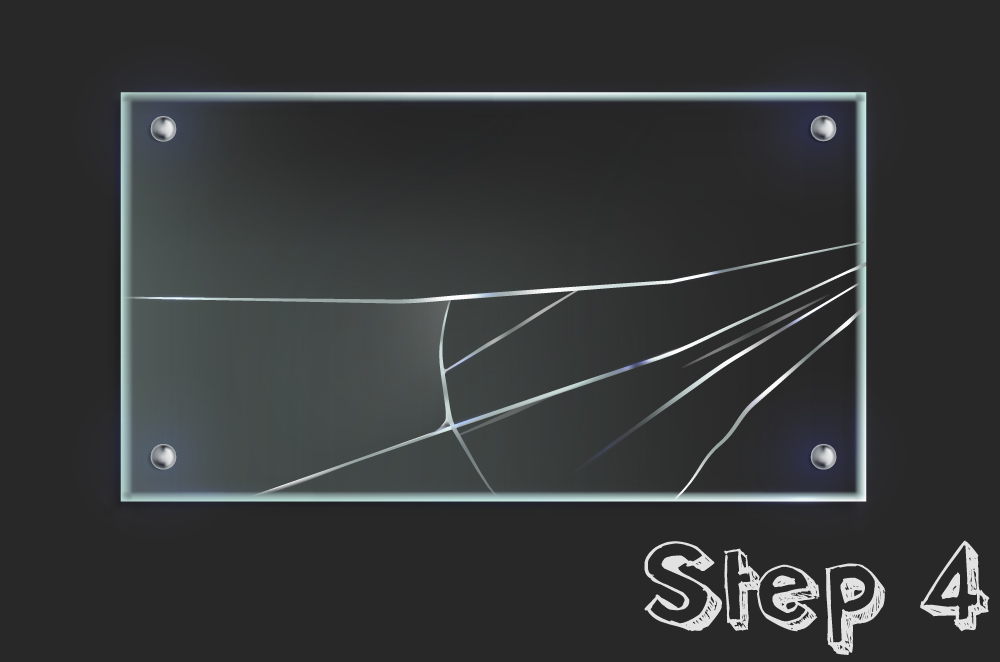
Place another box over the other elements of light blue and give opacity, so that this is the support and an expected effect.

