How I made a Wedding Seal | An Art Process | Art Blog # 8

Hello everyone! I know it's been a while since the last time I posted about my artworks here on Steemit so I have one for you today. I hope you'll enjoy reading it and I hope you'll learn from it!
WEDDING SEAL
Erwin and Argentina
As most of you know, I've been posting my artworks of calligraphy and the like on both my Facebook and Instagram accounts. From there, I have a friend who has told me ahead, I guess about a year ago, that she wanted me to make her wedding more personalized by doing calligraphy stuff for her.
So lately, I've been very busy with my personal matters that I haven't started with my project for my wedding clients. That friend of mine has asked me months ago to formally do their calligraphy works for their wedding this coming June. I have to make an official wedding seal to making a welcome board and the program timeline, to making personalized hangers of the entourage's clothes, to doing the official hashtag guide for them. It's a lot right?!
But, I weighed all the things I needed to do for this project. I started off with something that needed lesser time than the others and that is the official seal to be used for their invitations and probably some of their souvenirs as well.
So, I'll be gladly happy to show you how I did it for one night. Below is the art process of how I made it.
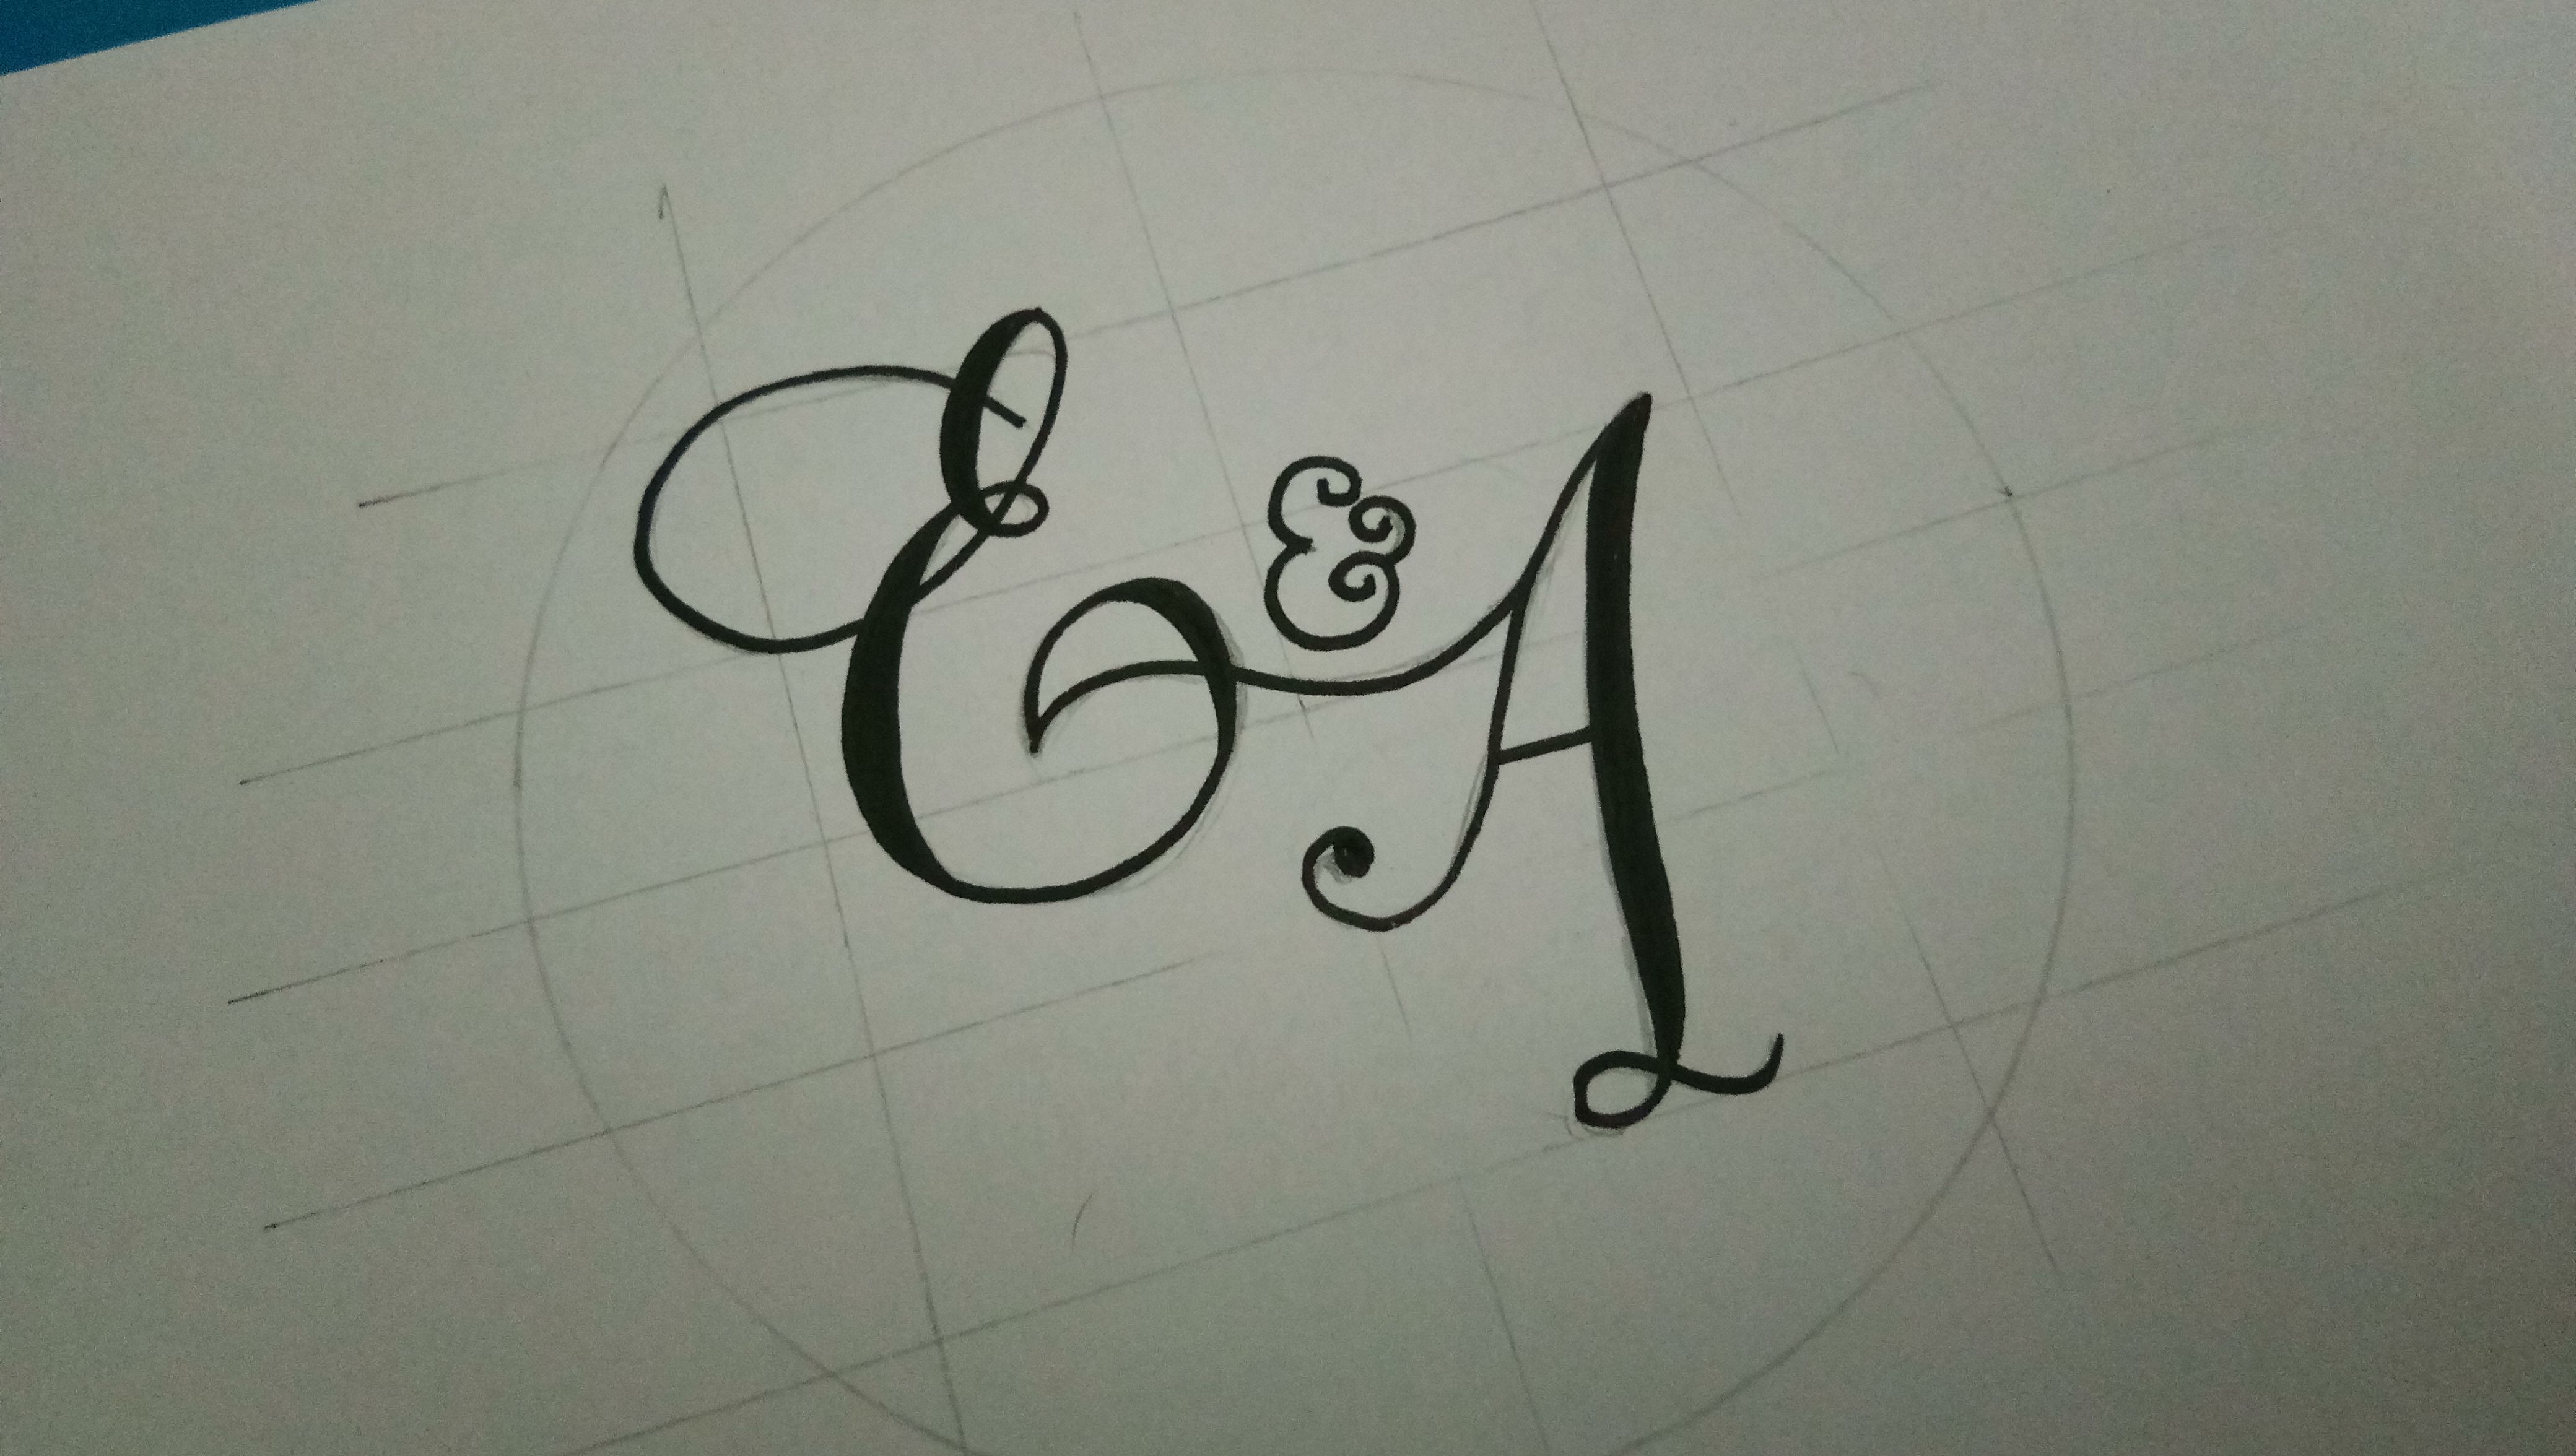
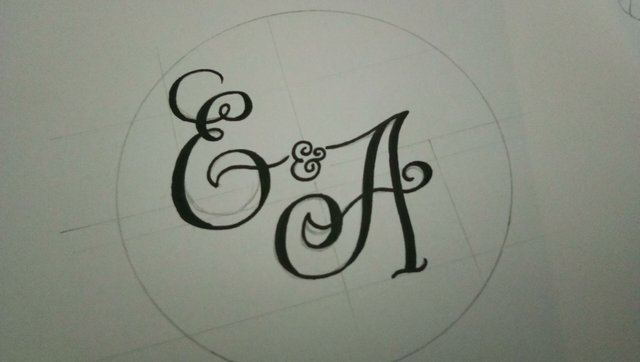
First, I've drawn two circles and wrote my clients' initials inside it. I've made two different designs and sent it to Ms. Argentina for her to decide which letters to choose so that from there, I can start doing the embellishments for the seal.
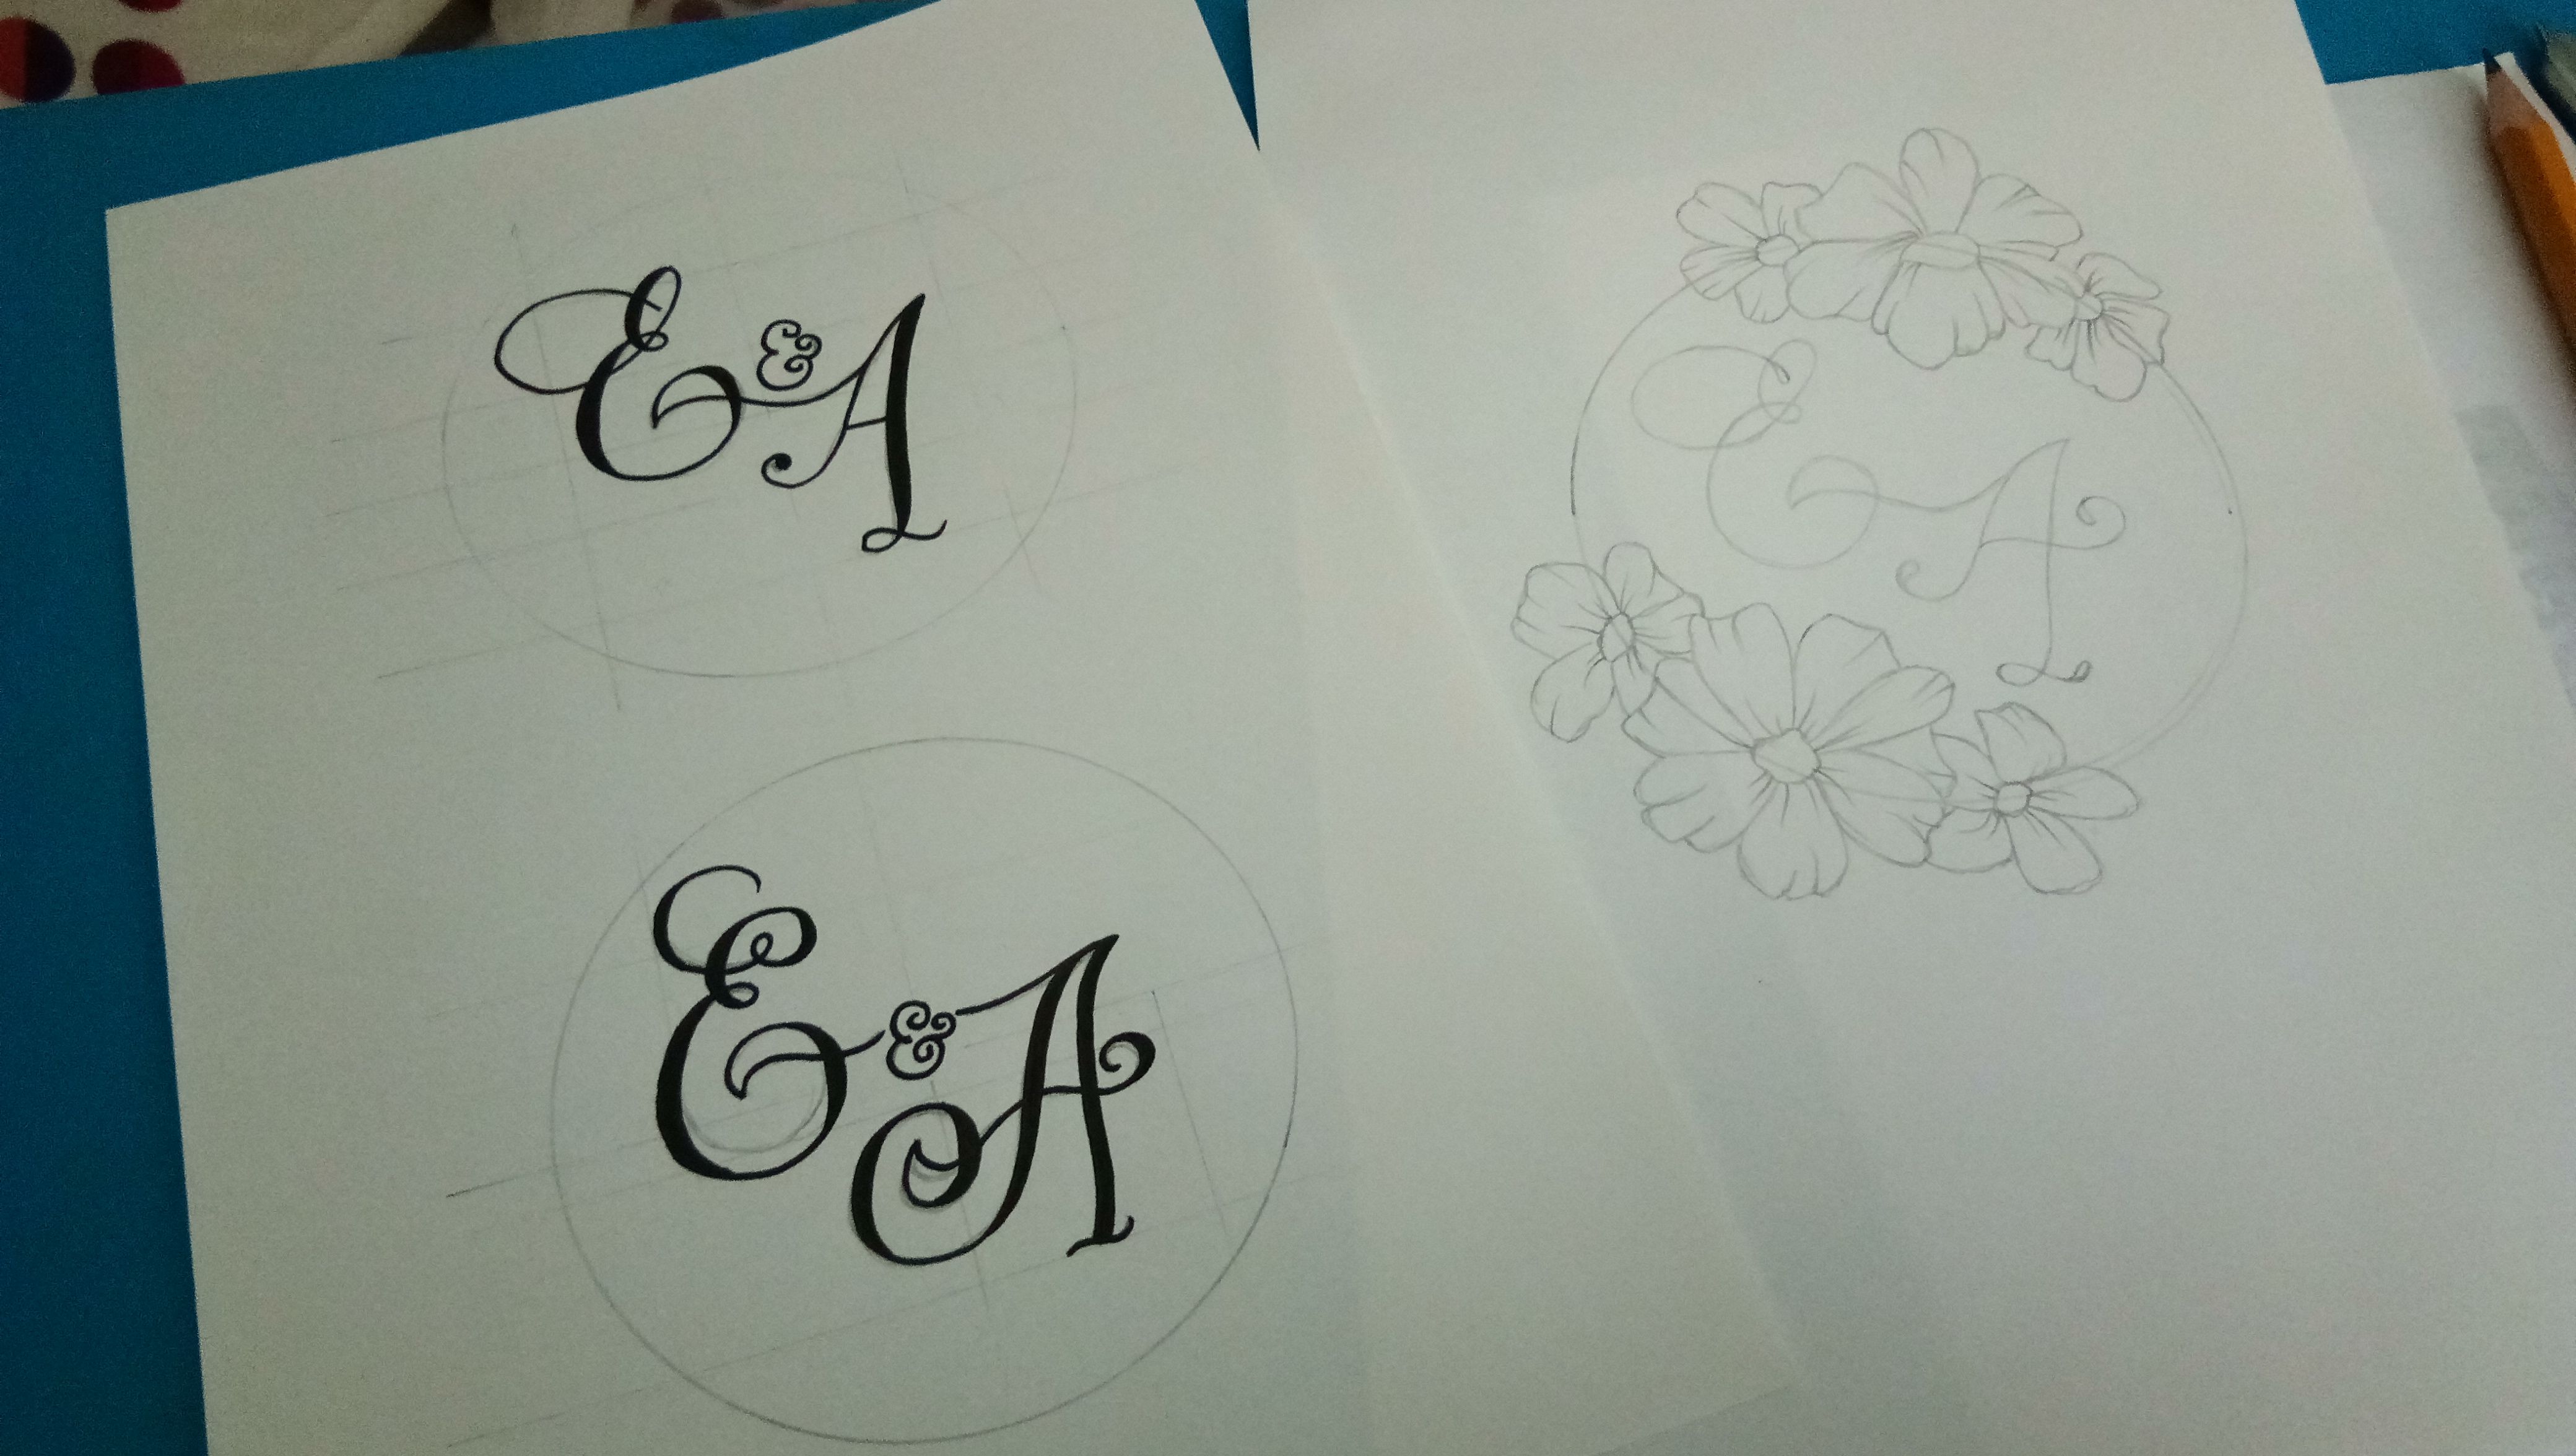
My client obviously chose design number 1 so I made another rough sketch of everything in another piece of paper. In that piece of paper, I added flowers to the top right and bottom left parts of the circle.
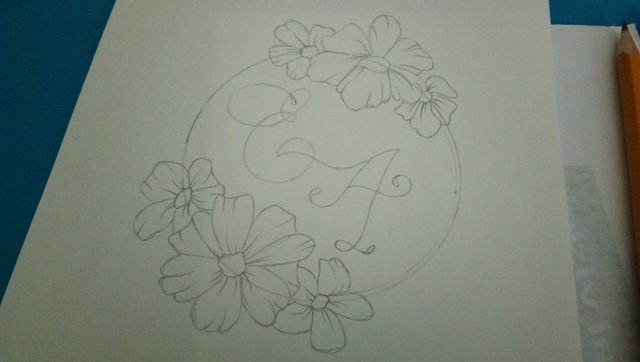
A closer view of the initial sketch I made for their seal.
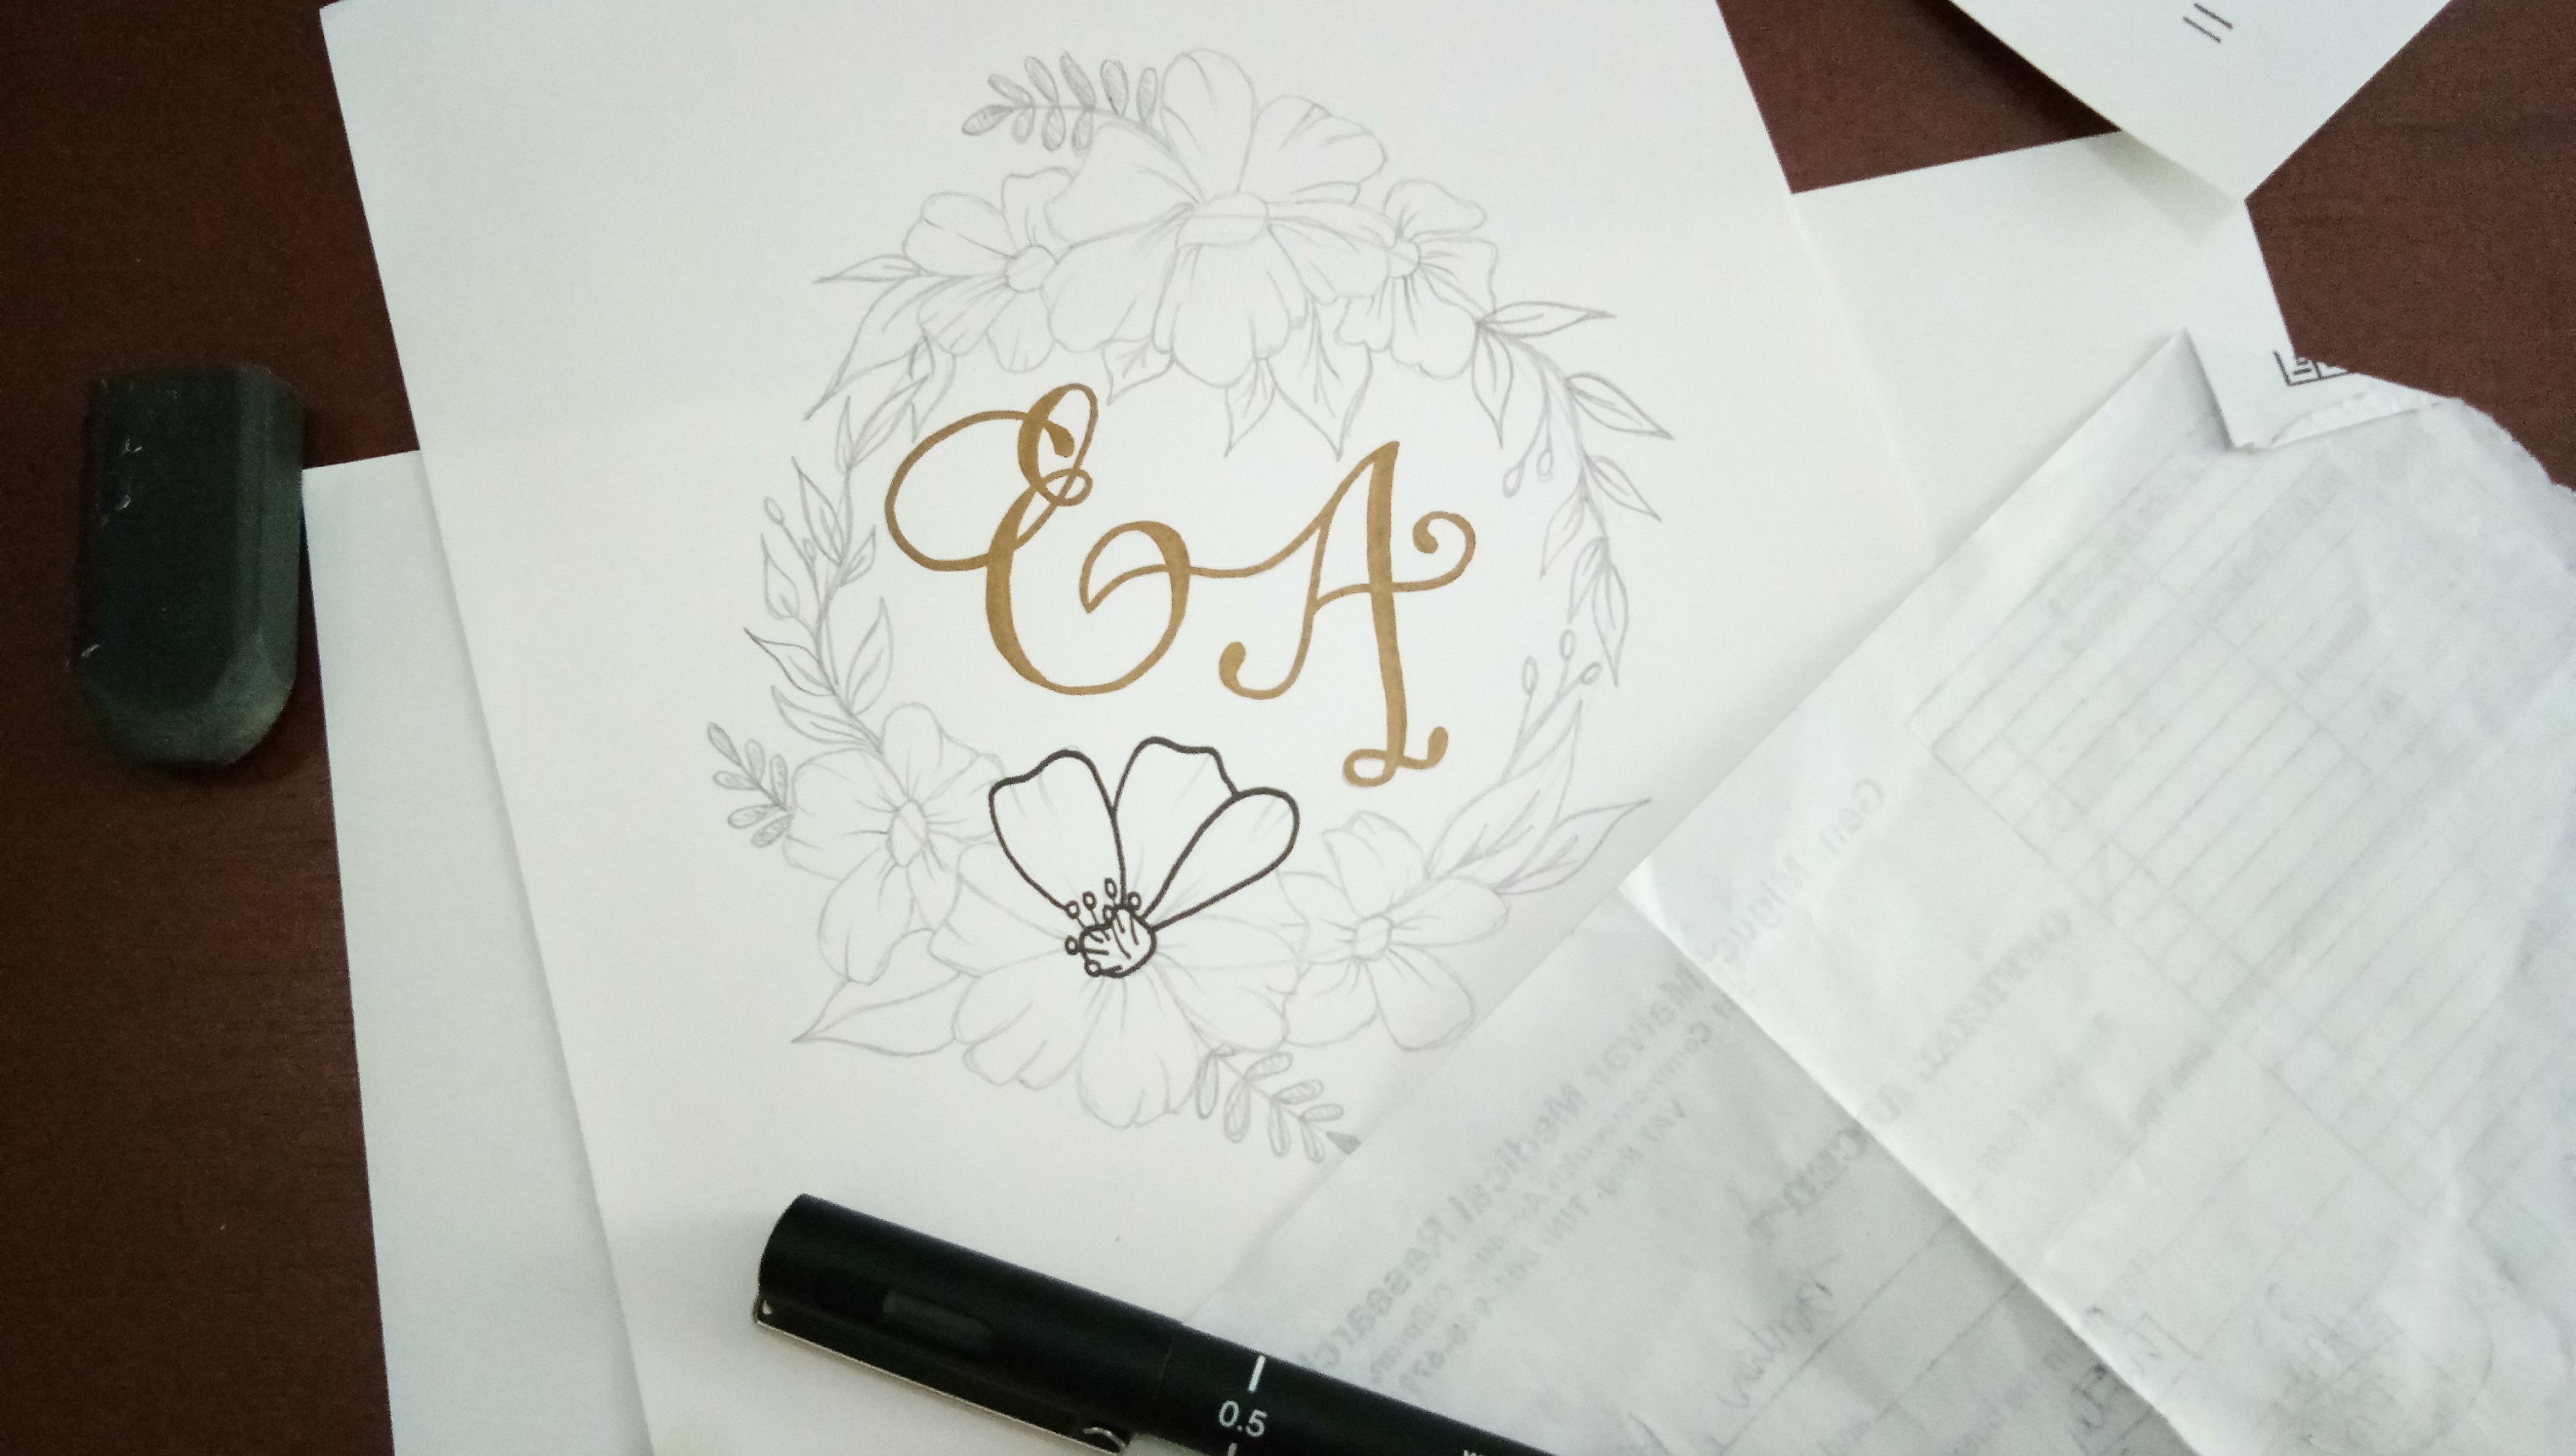
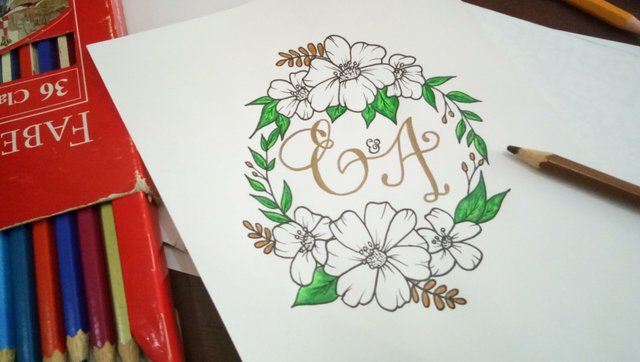
Then I added leaves and other flourishes to my design. Since the wedding theme was something gold, I used a gold sharpie marker to outline the initials E & A for Erwin and Argentina by the way. After getting satisfied with everything, I grabbed my Unipin Black pens and started to outline every embellishment in black. I've used both 0.5 for the bolder outline and a 0.1 for the details.
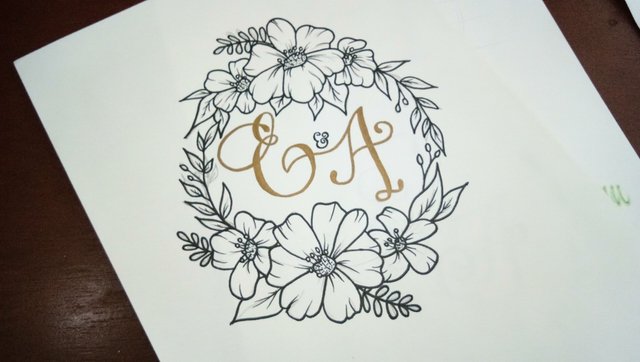
This was then the final outlined piece. Then it's time to fill this thing with colors.
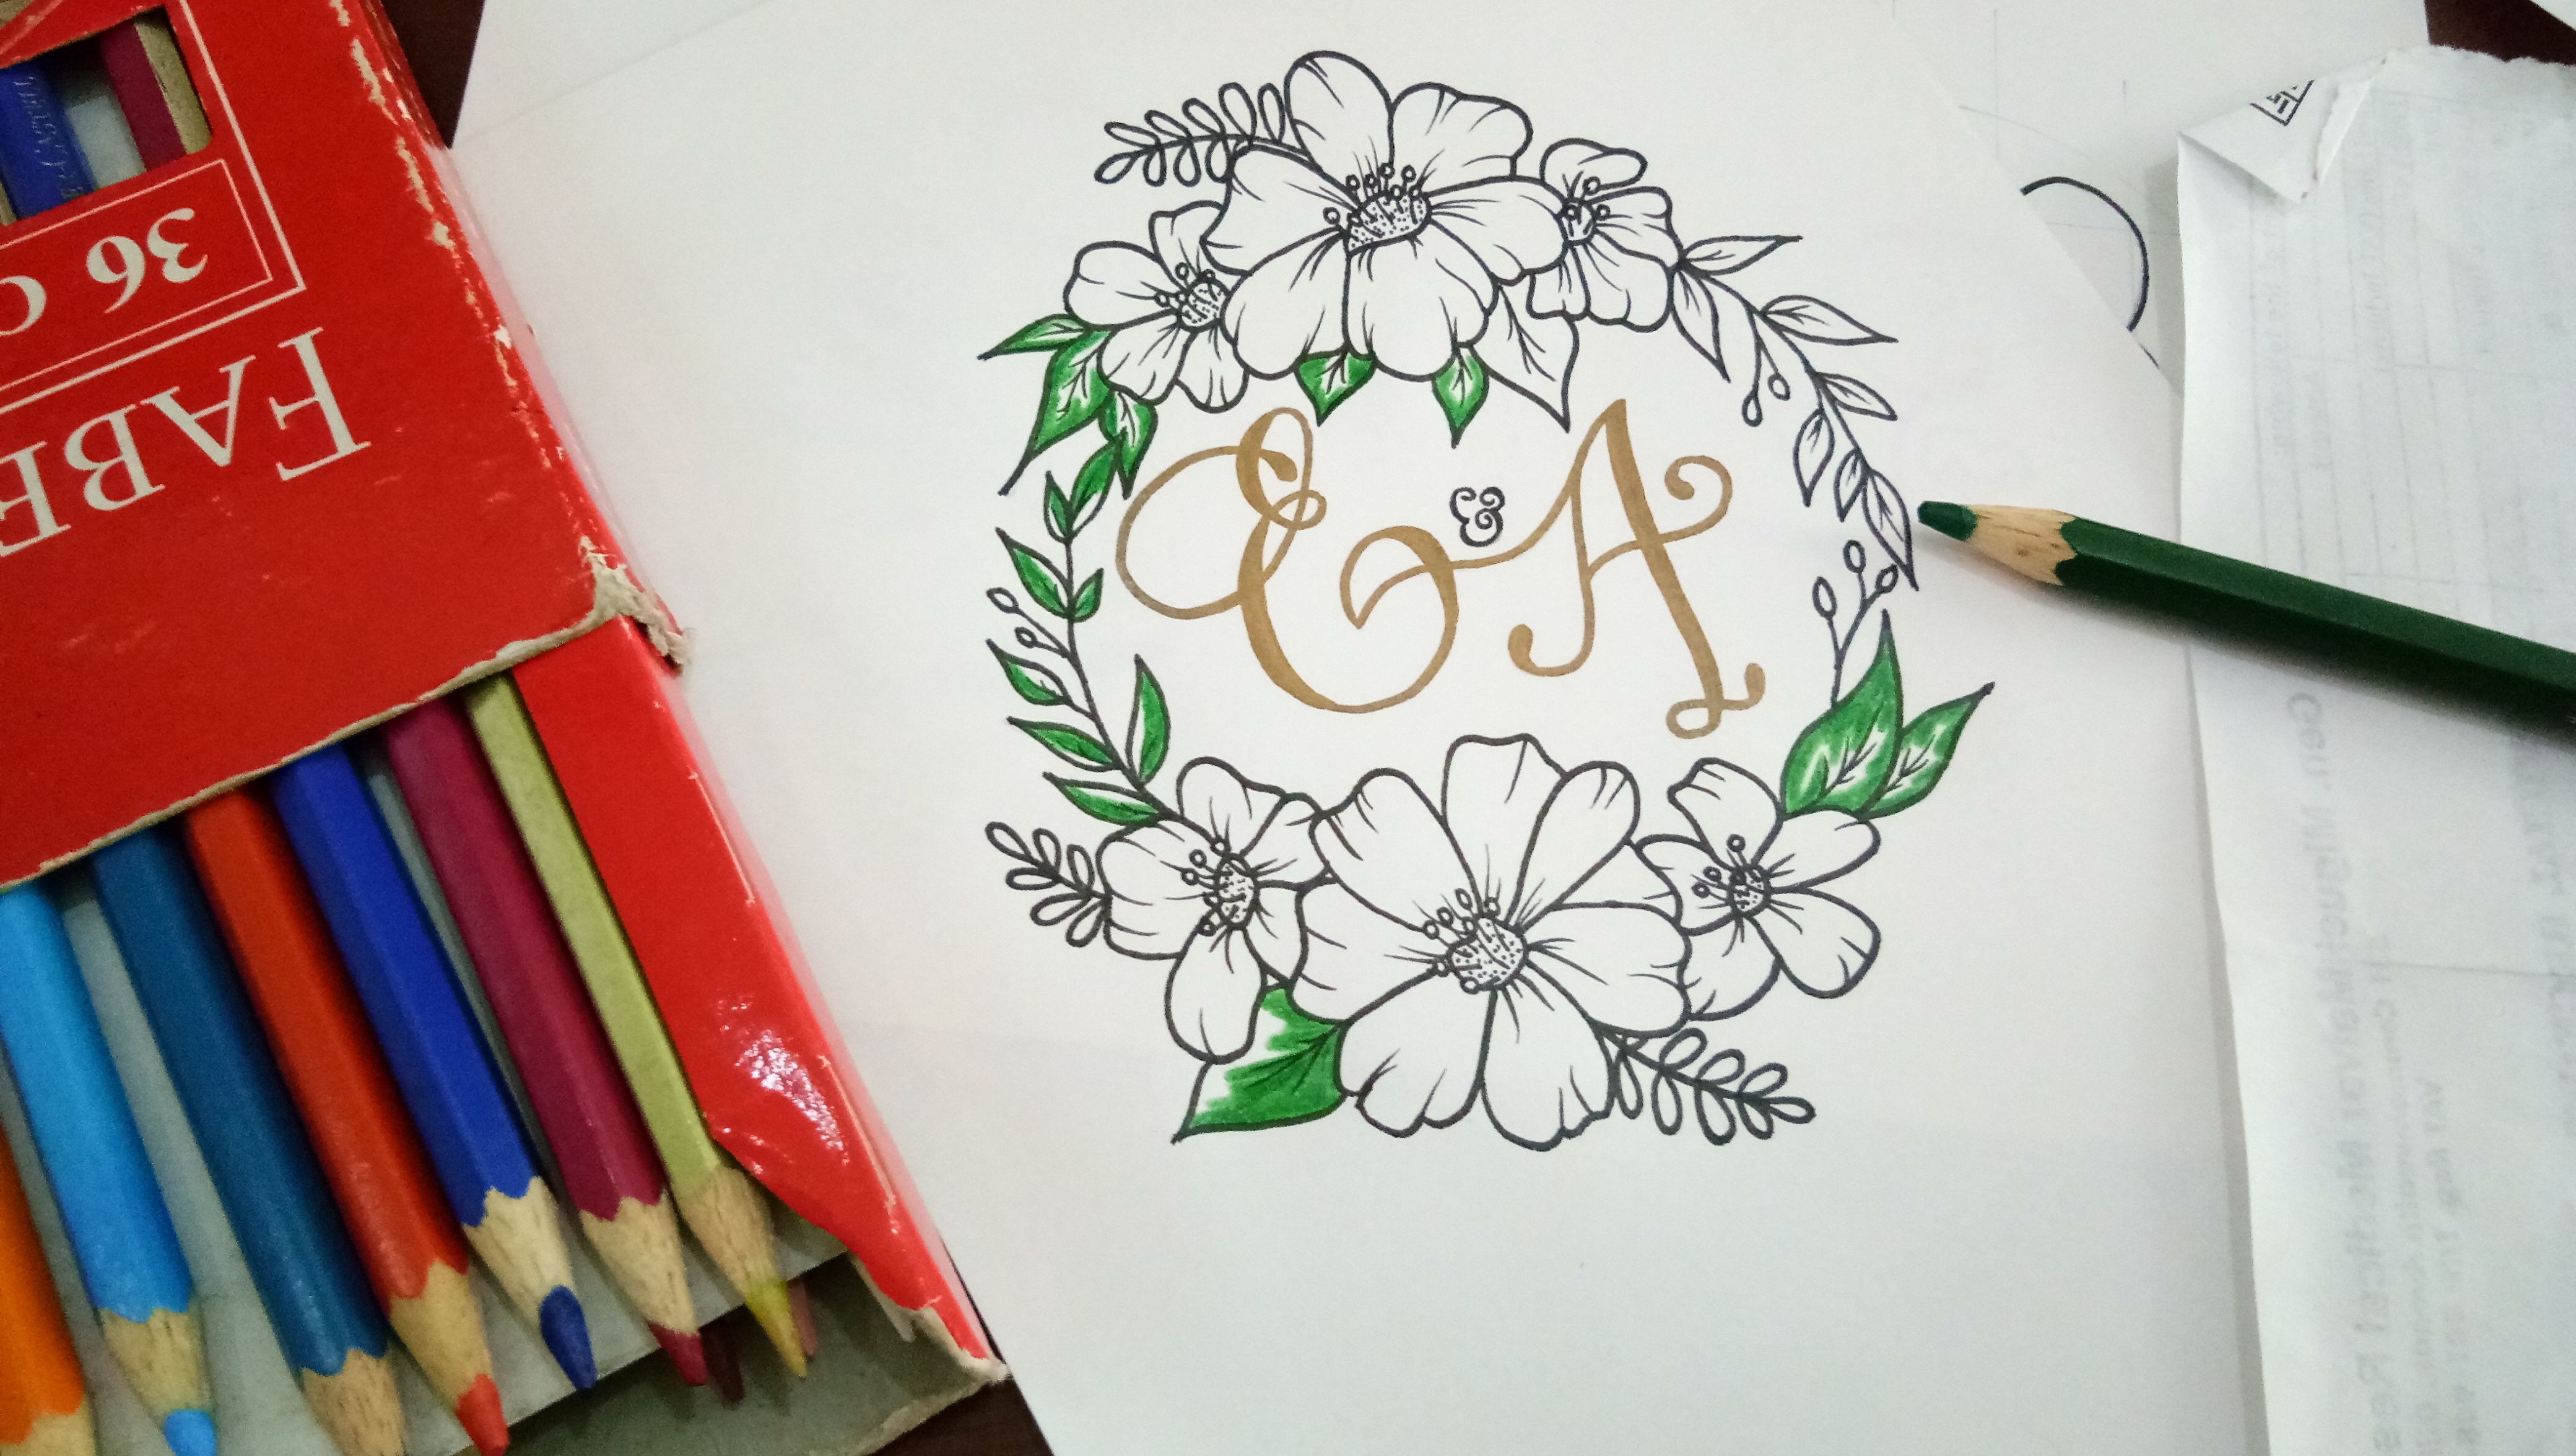
I used Faber-Castell Colored pencils for this one because I just love how bright and bold the colors of these pencils are. Since the theme was also of emerald green and earth brown, I used these colors to fill the seal. I started off with the dark green on the sides, then filled it with a yellowish green for the lighter effect.
Then I used brown for the other flourishes. I actually stopped here for a while and asked my client what color she wanted the flowers to be. She actually said that she likes it as it is, plain white but it also depends on my discretion too. Since she is my client, I decided to do two options for her. I made a plain white and I added a color to the other one. I got the white flower scanned first before coloring it with anything that I like.
This is the scanned White version.
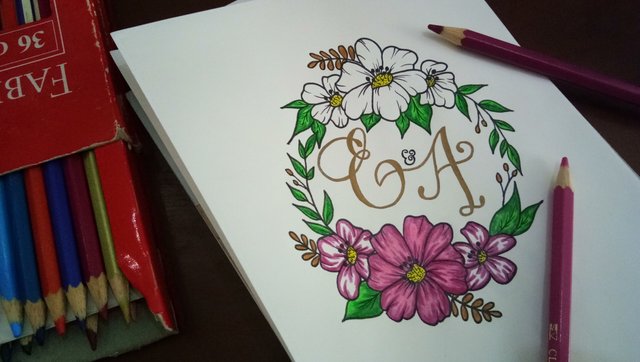
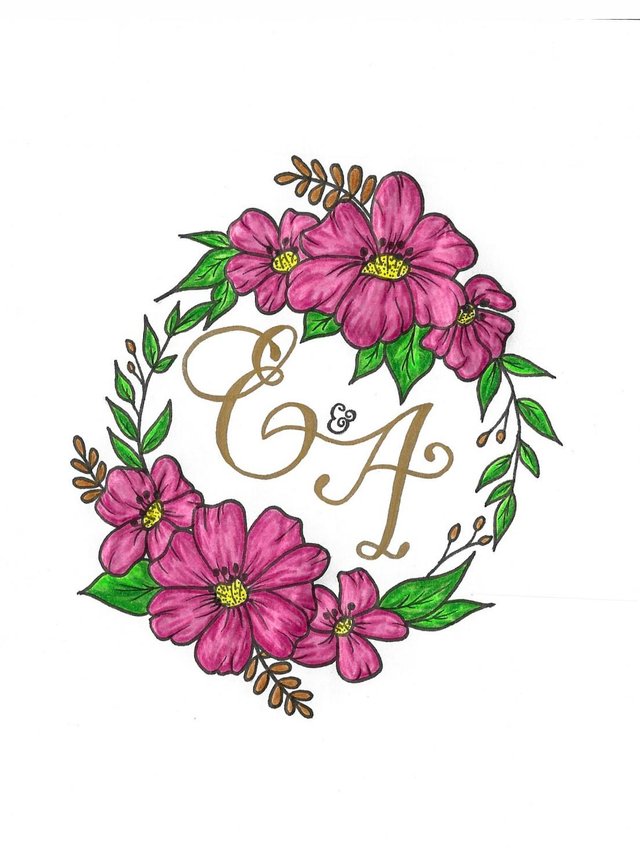
For the pink version, I've used an almost purple color and pink to have that detail effect of colors in the flower. I filled all the whites with it.
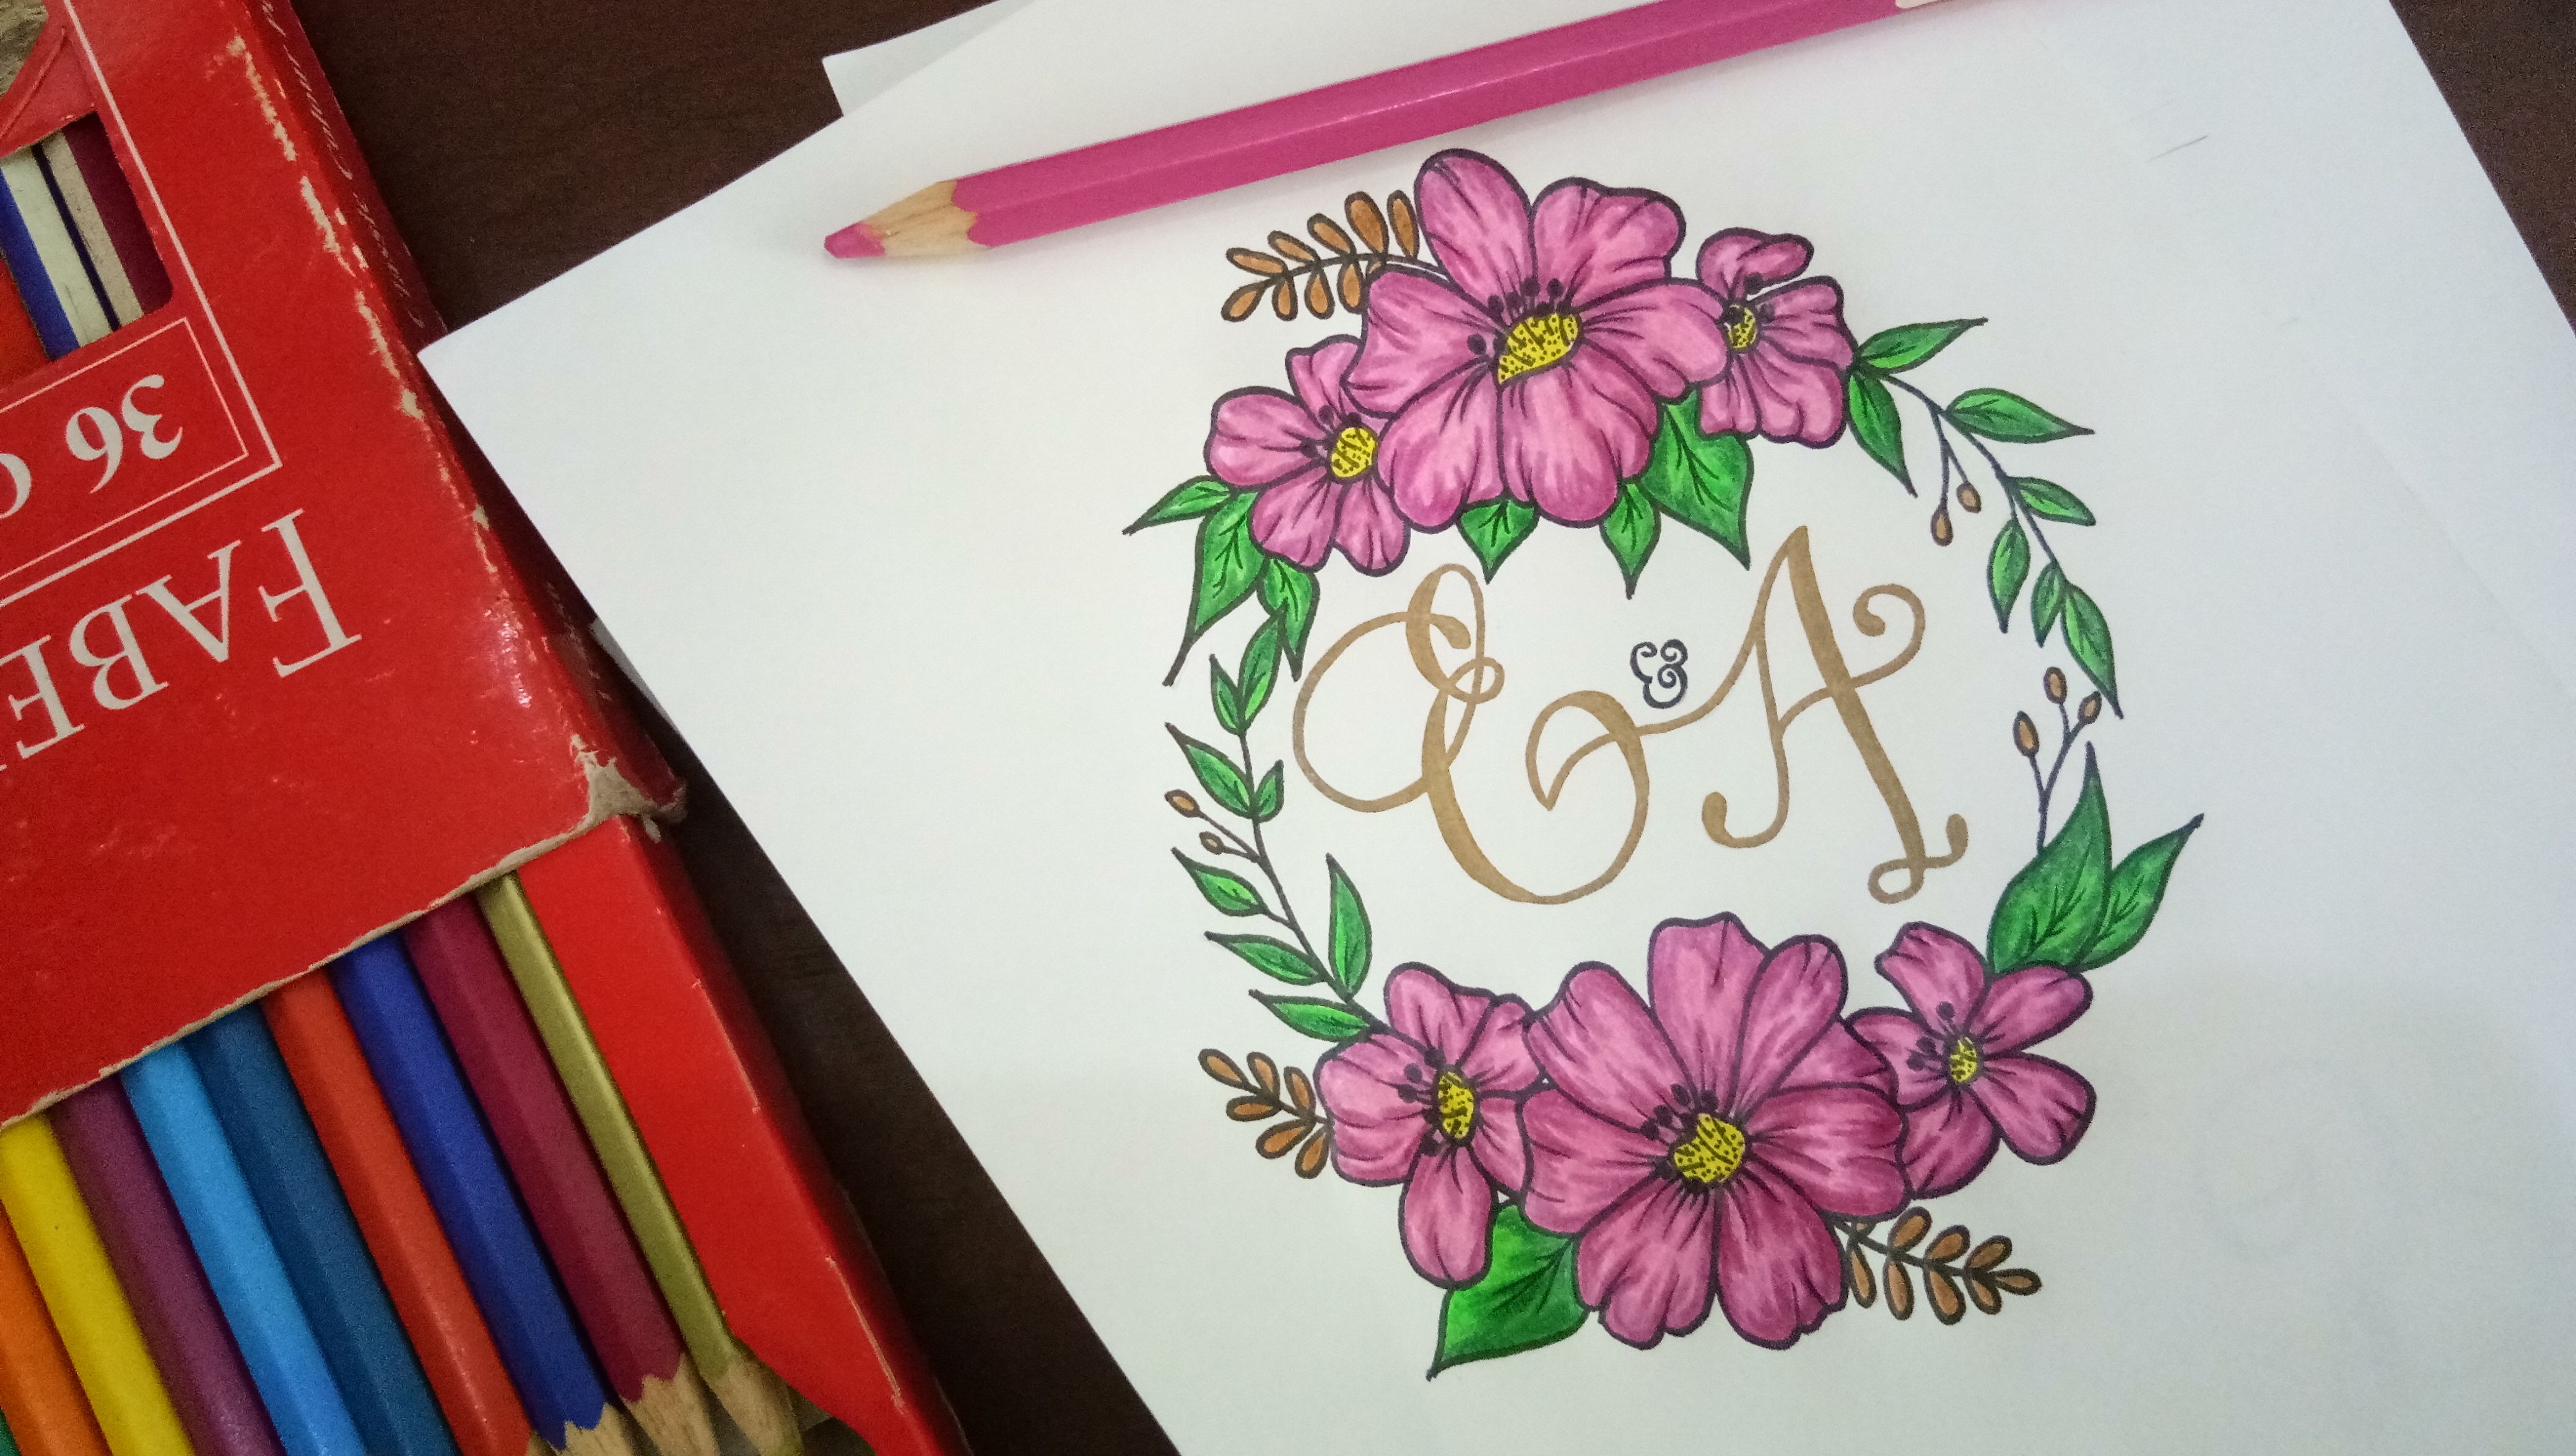
This was then the final output of the pink version and yes, I had it scanned.
Scanned version of the Pink one
There you have it guys! This is still a piece to my project for my client and I still have more things to do for them. Don't worry, I'll show you everything I have made for this wedding and I too am excited with the outputs that I'll be making. Watch out for it guys!
Much love,

This work is licensed under a Creative Commons Attribution 4.0 International License.
Congratulations @kyanzieuno, your post have been featured at Best of PH Daily Featured Posts. You may check the post here.
About @BestOfPH
We are a curation initiative that is driven to promote Filipino authors who
are producing quality and share-worthy contents on Steemit.
If you would like to delegate to Best of PH you can do so by clicking on the following links.
100SP, 250SP, 500SP, 1000SP, 5000SP.
See Curation/Delegation Incentive Scheme here. Be sure to leave at least 50SP undelegated on your account.
Follow our trail and vote for curated Pinoy authors. If you are a SteemAuto user, @bestofph is an available trail to follow.
If you want to be part of the community, join us on Discord
Wow this looks so wonderful! I'd like something like this for my wedding in the future hehe
Dear Artzonian, thanks for using the #ArtzOne hashtag. Your work is valuable to the @ArtzOne community. Quote of the week: Art, freedom and creativity will change society faster than politics. -Victor Pinchuk
Congratulations! This post has been upvoted by the communal account, @steemph.cebu by kyanzieuno being run at Teenvestors Cebu (Road to Financial Freedom Channel). This service is exclusive to Steemians following the Steemph.cebu trail at Steemauto. Thank you for following Steemph.cebu curation trail!
Don't forget to join Steem PH Discord Server, our Discord Server for Philippines.
Wow. You got real talent!! Great