How I made a Wooden Board for a Wedding Part 2 | An Art Process | Art Blog # 12
WELCOME AND PROGRAMME BOARDS
Argentina + Erwin
Hello there again! I'm happy to share to you another edition of an art process of how I made the Welcome board and the Programme Guide for the wedding of Argentina and Erwin.
I'm so happy to say that I've finished everything that were needed to be done for them. I've spent countless hours, artistic ideas and my skills just to complete it.
If you like to know how I did the other wedding props, please check the links below.
| Projects | Link |
|---|---|
| Wedding Seal | Art Blog #8 |
| Personalized Hangers | Art Blog # 9 |
| Hashtag Boards | Art Blog # 11 |
So, without further ado, here's how I made their additional boards.
MATERIALS NEEDED
2 pcs plywood (20x25)
Quick Dry Enamel Paint (White)
Paint Brush
Miniso Acrylic Painters
(Pink, purple, blue, green, and brown)
Wet Tissue
(In case you'll have erasures)
Dry Tissue
(For the faded effect)
WELCOME BOARD
Unlike the first welcome board I made for another couple, Hash and Jason, this board entails more details. (If you like to check how I did Hash and Jason's Welcome board, feel free to read it here).
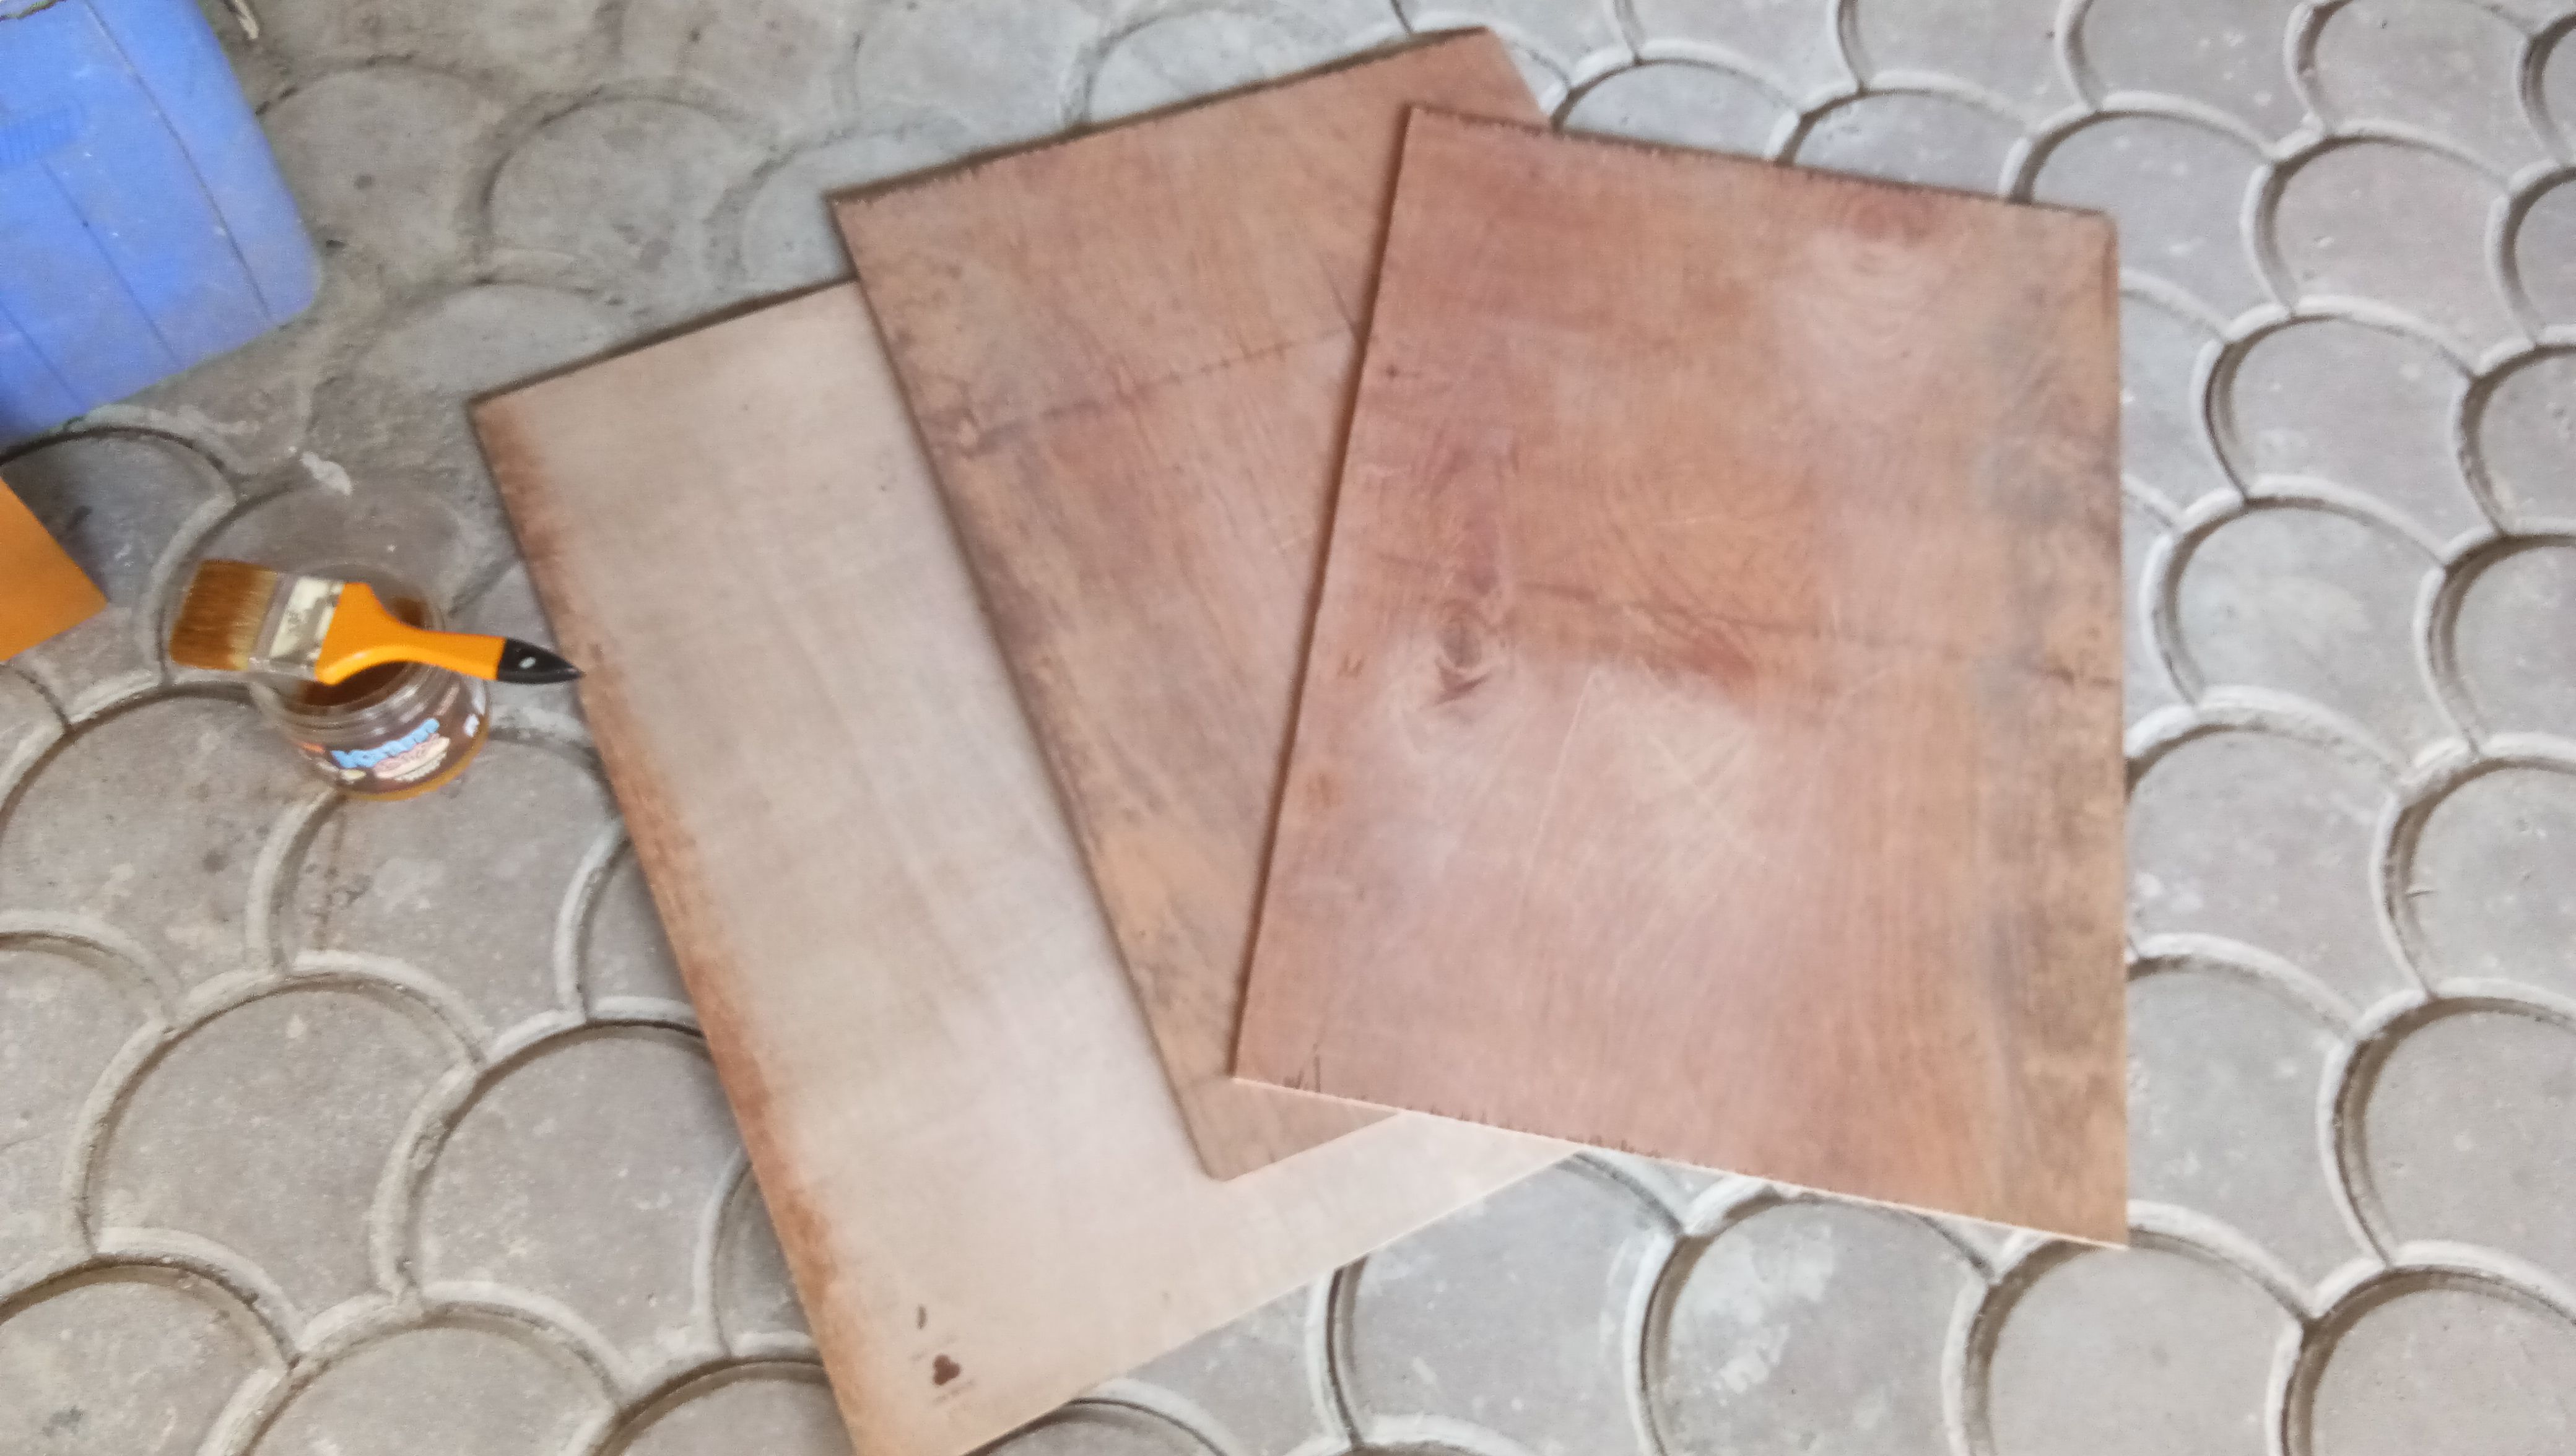
I started off with the boards, I painted it with all white and let it air dry. I only used two boards and I got the other one as an extra piece in case I wanted to change the one I made or if I'll add another board for them.
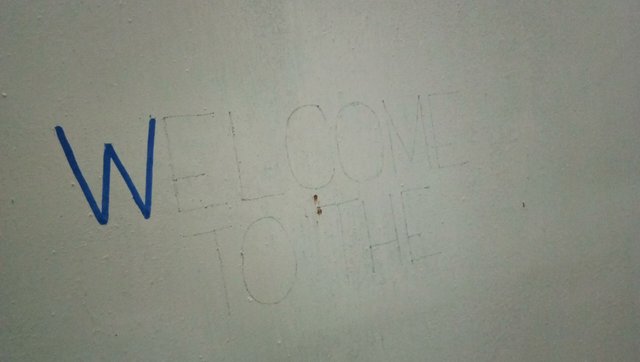
Having it all dried up, grab the acrylic pens or whatever medium you like and we're ready for some writing. I made some rough sketch first with a pencil before finally writing it with the painters that I have because I wanted it to look neat.
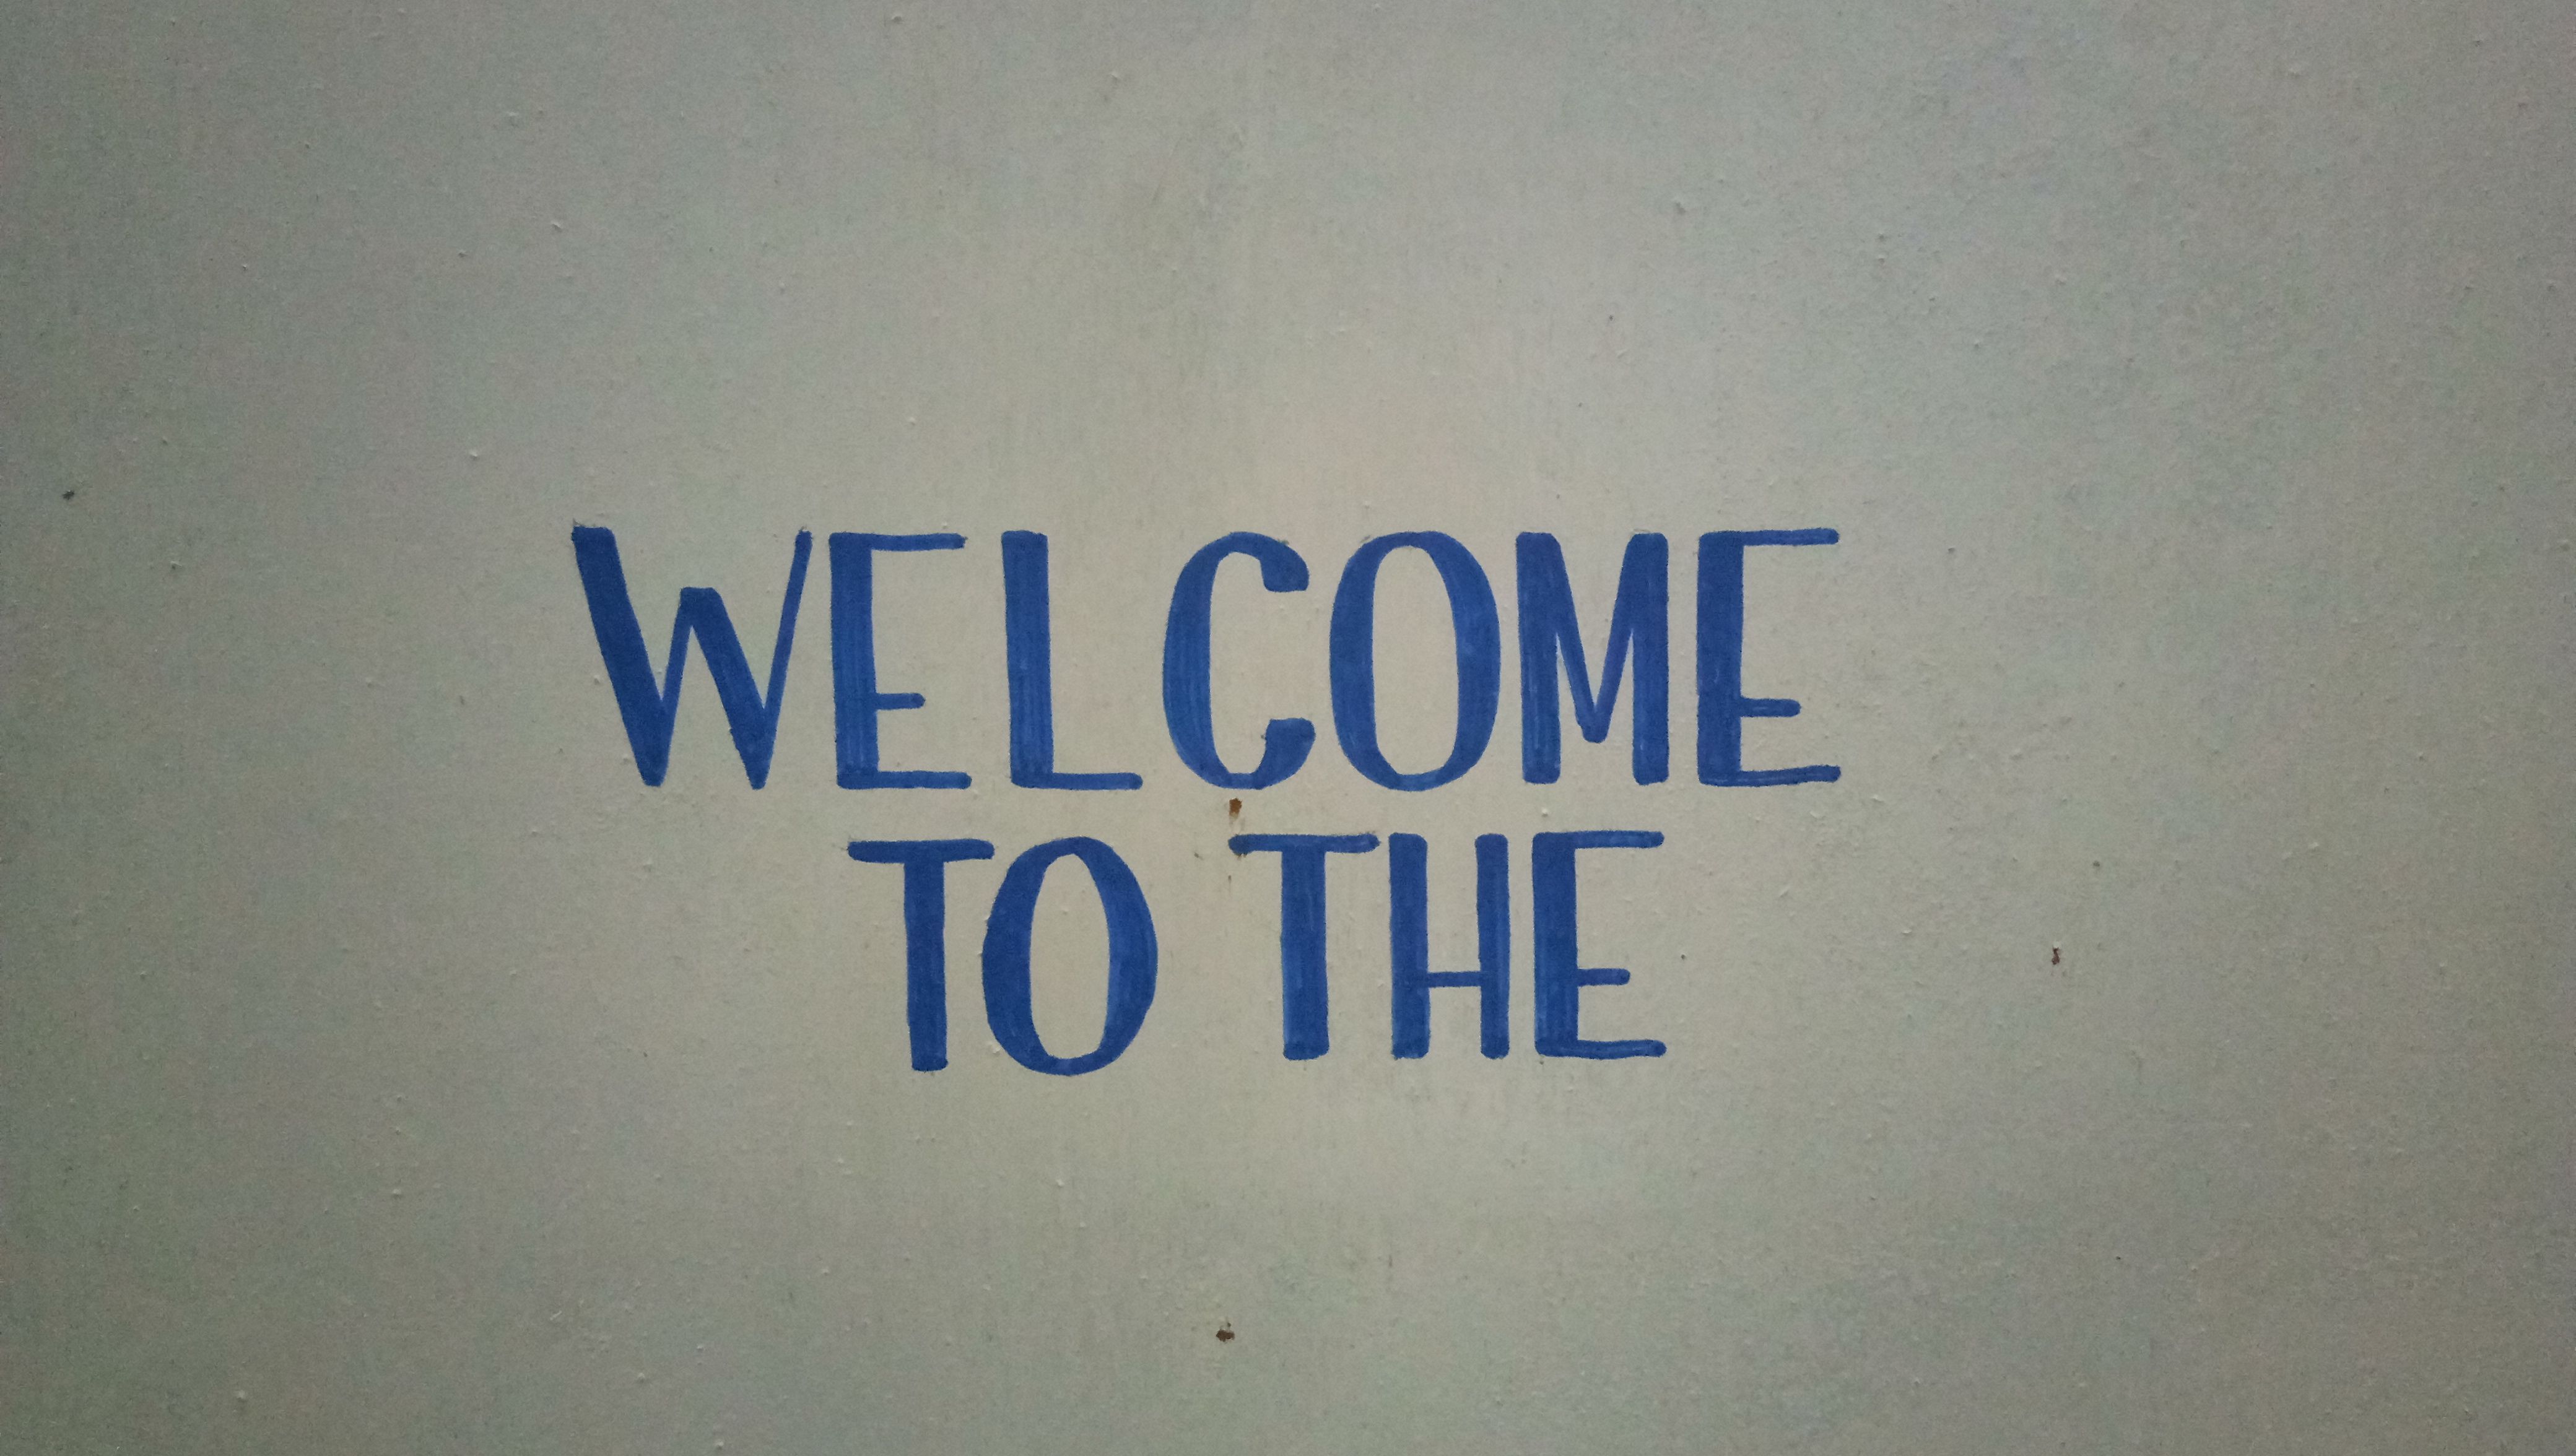
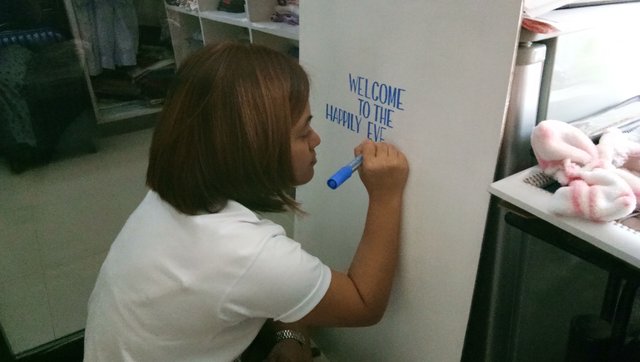
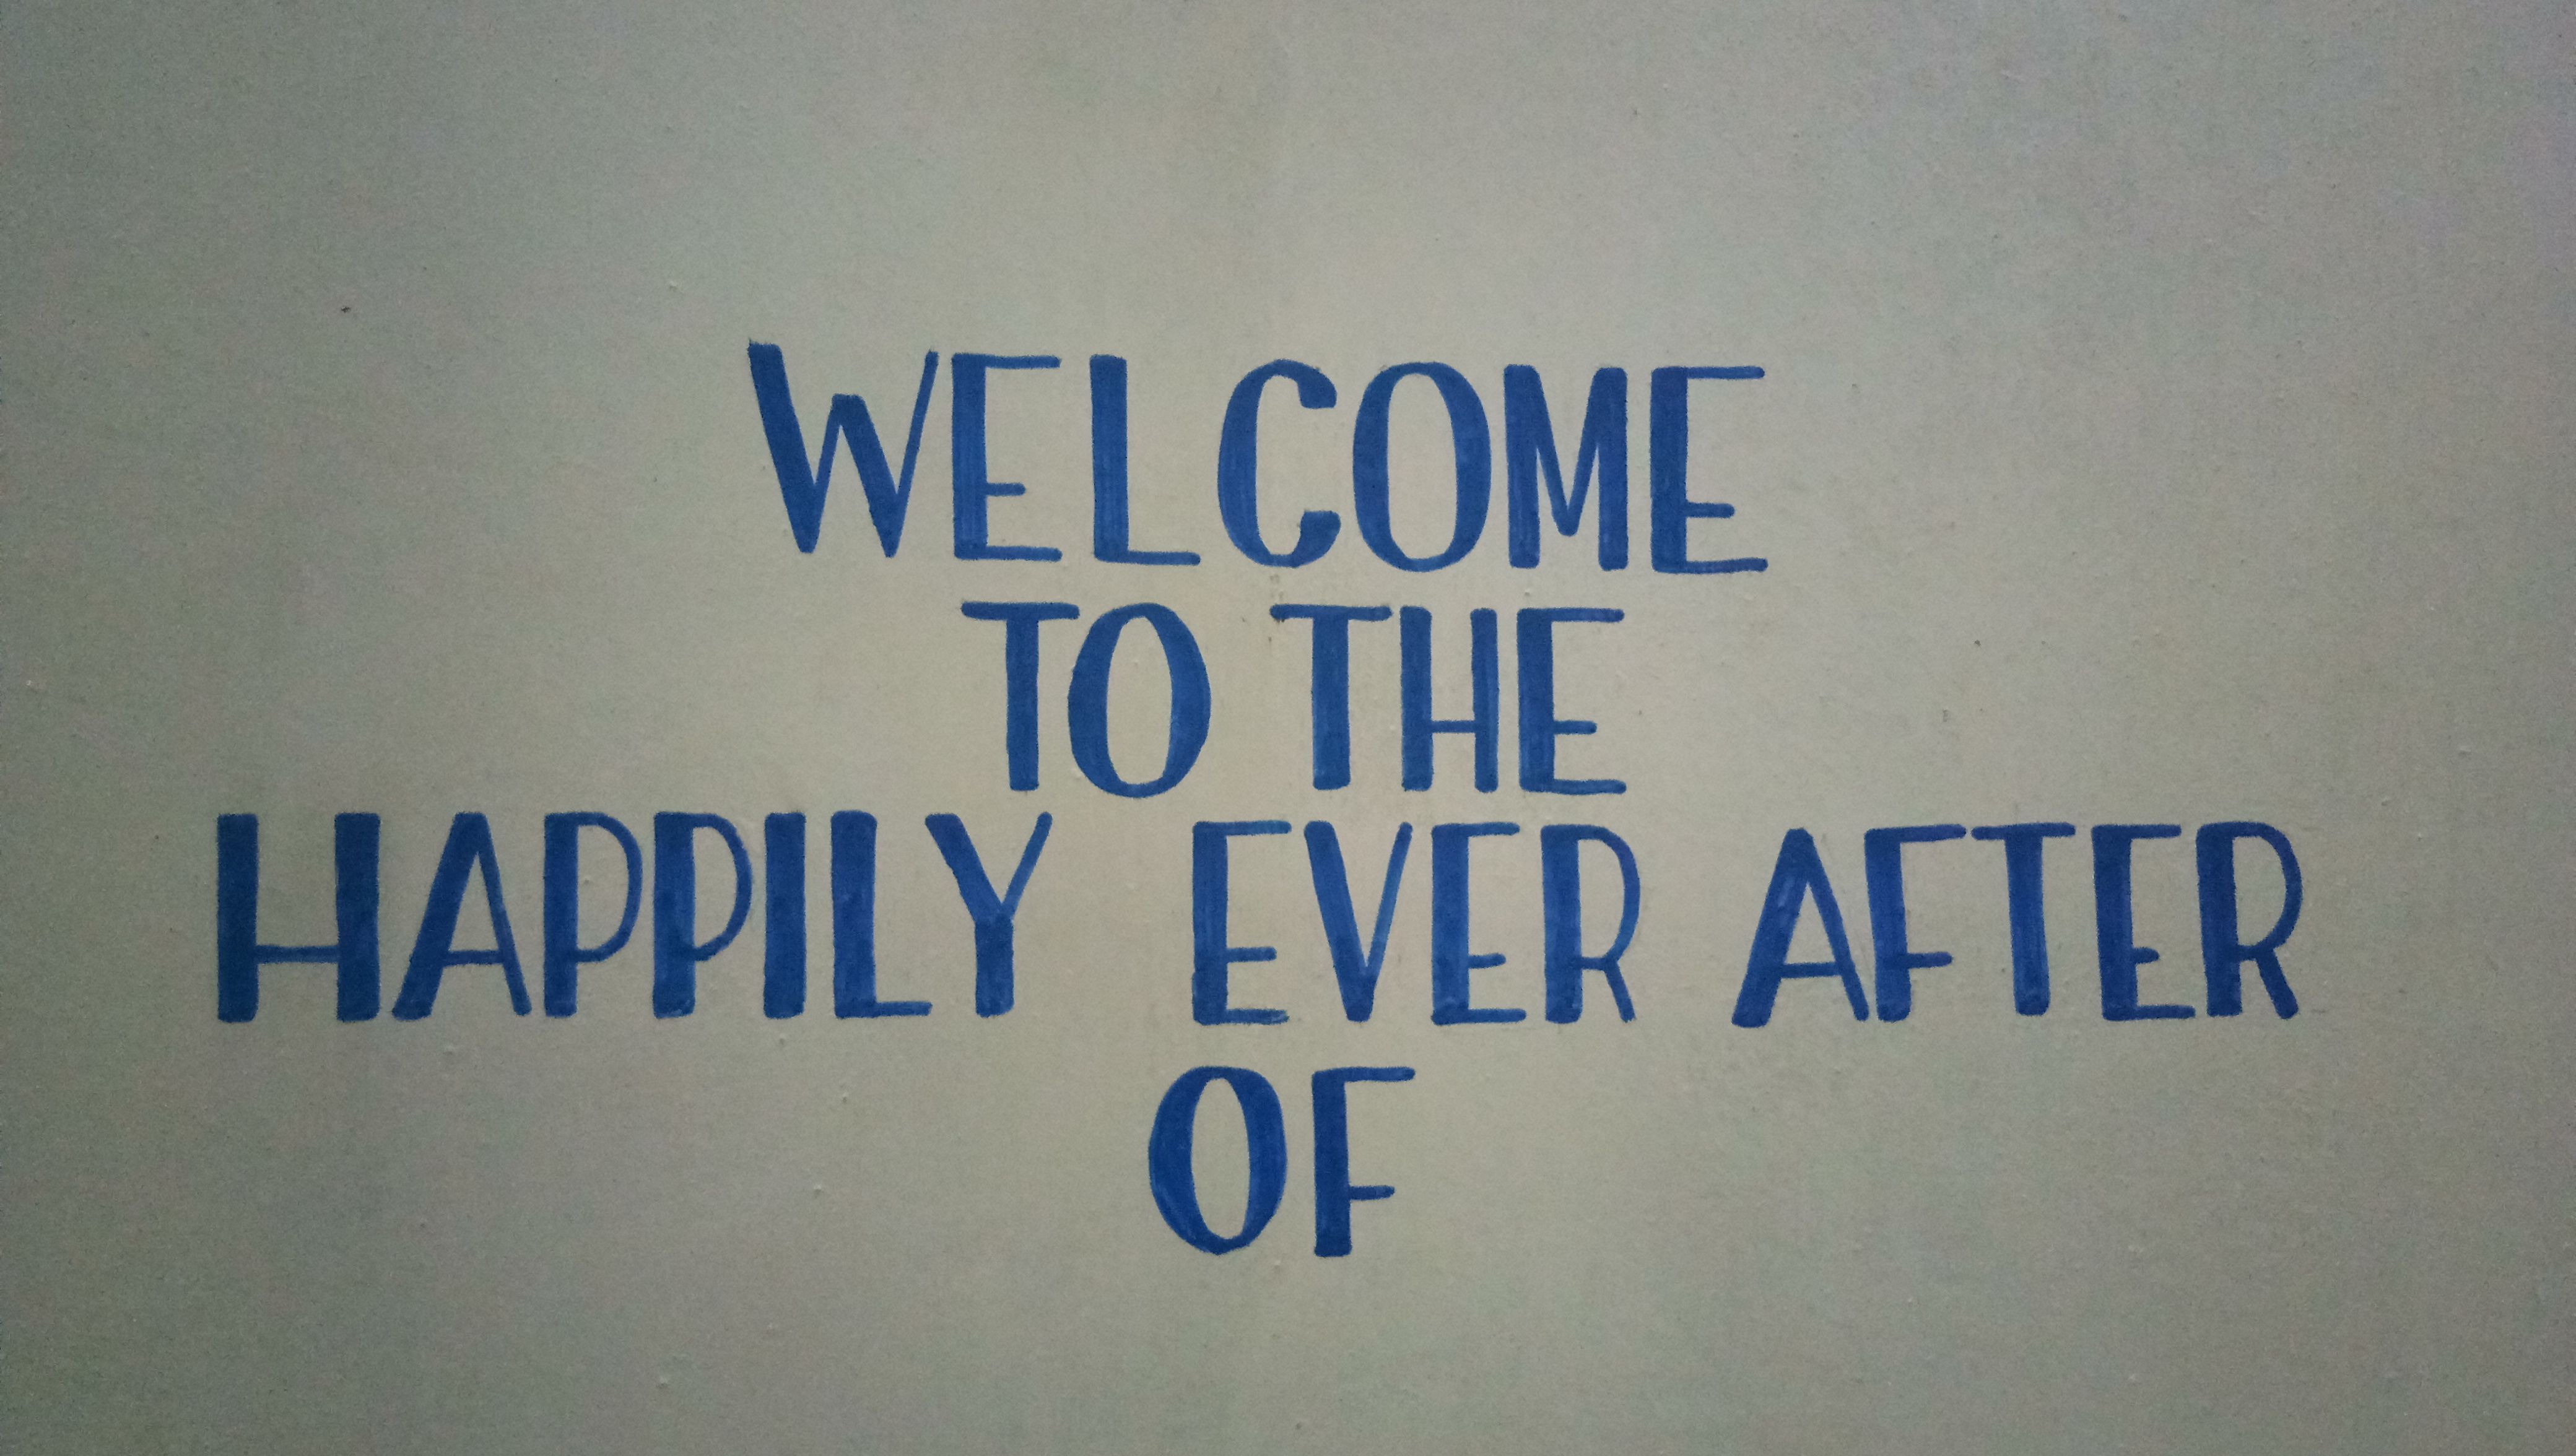
I wrote 'Welcome to the happily ever after of' for the first part of the board in a type font.

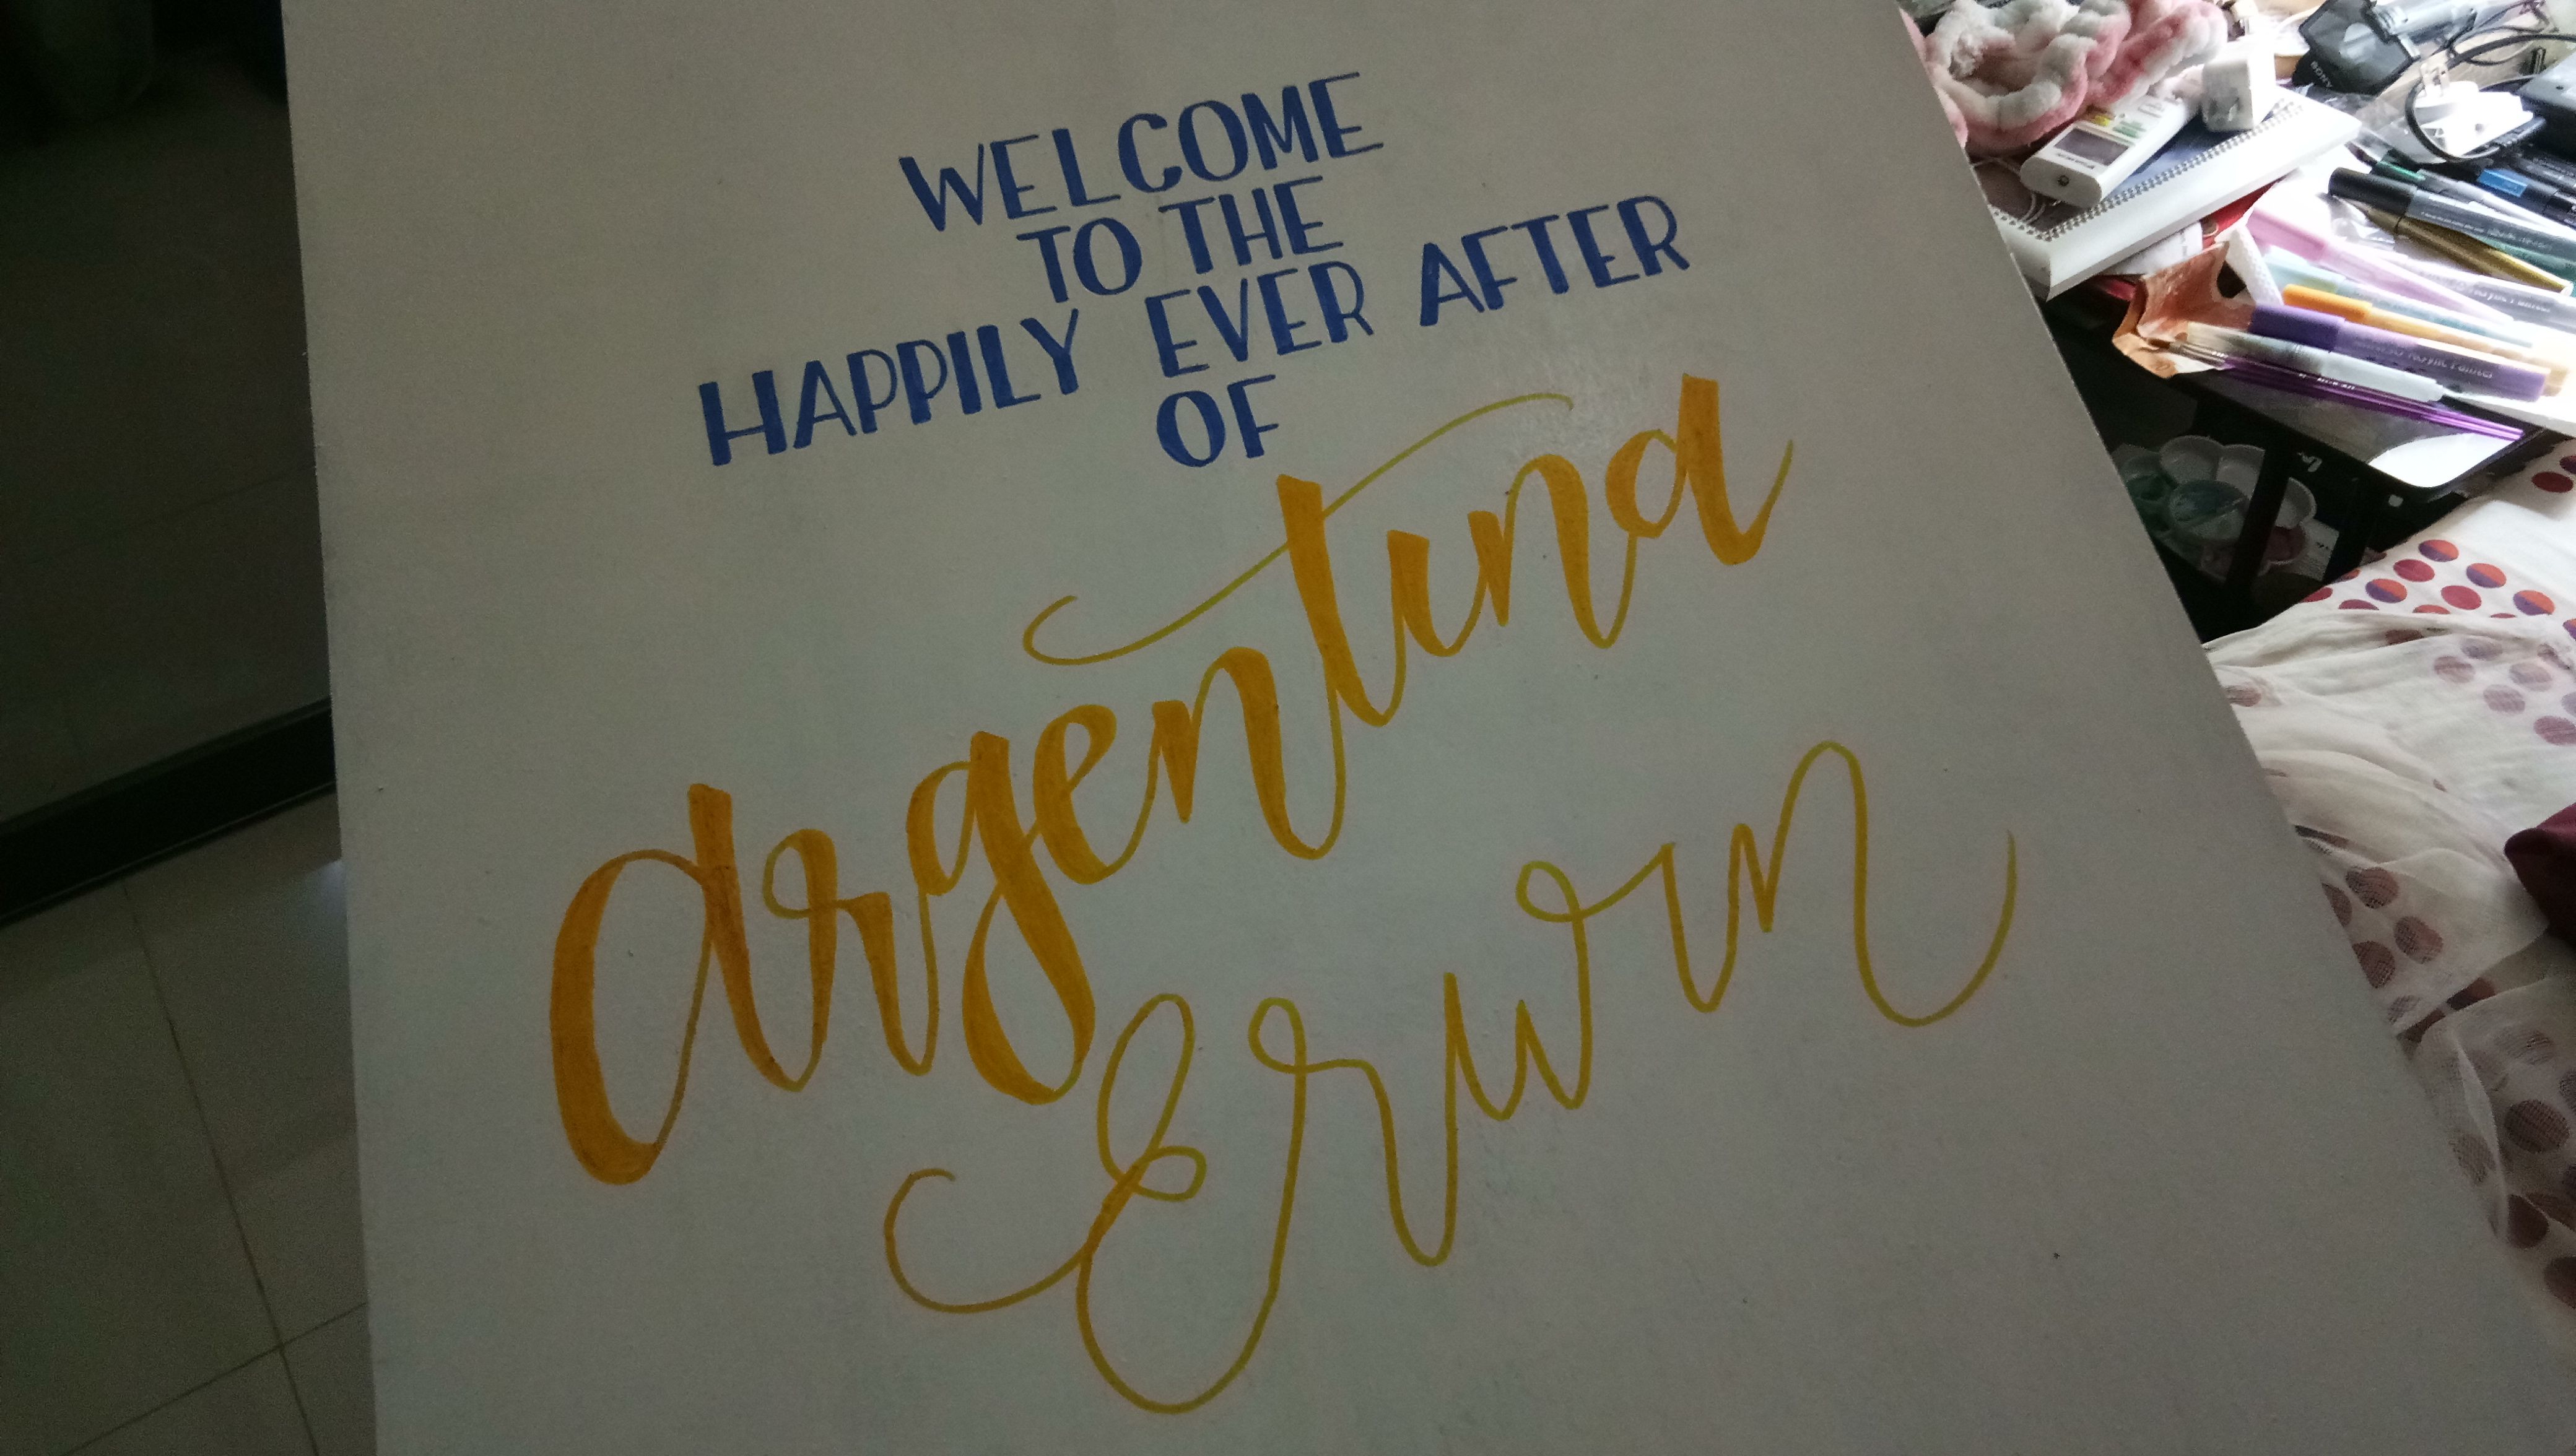
Then I added Argentina and Erwin's names below it using faux calligraphy.
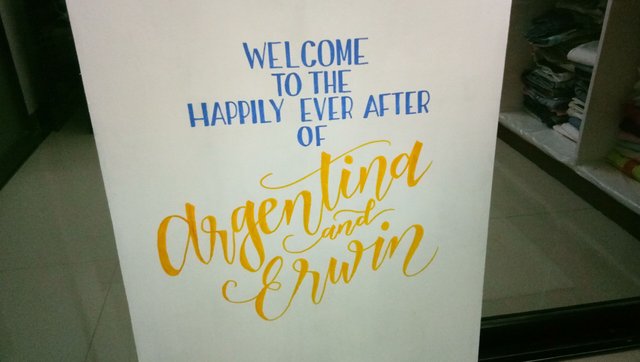
I also inserted 'and' in between their names.
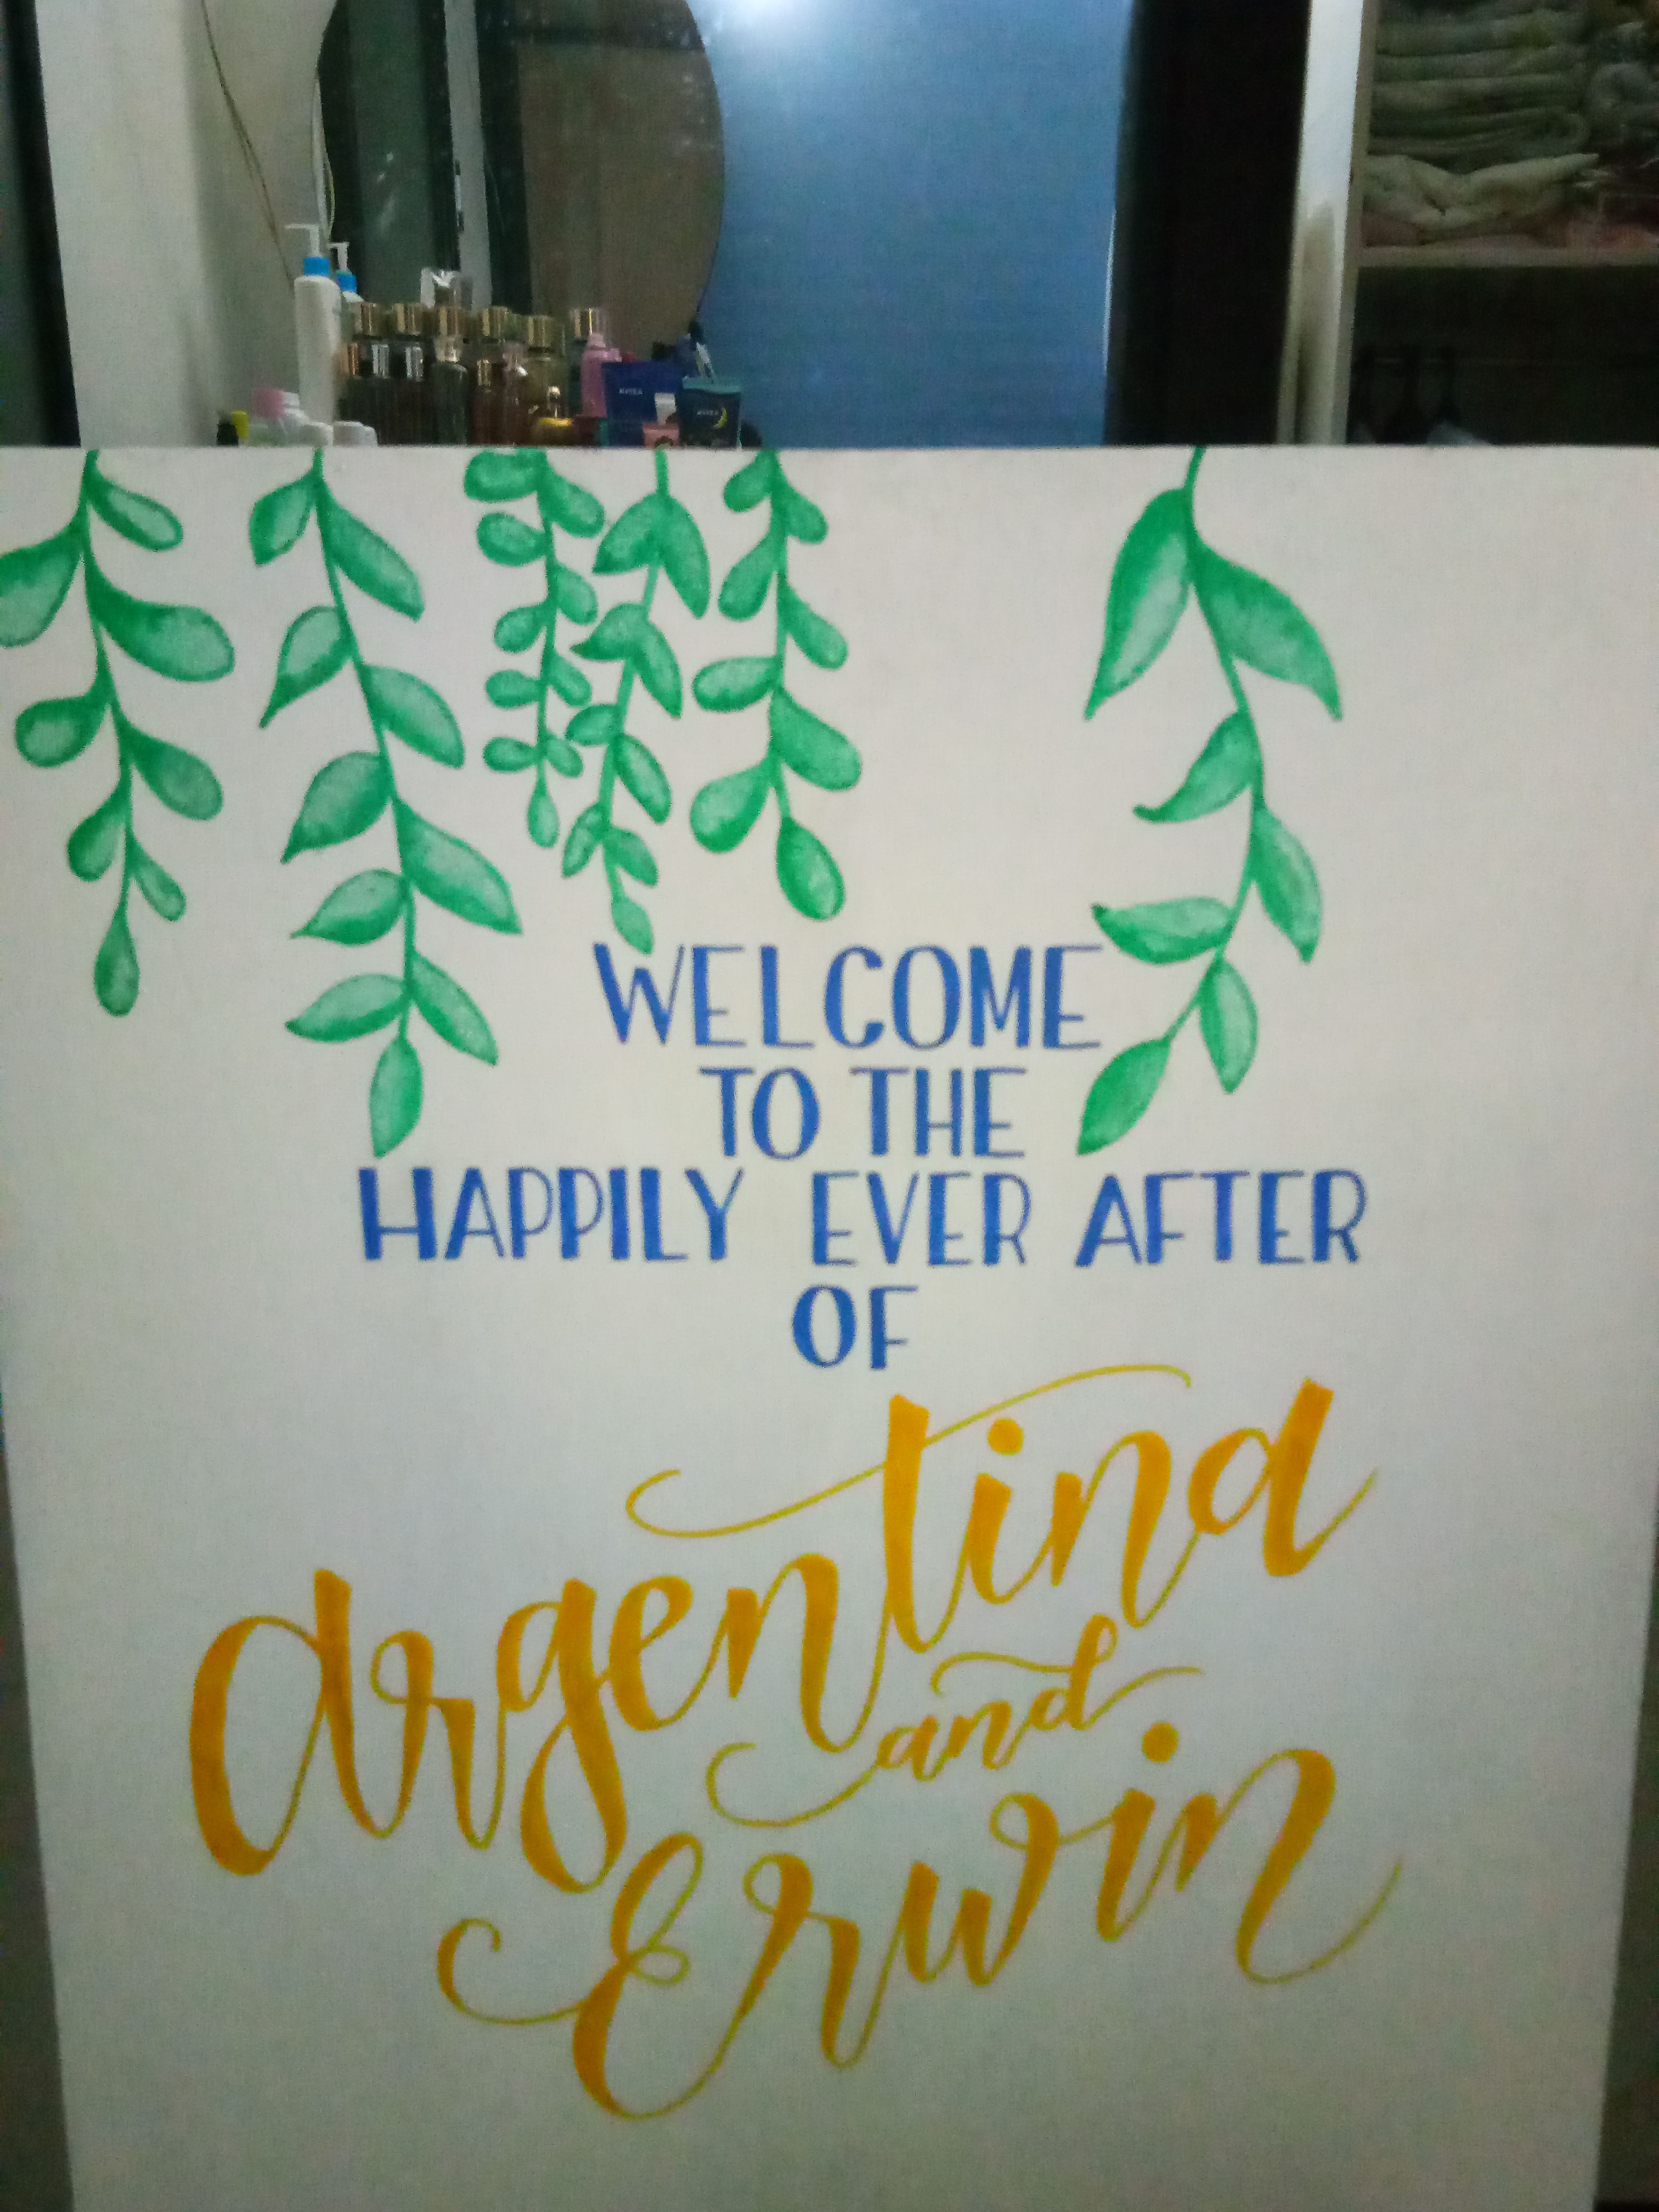
Since the top most part of the board is so bare, I accentuated it again with leaves like the previous boards I made.
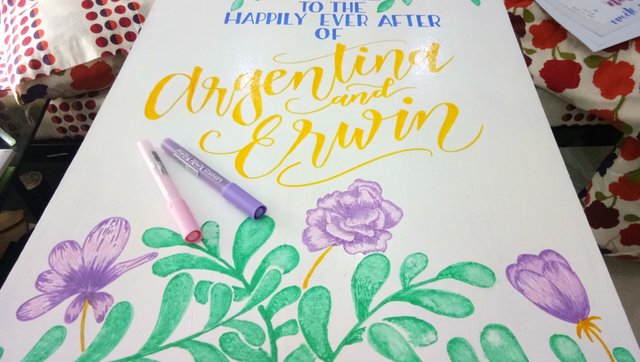
I also added some leaves and purplish pink flowers at the bottom part. In achieving the faded effect of the leaves and the flowers, I used a dry paper towel or tissue then dabbed it over the ink while it's wet.
After doing some final touches, I made the other board, the programme guide.
PROGRAMME GUIDE BOARD
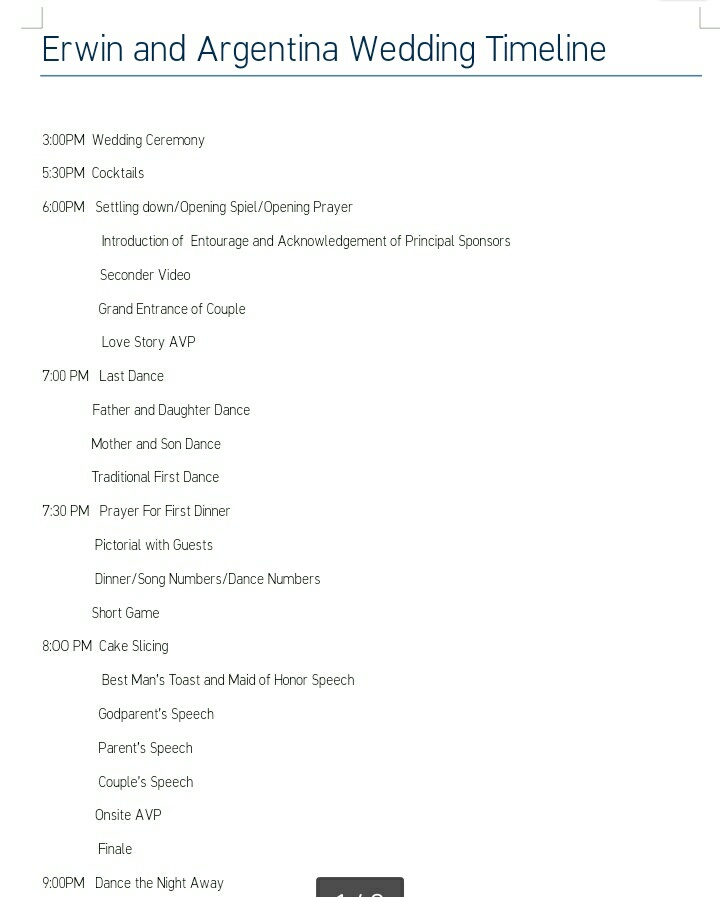
The bride sent me this programme as my guide. I used the details in here to be written on the board. I only chose the most important ones because everything won't fit on the board.
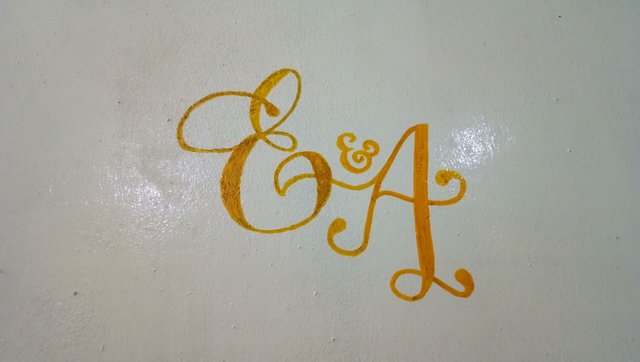
Since I wrote their names already on the welcome board, I chose to draw their initials or the wedding seal I made for them.
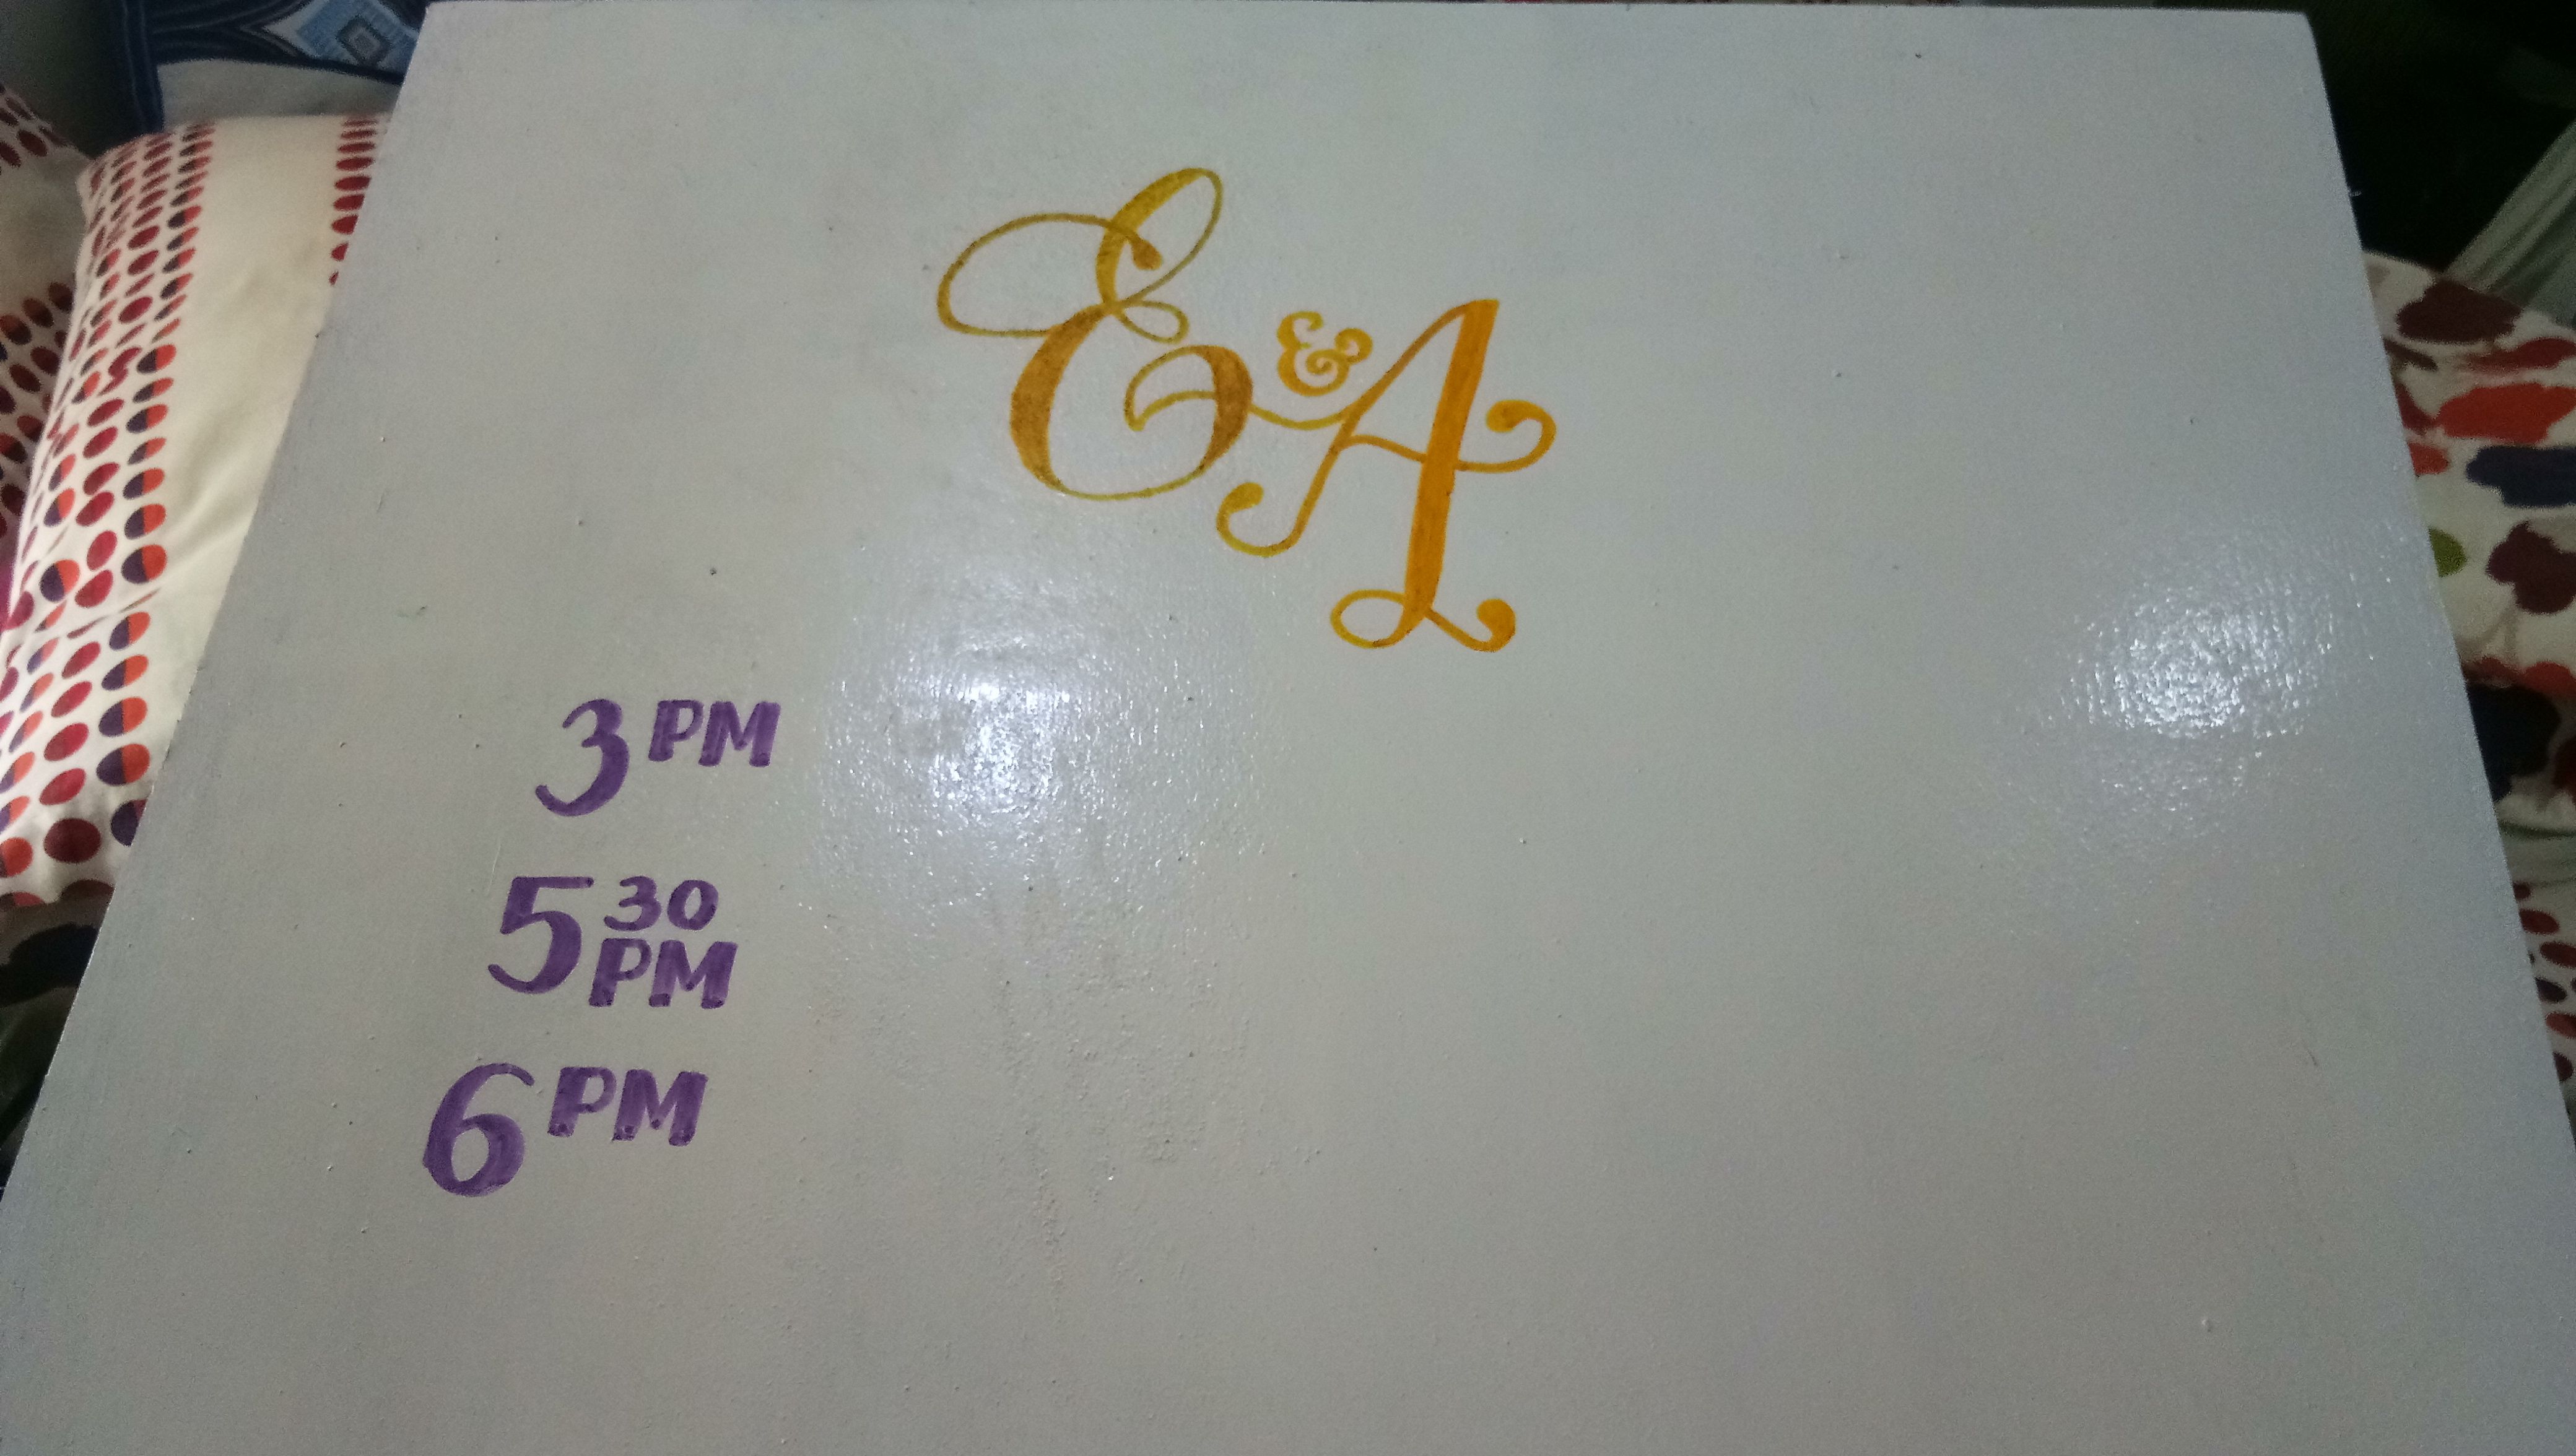
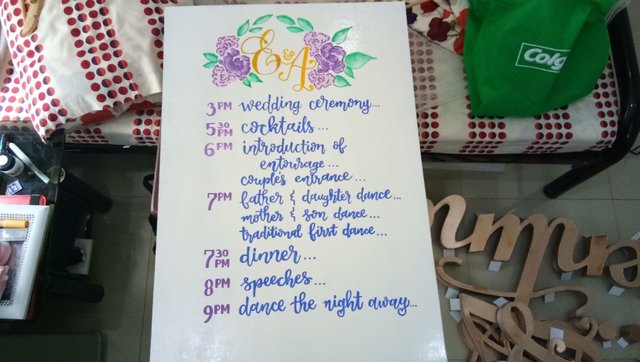
I wrote the time in purple before writing the event beside it.
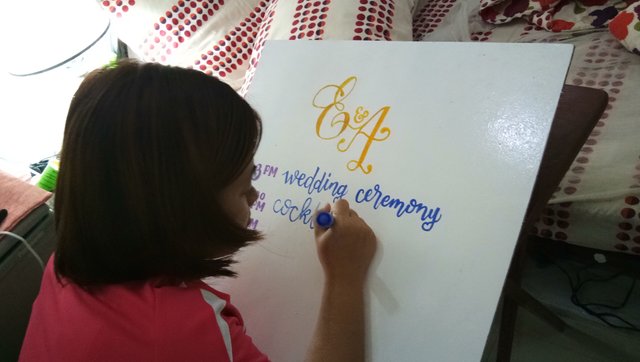
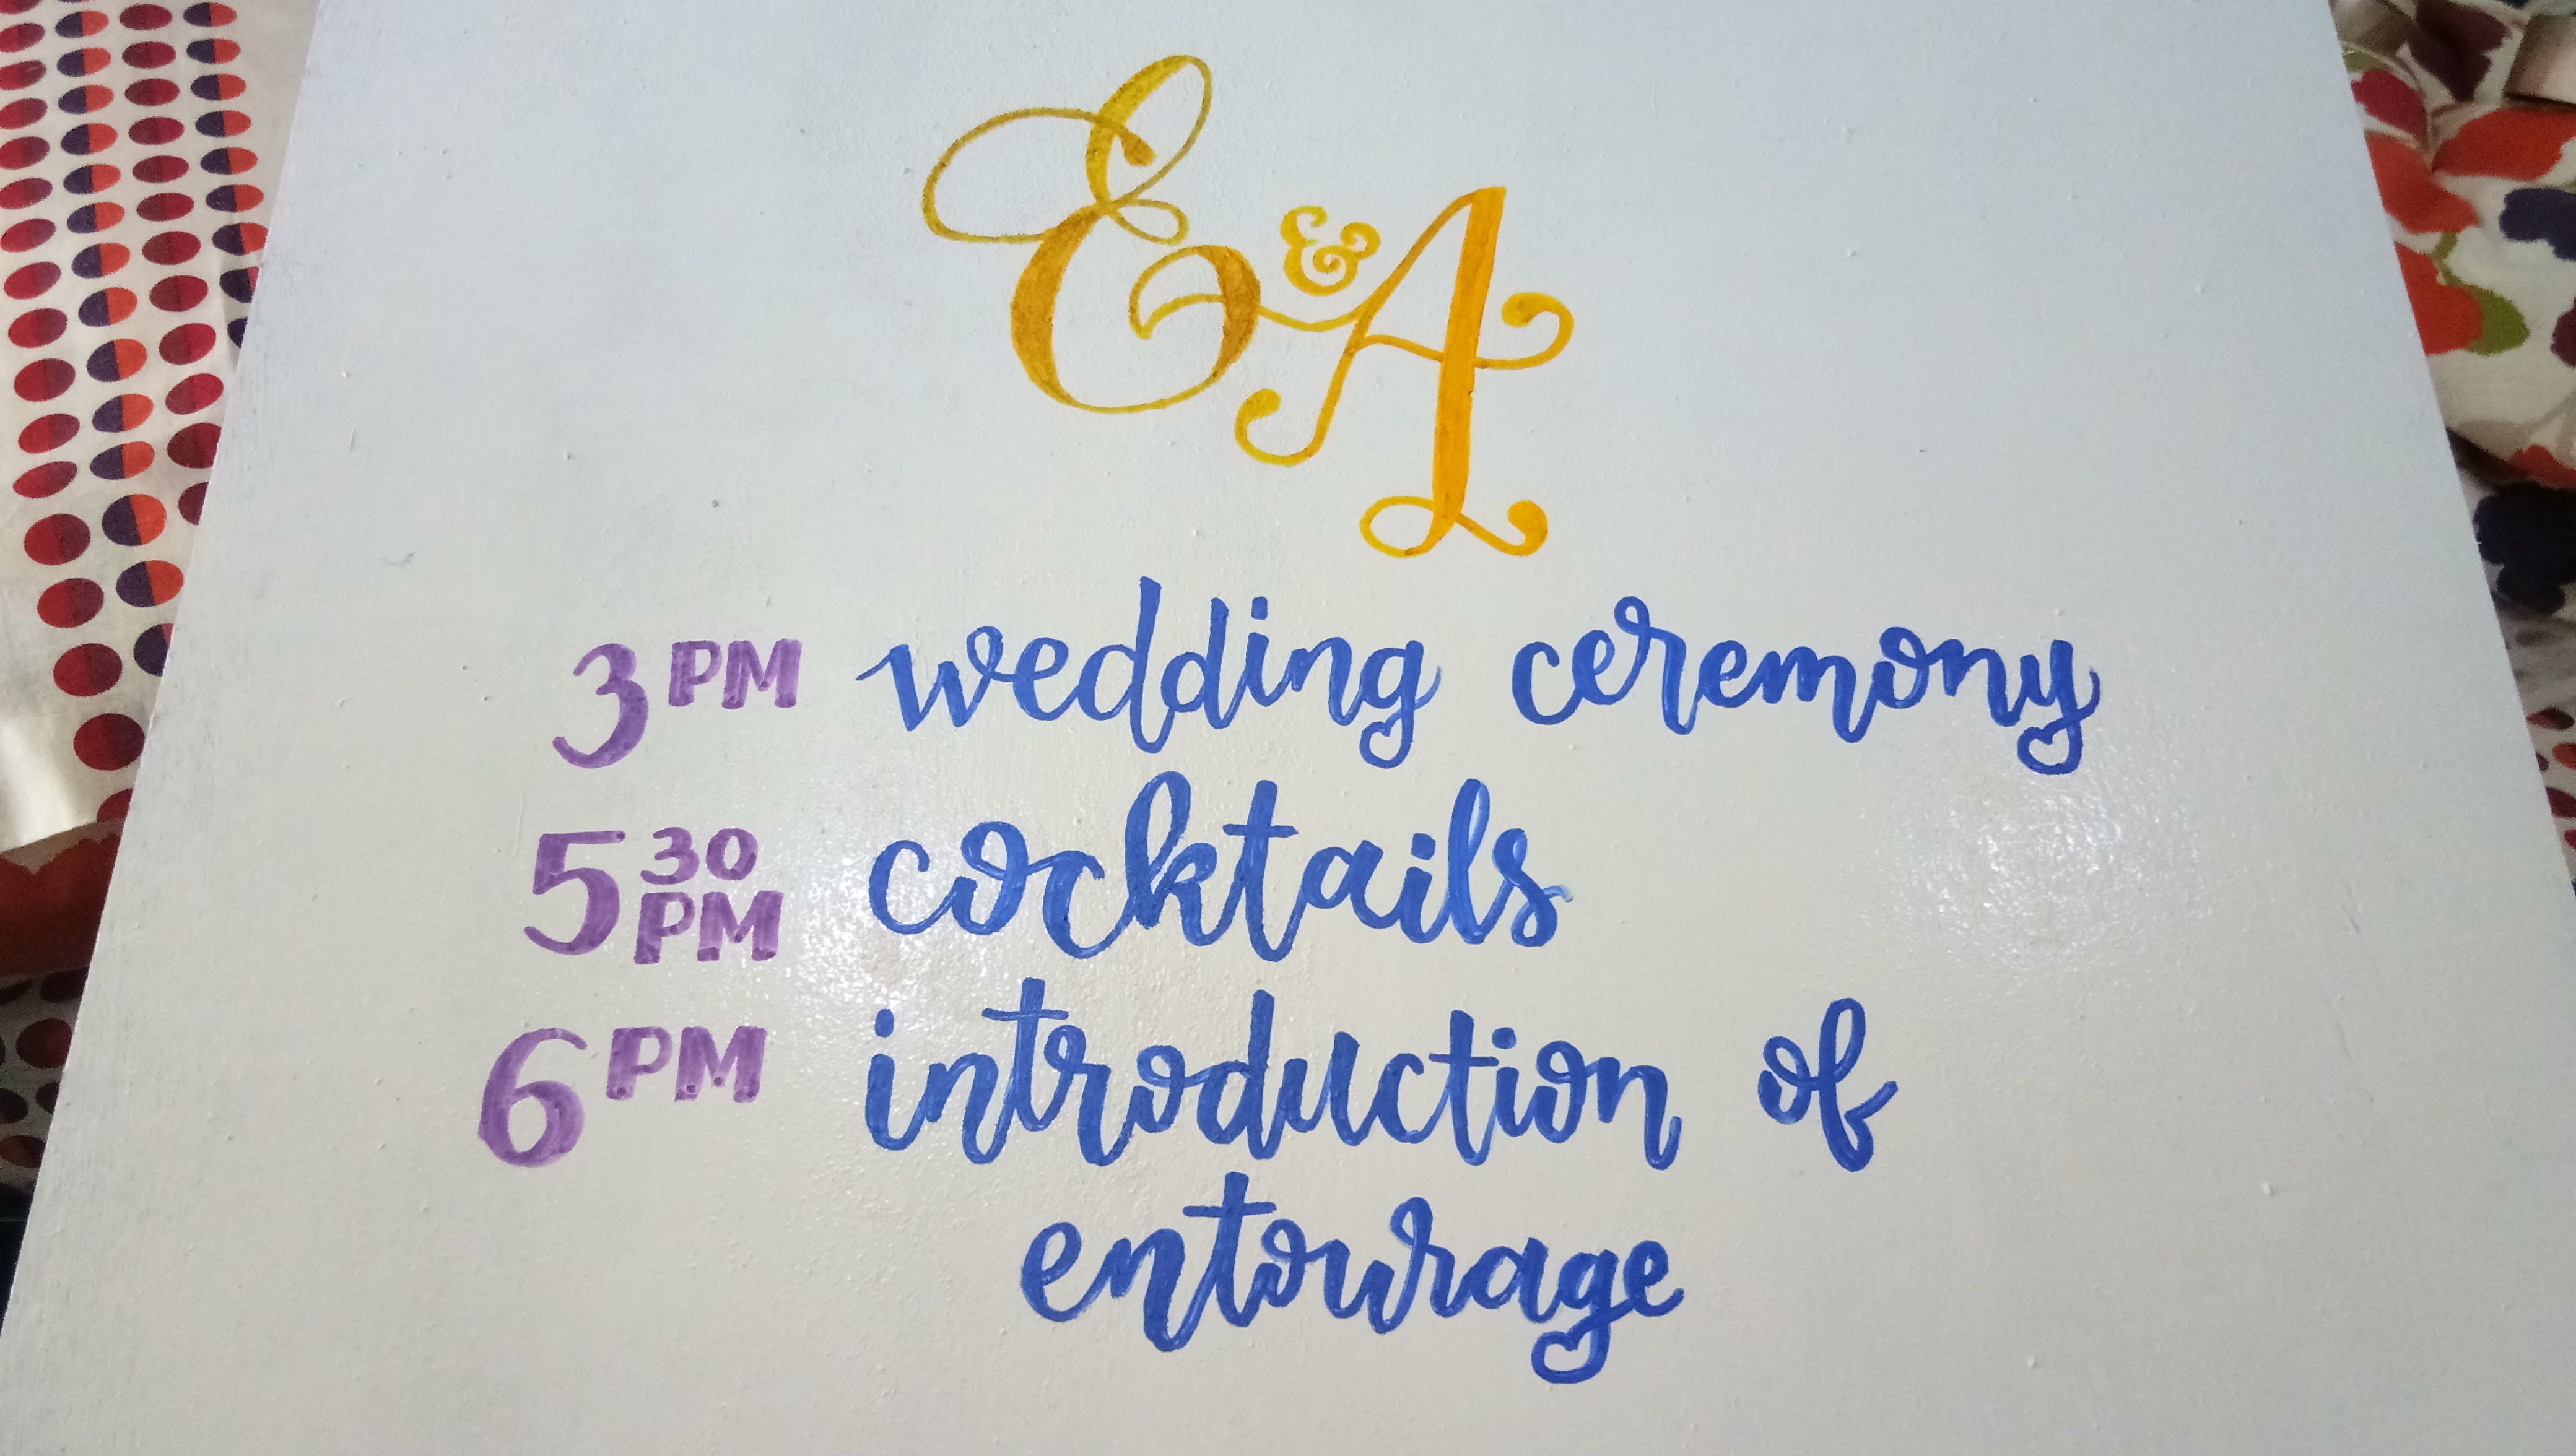
Basically, I only write a few lines so that it would look simple. I wrote the events in blue so that it would be readable.
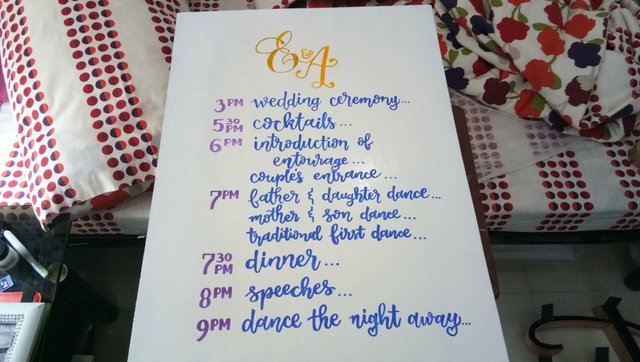
I plotted in all the hours and the chosen events on the board.
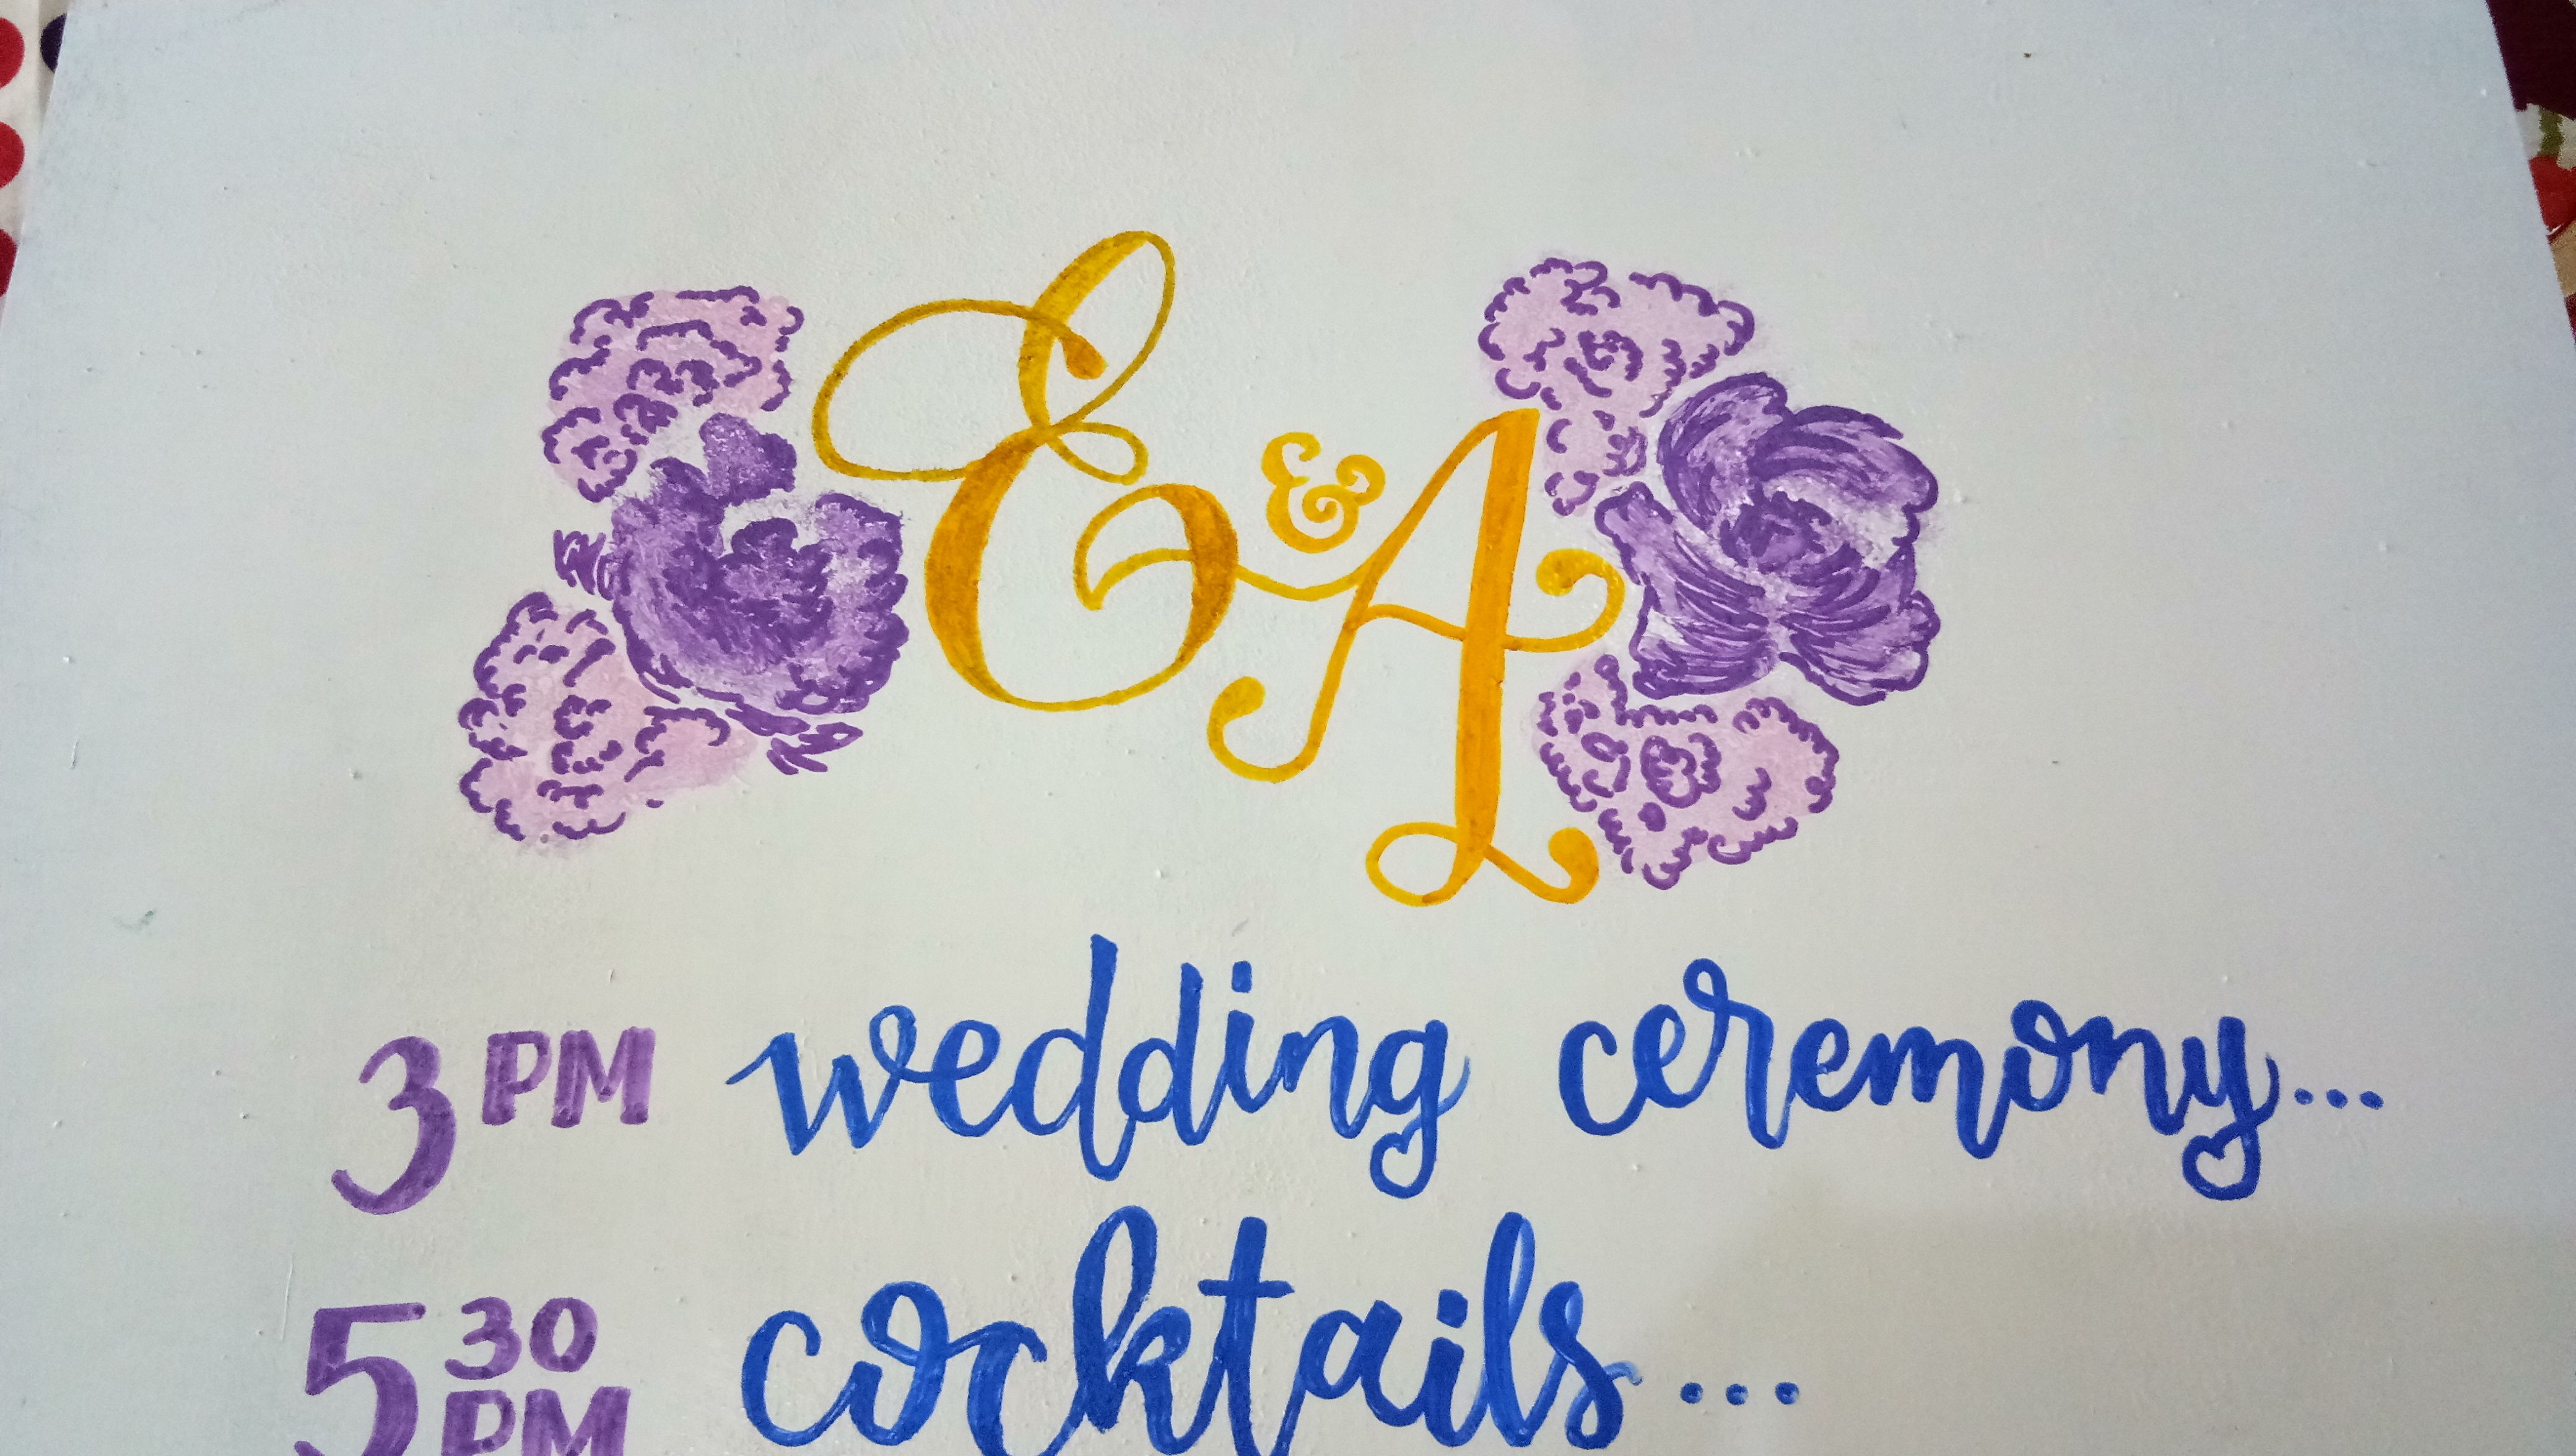
I then decorated the wedding seal with flowers in purple and pink.
and a few leaves...
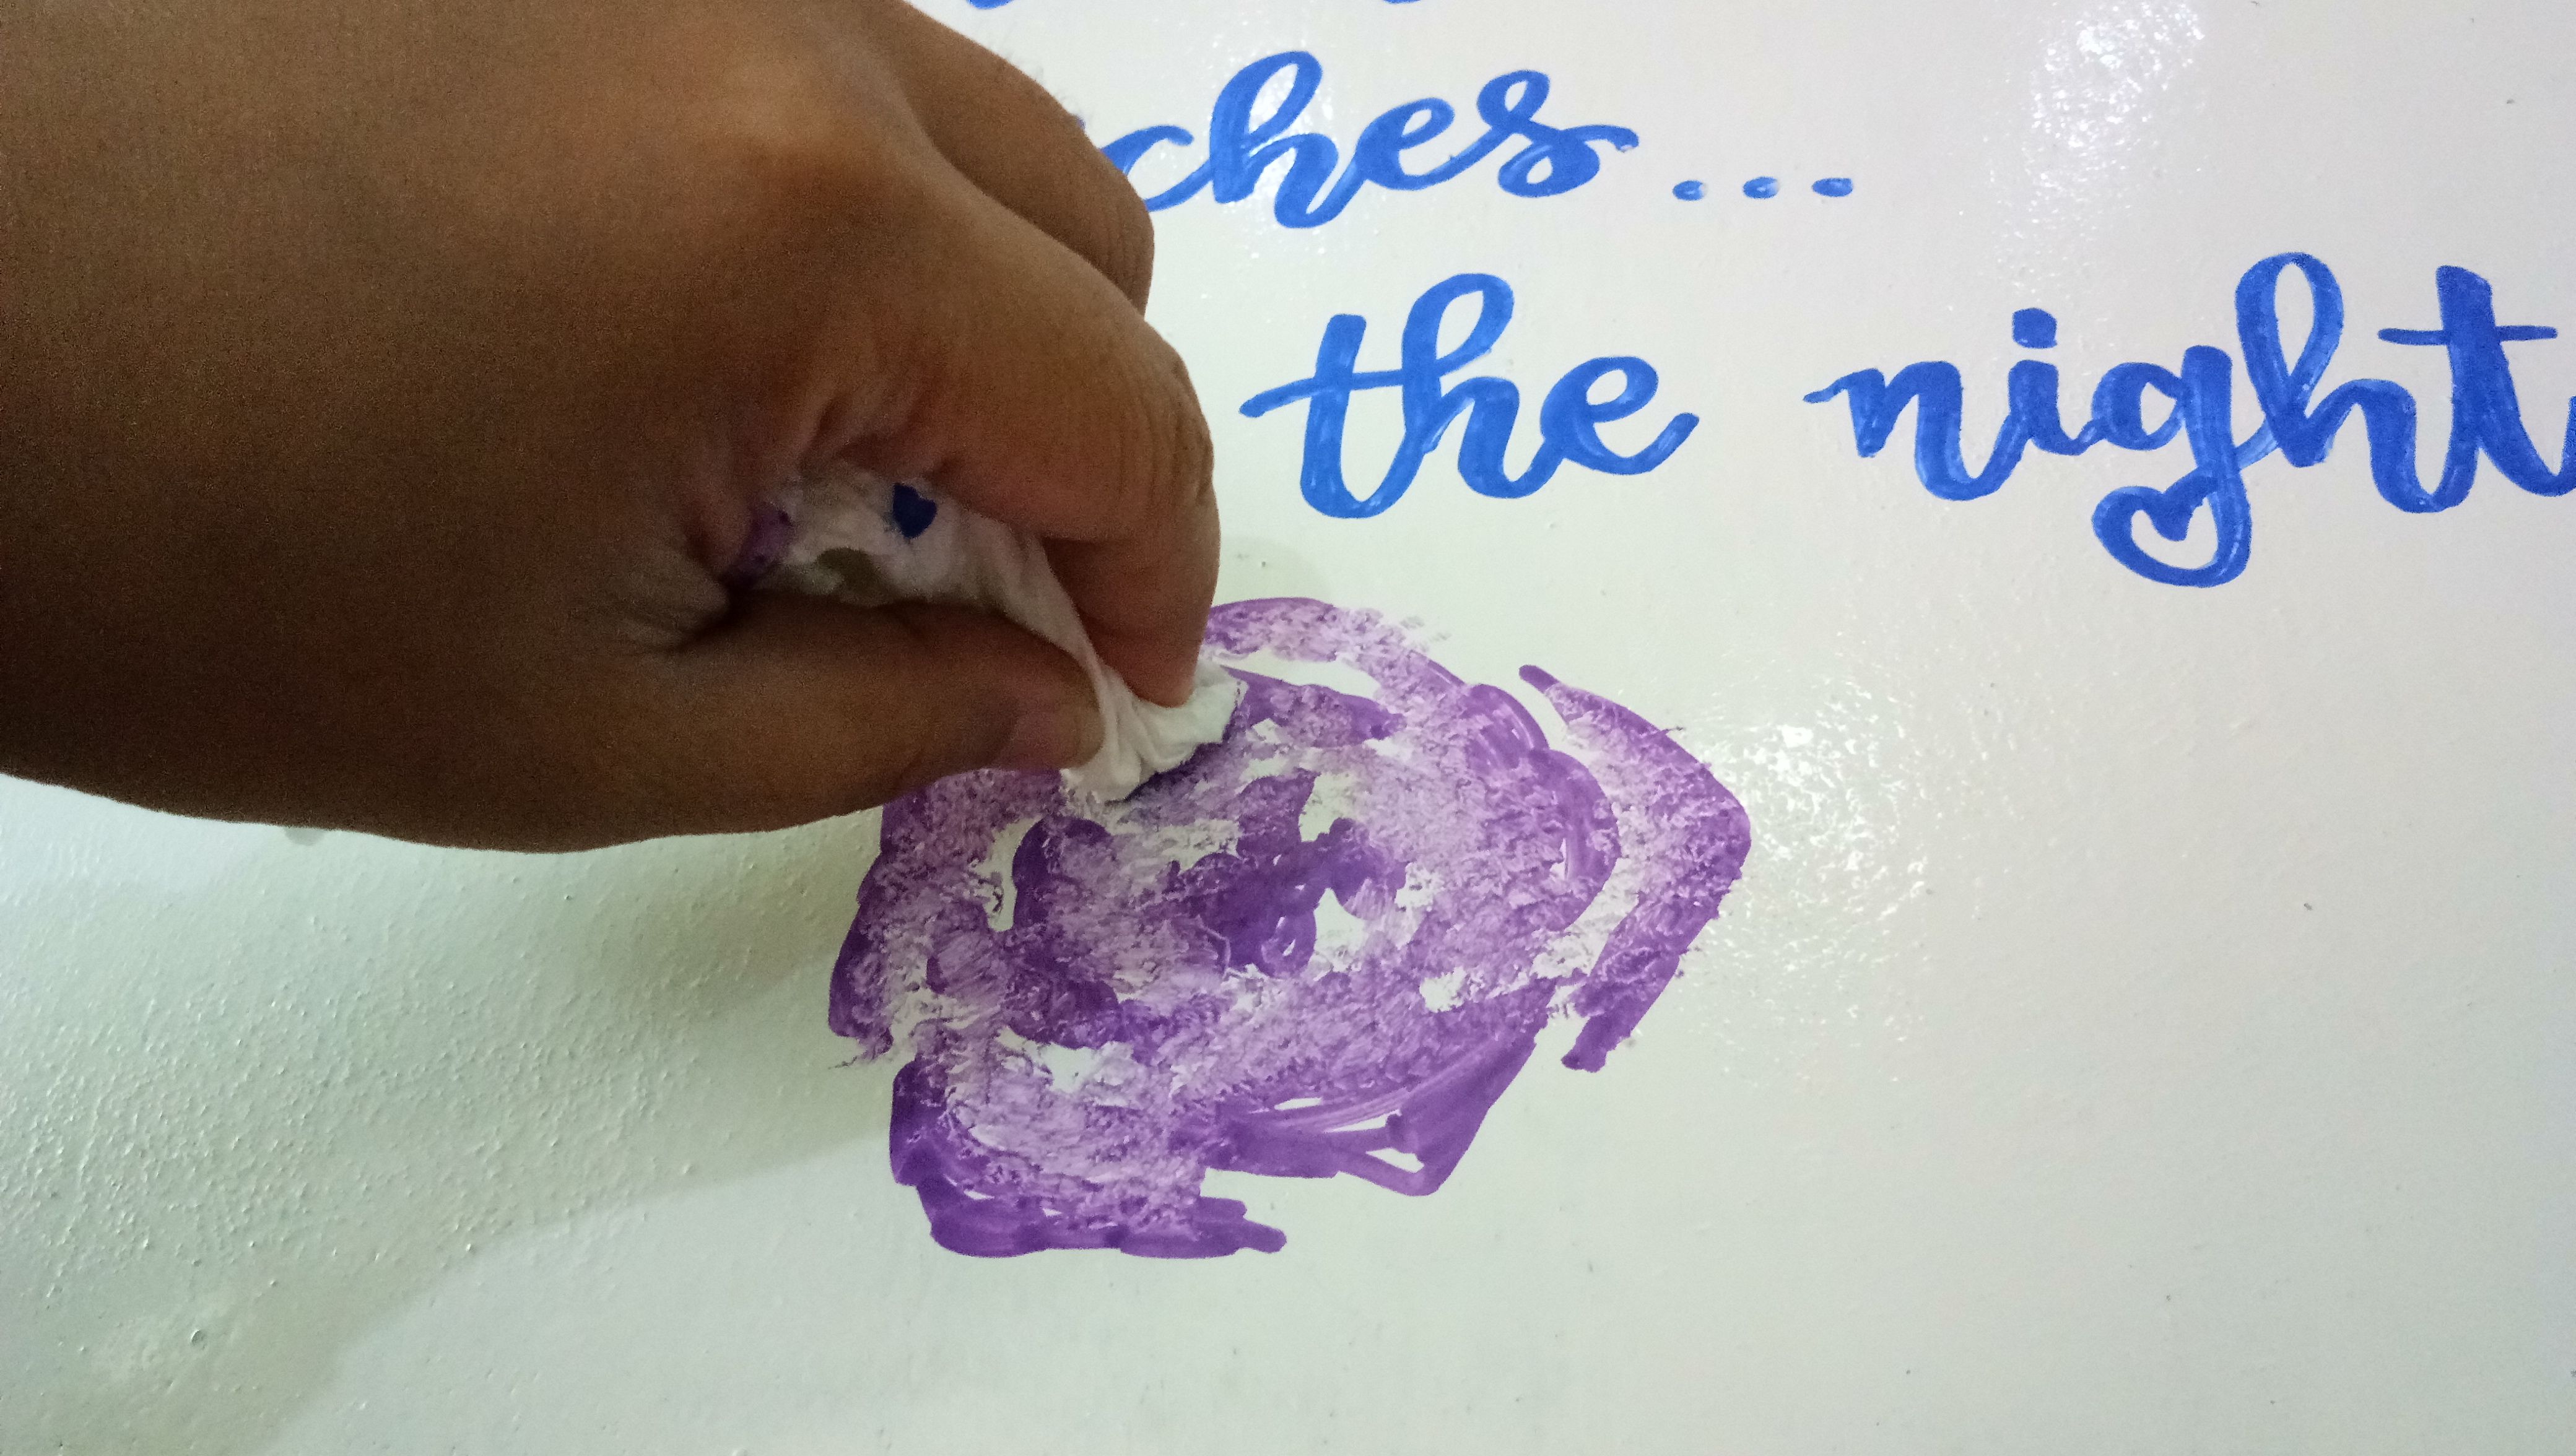
I put in some flowers at the bottom so that it wouldn't look boring. I dabbed the wet paint with dry tissue and I just like the effect on it.

Same with earlier, I added some leaves to accentuate it.
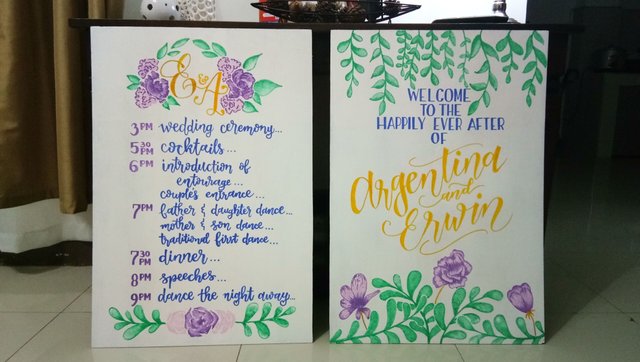
And there you have it guys! That's how I made the boards for a wedding. Below are the final outputs.
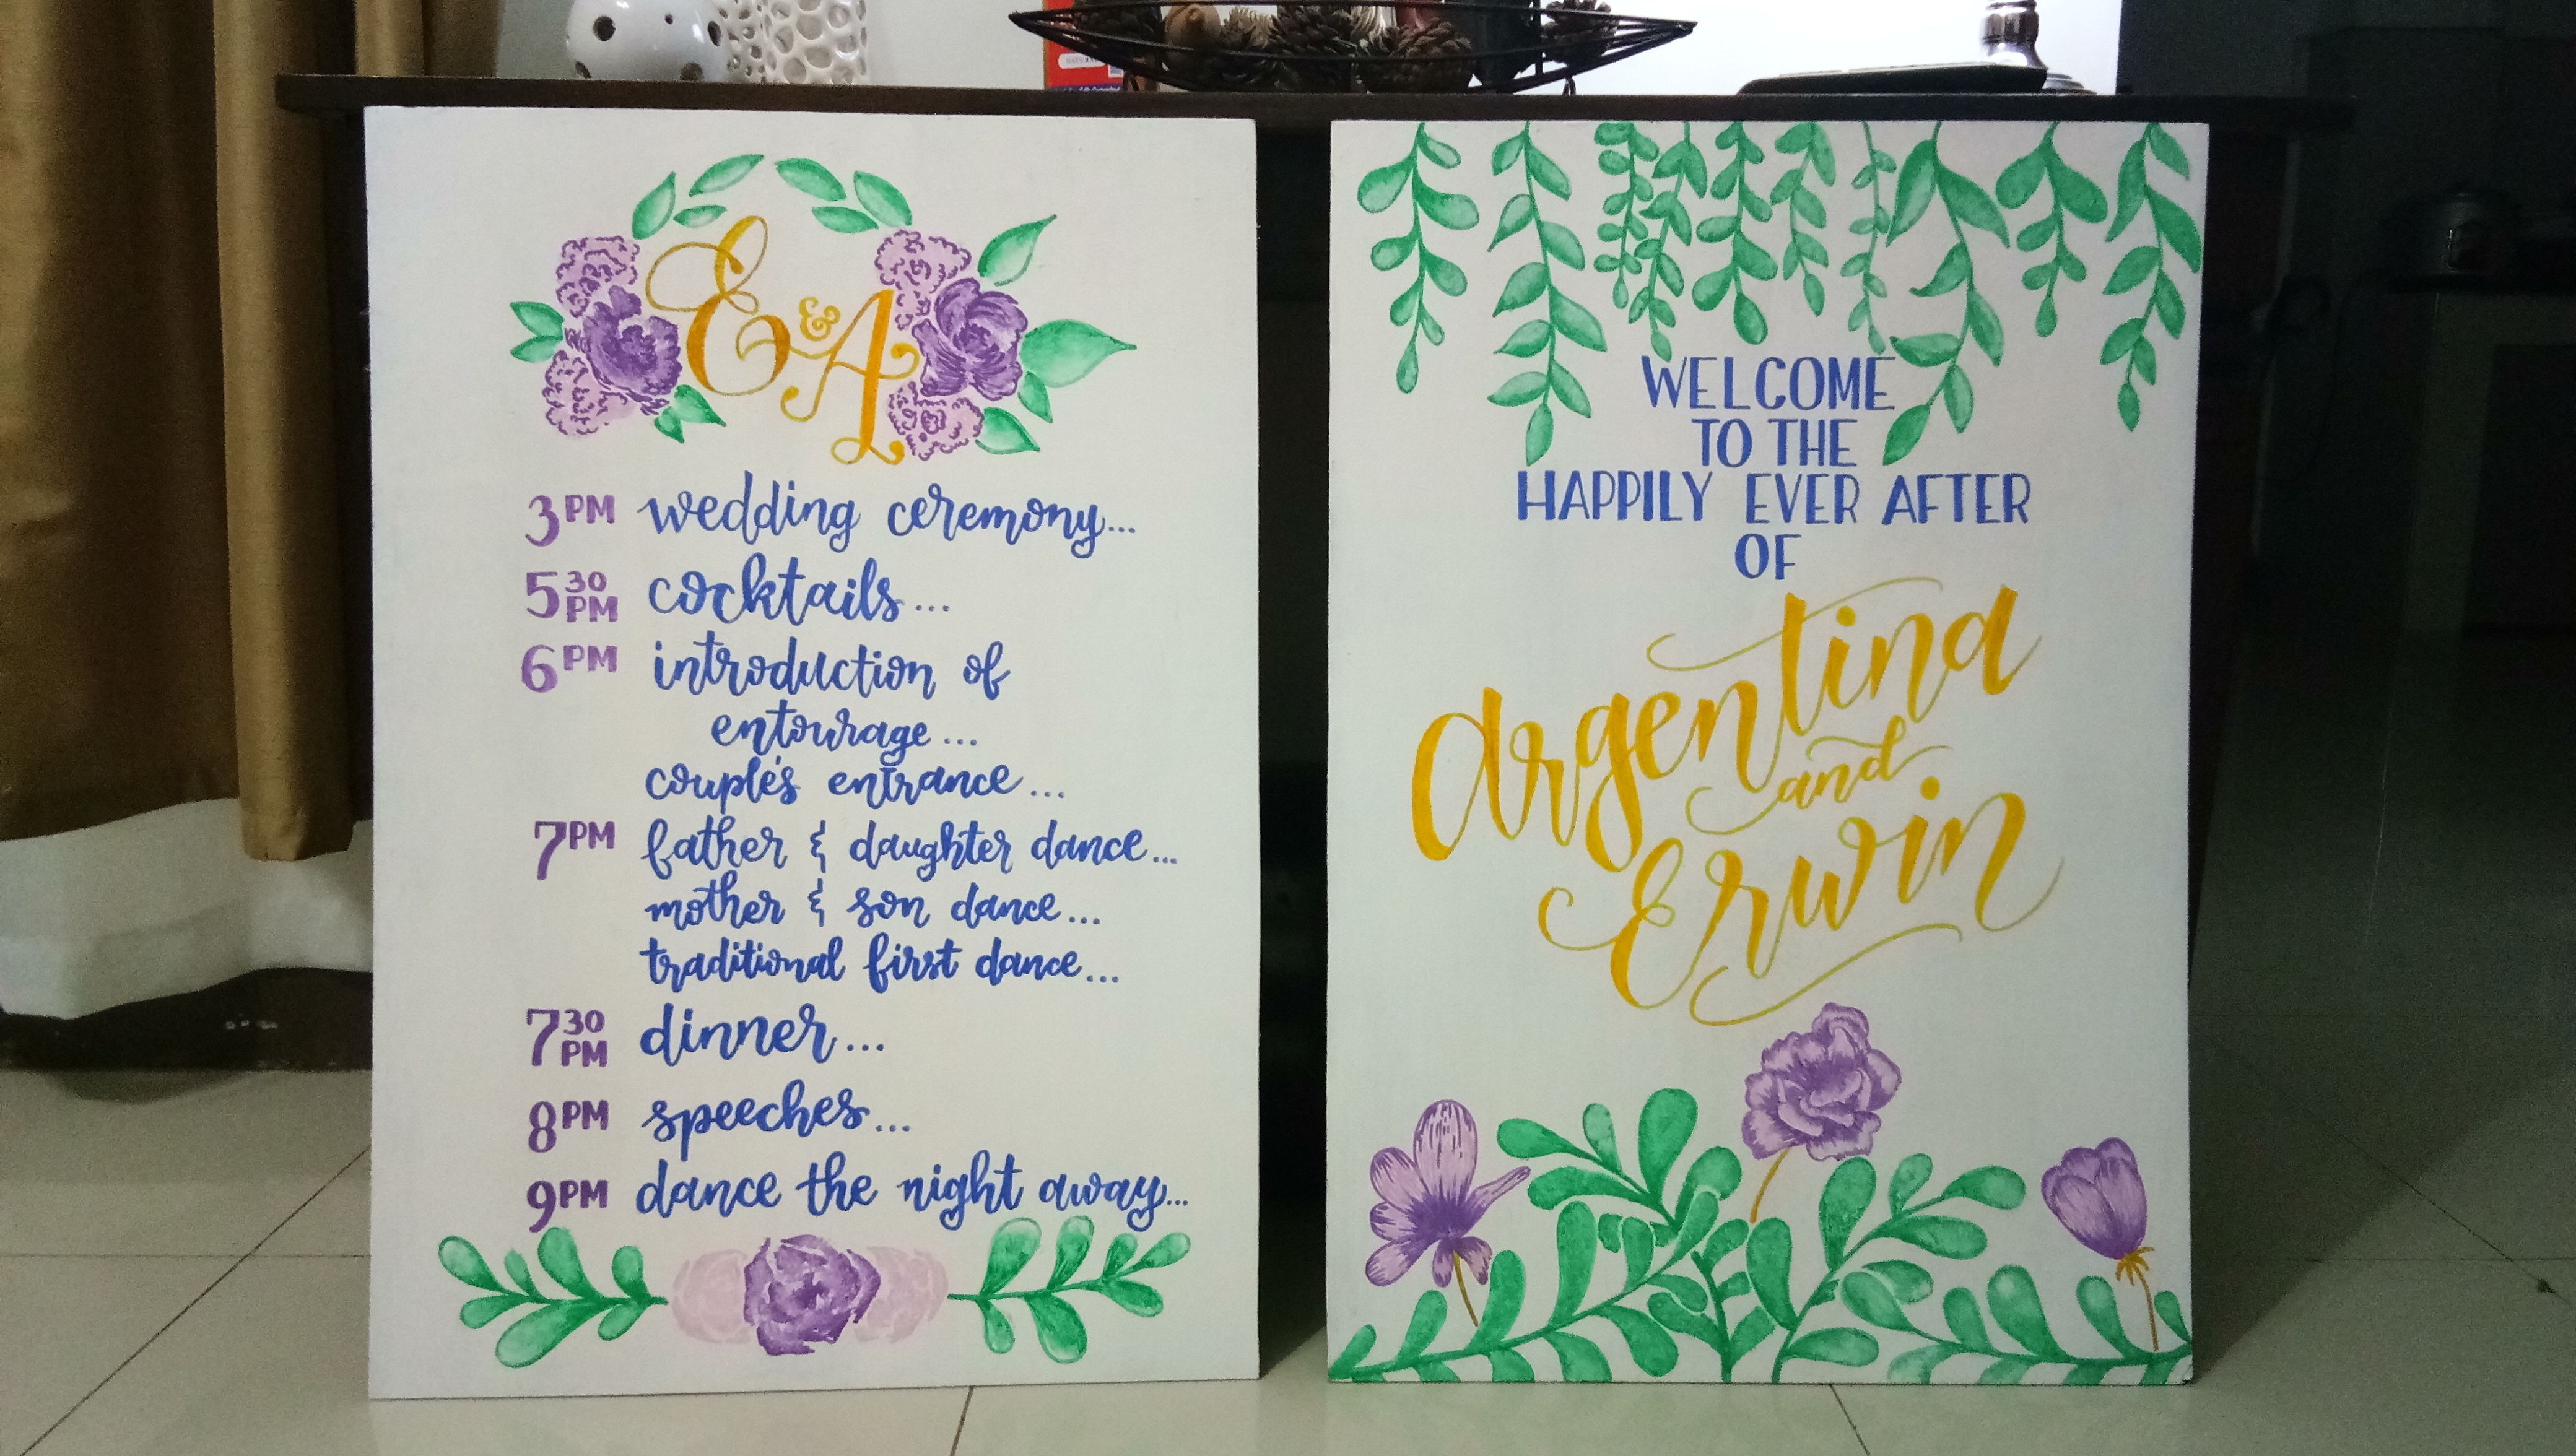
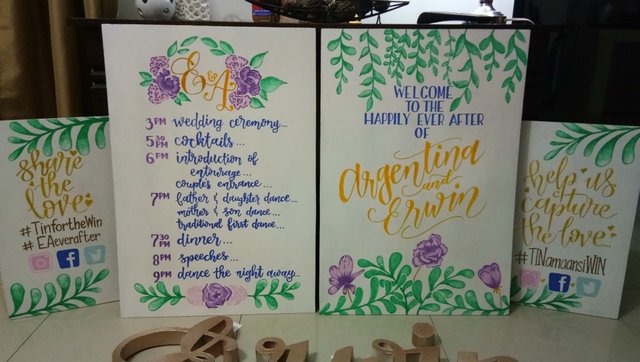
These were all the boards I was able to make for Argentina and Erwin's Nuptial.
I hope you guys learned something out of this art process. You can share it if you like. All th love guys! 😘

This work is licensed under a Creative Commons Attribution 4.0 International License.
Congratulations! This post has been upvoted by the communal account, @steemph.cebu by kyanzieuno being run at Teenvestors Cebu (Road to Financial Freedom Channel). This service is exclusive to Steemians following the Steemph.cebu trail at Steemauto. Thank you for following Steemph.cebu curation trail!
Don't forget to join Steem PH Discord Server, our Discord Server for Philippines.
You have been scouted by @promo-mentors. We are a community of new and veteran Steemians and we are always on the look out for promising authors.
I would like to invite you to our discord group https://discord.gg/vDPAFqb.
When you are there send me a message if you get lost! (My Discord name is the same as here on Steemit)