How I made Photobooth Prop Letters for a Wedding | An Art Process | Art Blog # 13
DIY PROP LETTERS
Argentina + Erwin
Ola steemians! I'm back for another edition of an art process. For this time, I'll be sharing to you how I made a DIY Prop letters for the photobooth for a wedding. This is still part of the wedding project I made for a fellow nurse who'll be tying the knot this 30th of June.
It's been tiring nights that I've been very busy finishing all the props I needed to make for Argentina and Erwin's wedding before finally meeting the deadline yesterday. If you want to check the other props I made for them, you can freely check them out below.
| Projects | Link |
|---|---|
| Wedding Seal | Art Blog #8 |
| Personalized Hangers | Art Blog # 9 |
| Hashtag Boards | Art Blog # 11 |
| Welcome & Programme Boards | Art Blog # 12 |
I actually finished this prop letters before doing the boards because it really took much of my time and effort to the point my back hurt because I wanted it to be done as early as I could.
This project is the most meticulous work I ever made and I'll explain it later. Without further ado, I'll be showing you now how I made it in a step-by-step process.
MATERIALS NEEDED
1 Whole Illustration Board (3 pcs)
Pencil
Ruler
Glue Gun
Glue sticks (15 pcs)
Spray Paint (Flash Gold)
Scissor
Cutter
THE PROCESS
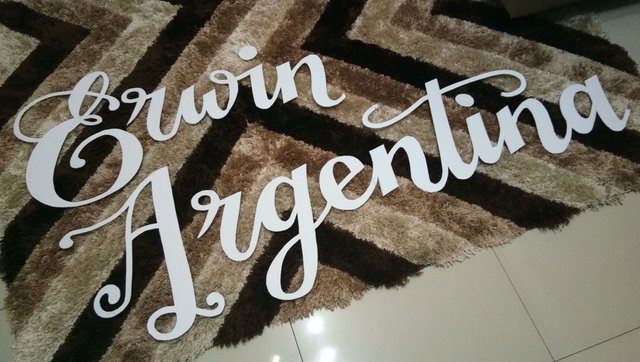
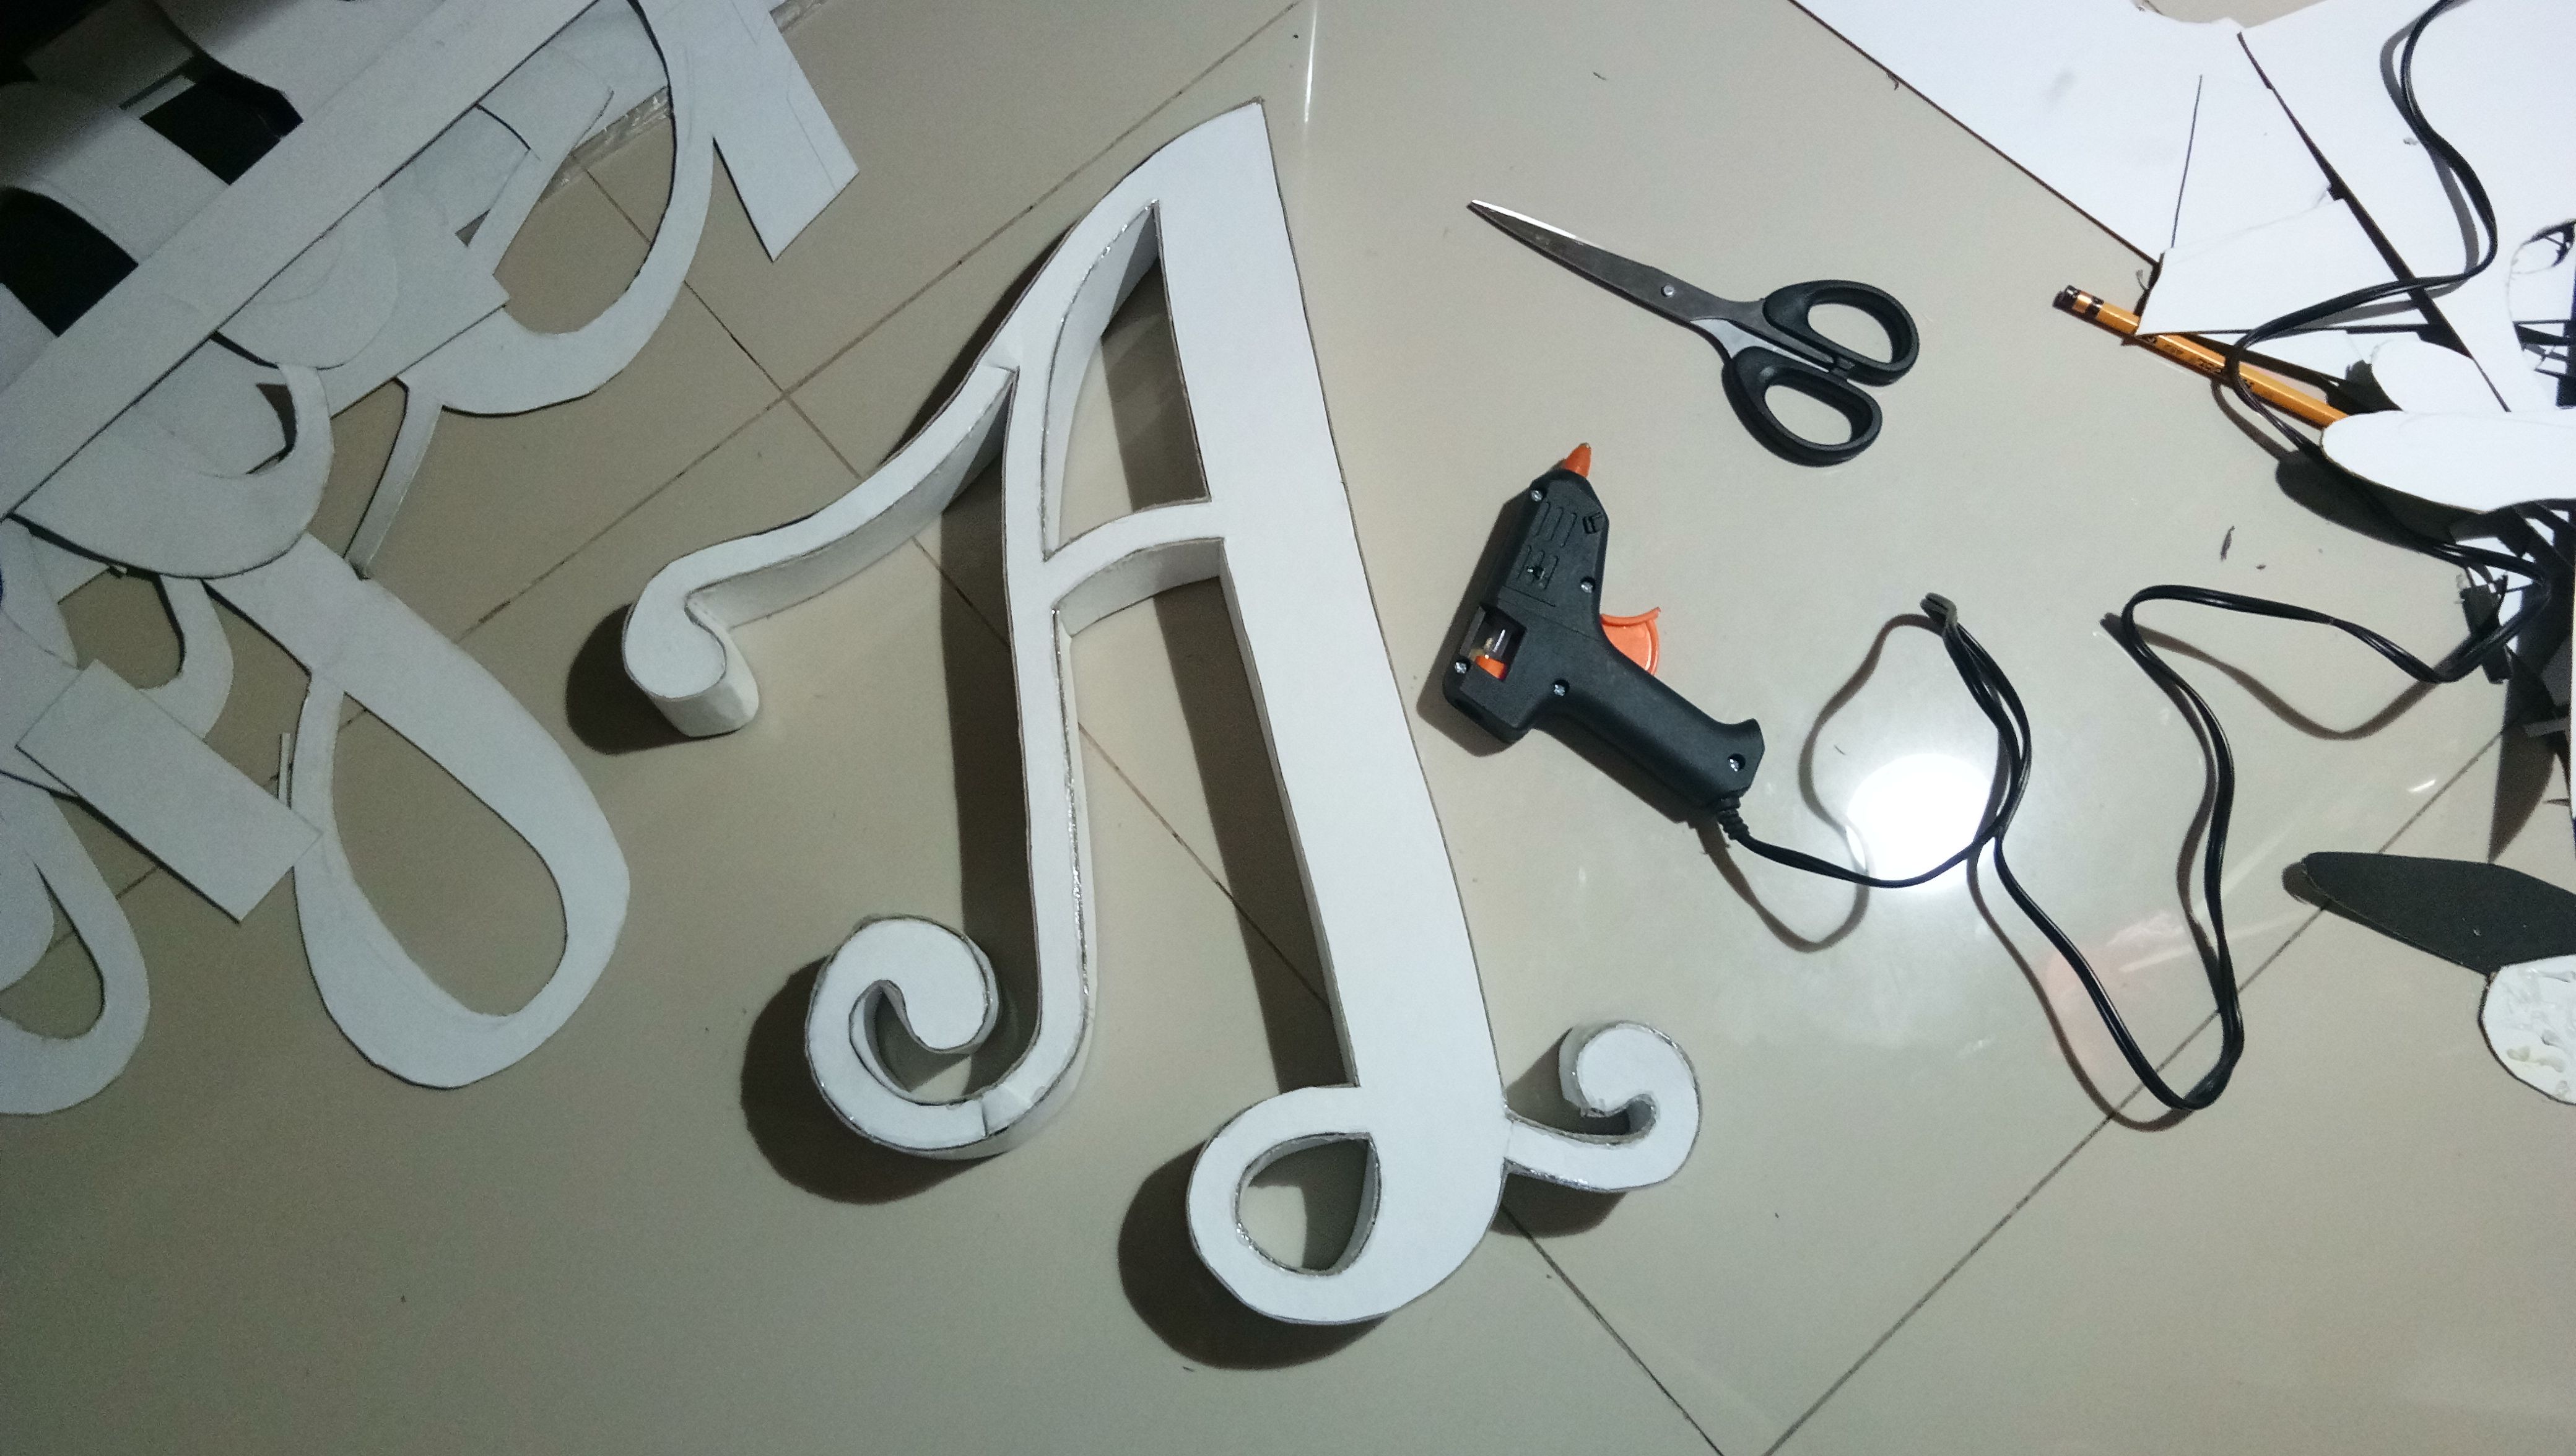
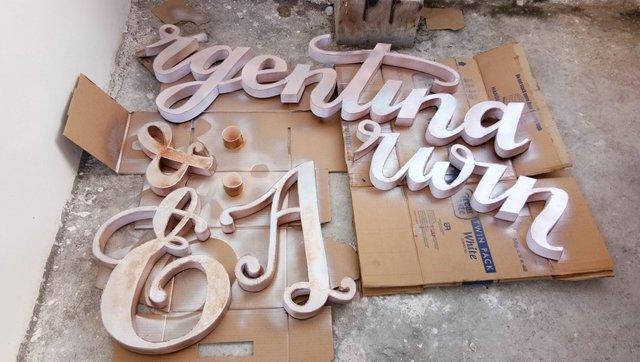
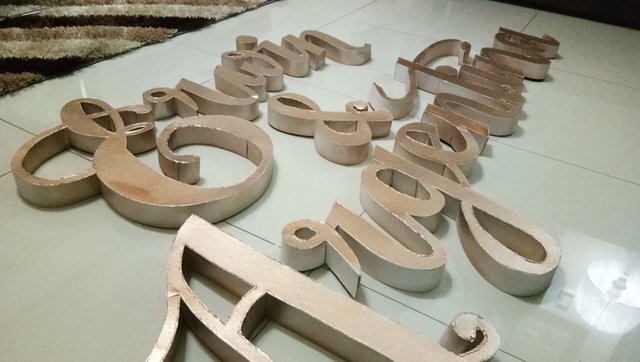
To start, I made a rough sketch of the letters and the names in a one whole piece of illustration board. I patterned the couple's names with the style of their wedding seal and it's more of a calligraphic style. Since these letters will be placed in a large plain white photobooth wall measuring about 6-7ft wide and 8ft tall, the letters measured about a feet and a half which I think is enough to be readable from afar. After being satisfied with the design, I cut it clean with a scissor and cut the insides with a cutter. Below were the cut-outs.
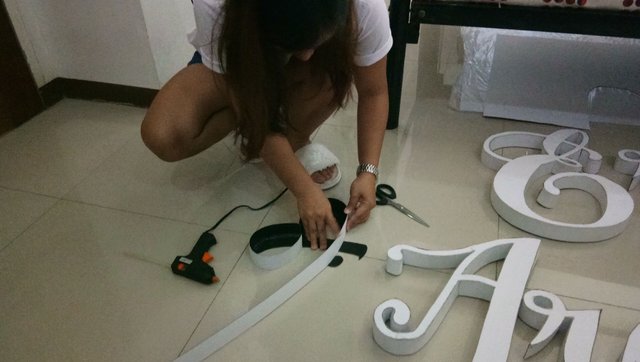
Because I was also busy with the welcome board I made for Hash and Jason, I asked @jveronica to help me out in cutting some long strips to be used in making the letters pop out like that of a 3D.
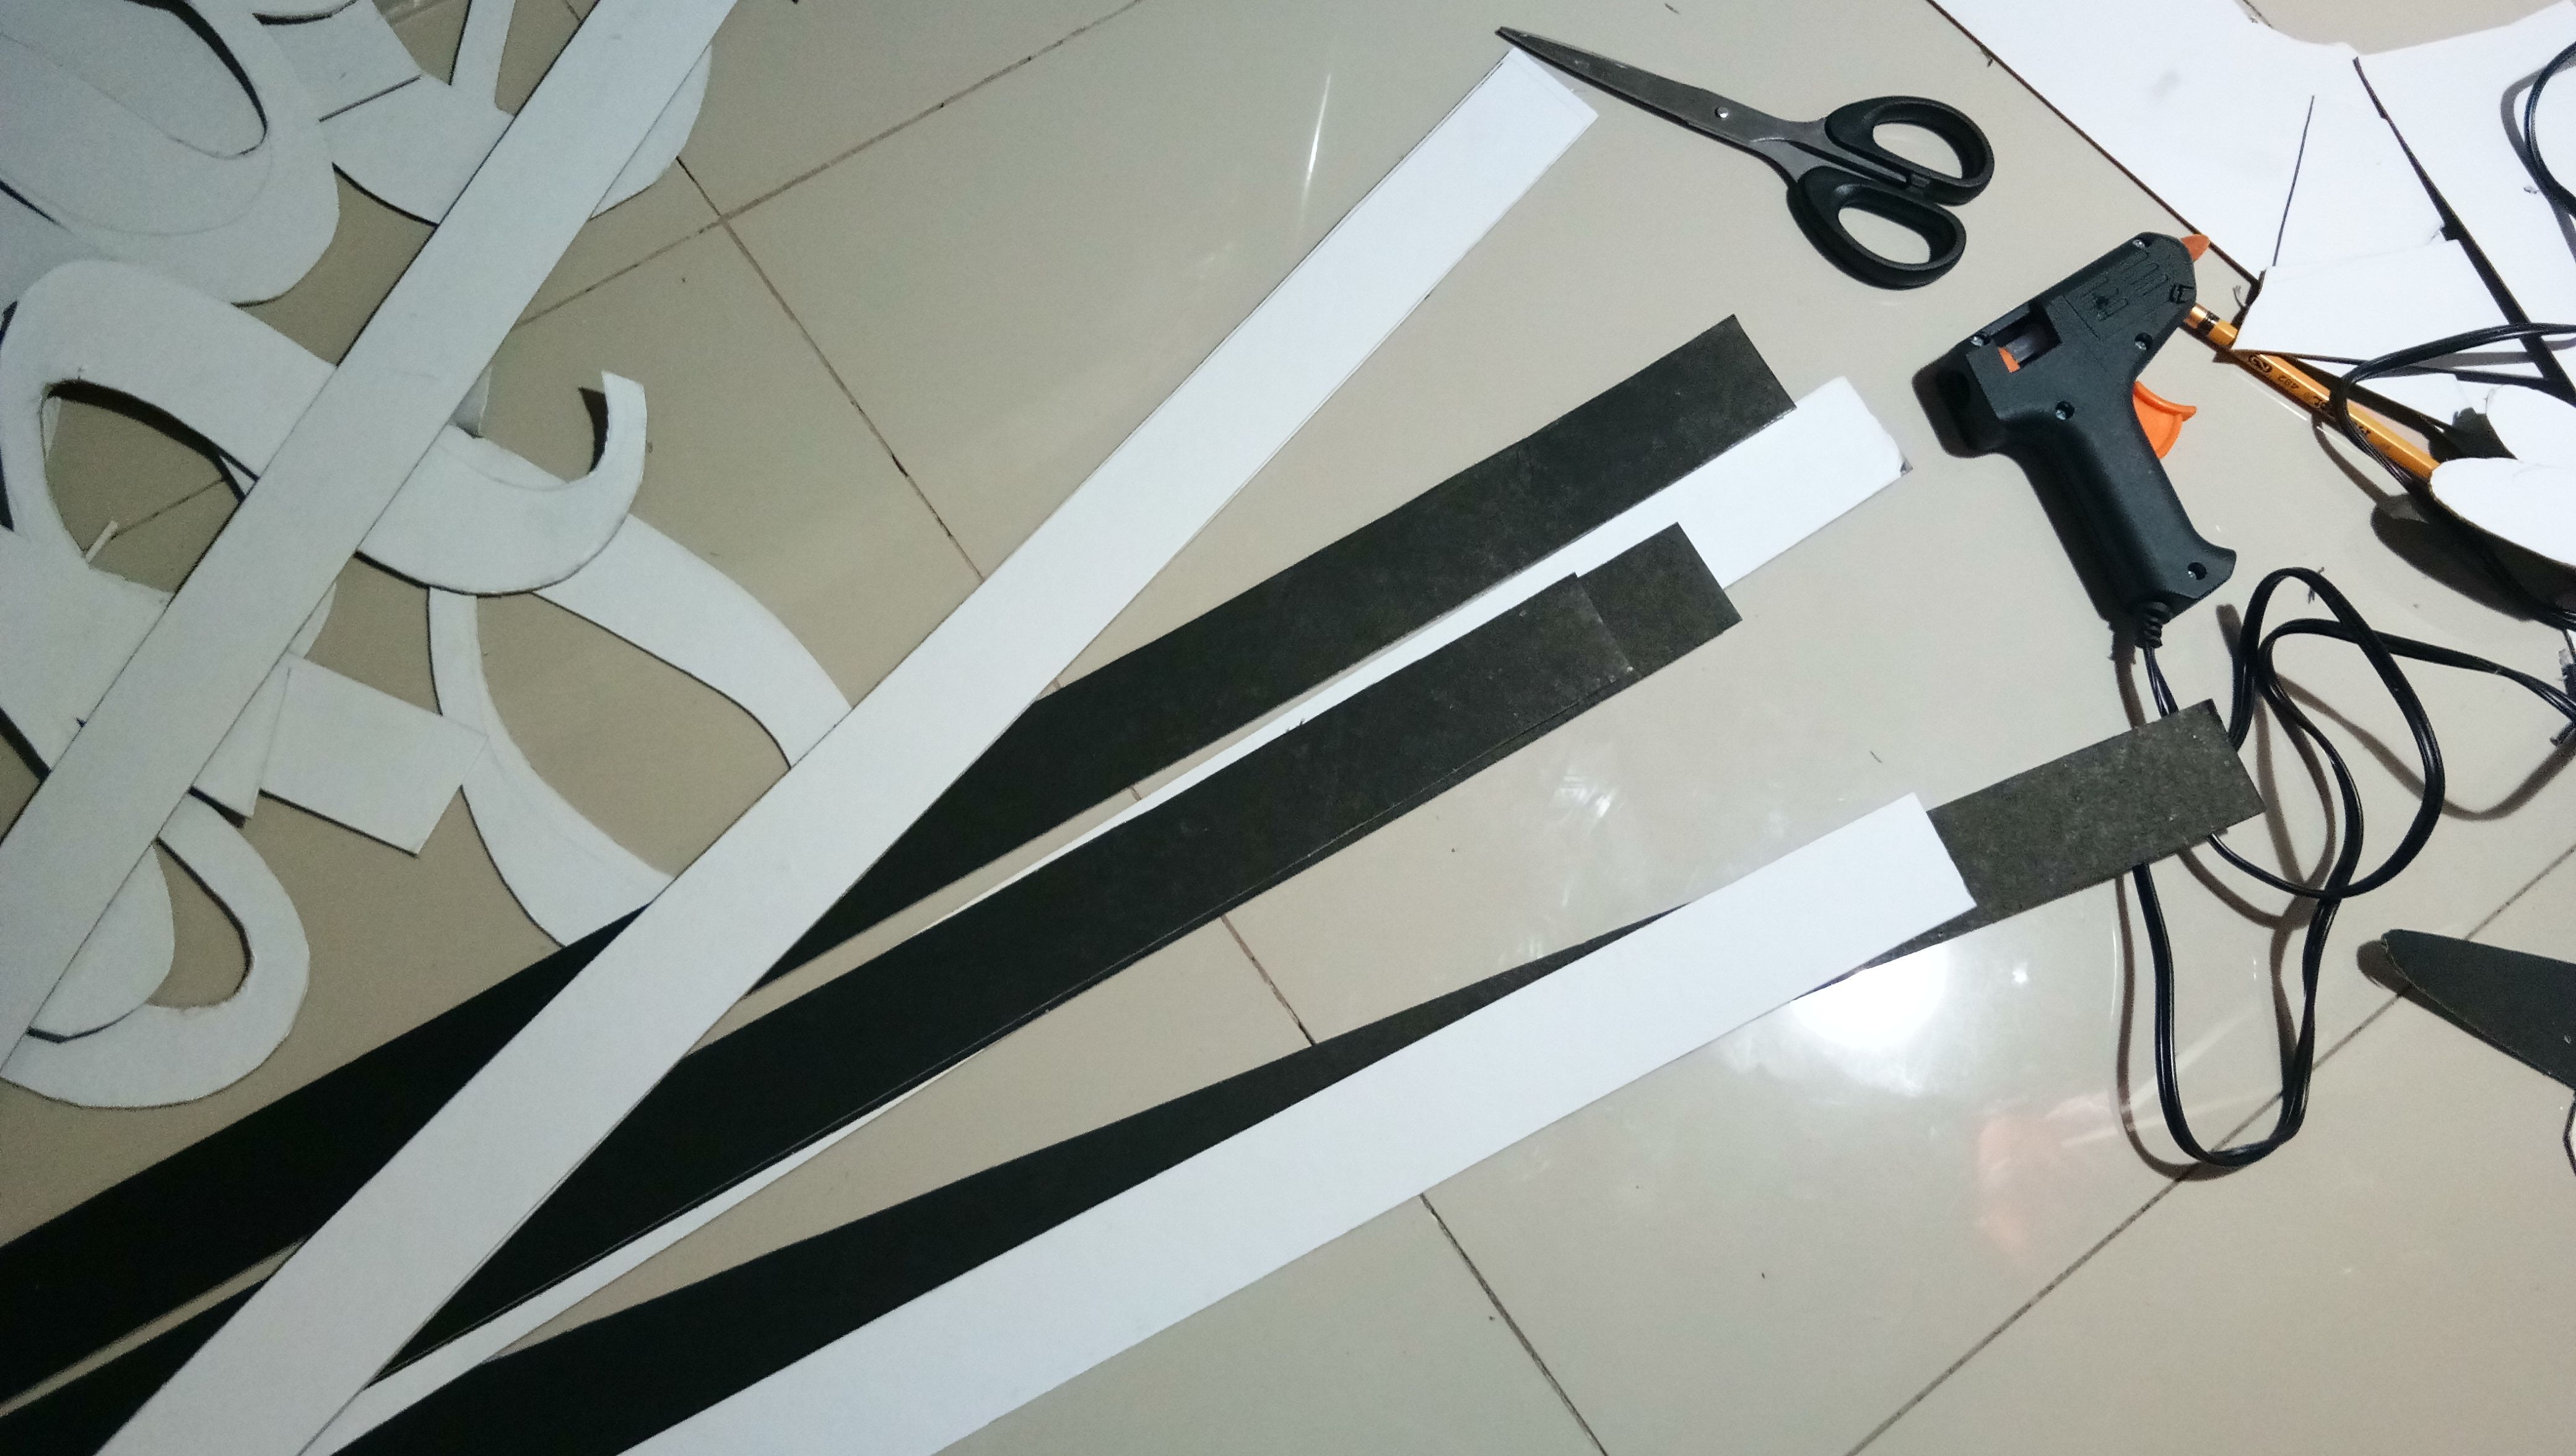
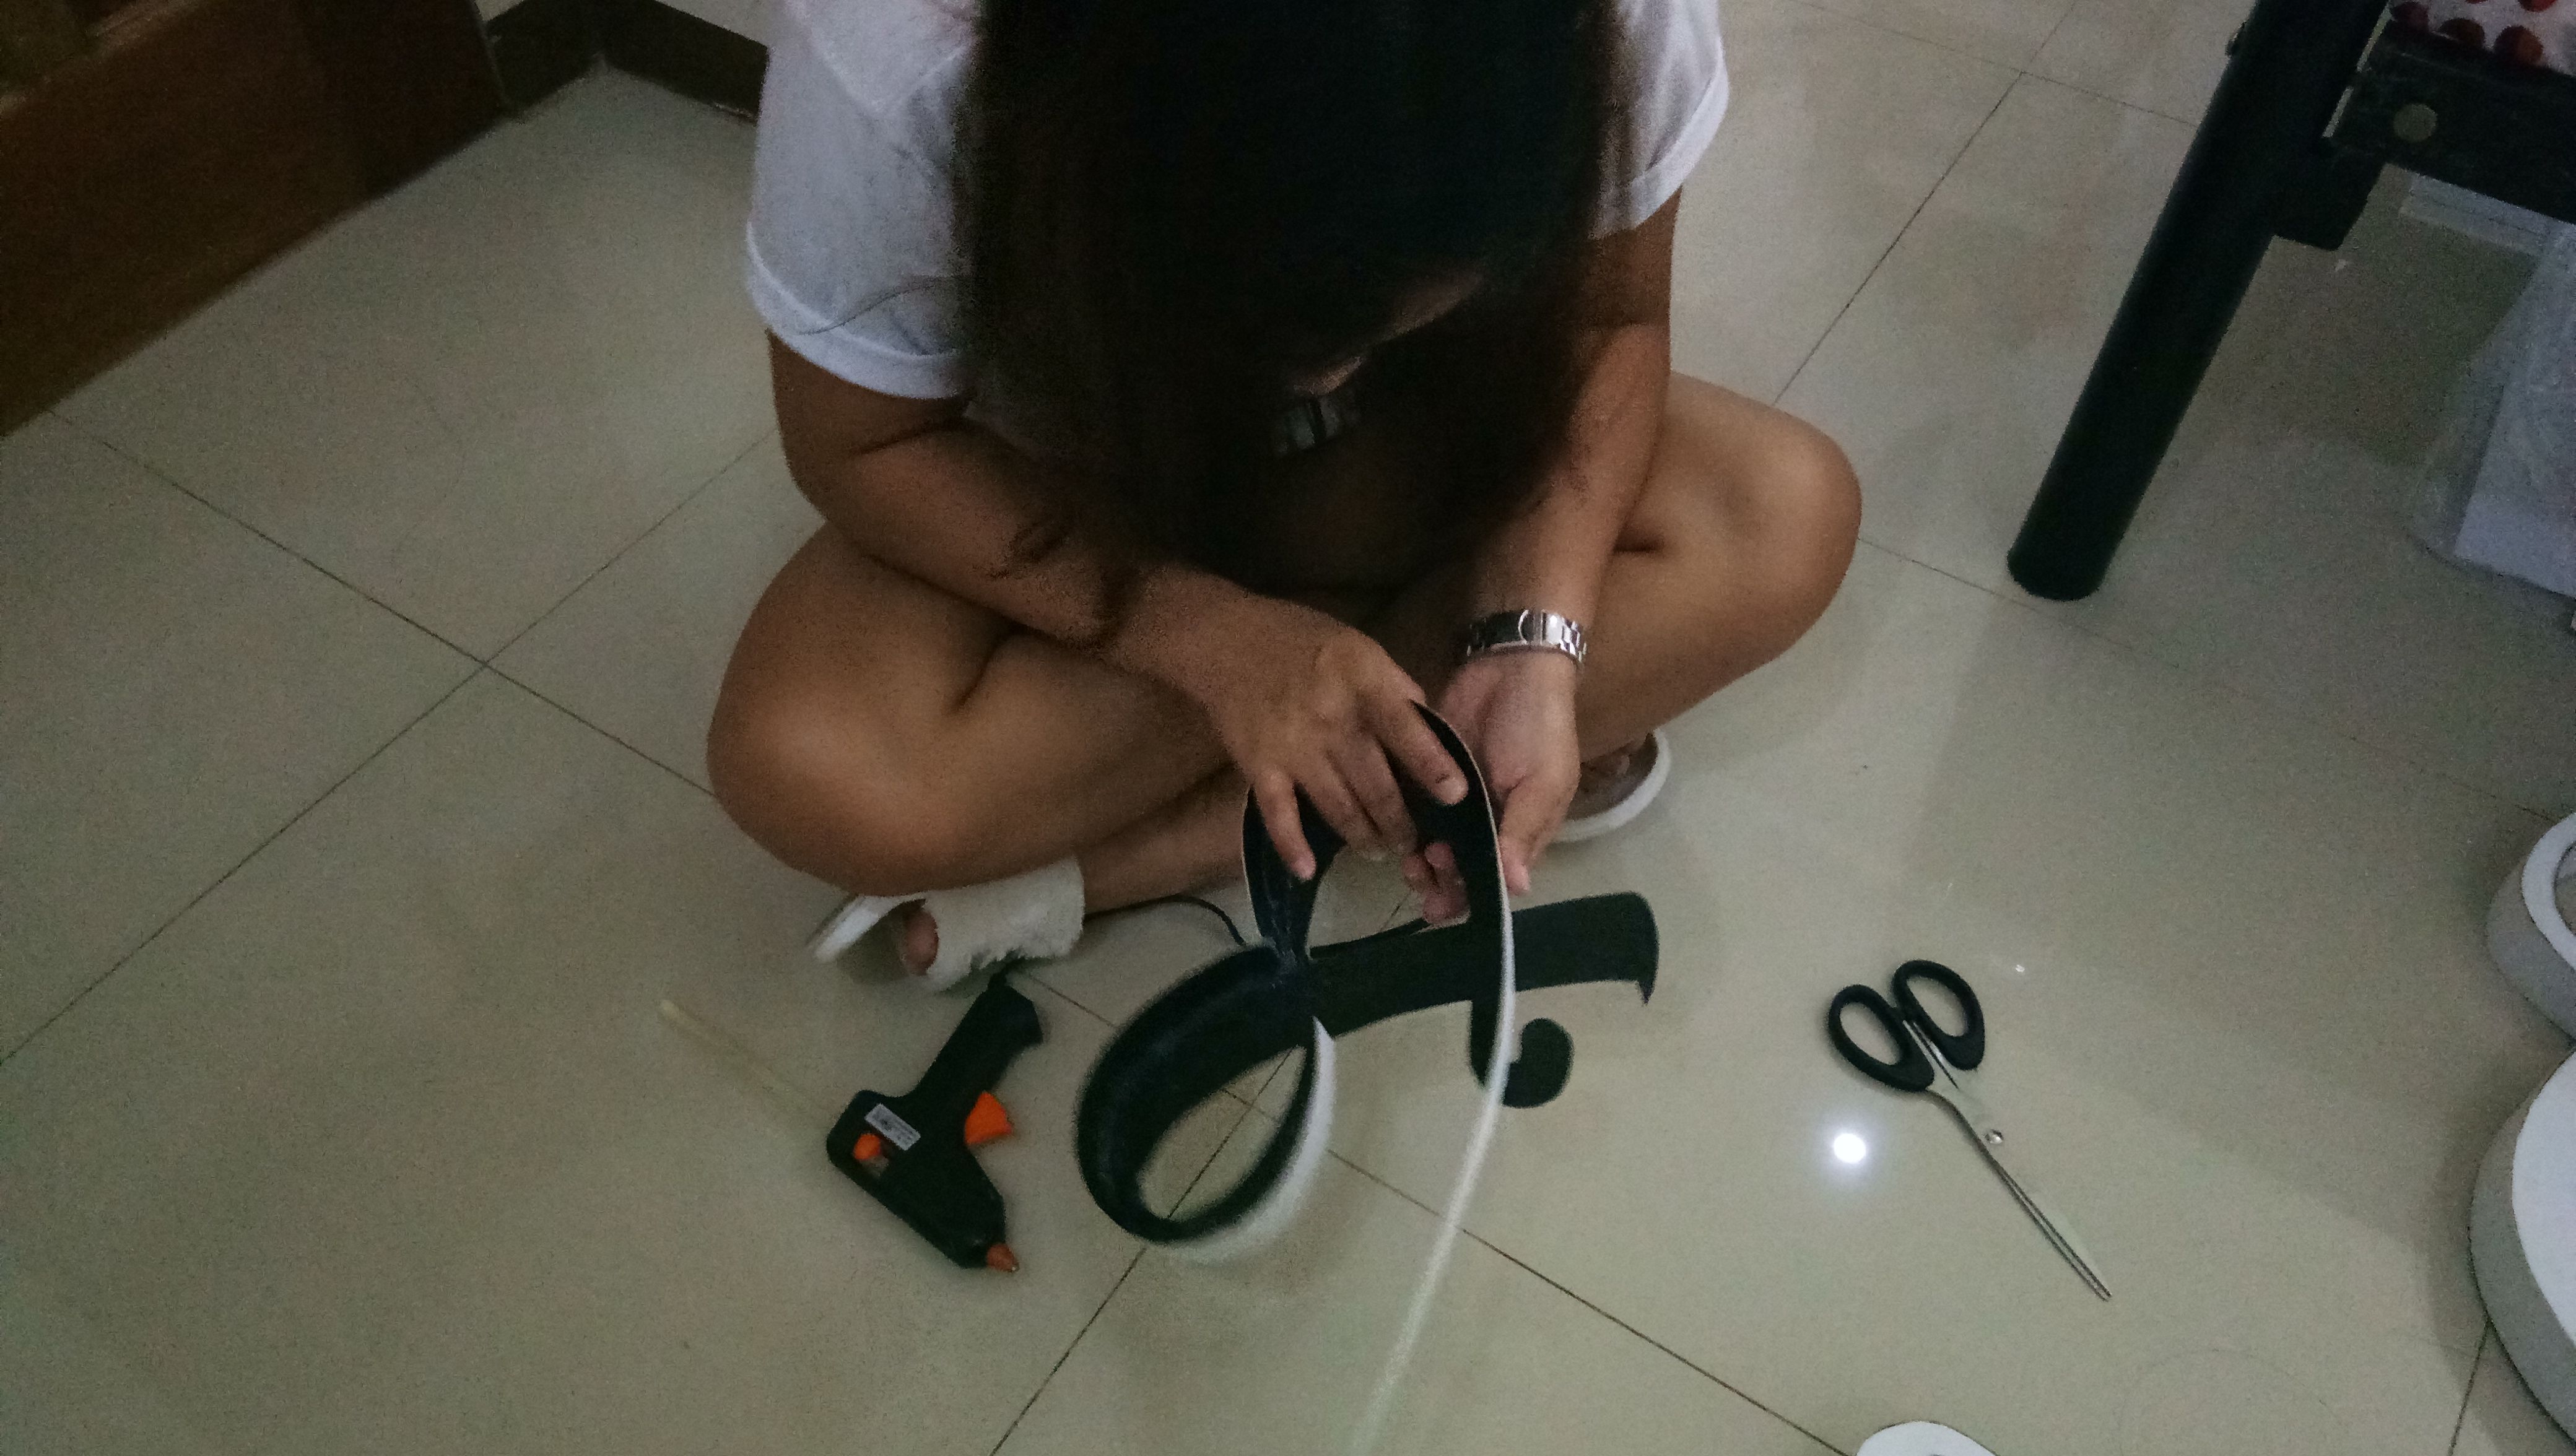
With the strips, I glued it on the sides of the letters I made earlier with the white part out so that the paint will be brighter and the color would be more visible. This part of the process, as I said earlier was the most painstakingly tiring because I had to bend, cut, hold the strips in place to make sure it sticks, follow the curves of the letters and I even got burned with the hot glue many times.
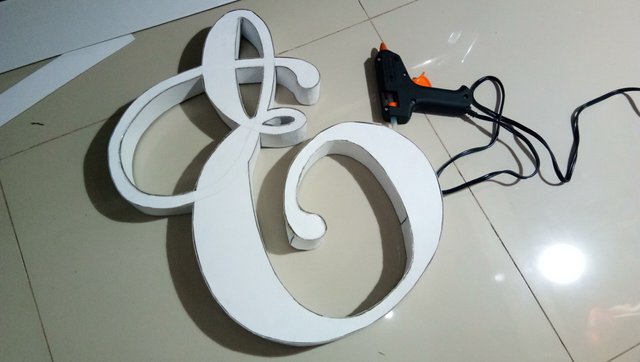
Can you just imagine the curves on this one? It actually took me three hours to finish this one letter only.
This letter took me two hours to finish. Tiring right?
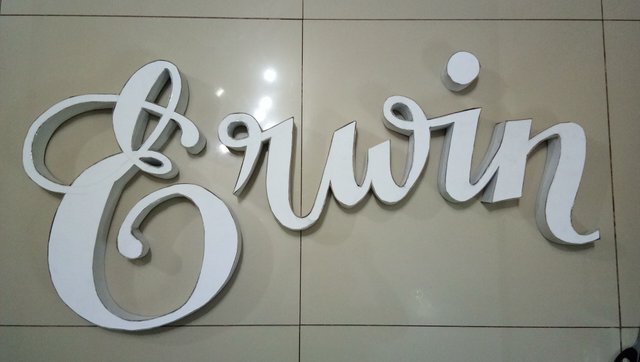
I finished Erwin's first after letter A. The 'rwin' I think took me three hours to finish too.
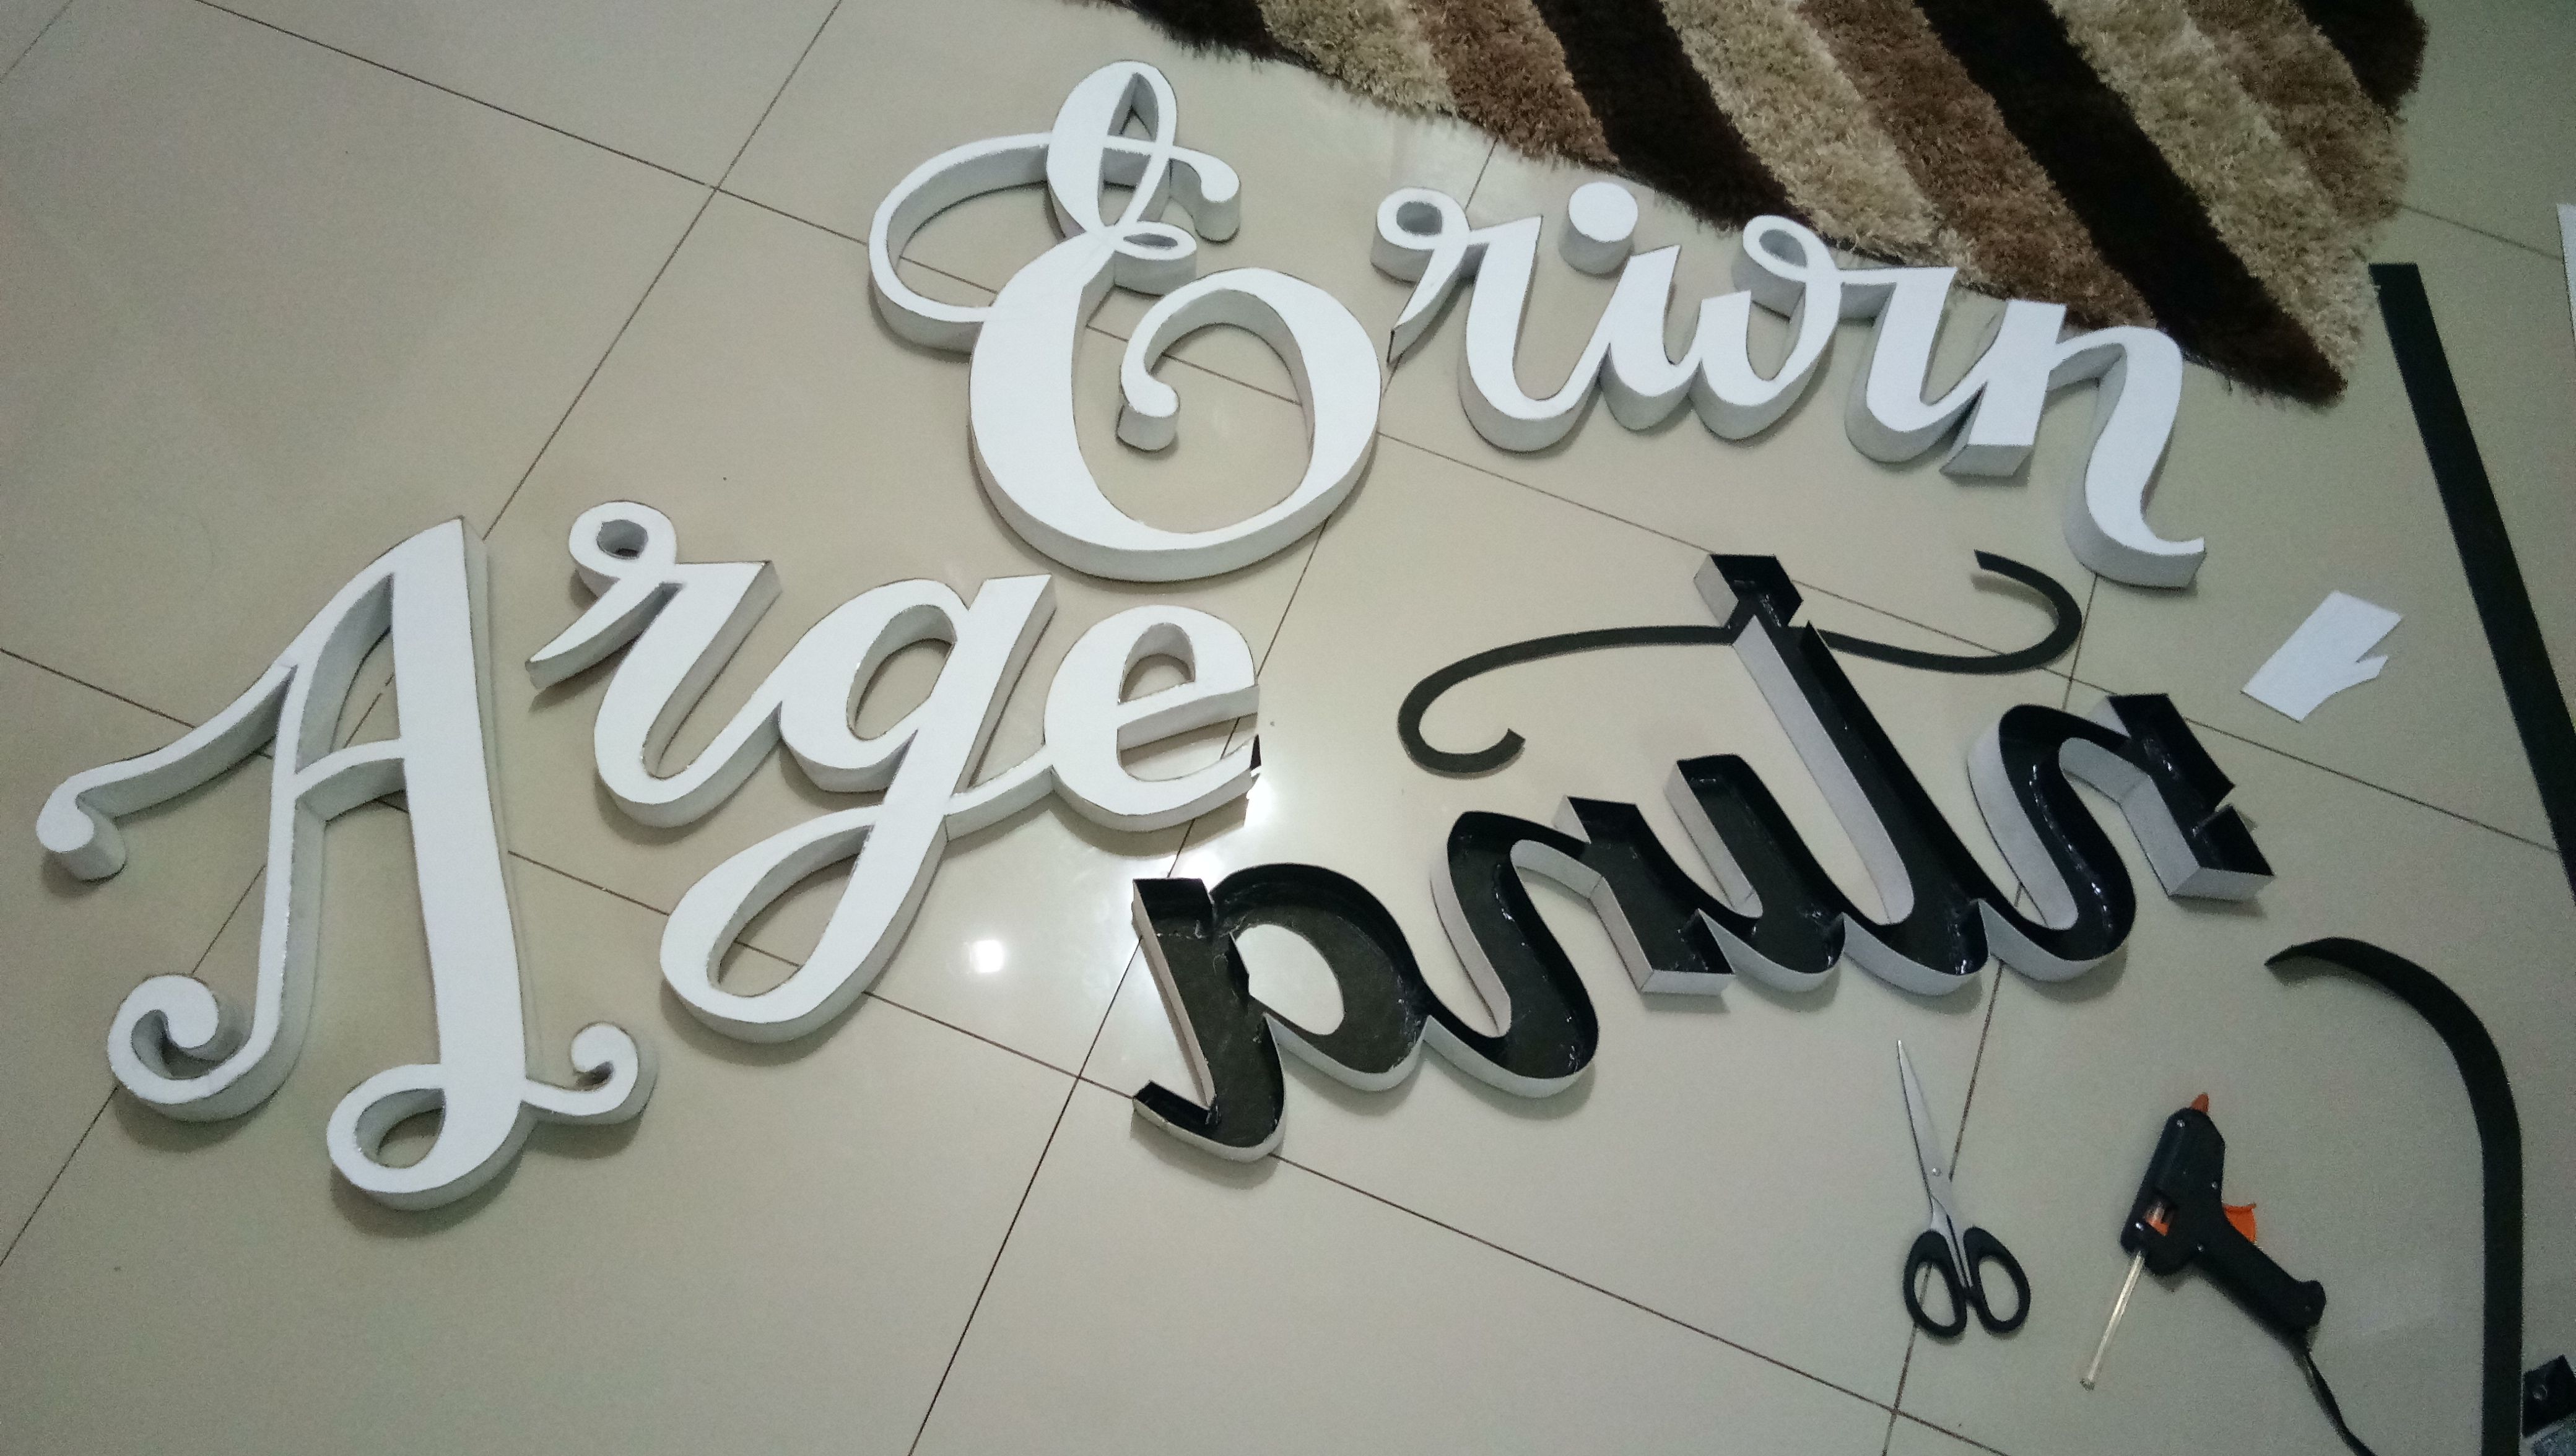
Then I continued with Argentina's which also took me about three to four hours. My back hurt but because I wanted to finish it so bad, I did make it in one night. As you can see, the back part of the letters is the messy part because I put a liberal amount of glue just to make sure it sticks well on the board.

These were then the letters.
Their names wouldn't be complete without the ampersand. I intentionally made it after the names so that I could measure how big it would be.
I then glued the strips like how I made the letters earlier. I've made the glue gun and the scissors my bestfriends on this.
PAINTING PROCESS
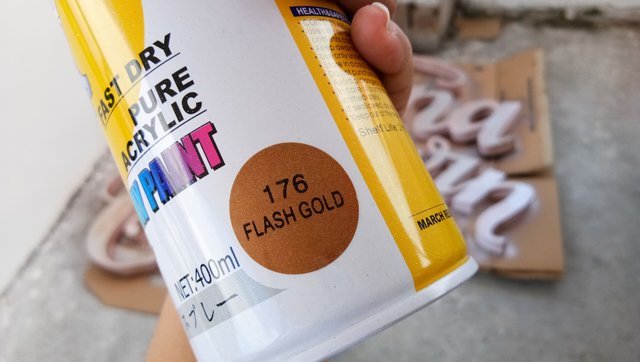
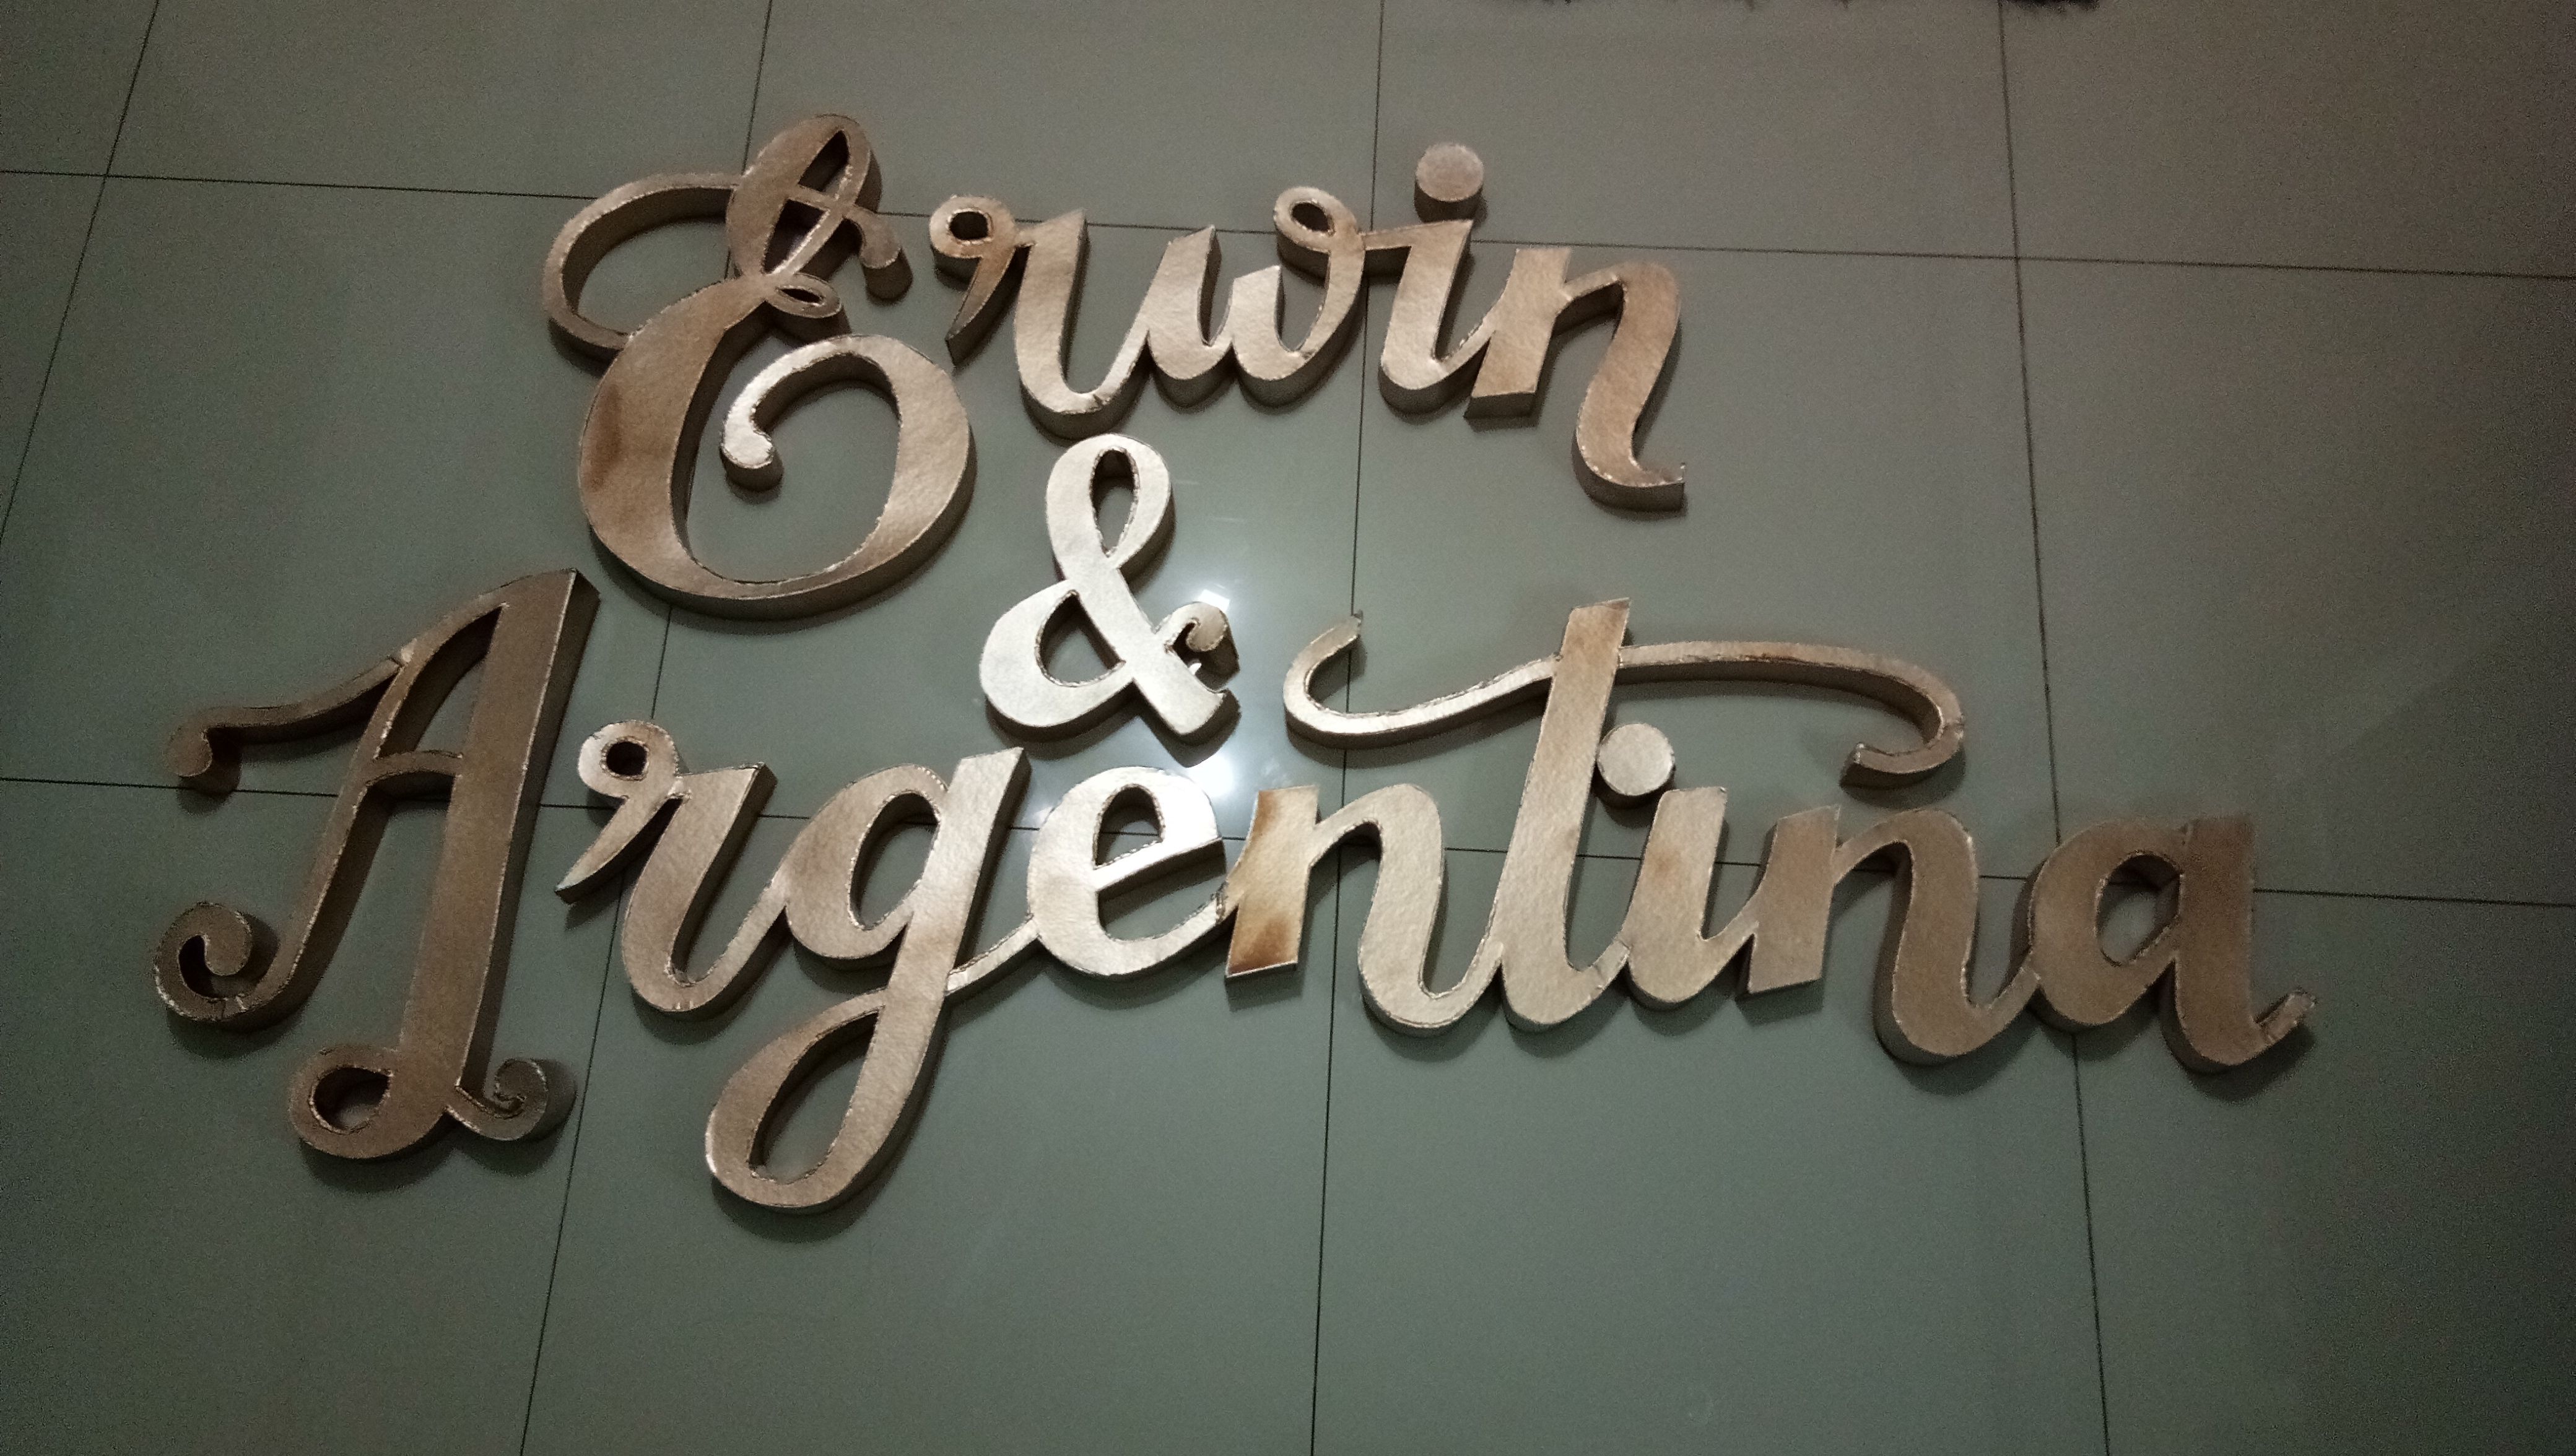
Once it's done, I've gathered all the letters in the outdoors in a broad daylight as advised by my artist friend @ianceaz to see the effect of the paint better and to avoid it from getting too much paint and wobbling. I asked my dad first to do the spray painting and I then got the hang of it after dad doing it. As you can see from the picture above, I used a Flash Gold spray paint for the letters since it's the motiff of the wedding.
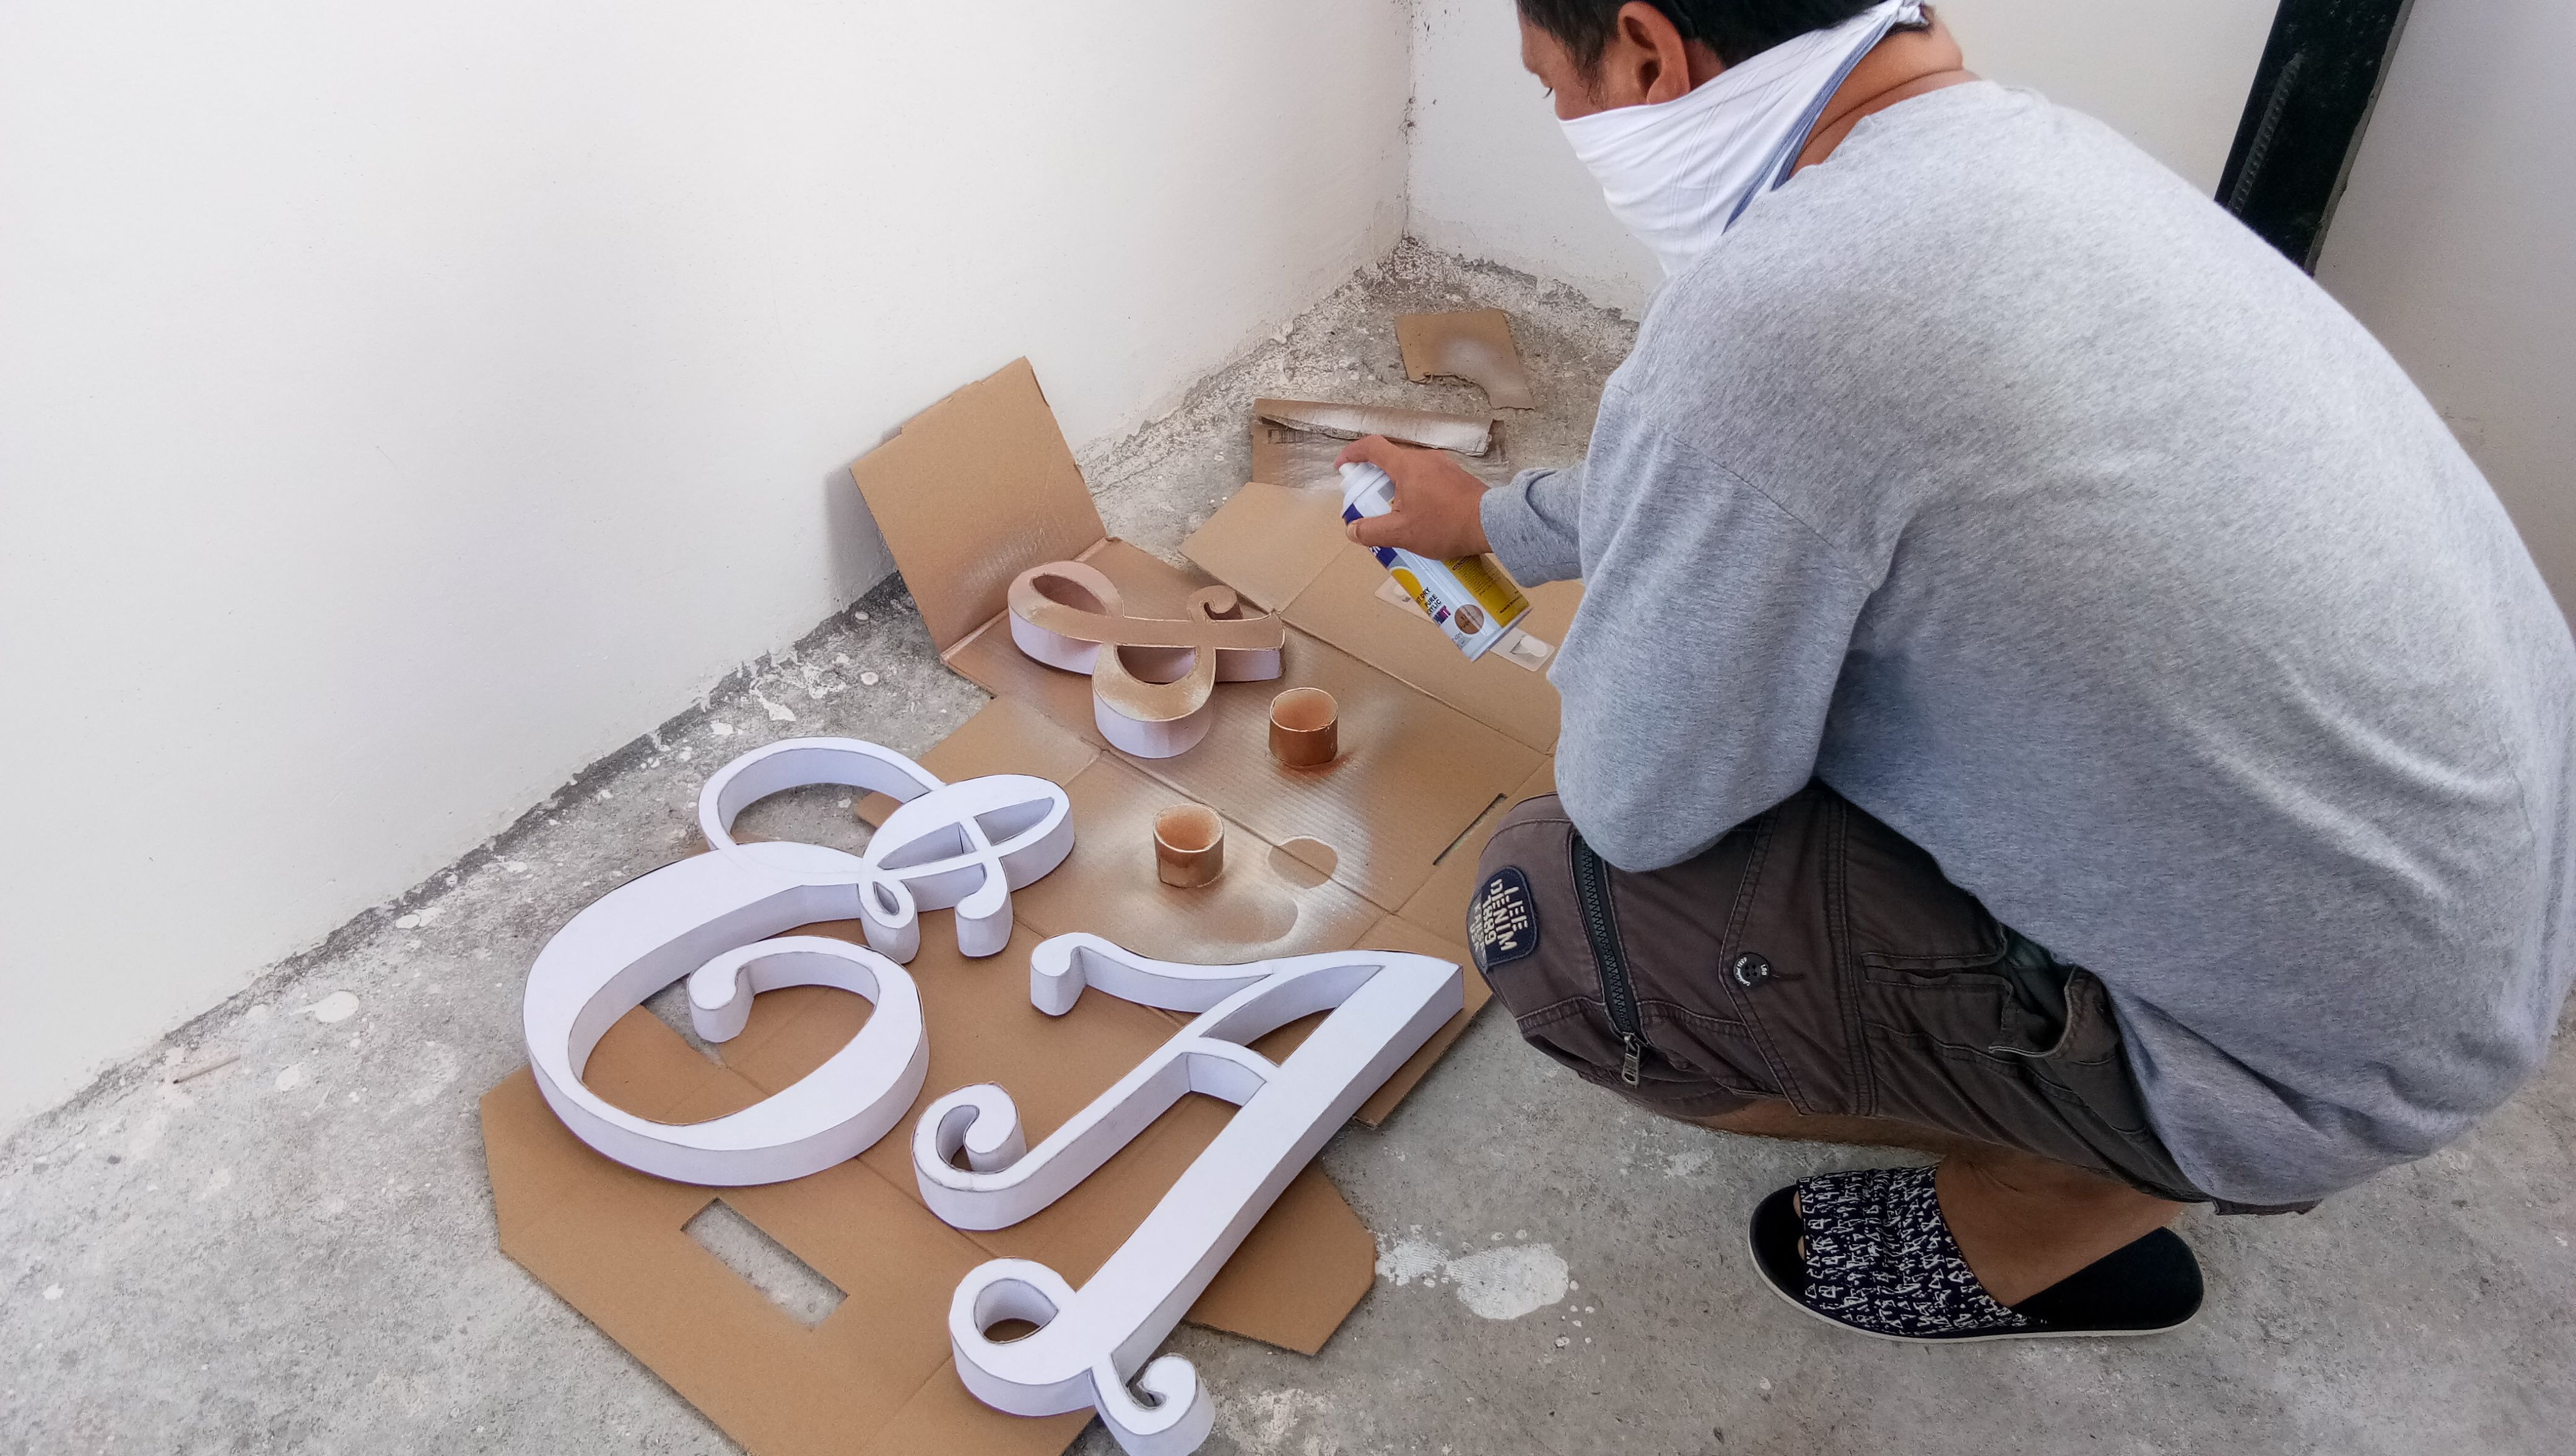
This is my helpful dad all geared up for the spray painting session.
I did a thin layer everytime I spray paint. Every after 15 mins or once it's dry, I add another coating to the letters to achieve a better effect and brighter color of the spray paint.
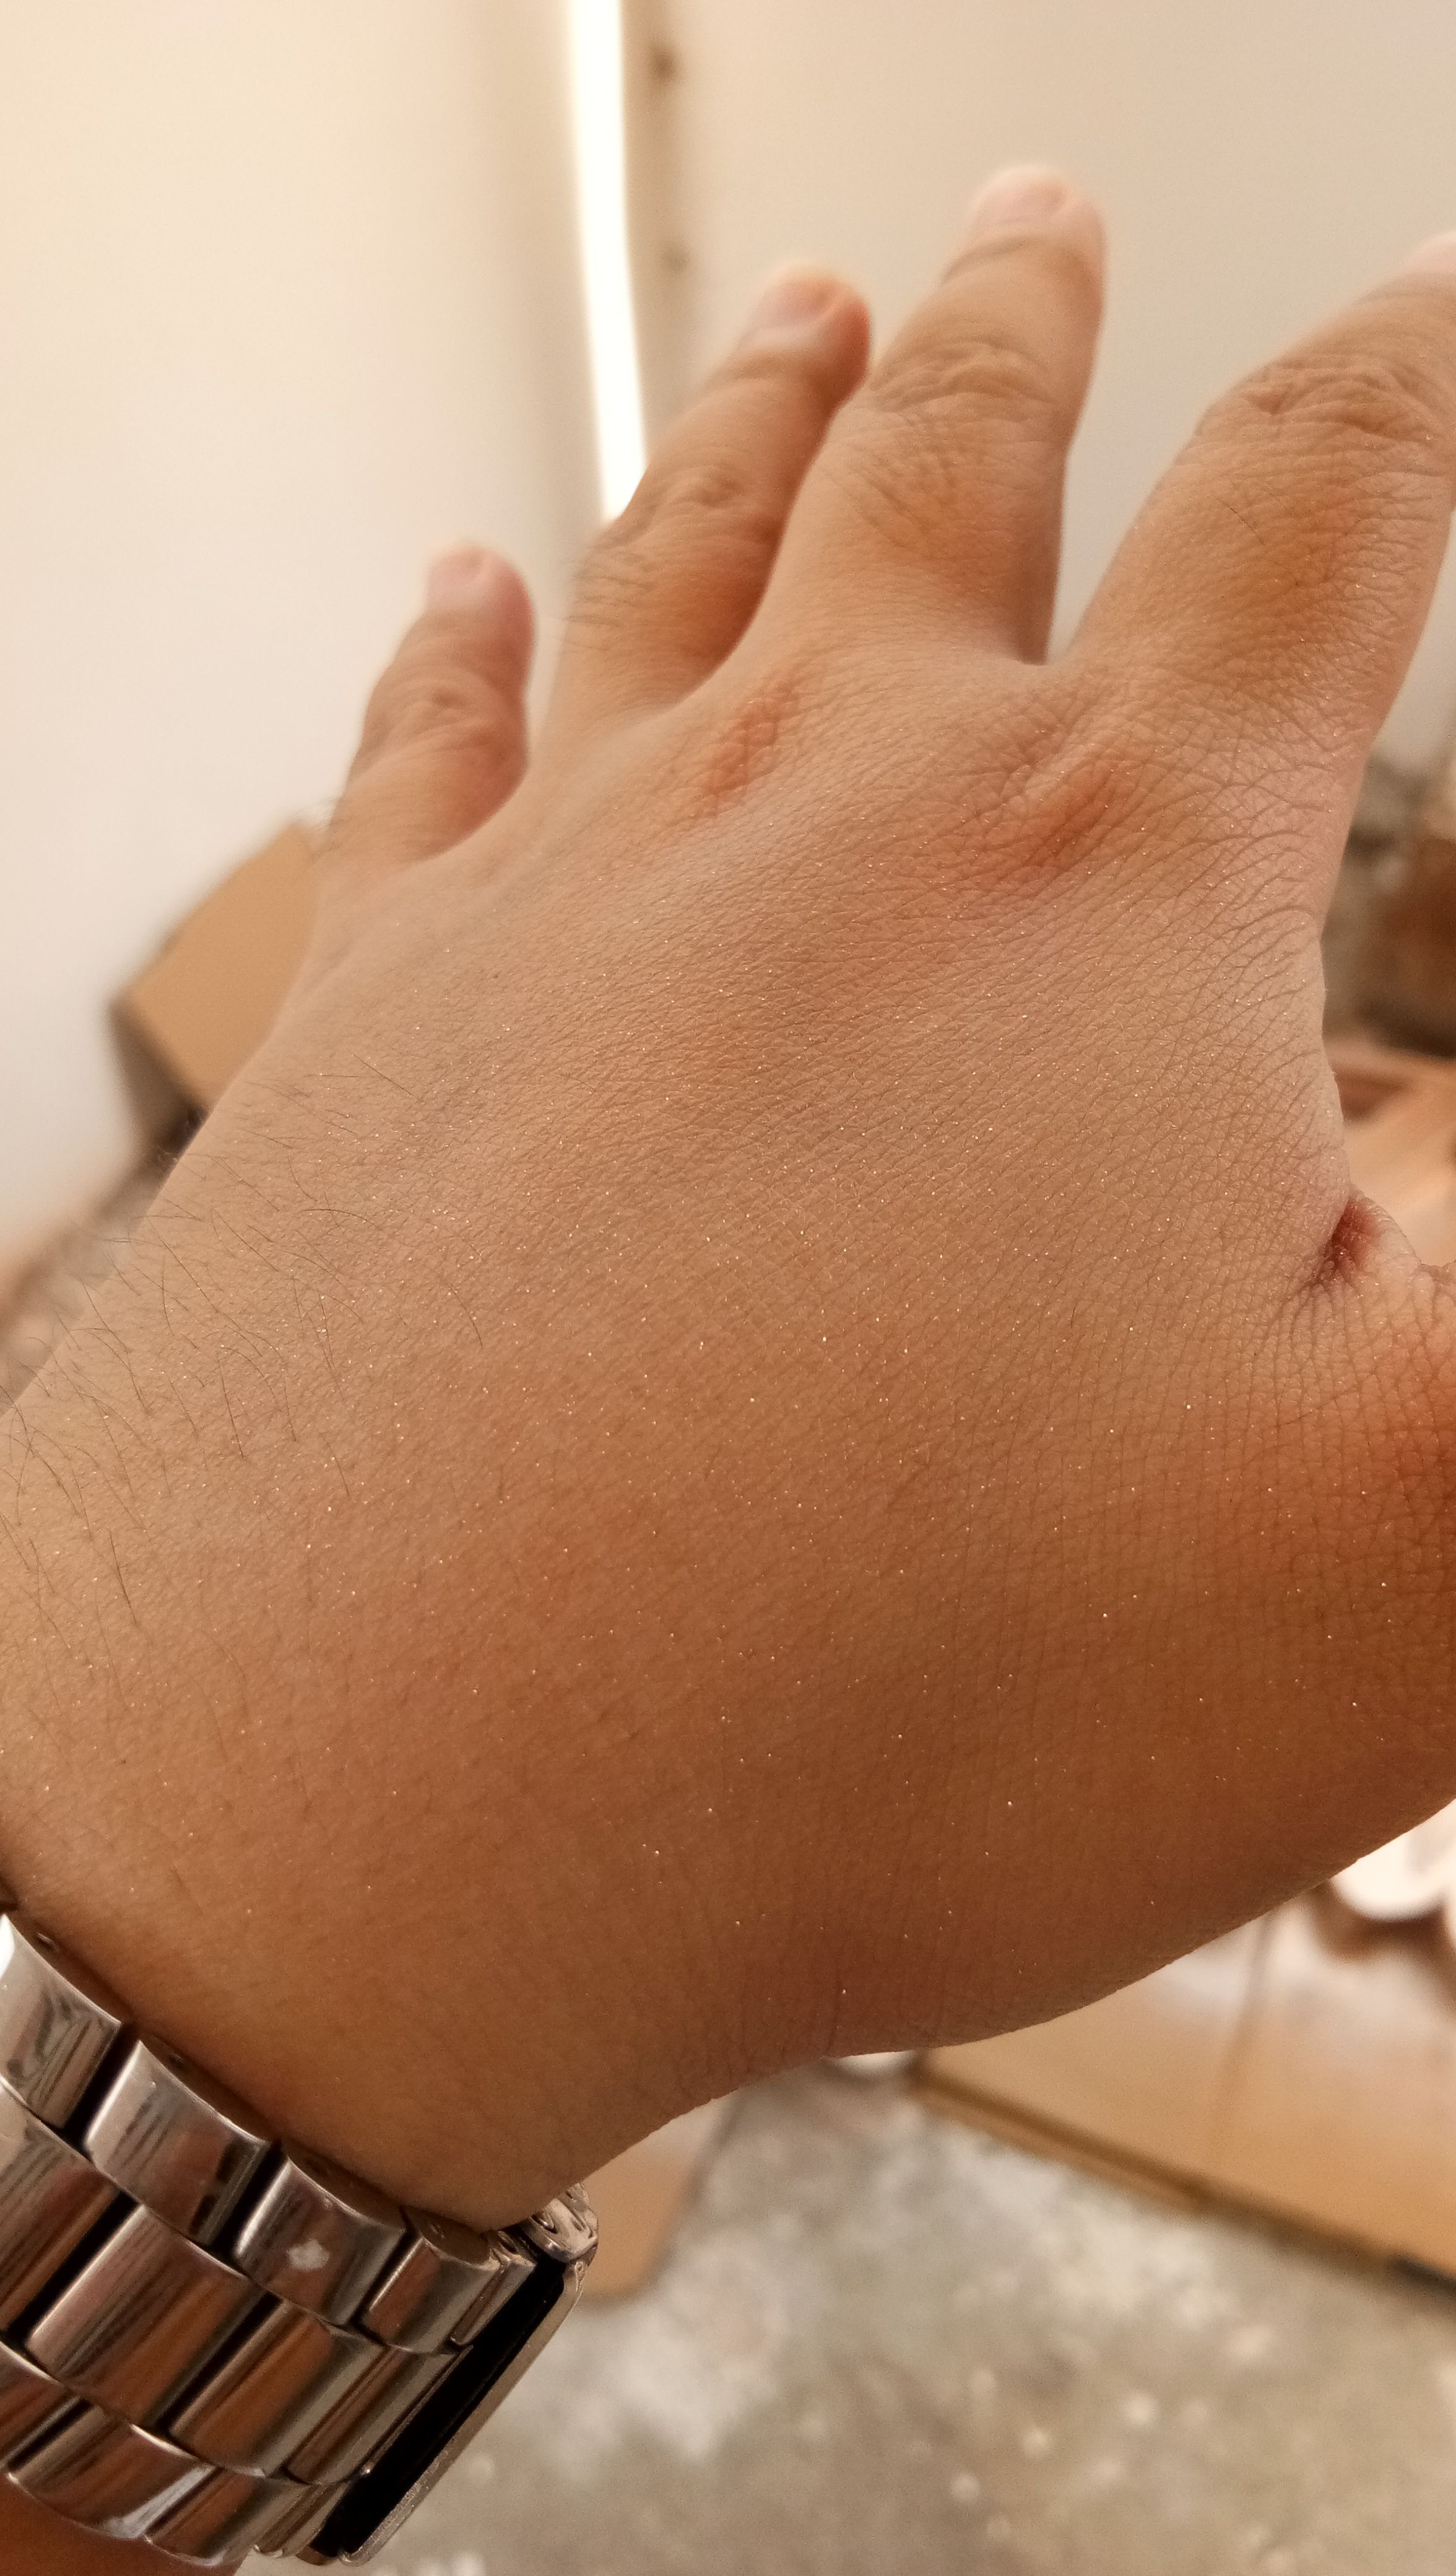
My hands got glittery and all that from spraying. An artist is never an artist without getting your hands dirty right?
Spray painting takes enough control on the amount of paint. When you press too hard, too much paint will be sprayed thus getting your board to wobble or get too wet and with this project we need to avoid destroying all your hardwork.
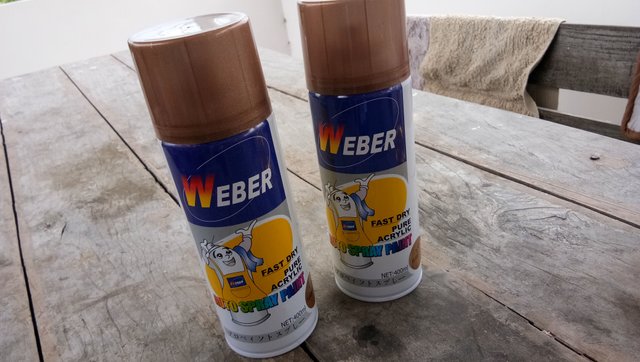
I was able to use 2 cans of spray paint for this one.
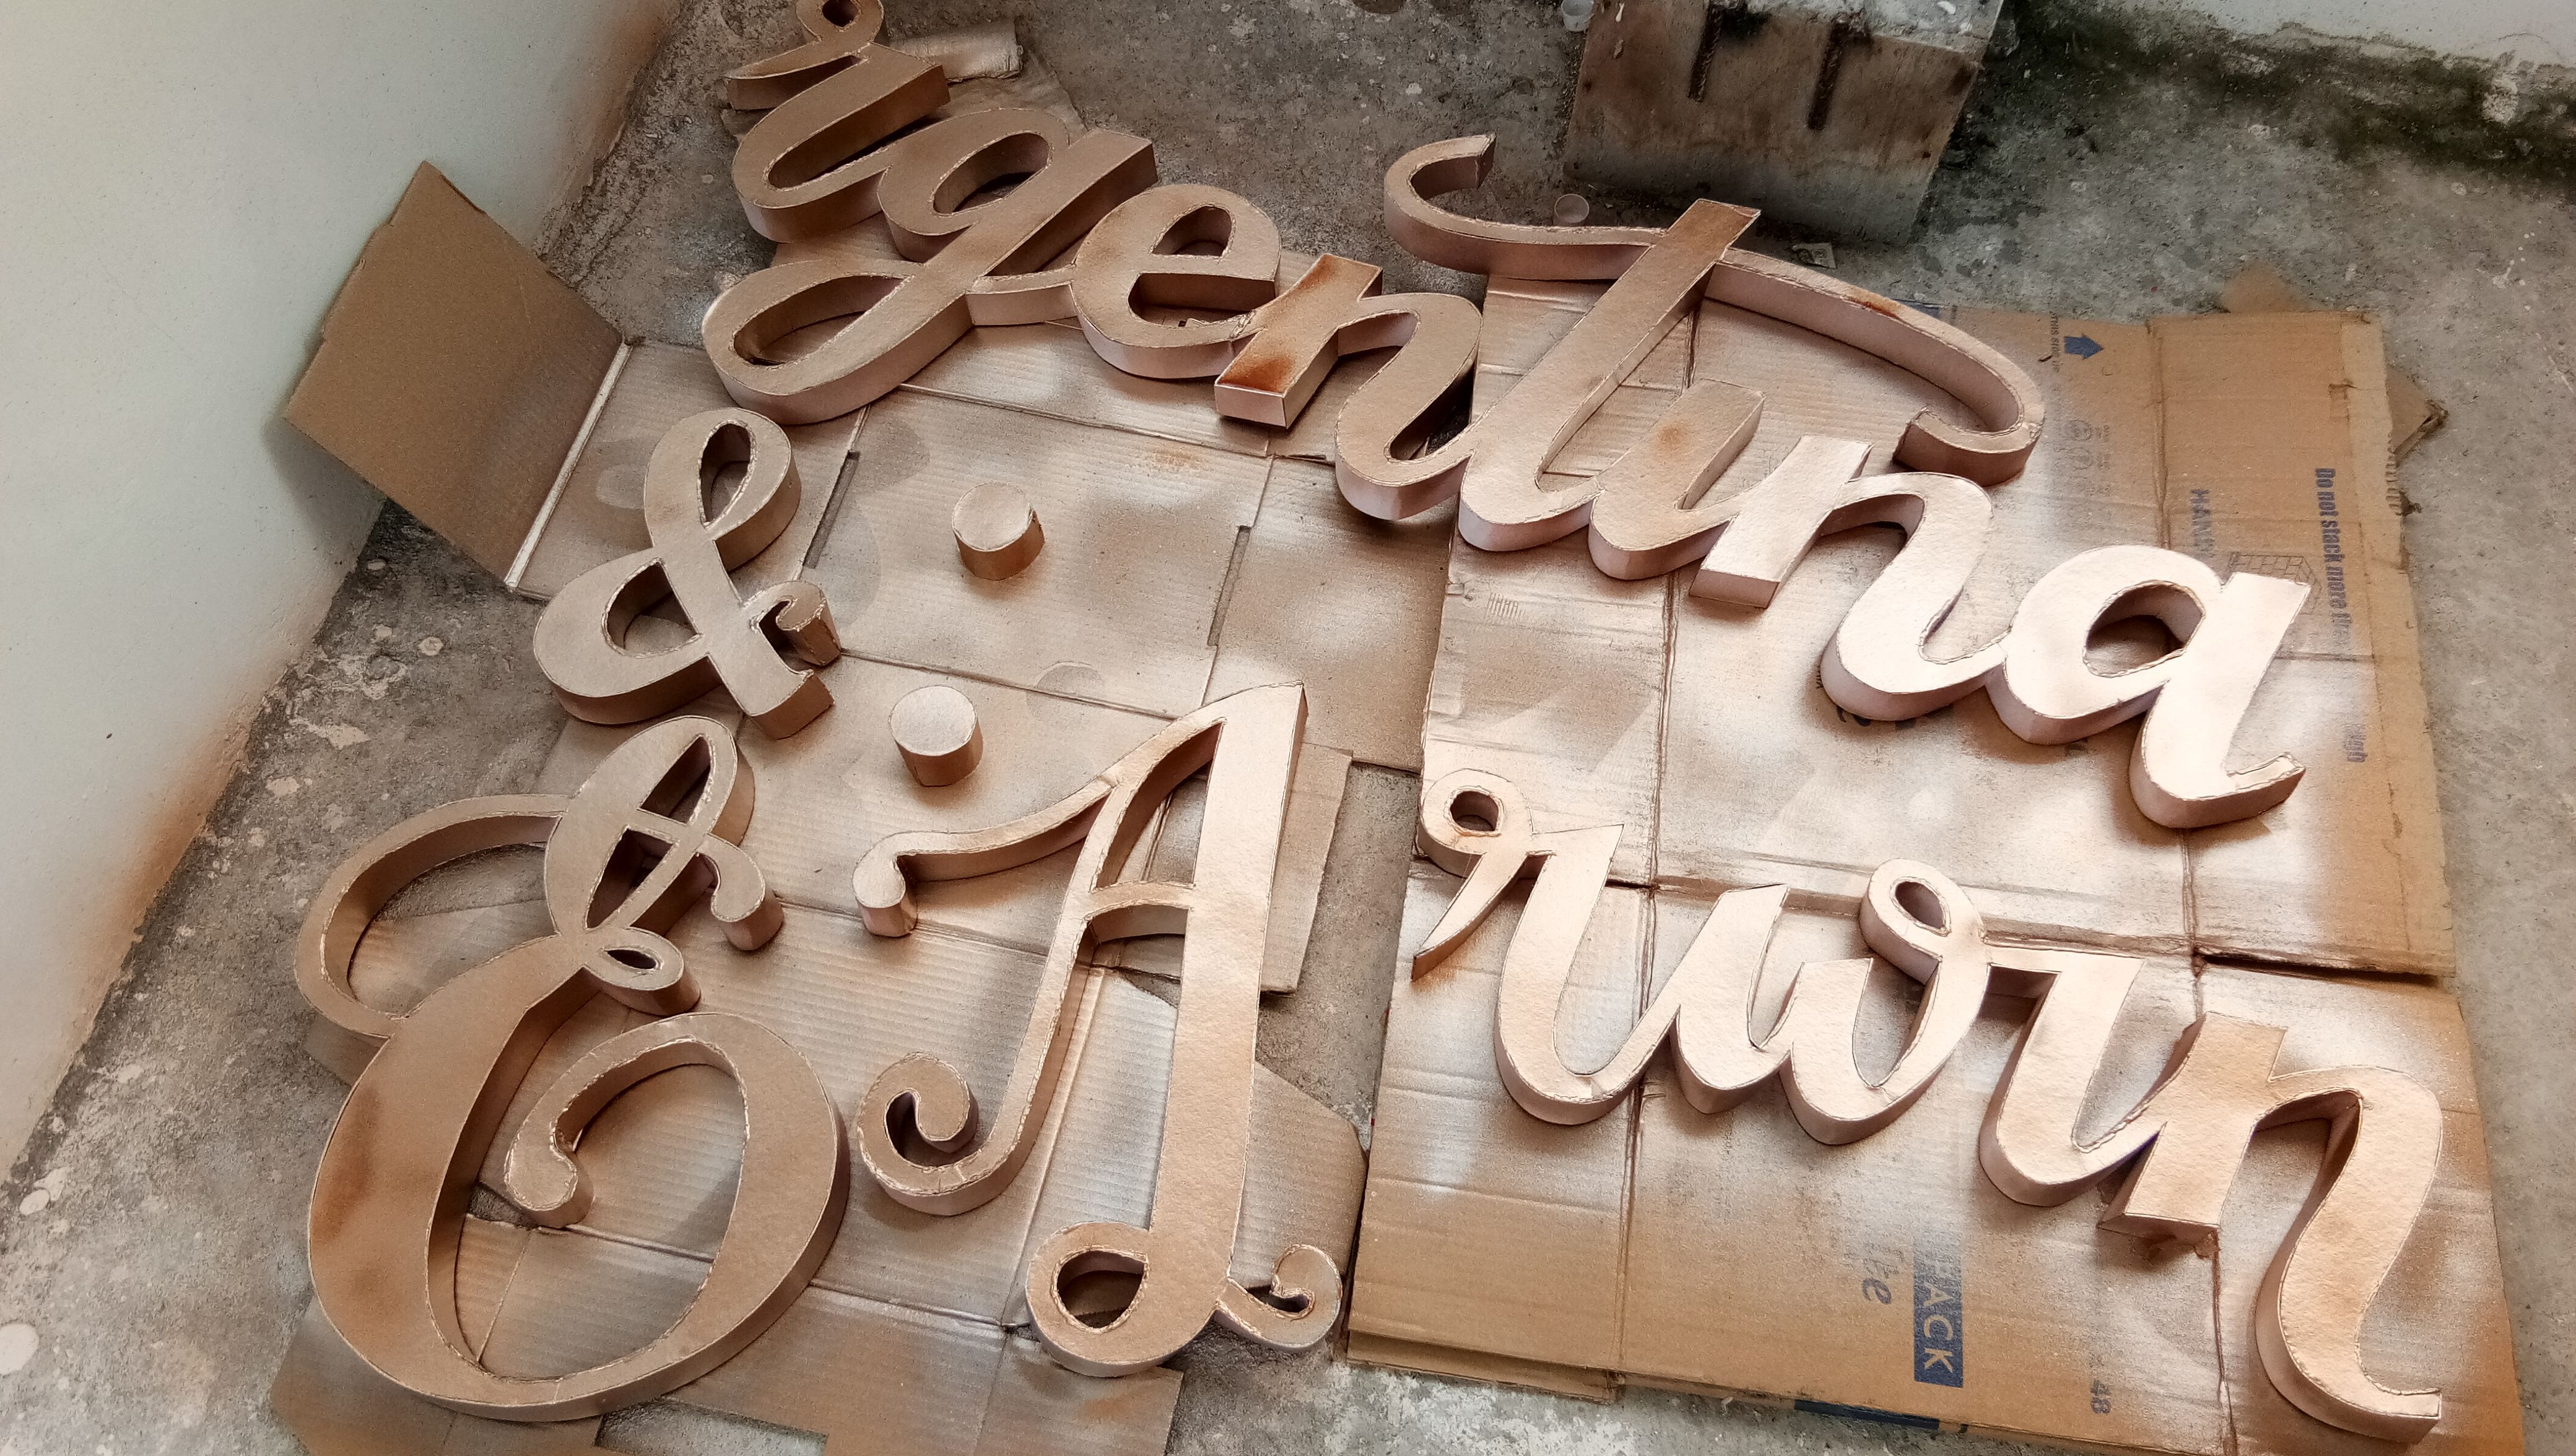
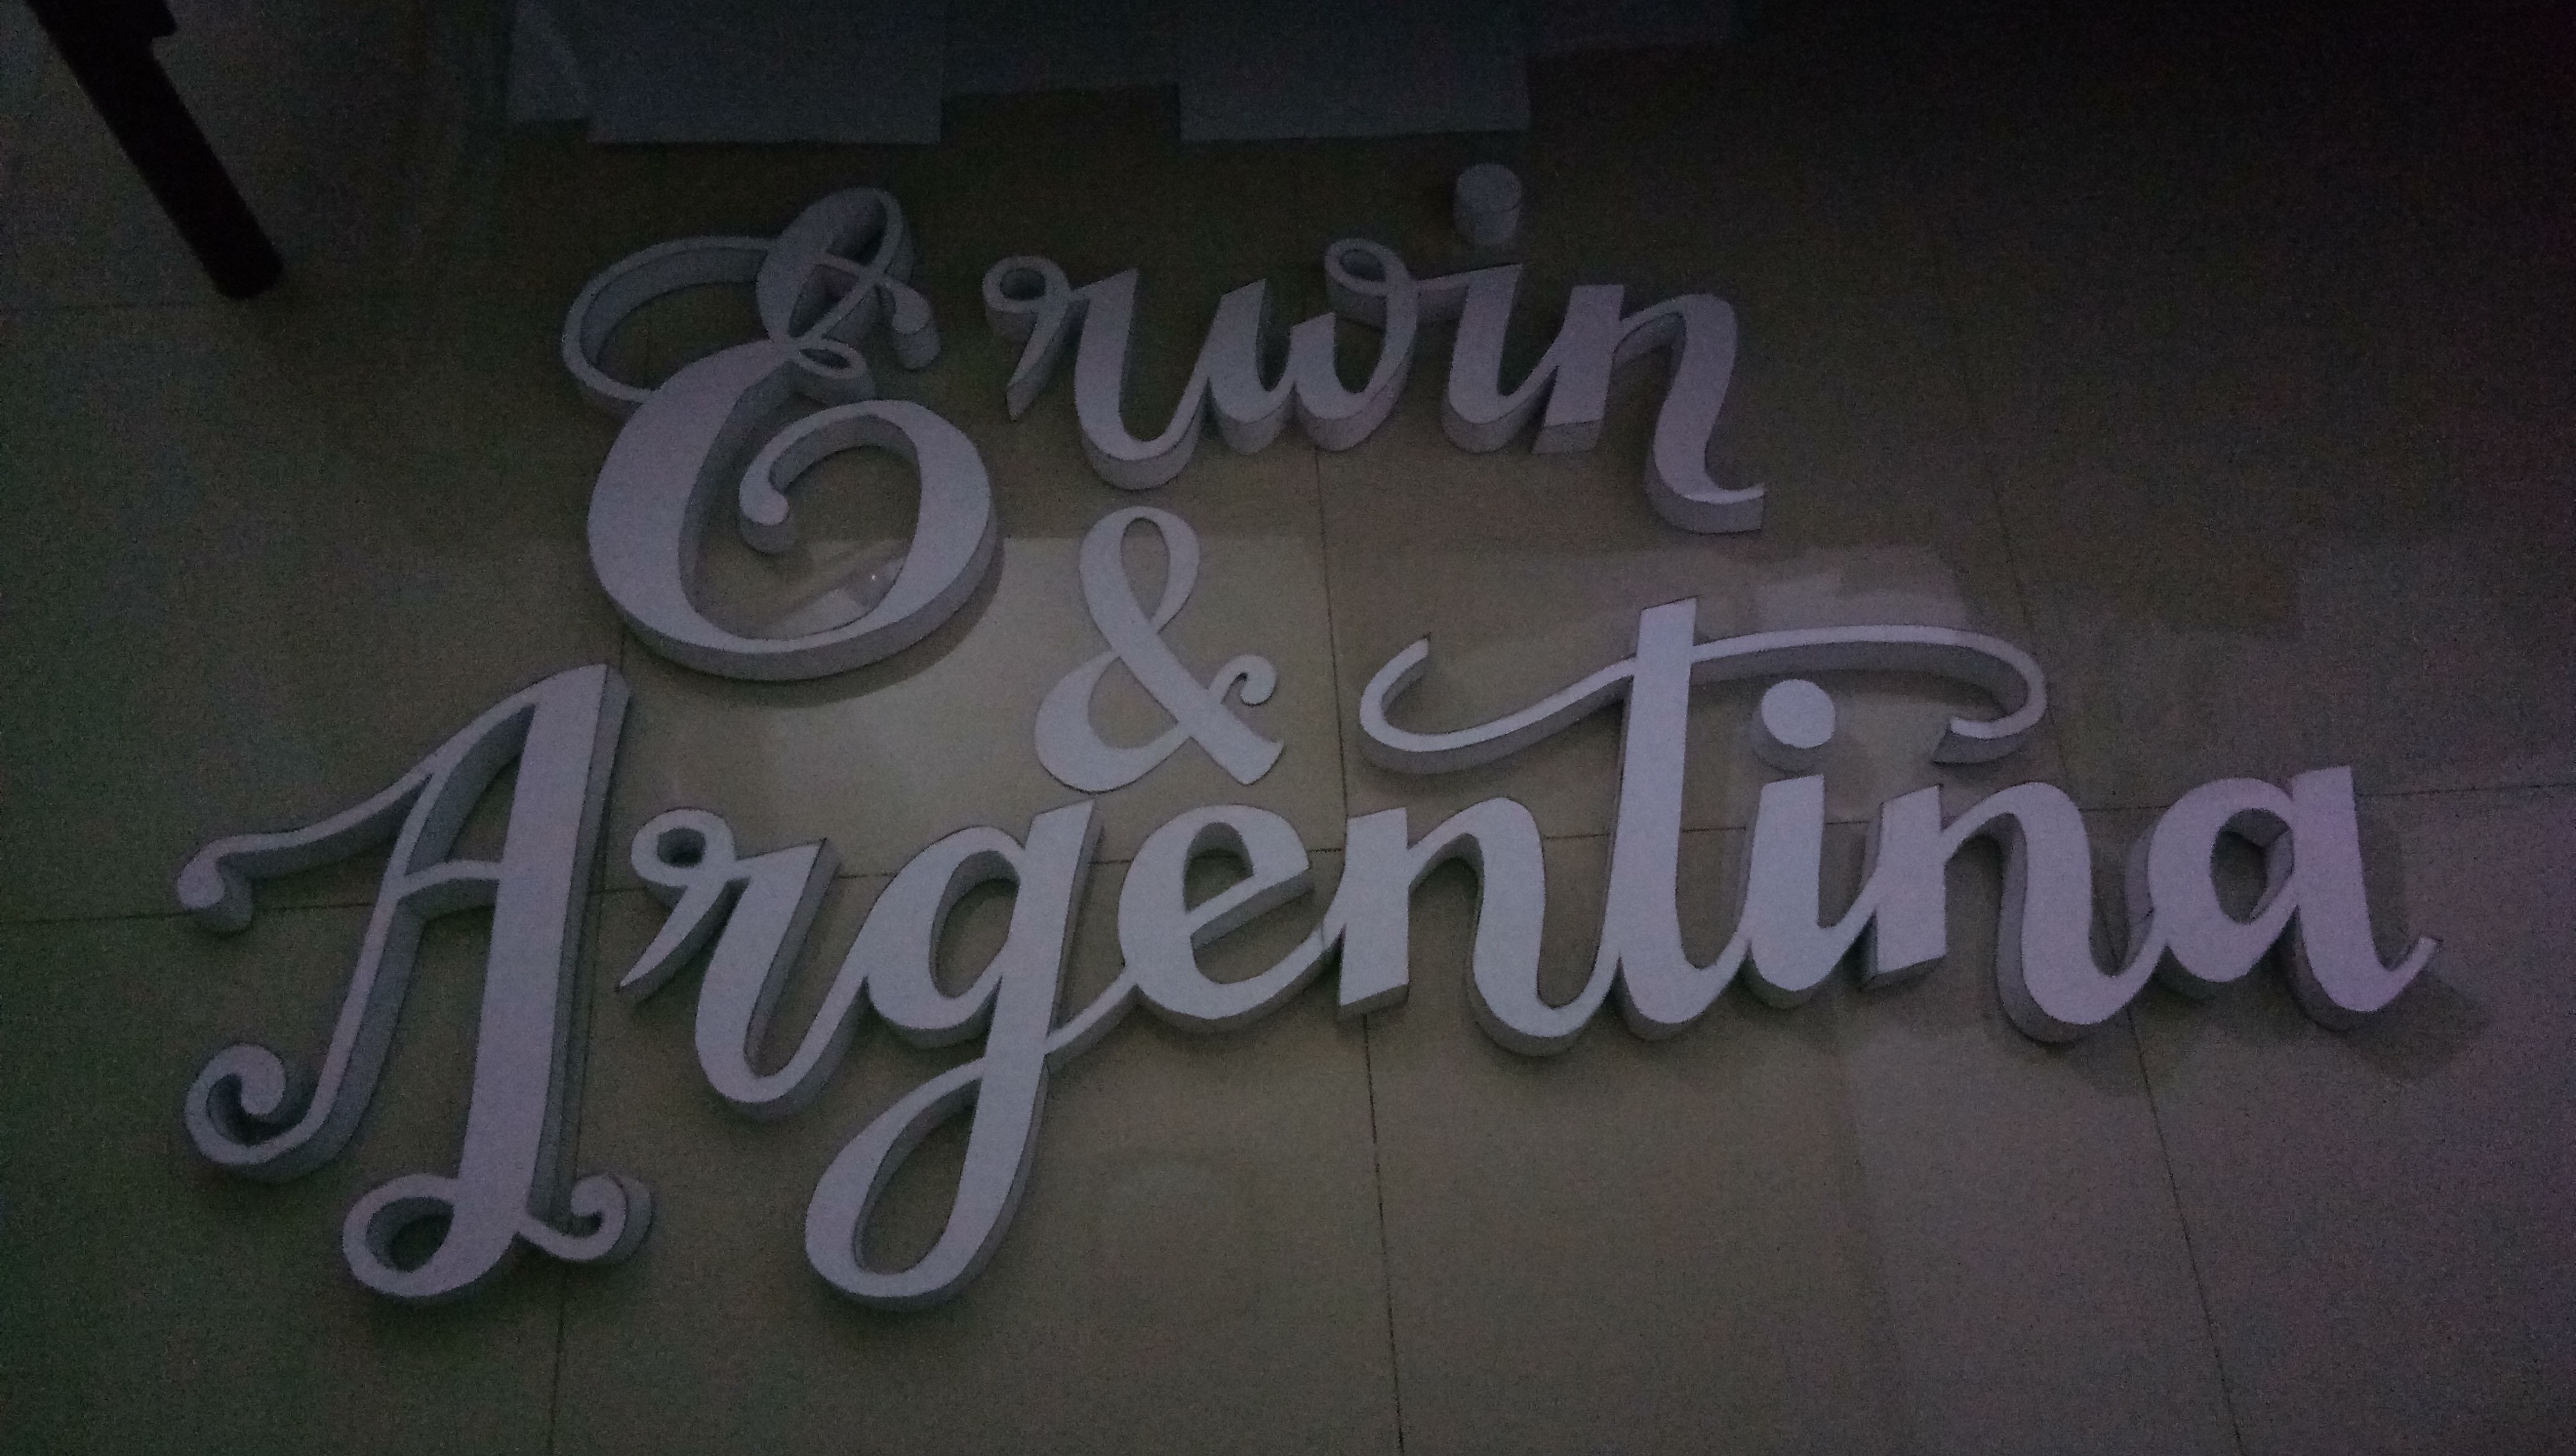
These were the letters after 5-7 coatings. I only let it air dry.
Having the paint all dried up, I asked my lil sister to glue in lil strips of board at the back so that it would be a lot easier to pin it on the wall.
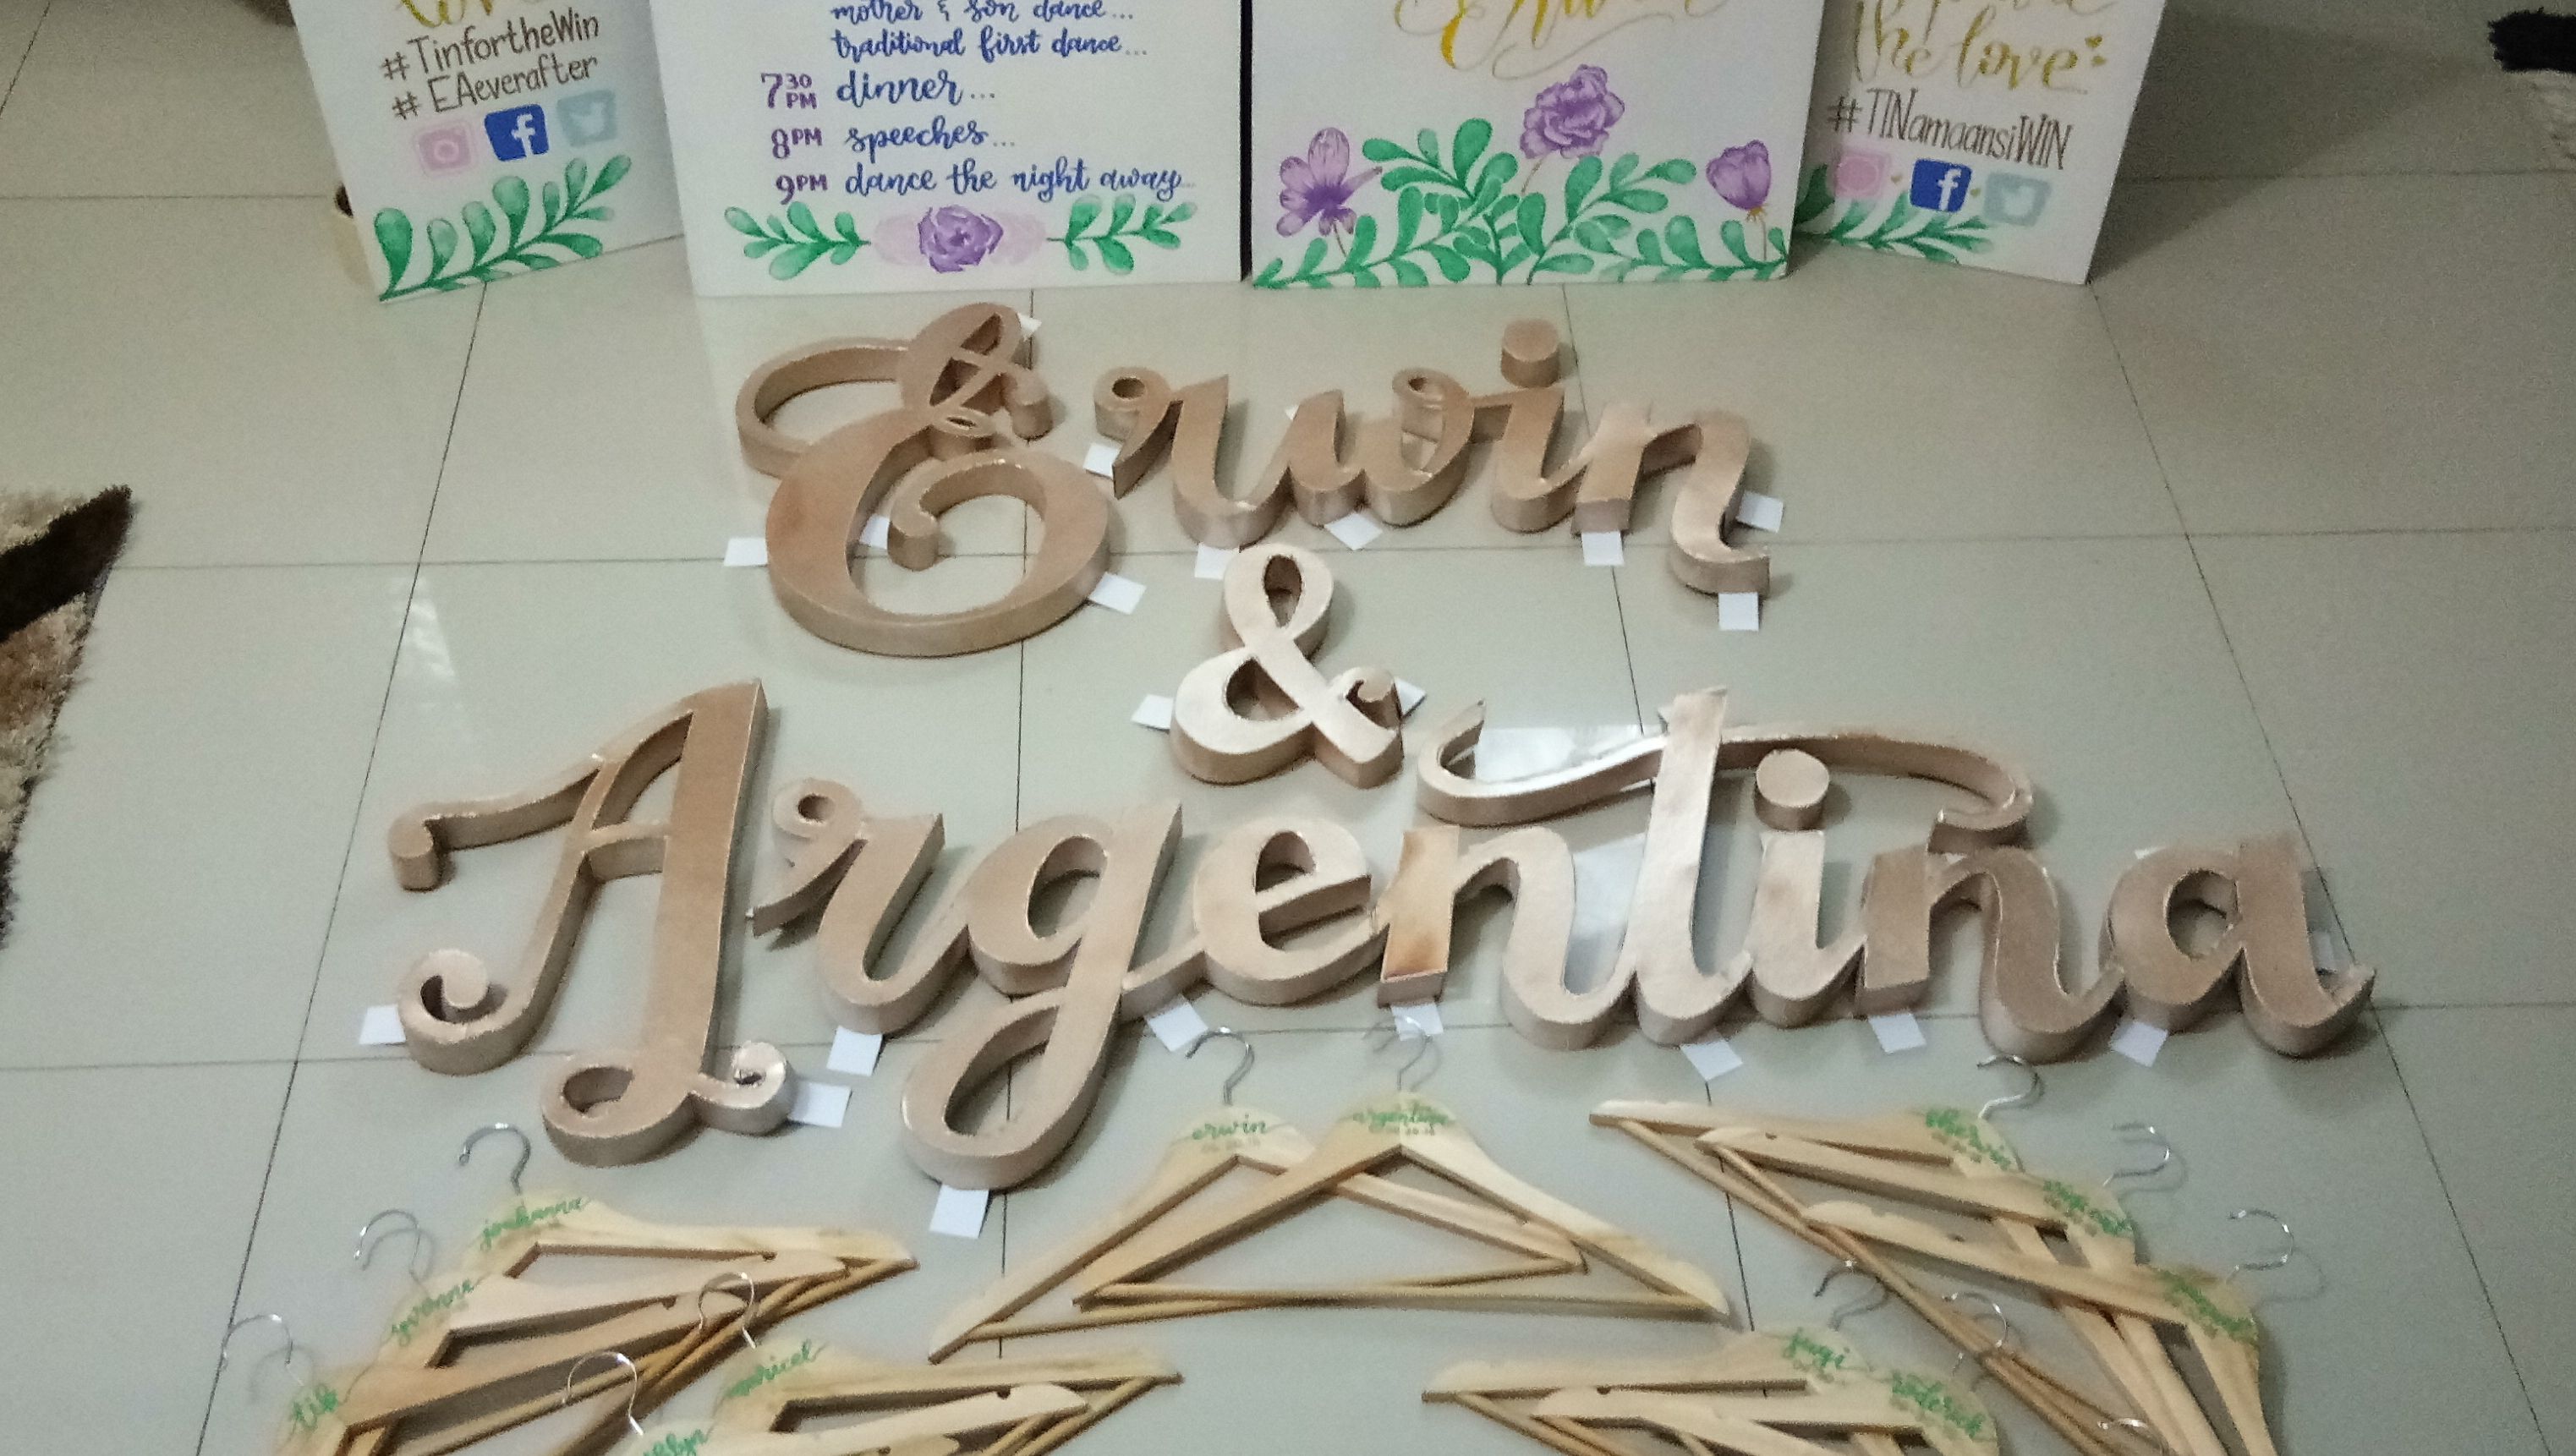
These were then the finished letters.
There you have it guys! It's all done and ready for use this June. One thing I learned from doing this is that it needs a lot of patience if you want to achieve something. Everything needs hardwork and dedication like I did.
I hope you guys learned something from this!
All the love,

This work is licensed under a Creative Commons Attribution 4.0 International License.
Ka hawod jud nimu anang mga in-ana dai uy. :) :) Mahal pud bayad ana pabuhat nuh? :D
Depende pero for this one naa sa 1500-2k ni kay kuti kaau @creyestxsa94.
Aw, dah! Kwarta kwarta pud diay ang pagka artistic uy. hehe :) daghan pud magpabuhat diay? Kelangan nimu ug assistant? Pa-apply'a ko bi. HAHAHAHA :D
Pahimuslan nato uyyy. raket ba. why not chocnut @creyestxsa94??
HAHA! :D Sure ba? :D
Congratulations! This post has been upvoted by the communal account, @steemph.cebu by kyanzieuno being run at Teenvestors Cebu (Road to Financial Freedom Channel). This service is exclusive to Steemians following the Steemph.cebu trail at Steemauto. Thank you for following Steemph.cebu curation trail!
Don't forget to join Steem PH Discord Server, our Discord Server for Philippines.
Hala uy kagaling <3 <3
Ayeee. Thank you Yei! 😘
Great job... Just curious, why not use styro? Much easier i guess :)
Styro is messier for me @wdoutjah. I hate dealing with the particles of it most especially when you carve it. Yes, it's a lot easier but it will be easier for the styro to break. The letters need to be kept for a month before the wedding so it needs to be sturdy. Plus, when you paint over a styro, it will not have the same effect with the board.
Choya ani oi.... promise! Atala kapoy naman gani ang straight lang sama ani:
Ako ug akong mga youth members ang naghimo aning I ❤️ MOM.
Barato ra lagi kaayo kag kuha? 1.5k - 2k ra diay na? Talent og skills na, mayta 3k na kapin.
gibaratuhan ra sa nako kay friend man gud nako @christianyocte. Pero dapat mga ana nga price jud xa.
Mao diay :)
You've received an upvote from @slothicorn! Click Here to Read our New Curation Policy And Updated Rules
(@ghulammujtaba)
Yayyyy! Thank you @slothicorn!