Lost Wax Castle Gray Skull
What’s up Steemit, today I’m going to show you a piece that I’ve made for @silversupplement in the lost wax process. The process of lost wax isn’t easy by any means, it takes an incredible amount of time as well as a lot of money and patients. I started learning this process last year and while I may have a piece or two floating around that’s pretty good, I’m still trying to learn the process to become consistent and great at it.
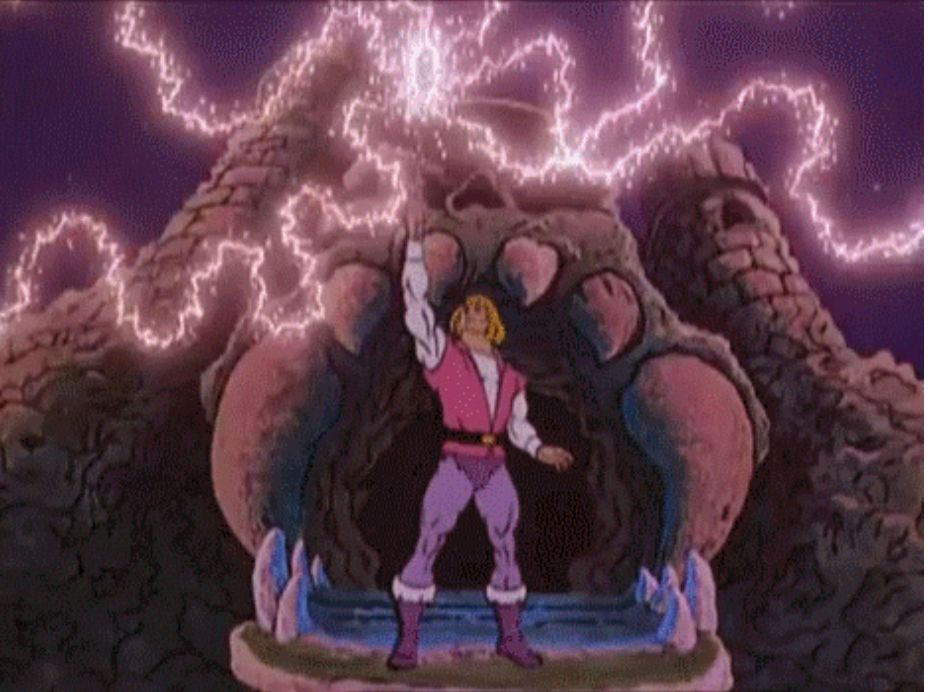
As you can tell from the title, this piece is Castle Gray Skull from the TV show He-Man and the Masters of the Universe from the 80’s.
I do have more from this coming but it is a slow process and I’m going to hone my skill on this piece.
I’m going to get you a Very basic rundown of the steps that are involved in this process but in no way is it the total process to do this. We start off by capturing a mold that’s suitable to continue the process. This step in itself is fairly difficult because getting molds and wax copies is a beast in itself.
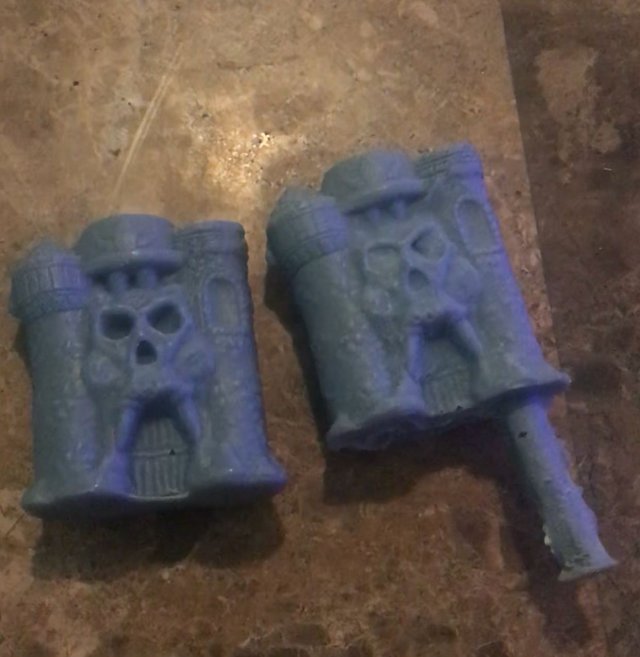
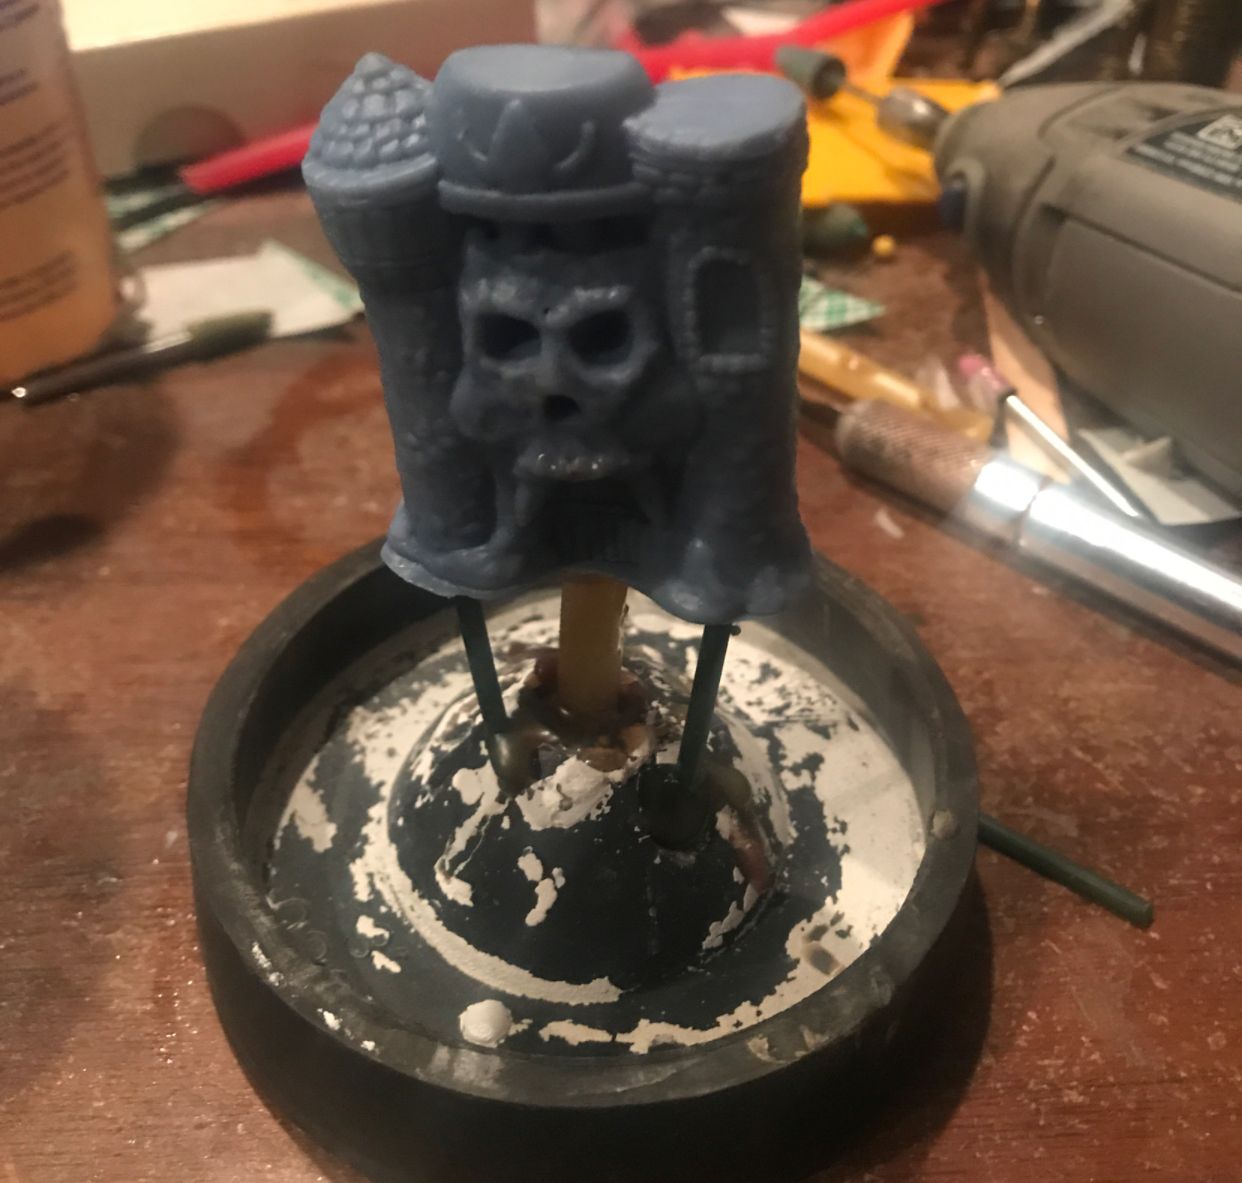
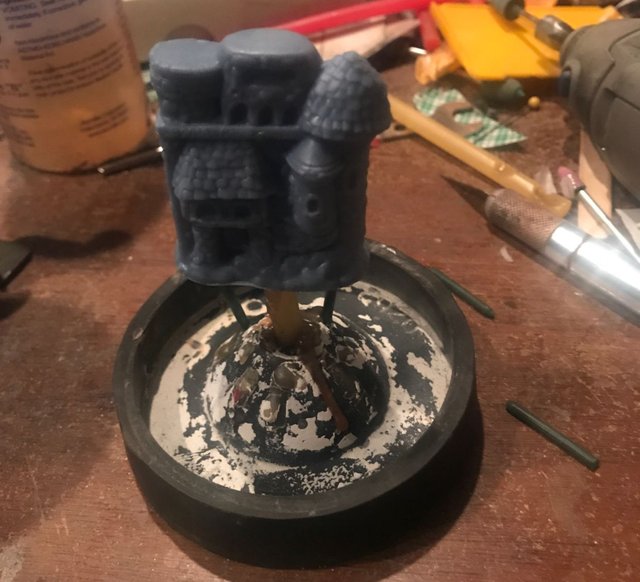
These two molds were made in two different materials. As you can see the one on the left is far better than the one on the right. I chose to go this direction for this piece. The method of molding on the right is cheaper and I’ll use that method more in the future with pieces that have limited details in them. After getting a wax mold that you like it’s of to build your “tree” but really this isn’t a great example but it’ Do.
After the “tree” is built it’s time to mix investment powder and pour it into a flask with pour wax piece in it. The process of mixing investment is tricky as well because you must get the consistency correct as well as vacuuming out air out of the investment in a fairly quick time. It’s also tricky because if your wax piece isn’t properly attached to the “tree” you can knock it off pouring your liquid investment into the flask and will need to start the process all over again. So after the investment has been mixed and poured into the flask, this is what it looks like
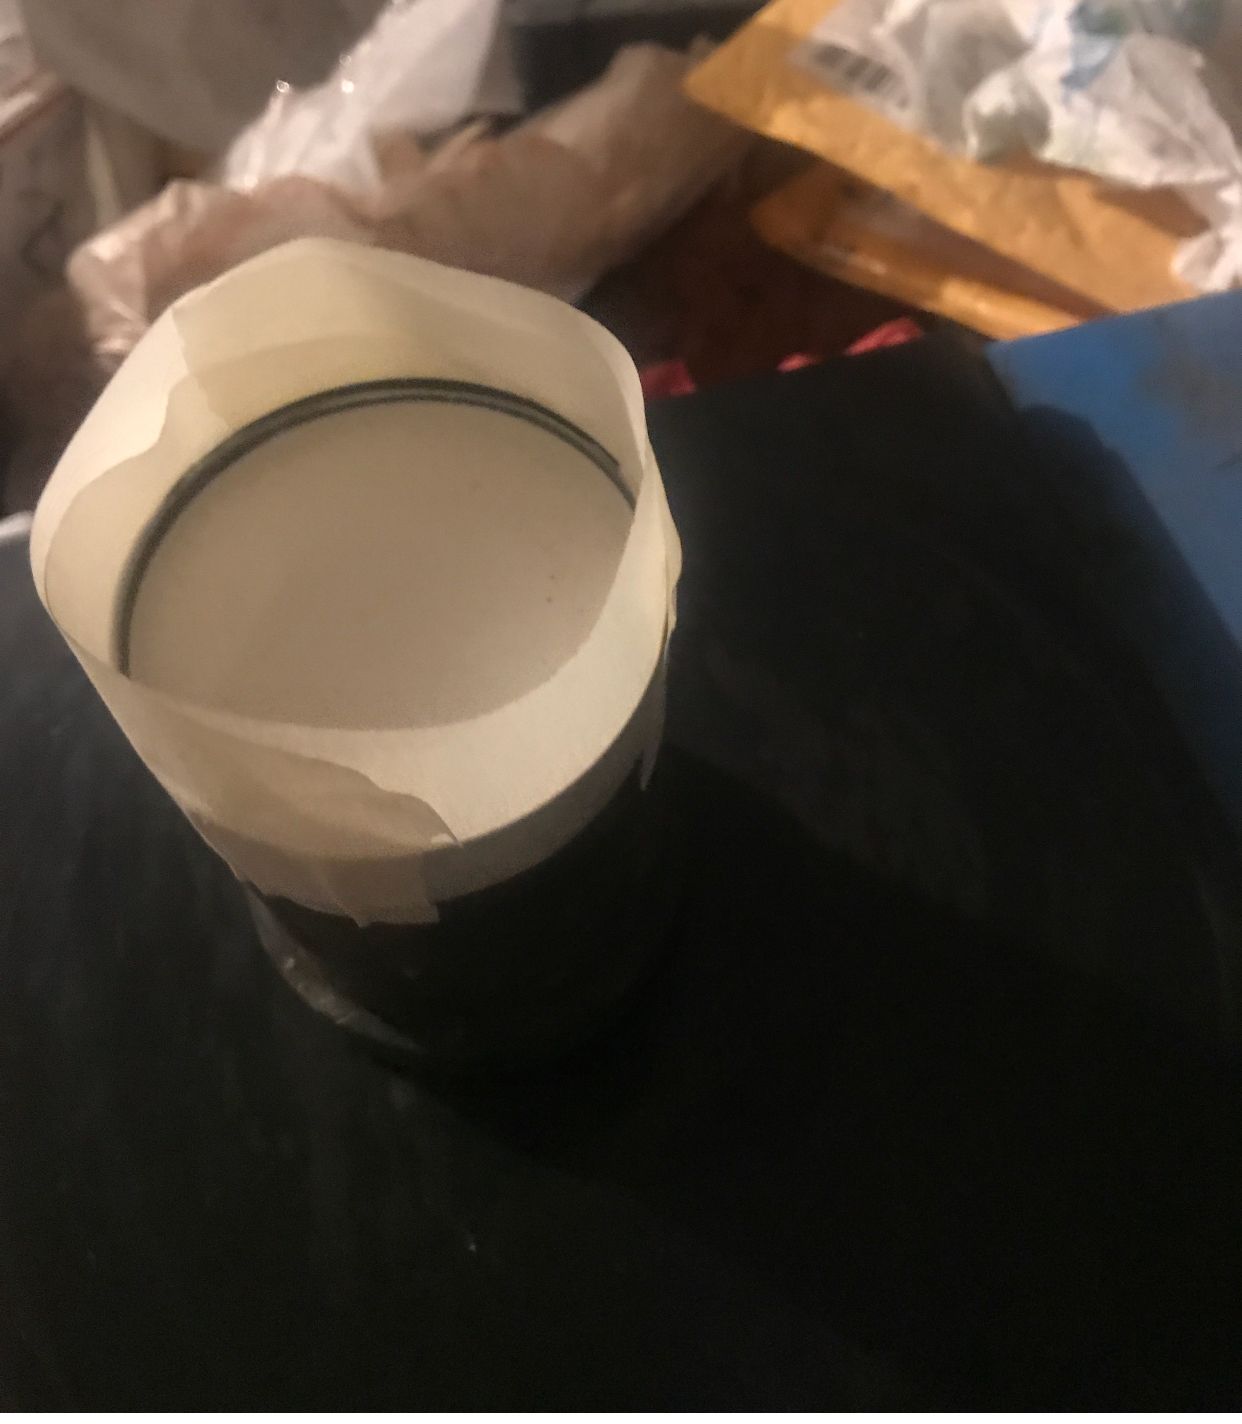
Investment must cure a bit before you can start the burn out process. I’ve heard many different times on this but choose myself to let it stand over night to cure.
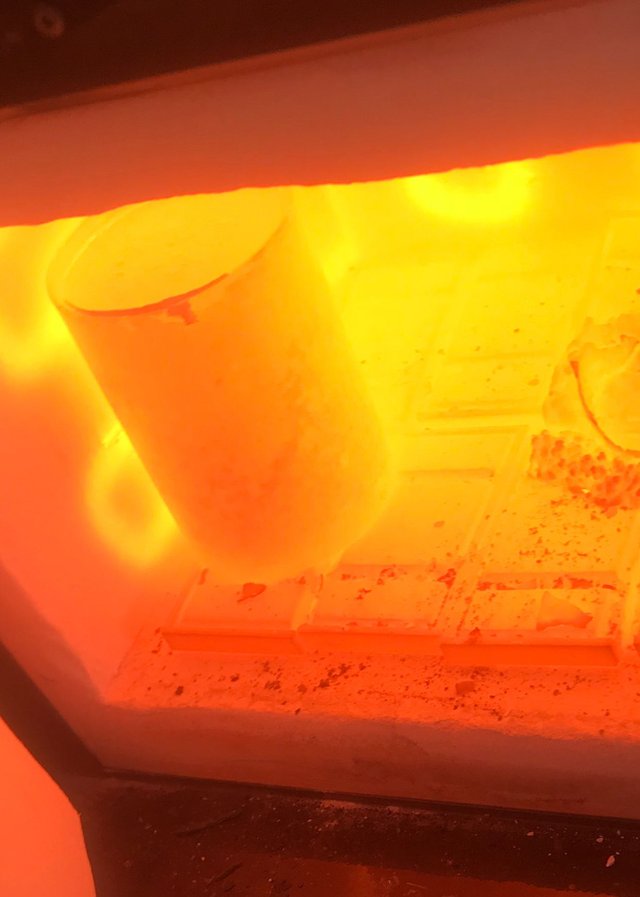
After the investment has cured it goes into the burnout process. This process takes about 5 hours to complete in a kiln. The process involves ramping up your heat little by little over the 5 hour time span. They make digital kilns now that will ramp on a timer but mine is manual 😒😔. After the piece is burnt out, your pour hold will glow with no flames coming out from left over wax still inside. I didn’t get a pice if the hole but one of the flask. Here it is at about 1600°F
After your flask is ready to go you have a few options on your method of casting. You can use a cylindrical force machine, a vacuum or straight pour into it. I just straight poured into it because I haven’t tried the vacuum and the piece was to big for my machine crucible.

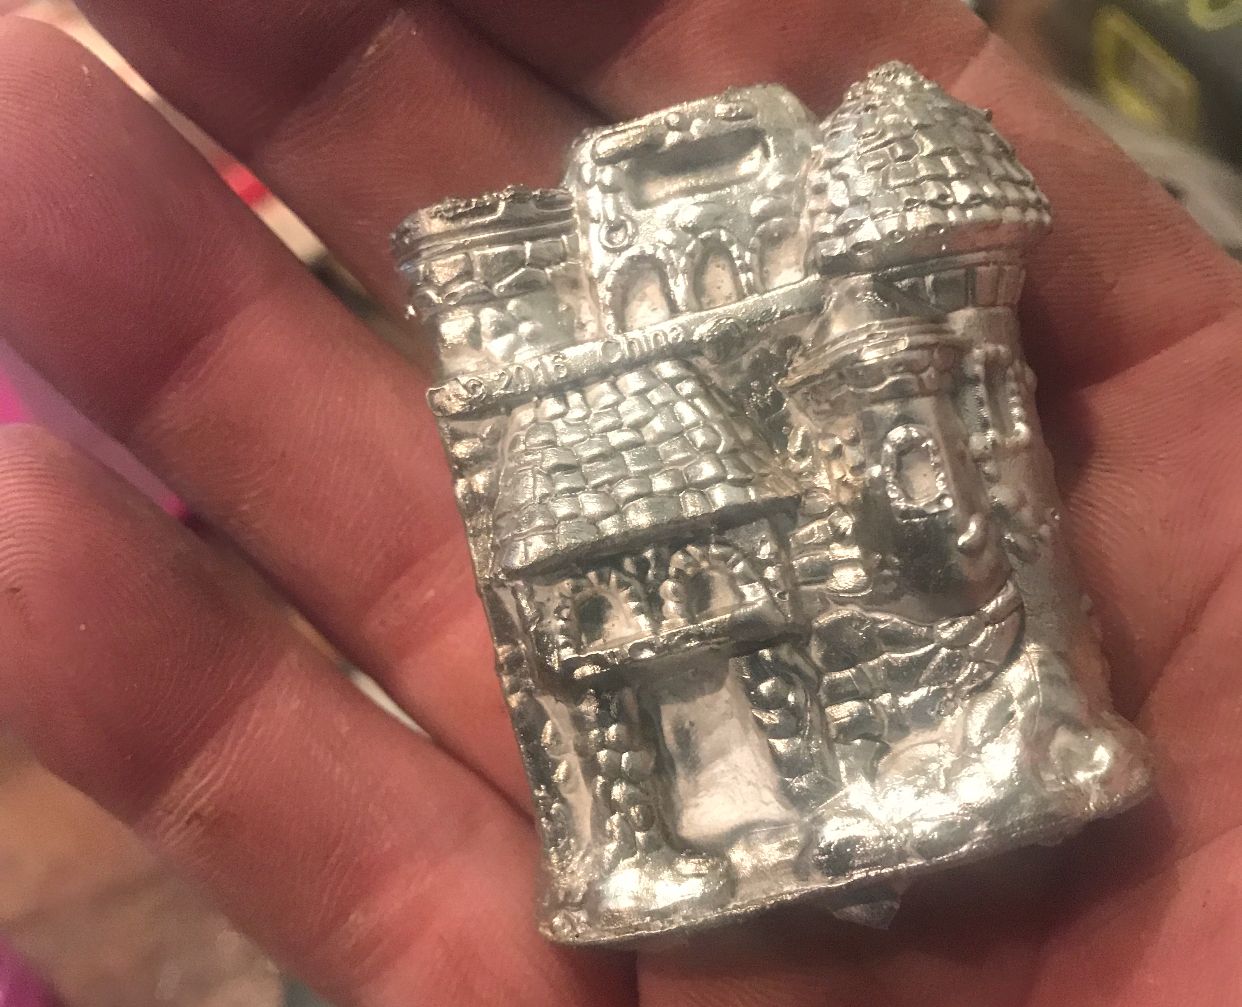
After the piece is poured and has set for a while to cool on the inside, it takes a while for the metal to solidify, you then quench it in the water and if the investment was mixed properly it will dissipate completely letting your pice fall out to the bottom of your bucket. Non properly mixed investment will leave it hard and you’ll need to chisel it out of the flask. I’ve faild at this step more times than I care to talk about. So now you have your piece. This is what it’ Look like
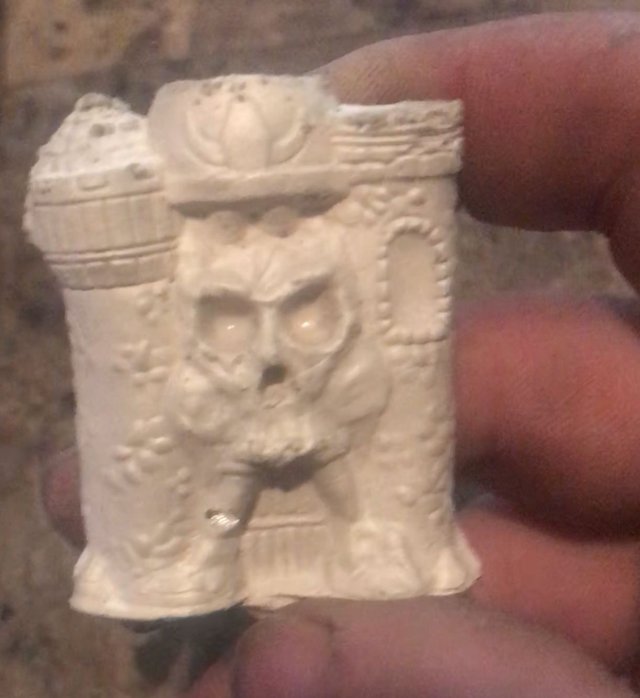
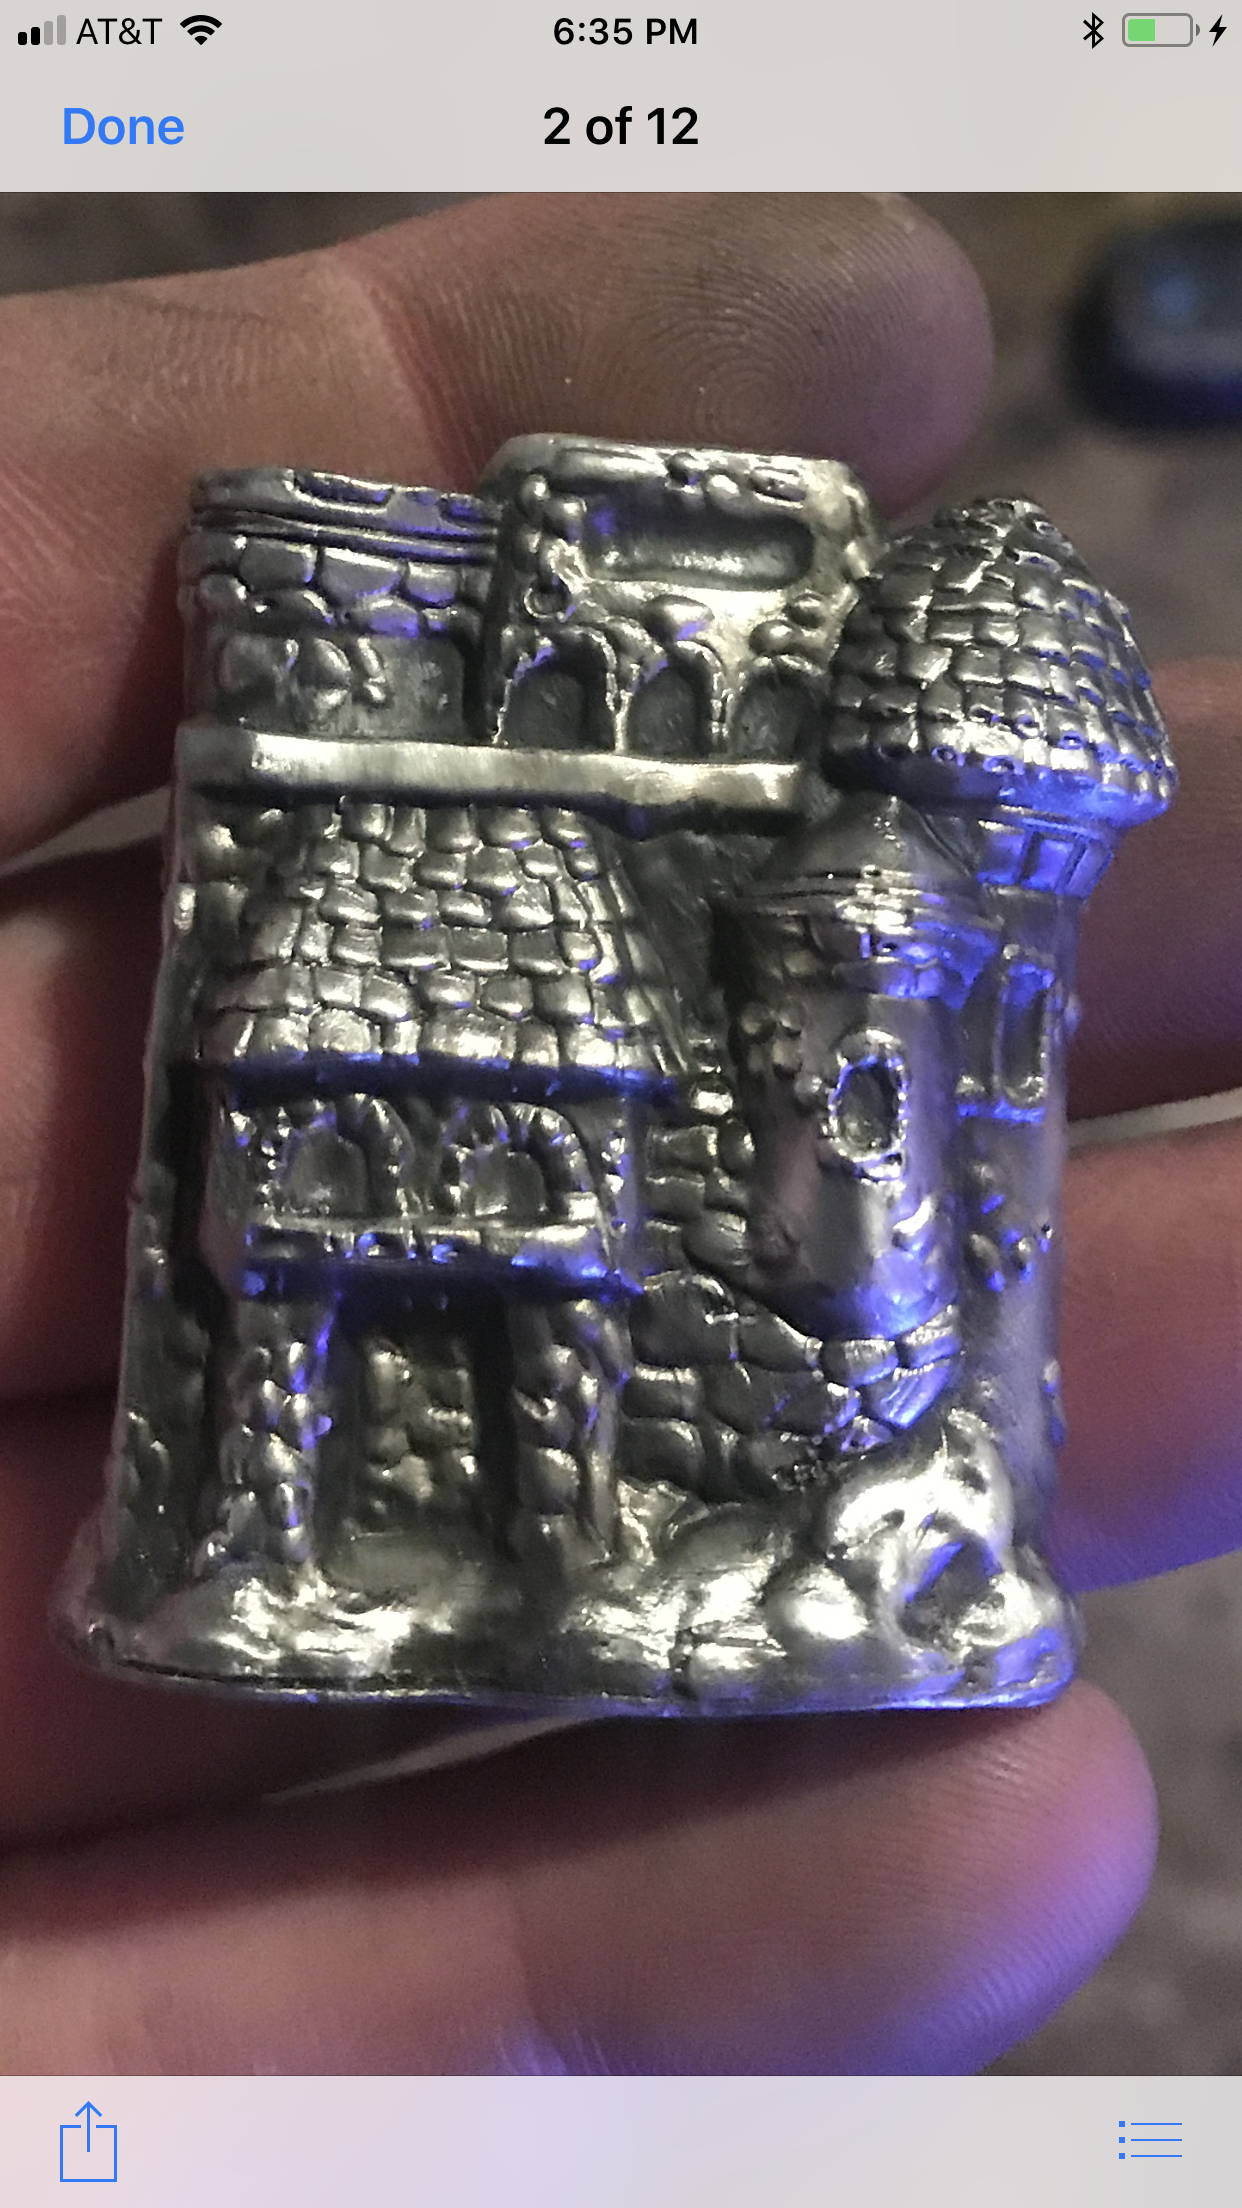
After getting you piece it’s time to start the clean up process. The piece you see is white and all that must come off. Also the sprues must come off as well.
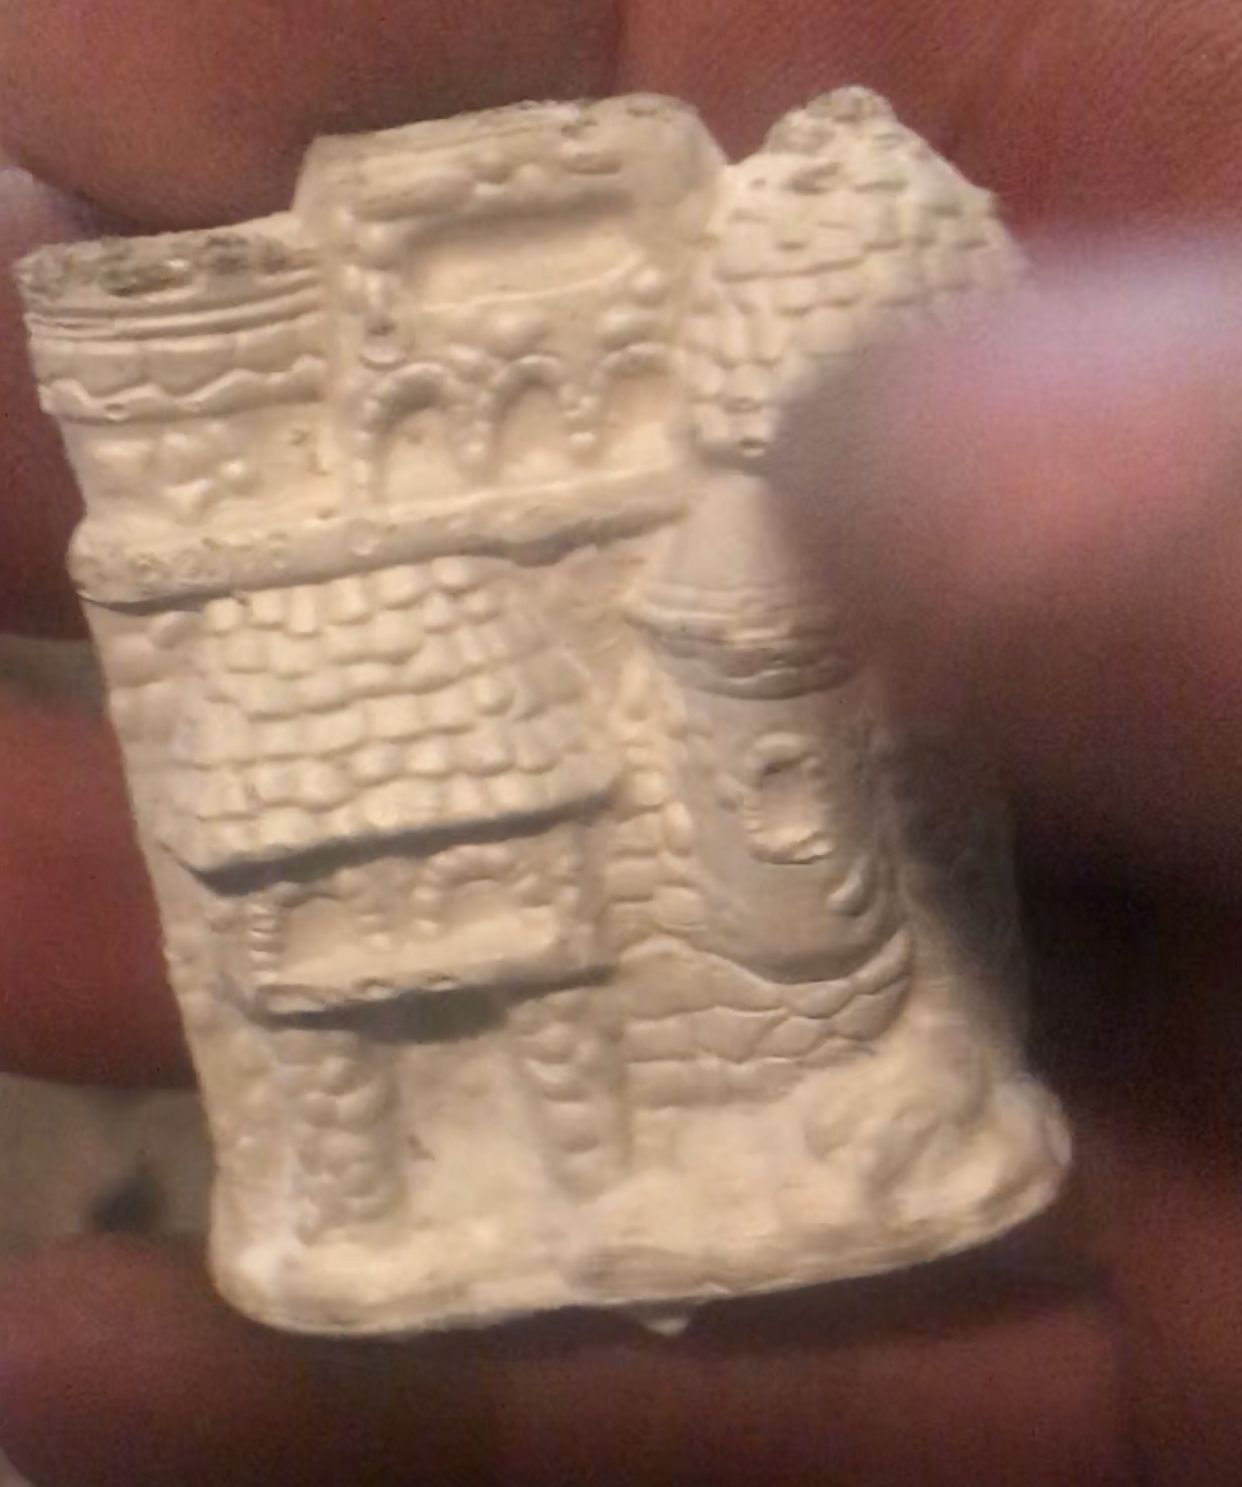
Here’s a couple of shots of the piece almost in that position
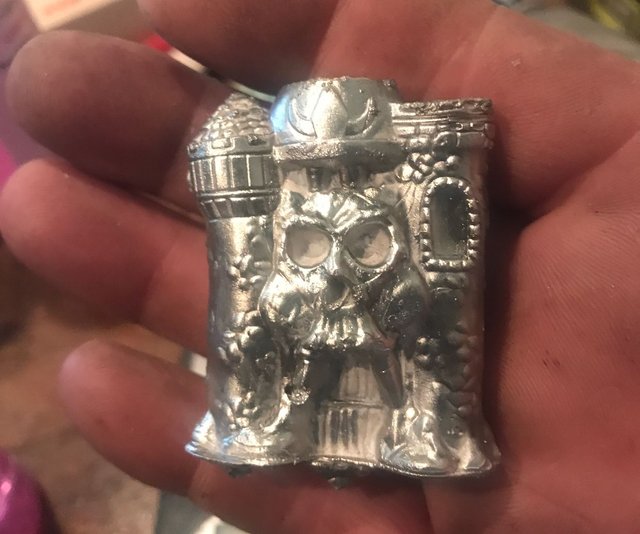
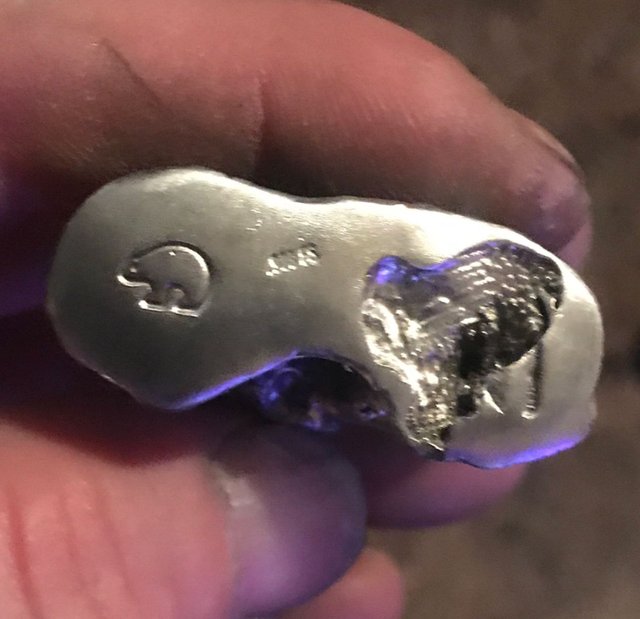
After getting all the crap off of it it’s time to stamp, tumble and antique the piece. After that the process of making it is done. This piece turned out pretty good and i am proud of it. It does have a few issues though. I had an air pocket in my wax that I couldn’t see with my eyes but only could see the issue when the piece came out. I now understand why I got that issue and will try to combat that on the next one but nothing is for certain. Here is the final finished product.

So there you have it ladies and gents. A small walkthrough on the process of lost wax. Like I said before, it isn’t easy and it does take a lot of time. I hope you enjoyed this post. I appreciate you for looking and I’ll see you tomorrow✌🏻

I love the piece man! Thanks for making it for me bud.
Thank you for this wonderful post! What a valuable educational piece on the lost wax process. As an aficionado of hand pours from this community (I really don't care for others), your article heightens my appreciation of your art. I cherish the lost wax silver pour Silver Saver Rose from you. Excellent article!
A Mazing!
Thank you for your continued support of SteemSilverGold
Saaaweeeeeeet !!!!!!!!!!!!!!!!!!!!!!
Man that is so cool. My husband would LOVE it.
“YOU HAVE THE POWER!!” 😄
Yeah I’m pretty proud of this one✌🏻
This capability is amazing. I love the idea and the ability to create an awesome piece of silver.
Yes, I got really defeated last year with it but I’m feeling refreshed. The vision I have in my mind of the things I want to do with the process excites me. Thank you sir, I appreciate you ✌🏻
Oh boy! Quite possibly the most bad ass post ever! Damn fine job with the pictures and explainations! I have a much better view and idea of how it is done 👍 Thank bro for the time spent on this awesome post! Such a beautiful Castle Of Greyskull! Perfection!
WOW! When I first saw the castle, I was in love. Now that you've revealed it is Castle Gray Skull, I am about to jump out of my chair! I friggin LOVED He-Man as a child! And to top it off, this process you describe seems like it takes real dedication to pull off. Congratulations! Few things are better than accomplishment, and you've done it! Thanks for sharing!
Holy Shit, Bear!! That turned out awesome!! You sir, can pour anything and everything! You are one to the true masters of your art!!