Creating a water drop photograph timer - Hardware and first test run (Part 4)
Hi guys,
Welcome to part 4 of this process on creating a water drop photography system.
Previous parts are here
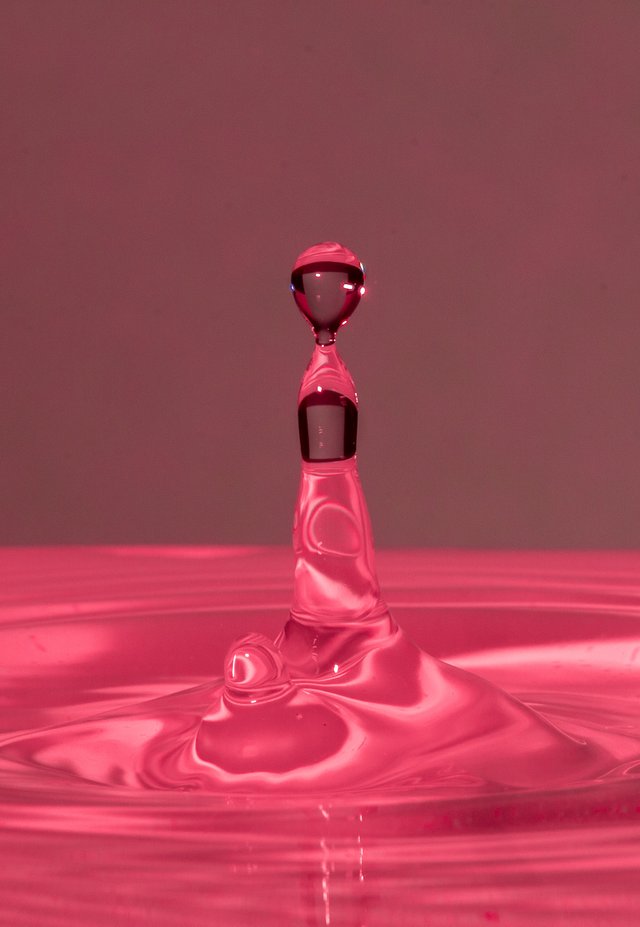
This is the interesting one where I actually manage to get some results from my work. I'll drop one of my test images here so that it gives this post a pretty thumbnail!! It's not as detailed as the previous posts - no electronics involved in this one!!
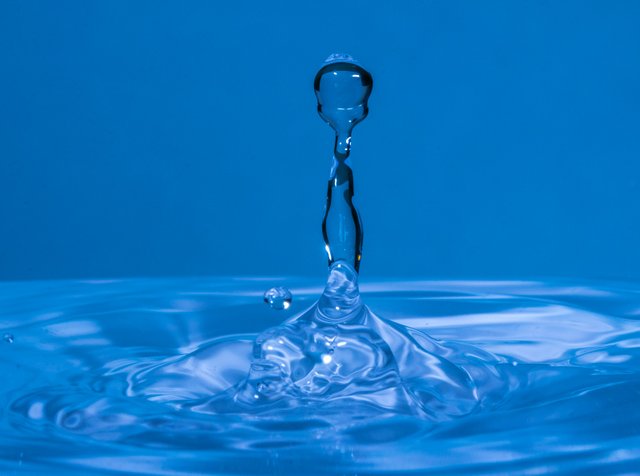
Not bad for a first attempt with just water, food colouring, a background and a bit of photoshop work to do some colour adjustments.
So, onto the juicy details
Hardware
In total, the following cost me approximate £30 UK. That includes some bits that I already had, such as the wood (which is the carcass of an old kitchen unit) and the M5 threaded rod (but this only costs a few pounds for more than enough)
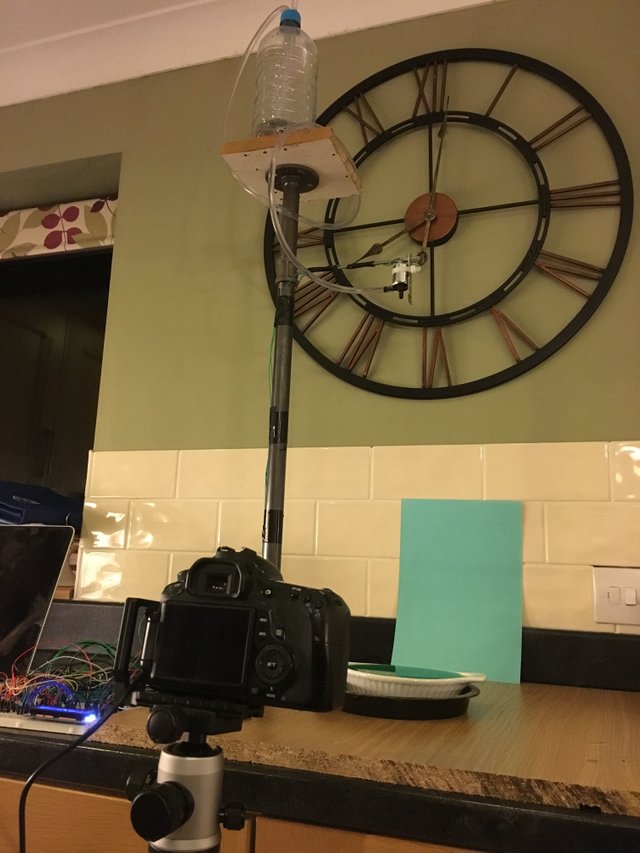
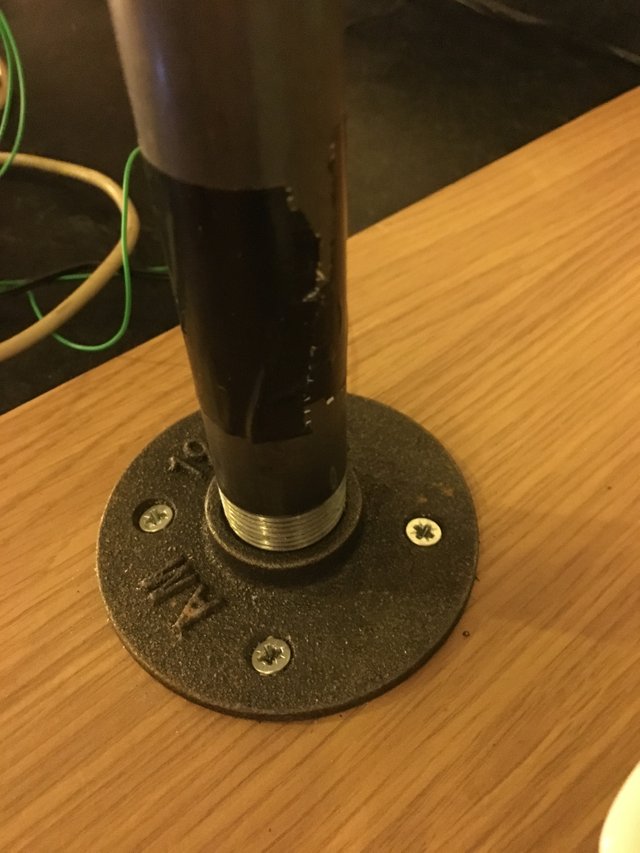
The main structure is made from industrial pipework (which is normally used for decorative purposes). The vertical structure is a 2ft bar with threaded ends and a 6 inch bar with threaded ends. These screw into "floor plates" which are screwed into the wooden base and bottle platform.
The two bars are joined in the middle with a modified connector. I tapped the connector in the middle with an M5 thread and then threaded the M5 bar into this, securing it with a long nut that I had hanging around.

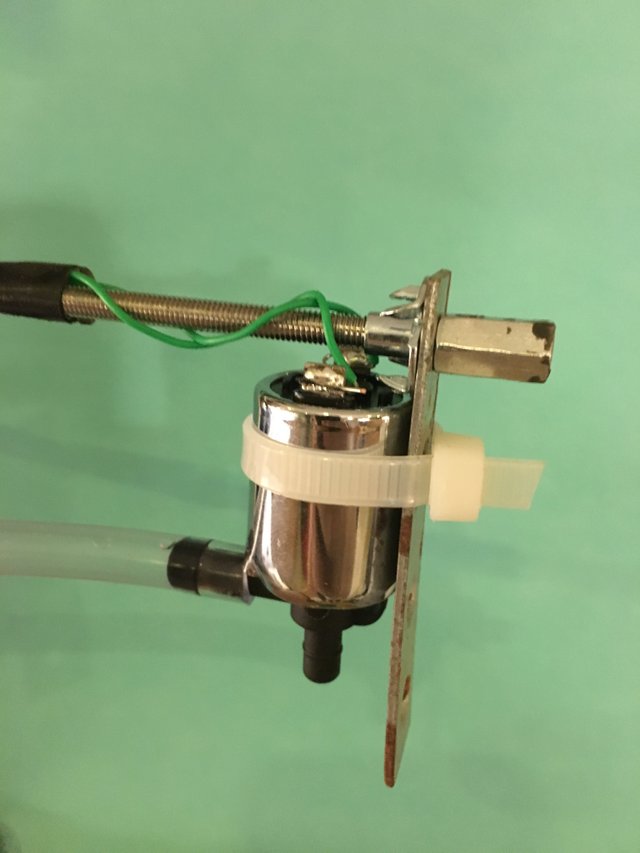
On the other end of the threaded rod, I hang the solenoid which is used for controlling the water drops. This is just a small metal plate which is fastened onto the rods with a couple of threaded bolts I had around. It's pretty sturdy surprisingly. The solenoid is then cable tied onto that metal plate
I wanted to briefly also mention the syphon system. With a normal syphon (or in fact if i had just put a pipe directly from the bottle to the solenoid), the flow rate changes depending on the amount of pressure above the outlet pipe. With a change in pressure comes a change in flow rate which could potentially alter the size and predictability of the drops. In order to get around this you need to provide a constant pressure through the syphon system.

The best way to do this is a Mariotte syphon. I've just used an old squash bottle and a couple of bits of 9mm/6mm pipework and used a glue gun to secure them in the lid.
One problem I did overlook was how to get the syphon started. With the solenoid being normally closed, I had to add an option on the Arduino to open the solenoid for enough time to be able to suck or blow the liquid through the pipes. A 10 second "priming" mode was added and it's all good!!.
I thought it might be interesting to talk about the timings as well as my initial estimates on how fast water drops fall was way off.
In order to create a drop, I open the solenoid for 10 milliseconds. This still gives quite large drops but I don't think the solenoid is quick enough to close back up. There seems to be no difference between a 10ms drop and 20ms drop. I may have to look into another kind of solenoid or a peristaltic pump.
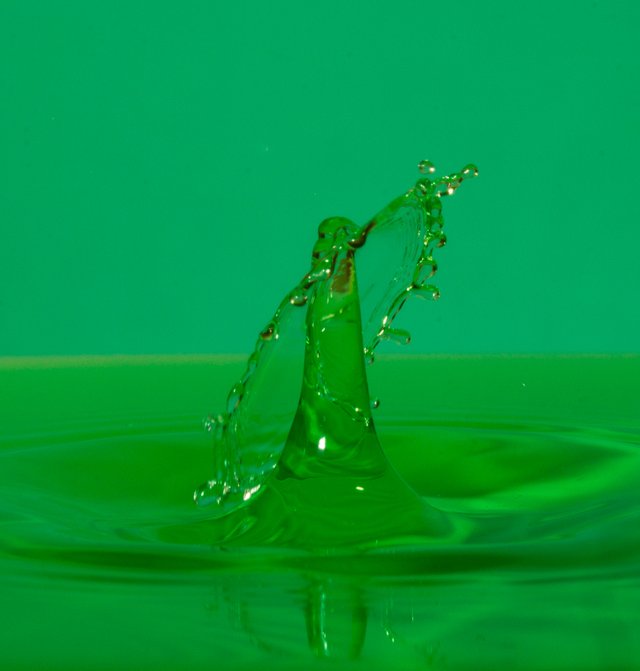
Once the drop has been dropped, with the setup in the images a flash delay of 350ms was about right to get the water drop hitting the water. 5-10ms after the water strike was about the right time to get the drop bouncing back up into the air.
Consistency is a problem. I think with the varying size of water drops due to the solenoid not being precise enough, I seem to get a variation in the region of a few ms either way. Sometimes I'll see the drop just before it hits the water, sometimes just after.
I did attempt a bit of "double drop" work, where the rebounding drop hits another one that is falling. It seems that around 15ms is a good spacing between drops to get something like this (which unfortunately is a bit out of focus). The consistency problem here showed itself - I couldn't get repeatable collisions.
The next thing on the list is to play with different liquids and see how I can improve the lighting. I also need to work out why I am having a weird issue with the camera firing randomly when I touch it - think it must be grounding out somewhere and shorting the shutter optocoupler.
Thanks for reading
Mark
Looking good for the start! I love the mix of the Hi tech tools (computers and camera) and the ultra low tech bottle drip!
Man, that is so cool!!!
Just had a quick skim read of this and your other posts on the subject. It's pretty much what was demonstrated at our camera club (I mentioned it in discord). I imagine you've already seen some of this type of work but just in case, I found this web page just now with some awesome results. https://twistedsifter.com/2014/01/high-speed-water-drop-photography-by-markus-reugels/
Good luck with your project, looking forward to seeing more of your results.
That is all quite astonishing! And the photos are incredible!
WOW Really neat, Mark !!! This is blowing my mind XD Amazing stuff <3
I look forward to different liquids and lighting testings <33333333
This post was shared in the Curation Collective Discord community for curators, and upvoted and resteemed by the @c-squared community account after manual review.
@c-squared runs a community witness. Please consider using one of your witness votes on us here