Woman gets down and dirty with dual carbs
Dear reader,
Today I cleaned my carbs. This is the second time I've had to do so with Calypso, my Ninja 500. Because of all the rain and life, she has sat on and off in the nine months since her last cleaning. The other day I realized I could ride her no more without a good carb cleaning. She's been stuttering at stop lights, and the delay in gas had been elongating. So, I finally did the deed. This post will be a walk-through of how I cleaned my motorpickle's carburetors.
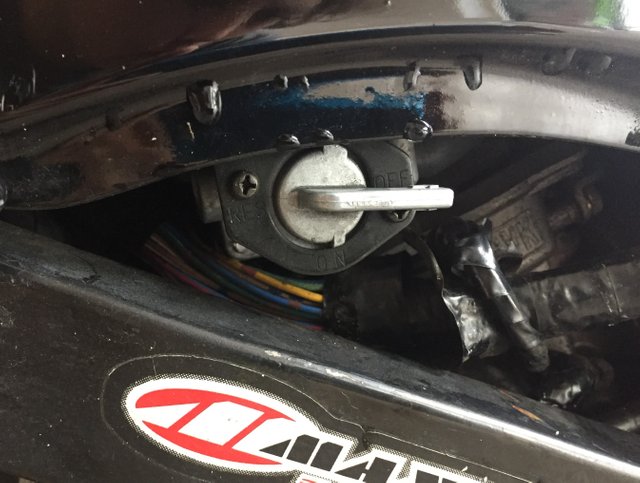
The first step in any process that requires the removal of one's gas tank is ALWAYS to turn your petcock off. It's important to do so, otherwise you'll spill gas all over the fucking place. No one wants that.
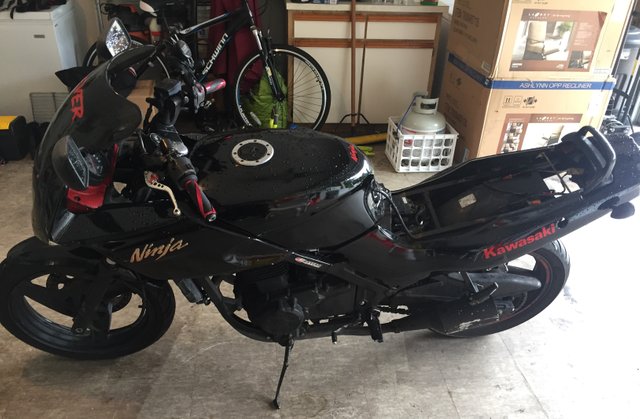
After turning the petcock off, I removed the side fairings from my bike so that they would not get further scratched up by the gas tank. In the past, I have been too lazy to remove them and my bike's aesthetic has suffered for it.
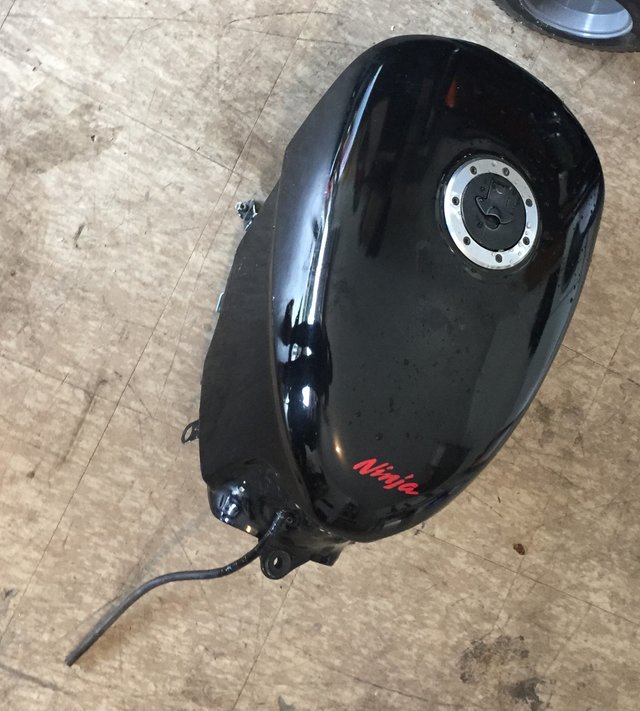
I removed the single bolt securing my gas tank and disconnected all lines to the petcock. I was then able to set the gas tank aside, with no gas spilled. I was careful to not damage the petcock, which protrudes from the bottom of the tank.
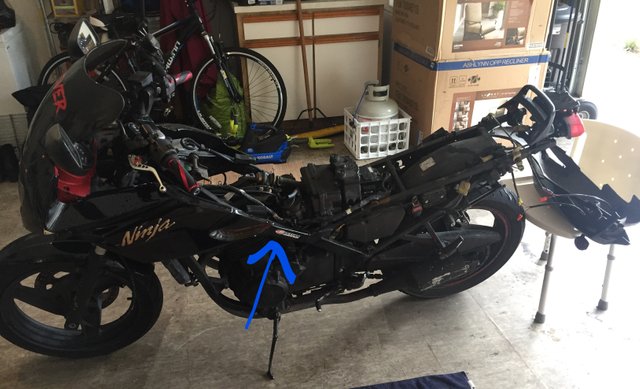
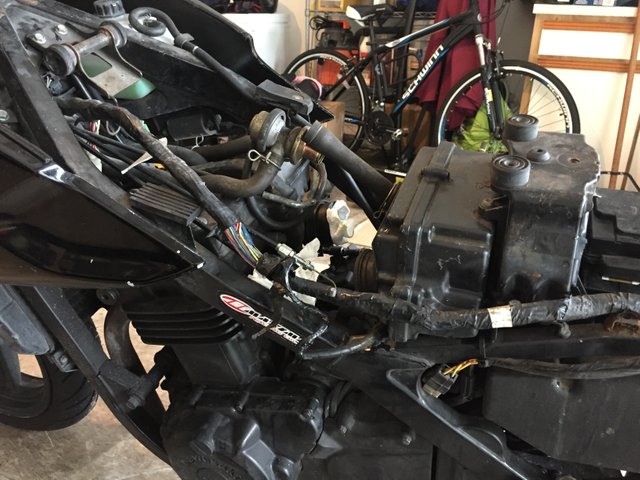
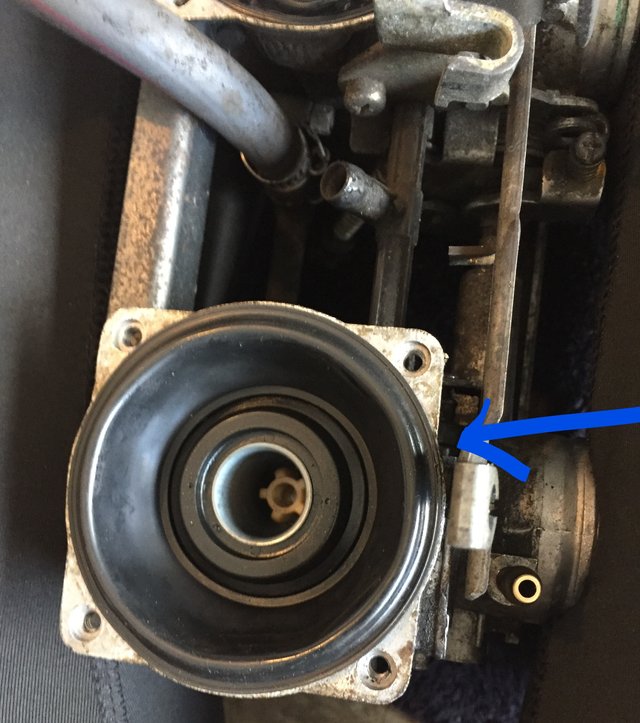
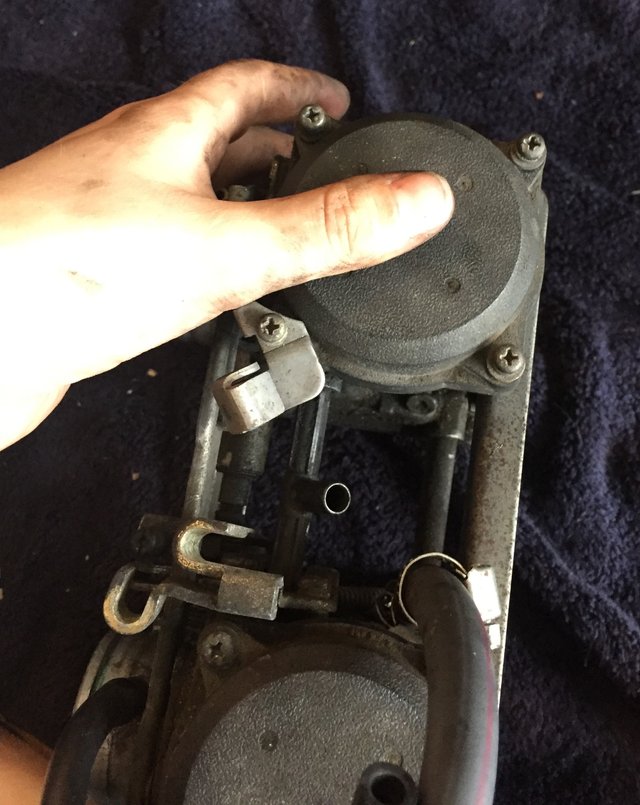
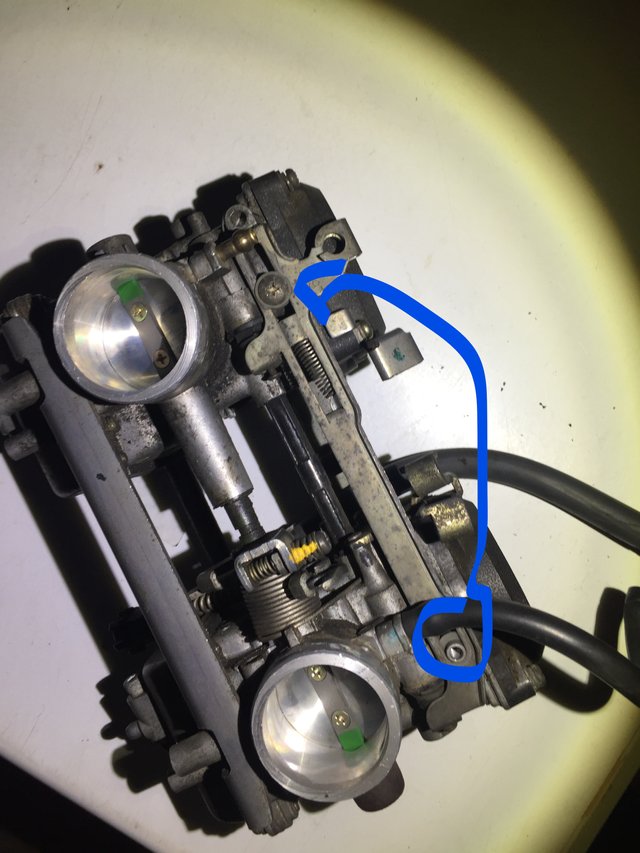
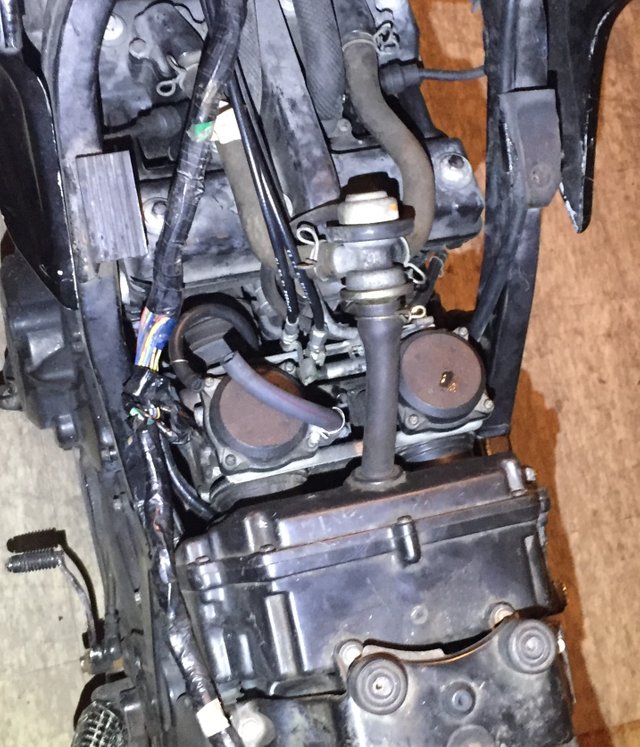
In the image below, I have indicated where my carbs are located on my bike.
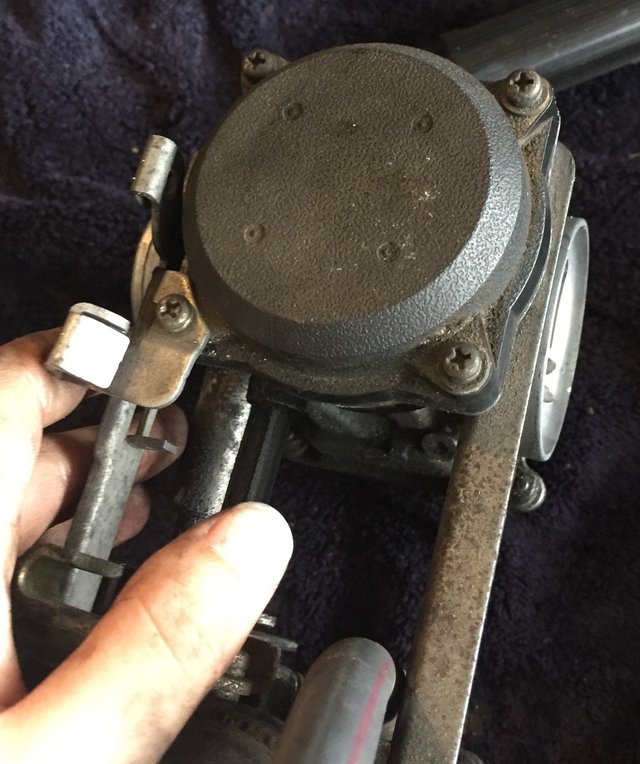
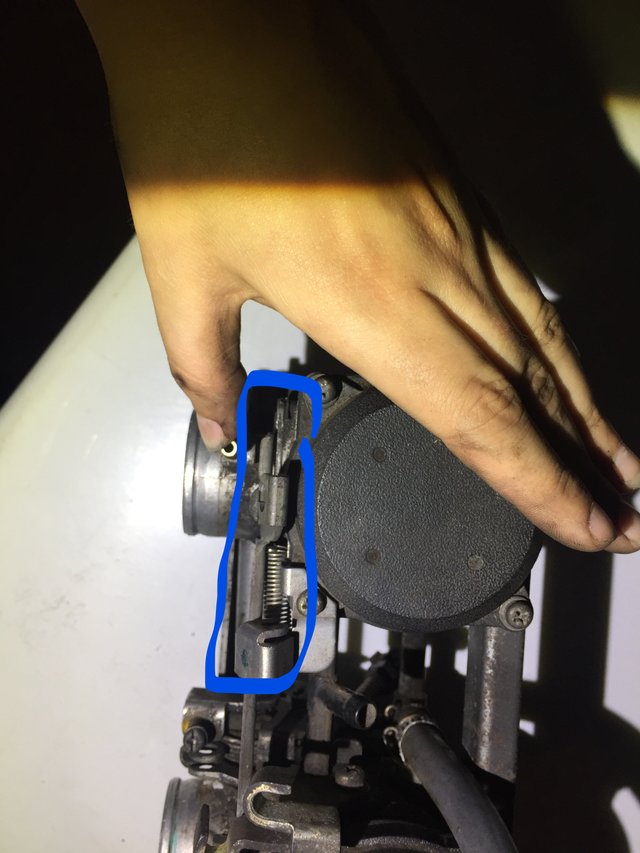
I loosened the clamps and springs securing the carbs in place. Once I had taken them out, I took precautions (paper towels) to prevent any unnecessary dirt or debris from entering the motor.
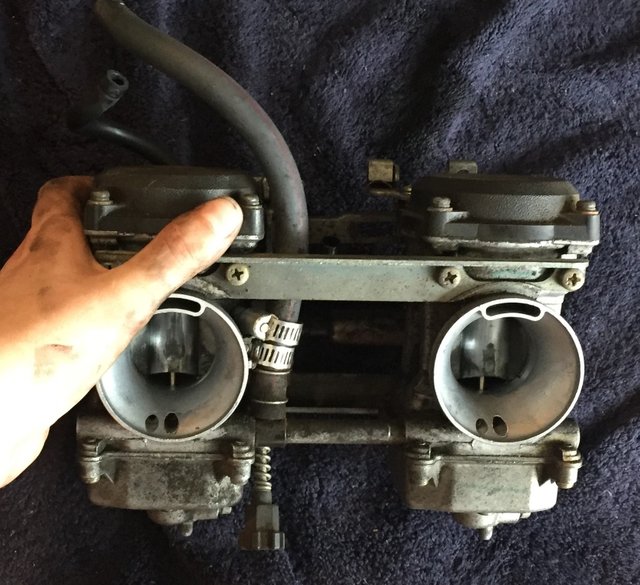
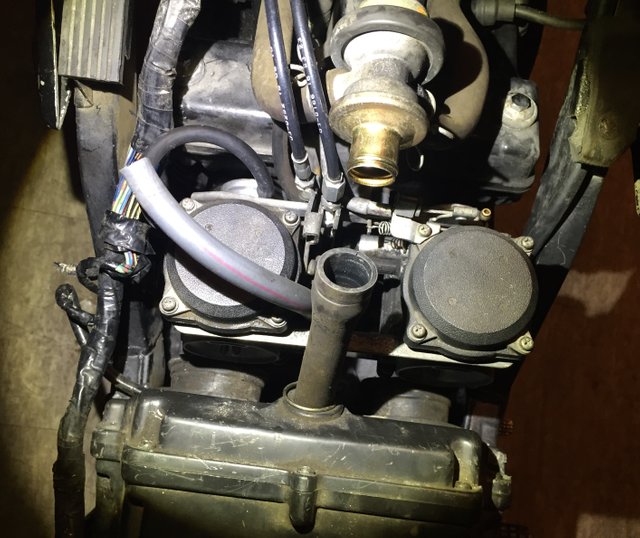
Here is a rear-view image of our subject of study. Nasty.
I flipped them over and began to removed the bottom casing on the left carburetor.
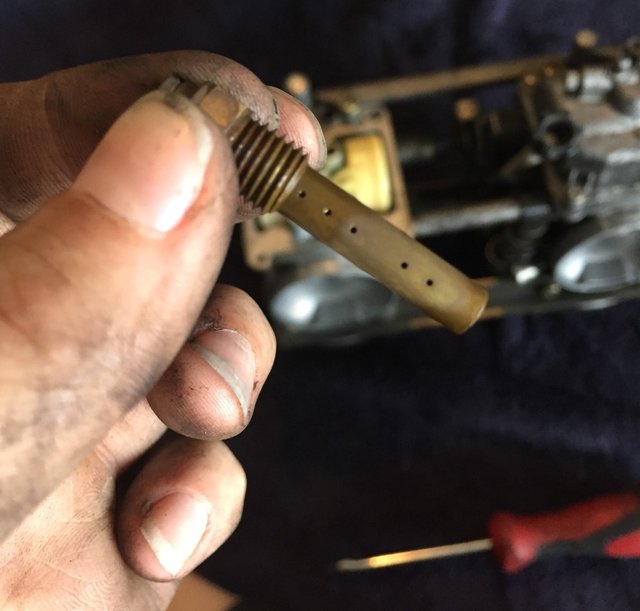
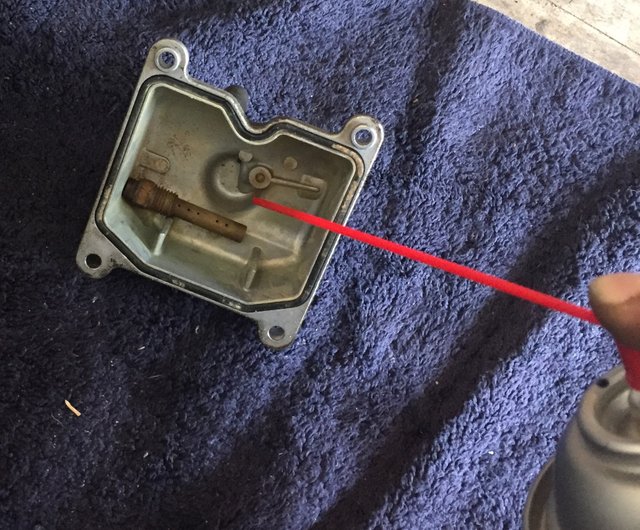
I unscrewed the main jet, and below I have included a close up of it. As you can see, it is lined with holes, through which gas travels. In order for Calypso to function properly, those holes must be unobstructed. However, when she sits, unused, old gas will accumulate in those holes creating a problem for her future use.

I was, just as last time I cleaned Calypso's carbs, unable to remove the pilot jet. I believe that the first owner (the second owner didn't do shit to treat her right) screwed the pilot jets in too tight on both carburetors when he or she cleaned them. Because the jets are brass, they easily strip and so it would be unwise to mess with the pilot jets too much. I went ahead and moved forward with the process. The main jet went in the bottom casing, which acted as a bowl. I sprayed enough carb cleaner to submerge the jet and left it to soak.
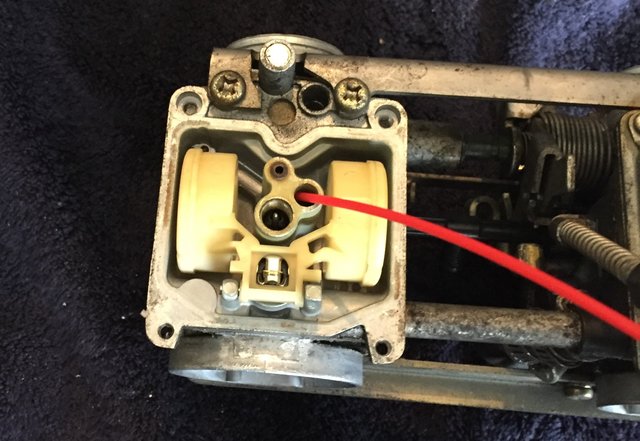
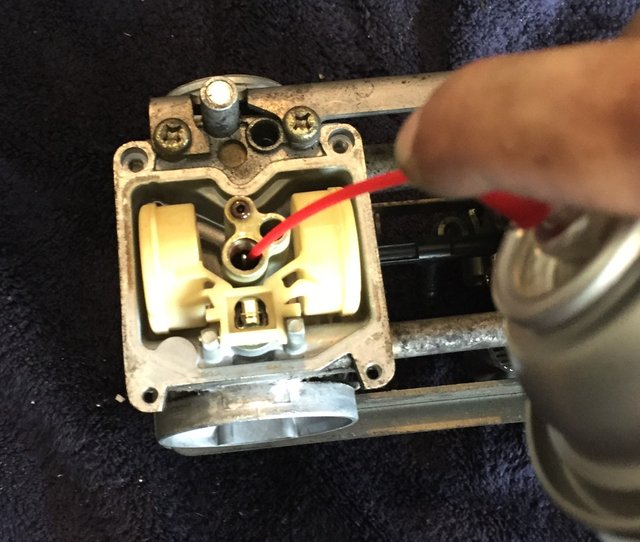
Because I could not remove the pilot jet, I fully submerged it inside it's hole multiple times. The best I could do was try to flush any old gas out this way. I also sprayed carb cleaner in any other holes on the bottom of this carburetor to be thorough and ensure all was clean.
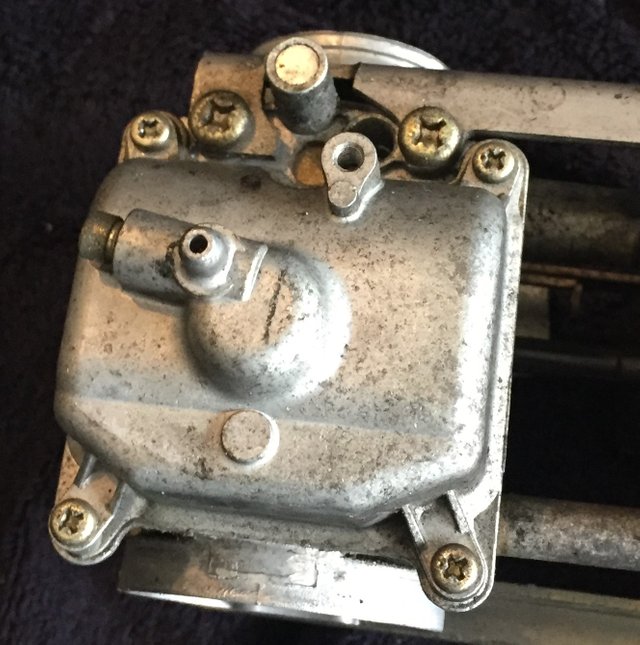
Once I finished spraying everything multiple times, I removed the main jet from its bath. I raised it to the light and made sure I could see cleanly through each hole, out to the other side of the jet. I then reinstalled the main jet in the carburetor. I closed up the bottom of the carburetor and sealed it.
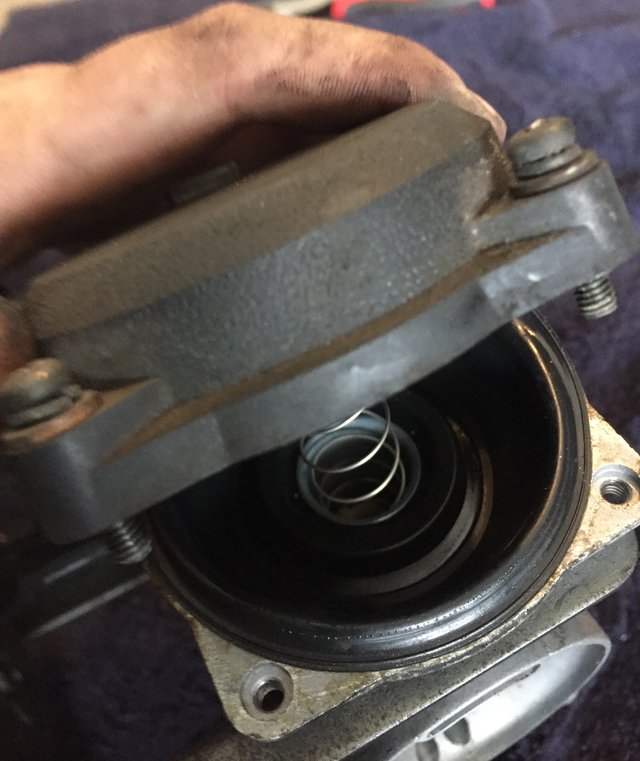
I flipped the set right side up and removed the top. I was careful not to let the spring get away when lifting the top away.
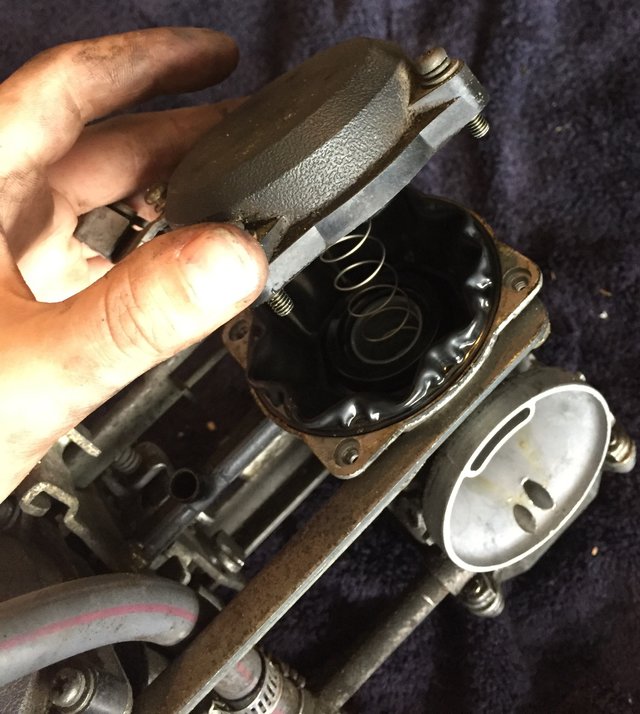
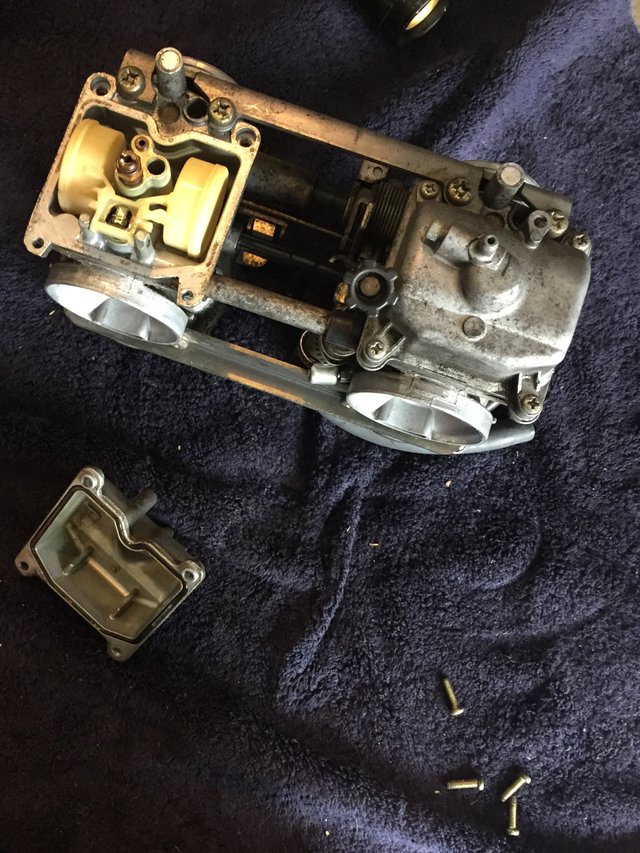
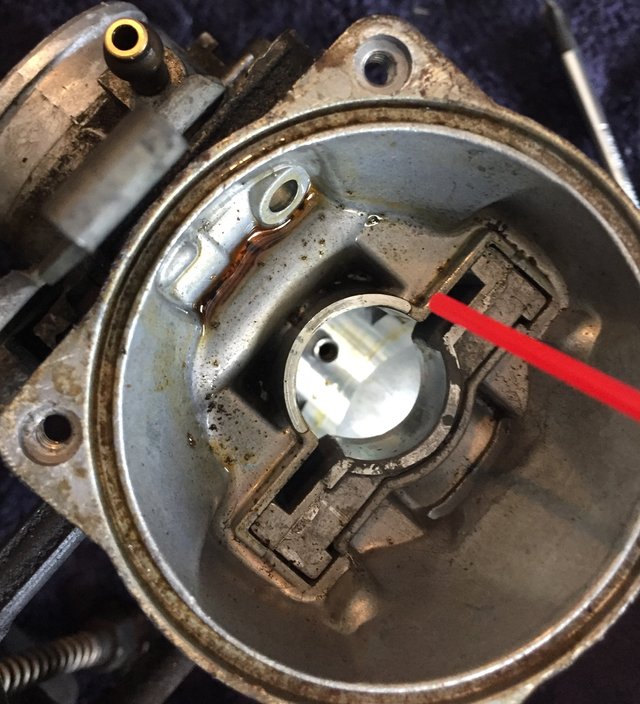
The below image is a top-down view of the open carburetor. Isn't it pretty? It's like a rubber flower.

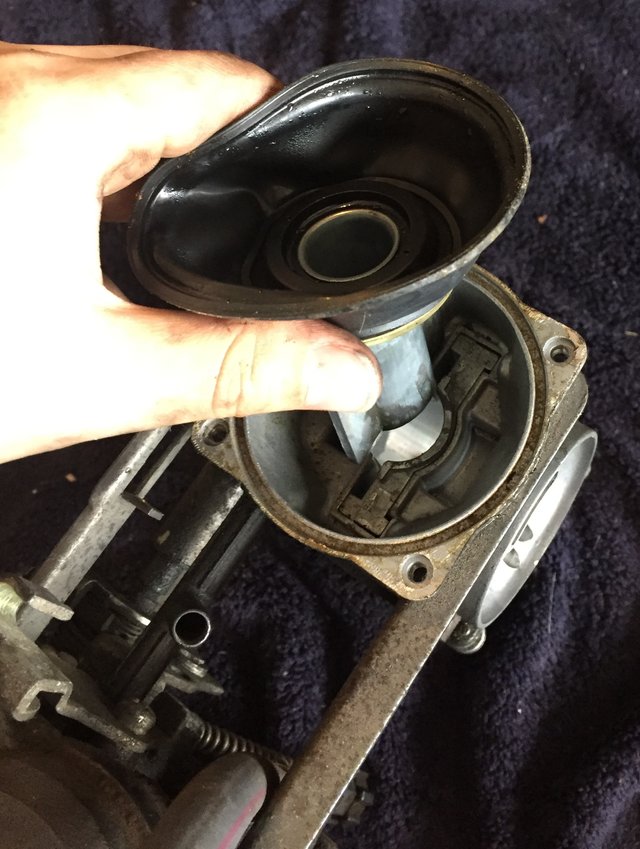
I pulled out the needle and the clip from the center and then extracted the diaphragm.
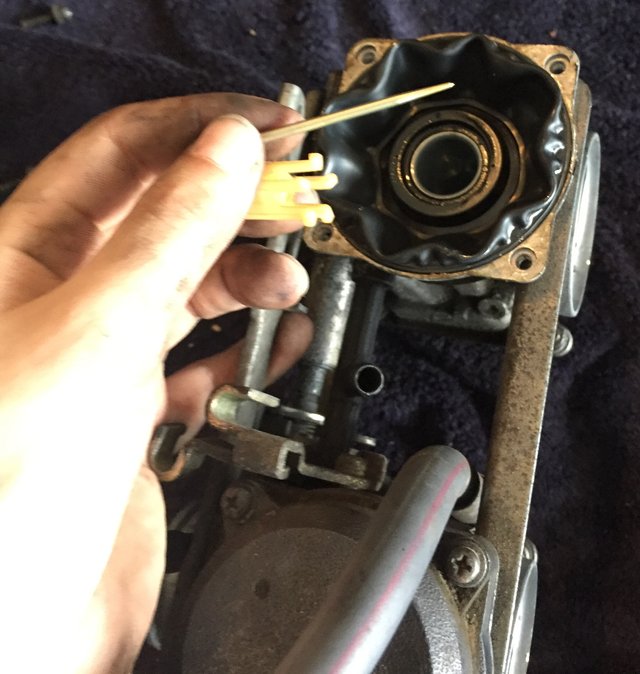
I did a thorough spray-down of the pocket the diaphragm sits in. I also accidentally sprayed myself in the eyes with the carb cleaner. Don't ask.
I made the mistake (because I'm stupid) of dumping out the collected carb cleaner on the driveway, which is painted. Carb cleaner will strip the fuck out of any paint. This resulted in a puddle of paint. I then also fucking stepped in said puddle of paint when I wasn't paying attention--I don't even remember why I walked onto the driveway. These are not necessary maneuvers for cleaning your carbs, and I wouldn't recommend it anyway.
I noticed a problem with the left carburetor when I put the diaphragm back into the pocket. It's a little loose, a little stretched. In the near future I should order a new diaphragm, or a pair of new diaphragms for my bike. This will result in a better mechanical experience and, most likely, I won't need to clean the dual carbs again so soon.
I finished reassembling the top section of the carburetor and moved on to the right carburetor.
The right carburetor jet cleaning went smoothly. When i opened and disassembled the top, I noticed the tip of the needle was particularly dirty and took an extra minute cleaning it. It really didn't want to get its act together.
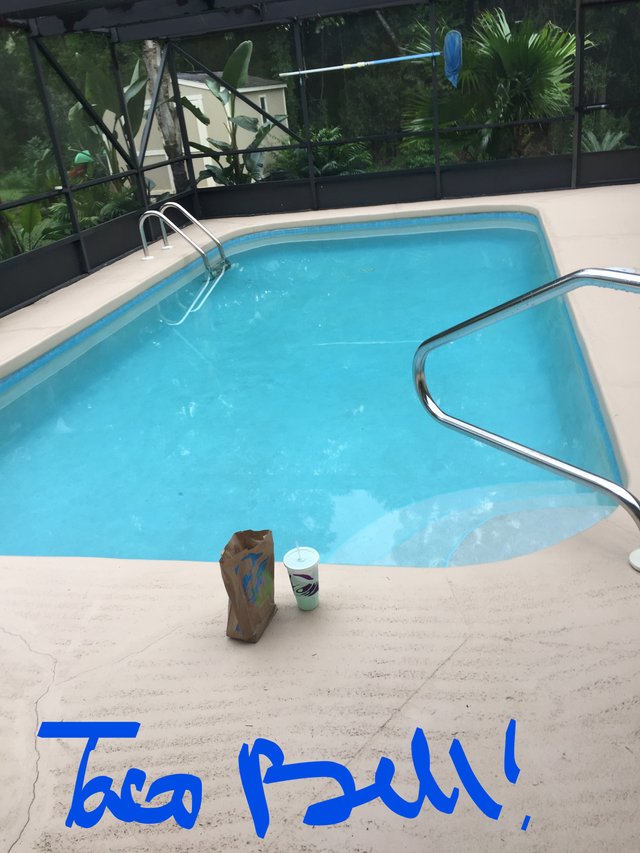
I got hungry, so I took a break to grab food and swim in the pool. Yeah, I know you're jealous.
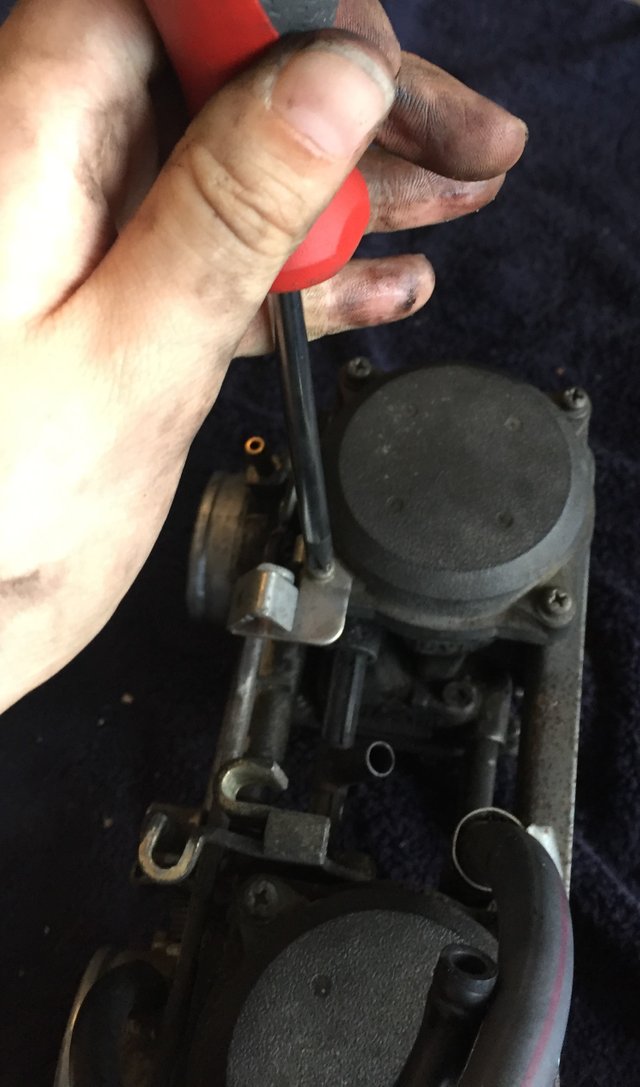
When I got back on task, I ran into another problem. I had completed the cleaning, but there was an unidentified part laying on the towel. I could not fucking understand where this spring had come from. It seriously took me forty-five minutes to realize this spring was the clutch lever spring and was necessary for starting my bike. The spring came off because some mother fucker (most likely the first owner) lost one of the screws to the the assembly. I tweaked the assembly, so that this doesn't happen in the future, by moving one screw to a different location. However, I still plan on buying another screw with the proper specifications and installing it when I order new diaphragms.
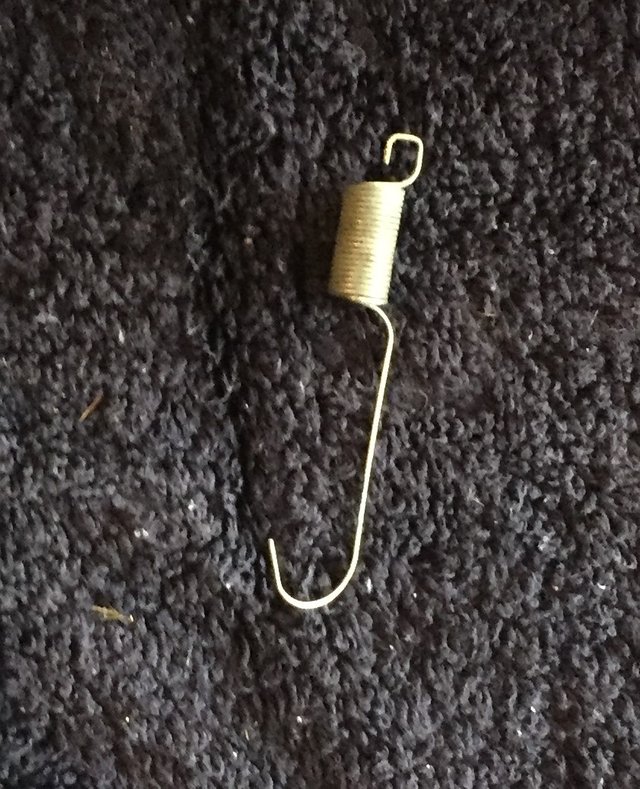
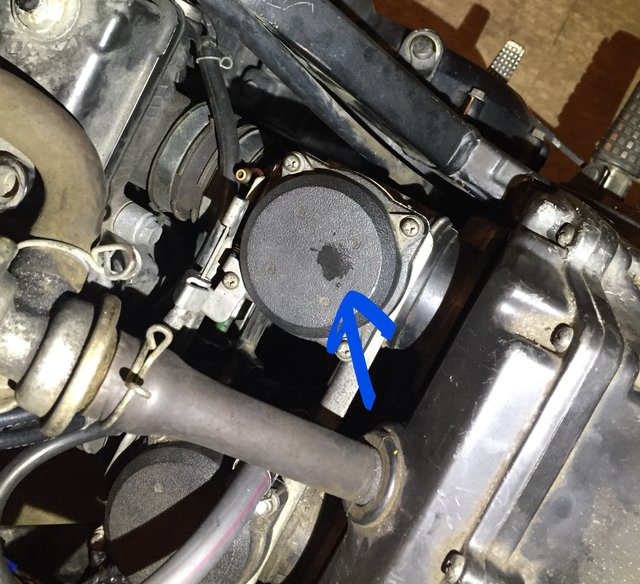
Here's an image to kind of help defend myself on why it took me forty-five minutes to identify the spring and determine where it goes. It's in a spot that is not visible in most online images of carburetor arrangements for my model of bike.
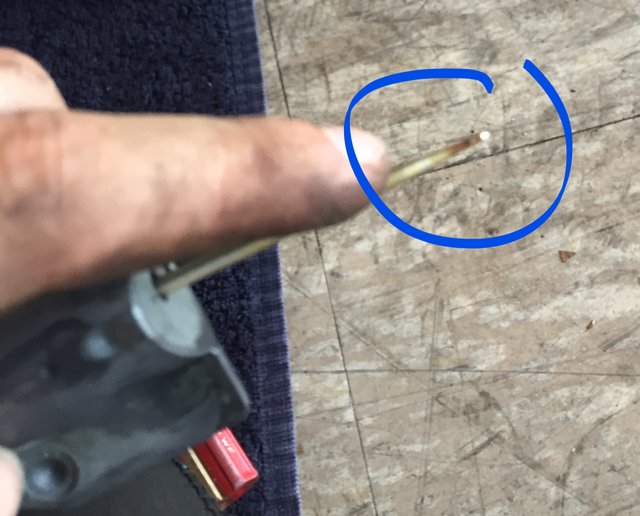
Once everything was reassembled, I started putting my bike back together. It took so much effort to jam the carburetors back into Calypso. "No, Anonymyst, I don't want those anymore." I included a dramatic photo of a single drop of my sweat that I shed because it took so much effort to get this shit back where it goes.
And now, what you were waiting for: Calypso runs great. I lowered her idle and am pretty excited about it. I cannot wait to ride again, like an itch I just can't scratch! I hope you enjoyed my walk-through, stay tuned for more posts! Here's a video of how Calypso runs now that she's had her carbs cleaned:
Sincerely,
Anonymyst
Just listen to that bike purr :)
Wow that was a great tutorial. Now you and Diana can ride off into the sunset :P
I do actually take @dianathesnake on the bike with me sometimes. She curls up in my shirt
Oh cool! @dianathesnake goes everywhere haha.
Hi anonymyst,
Visit curiesteem.com or join the Curie Discord community to learn more.
Omg thank you so much!
I know very well this work. It's like a Lego puzzle.
Congratulations! This post has been upvoted from the communal account, @minnowsupport, by bitcoinparadise from the Minnow Support Project. It's a witness project run by aggroed, ausbitbank, teamsteem, theprophet0, someguy123, neoxian, followbtcnews, and netuoso. The goal is to help Steemit grow by supporting Minnows. Please find us at the Peace, Abundance, and Liberty Network (PALnet) Discord Channel. It's a completely public and open space to all members of the Steemit community who voluntarily choose to be there.
If you would like to delegate to the Minnow Support Project you can do so by clicking on the following links: 50SP, 100SP, 250SP, 500SP, 1000SP, 5000SP.
Be sure to leave at least 50SP undelegated on your account.