Programming Android on Linux with Eclipse
Google originally used Eclipse as the IDE for Android app development. Then switch to Android Studio.
Eclipse is lighter than Android Studio, but Eclipse is no longer supported by Google.
That is, if there is a new feature or the latest API from Android, we (probably) will not be able to use it in Eclipse.
But there is no harm in using Eclipse to create Android applications.
If you want to give it a try, please follow the steps below to do the sourcing.
- Install JDK
JDK (Java Development Kit) is the basic equipment needed for Java programming.
Since Android app uses Java programming language, then we need to install JDK.
How to install JDK on Linux:
JDK version 7:
sudo apt-get install openjdk-7-jdk
JDK version 8:
sudo apt-get install openjdk-8-jdk
- select one
2.Install Eclipse
Please install Eclipse with the following command:
sudo apt-get install eclipse
3.Install Android SDK
Android SDK is an important tool that must be prepared in the Android programming. Because the Android SDK provides the API and tools we need for creating apps.
Please read How To Install Android SDK and NDK on Linux.
4.Update Android SDK
Once Android SDK is installed, update to get the latest version of API.
Use the following command to open the Android SDK update manager.
android update sdk
5.Create an Emulator
Once everything is updated, now create a new emulator.
Emulator function to run Android applications.
Use the following command to create the emulator:
android avd
6.Install ADT Plugin
ADT (Android Development Tool) is a necessary plug-in in Eclipse to be used for Android programming.
Here's how to install the ADT Plug-in in Eclipse:
- Open Eclipse
- Go to the Help menu> Install New Software
- Add ADT Repository Address: https://dl-ssl.google.com/android/eclipse/
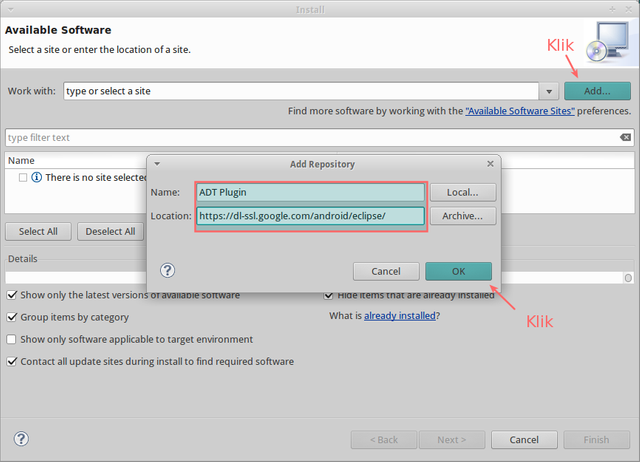
4.Select all then click Next
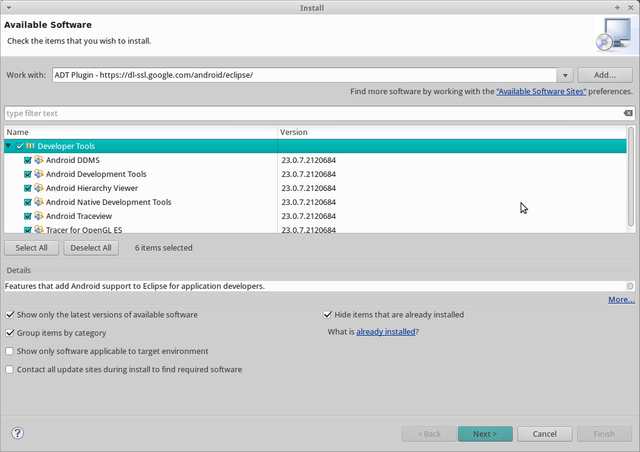
5.klik next
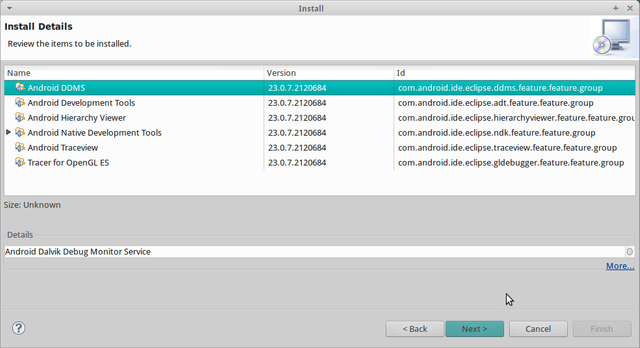
6.Select "I accept the term ..", then click Next.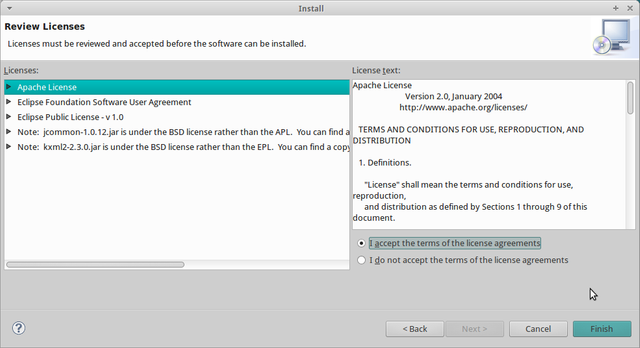
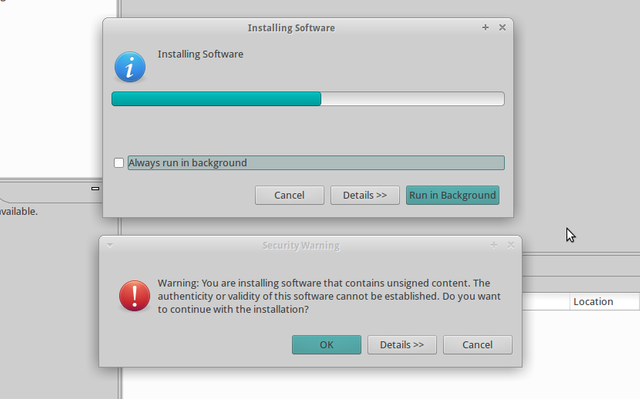
7.klik ok
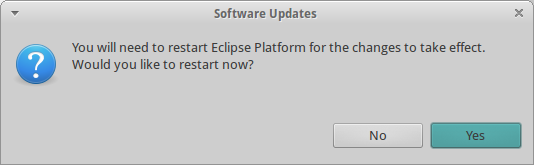
8.Click OK to reopen Eclipse
*.Test Project
Open Eclipse, create a new project.
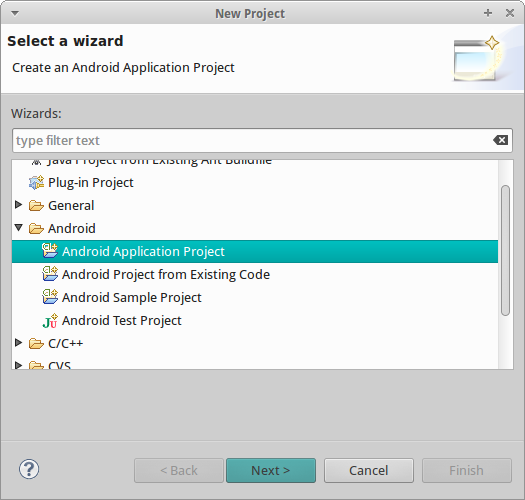
After that, go to File menu> New> Other then select Android Application project.
Then fill in the project data description
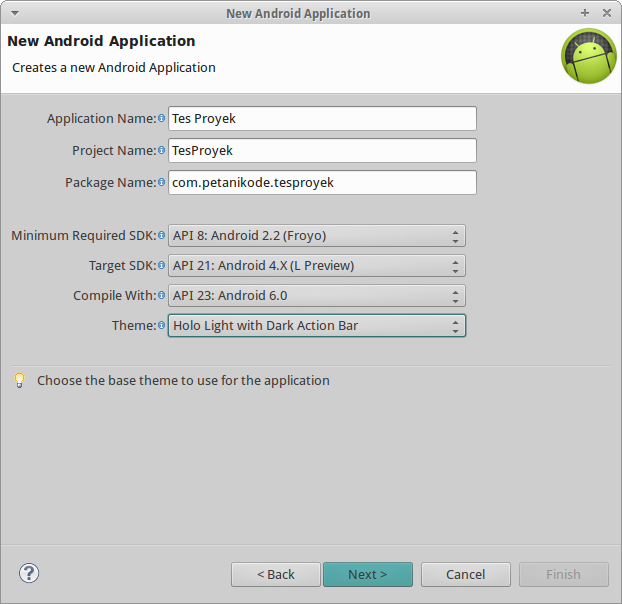
Then, specify the location and application icon, then click Next.

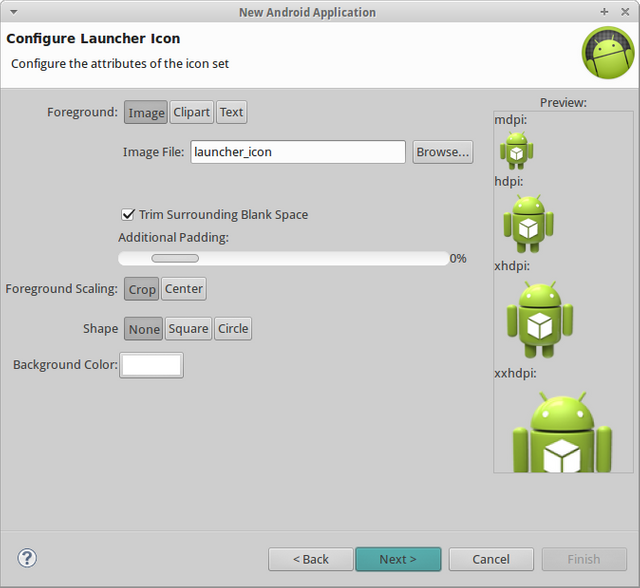
Define the icon, then click Next.
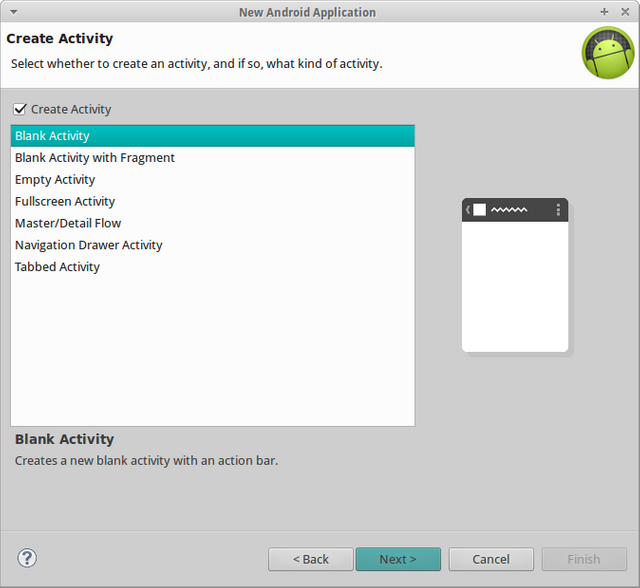
Create activity, just select blank activity. Then click Next.
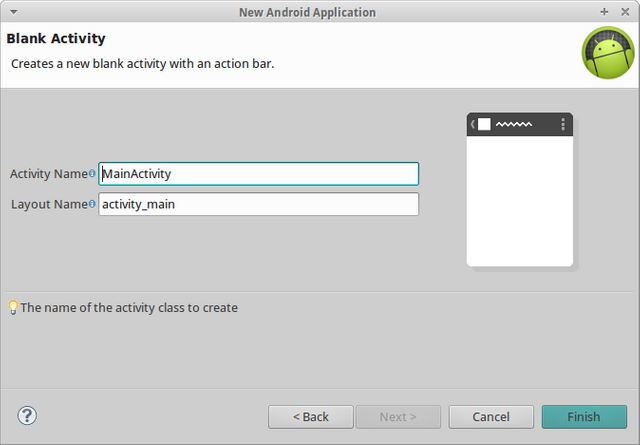
Fill in the name of the activity, Just let its name is MainActivity. Then click Finish.
The first project is finished.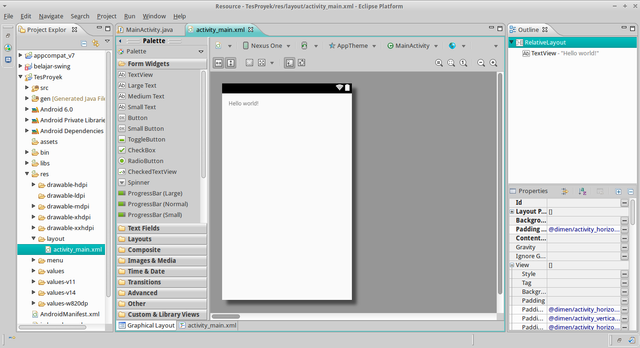
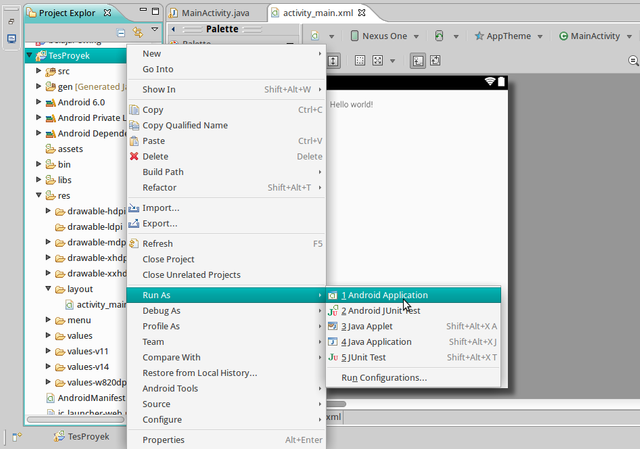
Right click on Test Project> Select Run As> Android Application.
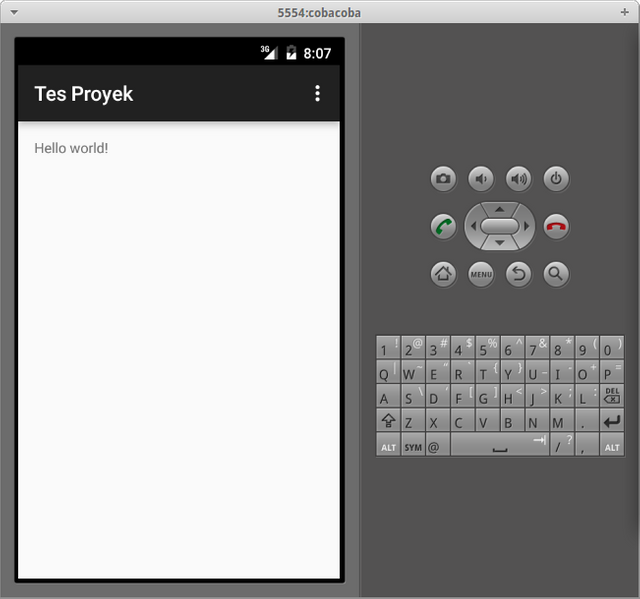
The project successfully runs on the emulator.

Google originally used Eclipse as the IDE for Android app development. Then switch to Android Studio.
Eclipse is lighter than Android Studio, but Eclipse is no longer supported by Google.
That is, if there is a new feature or the latest API from Android, we (probably) will not be able to use it in Eclipse.
But there is no harm in using Eclipse to create Android applications.
If you want to give it a try, please follow the steps below to do the sourcing.
- Install JDK
JDK (Java Development Kit) is the basic equipment needed for Java programming.
Since Android app uses Java programming language, then we need to install JDK.
How to install JDK on Linux:
JDK version 7:
sudo apt-get install openjdk-7-jdk
JDK version 8:
sudo apt-get install openjdk-8-jdk
- select one
2.Install Eclipse
Please install Eclipse with the following command:
sudo apt-get install eclipse
3.Install Android SDK
Android SDK is an important tool that must be prepared in the Android programming. Because the Android SDK provides the API and tools we need for creating apps.
Please read How To Install Android SDK and NDK on Linux.
4.Update Android SDK
Once Android SDK is installed, update to get the latest version of API.
Use the following command to open the Android SDK update manager.
android update sdk
5.Create an Emulator
Once everything is updated, now create a new emulator.
Emulator function to run Android applications.
Use the following command to create the emulator:
android avd
6.Install ADT Plugin
ADT (Android Development Tool) is a necessary plug-in in Eclipse to be used for Android programming.
Here's how to install the ADT Plug-in in Eclipse:
- Open Eclipse
- Go to the Help menu> Install New Software
- Add ADT Repository Address: https://dl-ssl.google.com/android/eclipse/
4.Select all then click Next
5.klik next
6.Select "I accept the term ..", then click Next.
7.klik ok
8.Click OK to reopen Eclipse
*.Test Project
Open Eclipse, create a new project.
After that, go to File menu> New> Other then select Android Application project.
Then fill in the project data description
Then, specify the location and application icon, then click Next.
Define the icon, then click Next.
Create activity, just select blank activity. Then click Next.
Fill in the name of the activity, Just let its name is MainActivity. Then click Finish.
The first project is finished.
Right click on Test Project> Select Run As> Android Application.
The project successfully runs on the emulator.