DIY Arduino Smartwatch - Connect to your Phone
DIY Arduino Smartwatch
In one of my earlier articles, I wrote about how I made an Arduino digital watch. It showed date and time. But we want more. In this article, I’m going to add a Bluetooth module to the digital watch and link it with my phone. In this tutorial we’ll see how to link up the Arduino with your smartphone using a Bluetooth module and use it along with an android app.
So without further ado, lets roll up our sleeves and dive straight into the process!
Components Needed
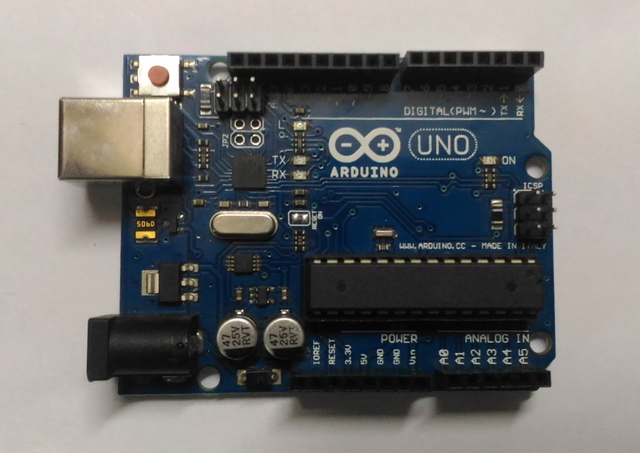
1. Arduino Uno
2. Breaboard
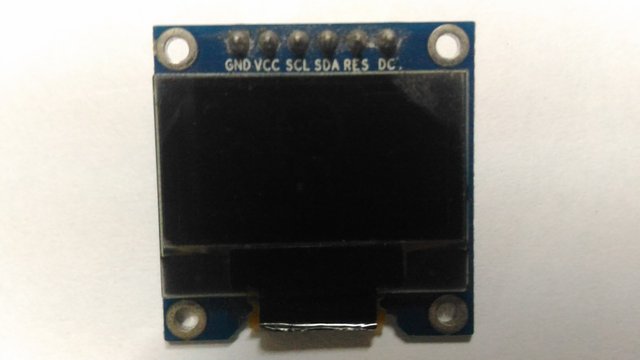
3. 0.96” OLED Display
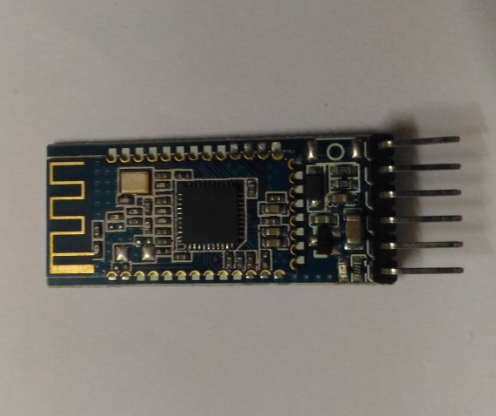
4. HM-05 Bluetooth module
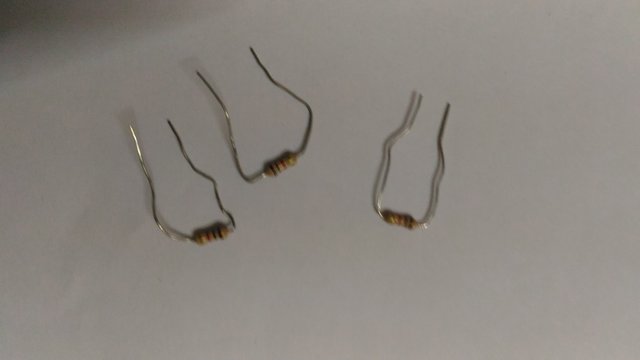
5. 1kΩ resistors (x3)
6. Jumper wires
7. Android smartphone
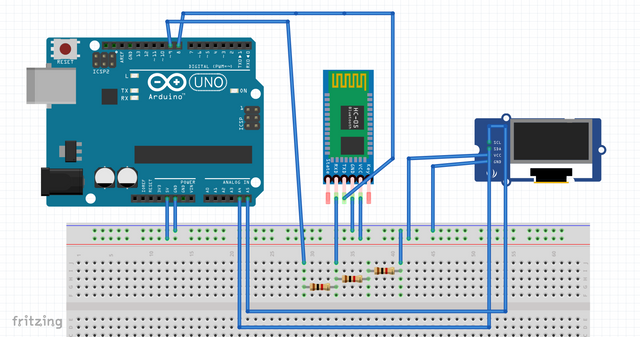
Wiring Diagram
First we connect the 5v power and ground pins of the Arduino to the power and ground rails of the breadboard. The new hook up the OLED to power and ground, and connect the other pins to their respective digital pins in the Arduino board as per the diagram. Then we hook up the Bluetooth module to power and ground. Also we build the voltage divider circuit using the three 1k resistors in the receive pin of the Bluetooth module. We connect the transmit and receive pins of the Bluetooth module to the Arduino as per the diagram.
The circuit diagram drawn with the help of Fritzing
Assembled on the breadboard

How it works
We will create an android app for our smartphone using MIT’s App Inventor. It is a website where you can sign up for free and create android apps by dragging and using blocks of code. It can be used to create powerful apps even if you have no prior experience in app making.
The app we will make will search for the Bluetooth module and we can connect out phone to it. Once connected, the app will make the phone send strings of data to the Arduino, via Bluetooth. This string of data includes the time and date of the current instant, and if there is any incoming call or text at that instant, it transmits that information too.
The arduino receives this information and we can display it in the OLED screen.
Software – The App Part
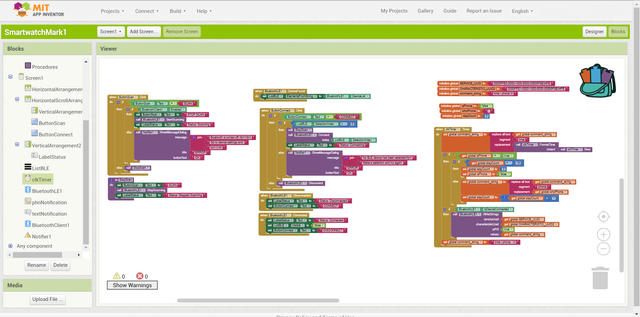
(MIT's App Inventor)
We make a quick app with MIT’s App Inventor 2. You can sign in with your Google account and start making apps by dragging and dropping components. I have shown the code used to achieve this.
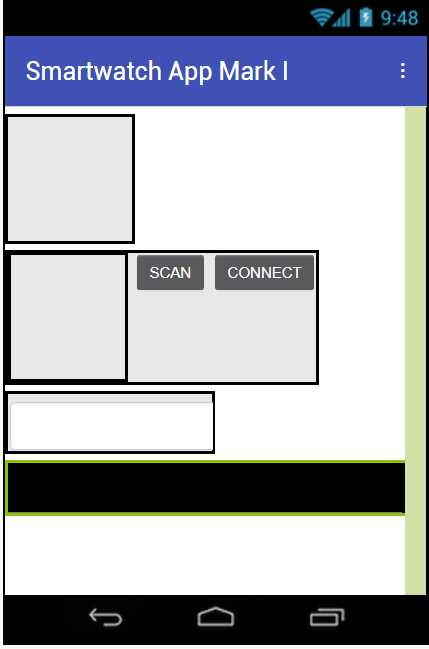
First in the designer section,add two buttons - one to scan and one to connect. Add a textView to show the status of connection and a ListView to show all the available bluetooth devices in range.
 \
\
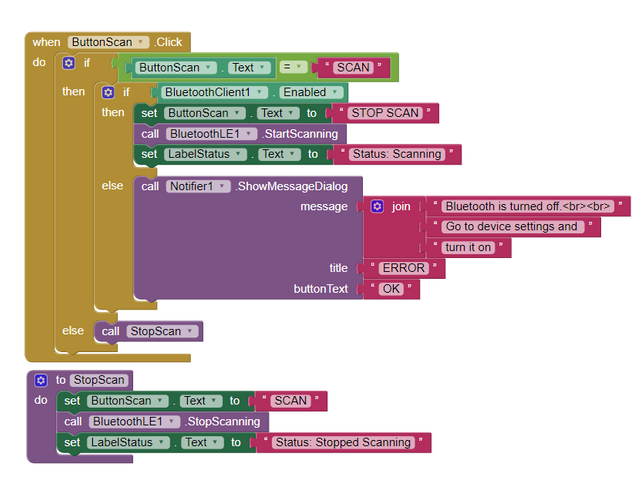
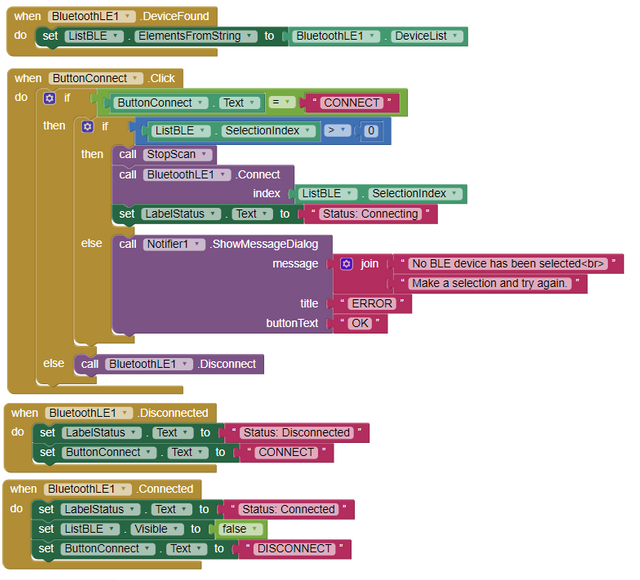
Next in the code section, we write the logic. That is to define how the data is sent to the arduino. We add some non visible components such as Clock, BluetoothLE, PhoneNotification and TextNotification and Notifier components in the designer section. These components helps us to tap into the functionalities of the phone such as the clock and its bluetooth. Each item has its own different functions predefined. We just have to drag and drop the components we need to get a logical string of code. Now we define the code.
 )
)
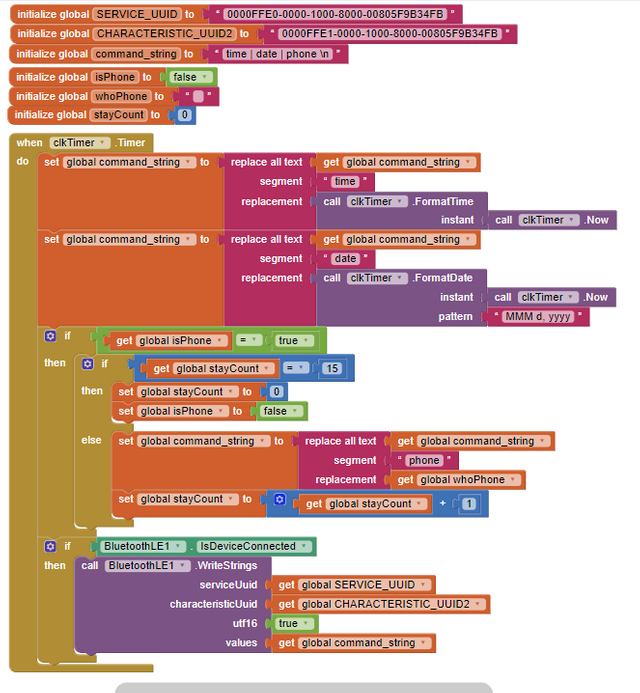
Actually you can do it however you want. In this version, we create a global string named command string and it contains the information of the date, time and phone and text notifications. We pass this string to the bluetooth, to be transmitted to the arduino to which we have connected the phone.
Software – The Arduino Code
Now that we’ve made the app to transmit the data from the phone to the Arduino once connected, let us write the code for Arduino to enable it to receive this data and print out the useful information onto our OLED screen. This is the code which was used to achieve this. We make the arduino listen for the data sent by the phone. This is done using the bluetooth module and we use the AltSoftSerial library for achieving this. You can you any library of your choice to make you version of the bluetooth module work.
#include <AltSoftSerial.h>

AltSoftSerial ASSserial;

#include<SPI.h>
#include<Wire.h>
#include<Adafruit_GFX.h>
#include<Adafruit_SSD1306.h>


Adafruit_SSD1306 oled;

int pwm = 3;

void setup() {

 ASSserial.begin(9600);
 pinMode(pwm,OUTPUT);

 oled.begin(SSD1306_SWITCHCAPVCC);
 oled.clearDisplay();
 oled.setTextColor(WHITE);
 oled.setTextSize(1);

}


void loop() {

  oled.clearDisplay();

 if (ASSserial.available())
 {
   String myTime = ASSserial.readStringUntil('|');
   ASSserial.read();

    String myDate = ASSserial.readStringUntil('\n');
    ASSserial.read();

    String myPhone = ASSserial.readStringUntil('\n');


    if(myTime.indexOf('time') >= 0)
    {
      oled.setCursor(2,5);
      oled.clearDisplay();
      oled.print("Error - Data not Recieved");
      oled.display();
    }
    else
    {
      oled.setTextSize(2);
      oled.setCursor(5,5);
      oled.print(myTime);
      oled.display();
    }

    if(myDate.indexOf('date') >=0)
    {
      oled.setCursor(20,25);
      oled.println("Data not reecieved");
    }
    else{
      oled.setTextSize(1);
      oled.setCursor(20,25);
      oled.print(myDate );
      oled.display();
    }

    if(myPhone.indexOf('phone') >= 0)
   {
      digitalWrite(pwm, LOW);
   }
   else
   {

     oled.clearDisplay();
      oled.setCursor(10,0);
      oled.setTextSize(2);
      oled.println(myPhone);
      oled.setTextSize(1);
      oled.setCursor(10,22);
      oled.println("Calling...");
      oled.display();
      delay(5000);


    // Motor Vibration Pattern
    digitalWrite(pwm, HIGH);
    delay(500);
    digitalWrite(pwm, LOW);
    delay(500);

   }

 }

}
Conclusion
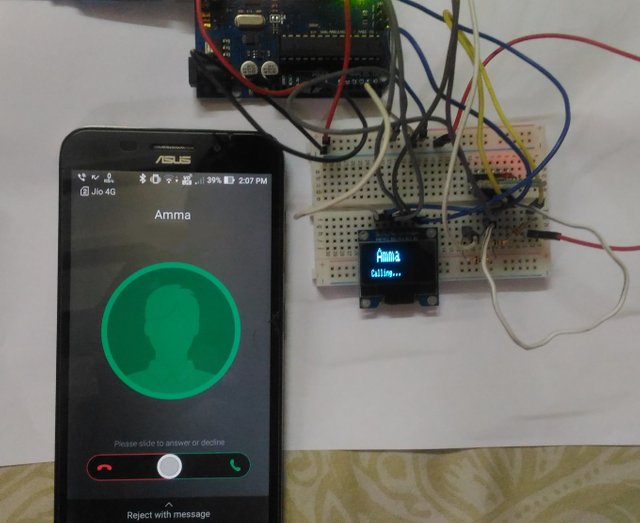
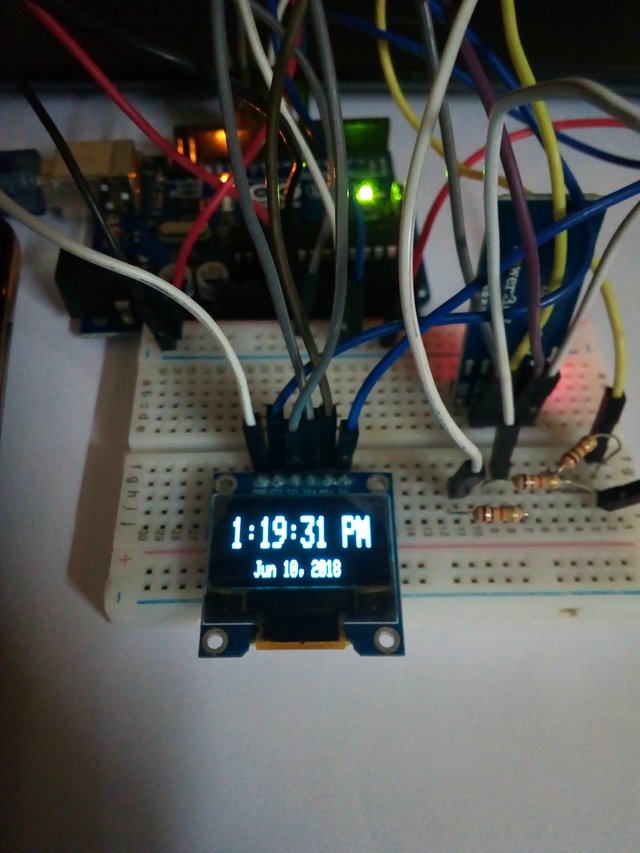
After uploading the code to the arduino and running the app in your smartphone, you can search for bluetooth devices and connect to the bluetooth module. Once you have done so, the OLED display will be displaying the time and date set in the phone and it will update itself automatically. The time will be displayed like so -
Also whenever a person calls you in the phone, the OLED displays an alerts you of the call. I added some more code to display the name of the contact on the OLED. Usually the non visible component for the phone sends only the phone number of the incoming call.
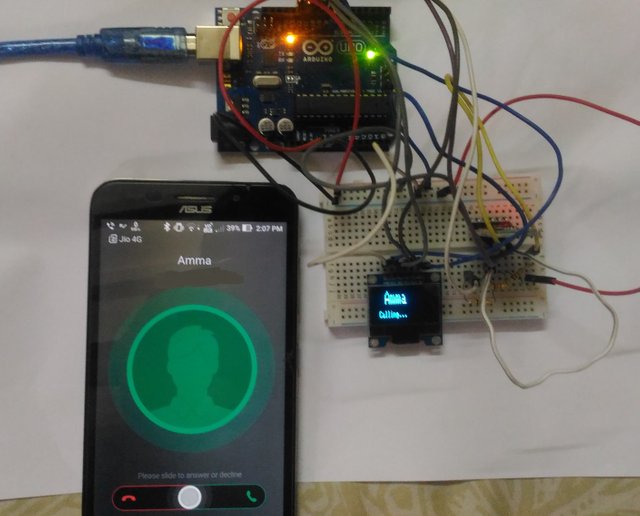
This alert will stay for as long as the call is ringing and it will return back to showing the time and after that.
For further modifications, you can also add a small vibrating motor and make it vibrate when the call notification is displayed. This can be done wt h a few lines of code and will be really useful when you condense this project into a small package.
For the actual use of this as a smartwatch, first you need to replace the Arduino Uno with an Arduino ProMini or even better, a standalone Atmega328p surface mount chip. For power, include a 3.7v LiPo (Lithium Polymer) battery. Make an enclosure of suitable size, most preferably 3D printed, solder all the components together, and voila, you have created your own smartwatch!
References and Resources
Tinkernut's Make a smartwatch from an old Cell Phone
http://www.tinkernut.com/portfolio/make-smartwatch-old-cell-phone-part-1/MIT's App Inventor 2 - Make your own apps!
http://appinventor.mit.edu/explore/
3.The AltSoftSerial for using Bluetooth modules with Arduino
https://github.com/PaulStoffregen/AltSoftSerial
Hi filler,
LEARN MORE: Join Curie on Discord chat and check the pinned notes (pushpin icon, upper right) for Curie Whitepaper, FAQ and most recent guidelines.
Join our Discord Channel to connect with us and nominate your own or somebody else's posts in our review channel.
Help us to reward you for making it ! Join our voting trail or delegate steem power to the community account.
Your post is also presented on the community website www.steemmakers.com where you can find other selected content.
If you like our work, please consider upvoting this comment to support the growth of our community. Thank you.