How to make different user access with php Codeigniter based
Repository
https://github.com/bcit-ci/CodeIgniter
What Will I Learn?
In brief, write details of what the user is going to learn in a bullet list.
- You will learn how to create form option multiplle login
- You will learn how to create different user acces
- You will learn how to create login session
Requirements
State the requirements the user needs in order to follow this tutorial.
- you must know basic of php
- you must know about code igniter
- bootstrap 4
Difficulty
Choose one of the following options:
- Intermediate
Tutorial Contents
okay, on this occasion I will share a tutorial how to make different access for multiple user on a website, which makes different access for each user , we will create a user level table in the database. we just start step by step:
DATABASE
- first create a database with a name sidmm
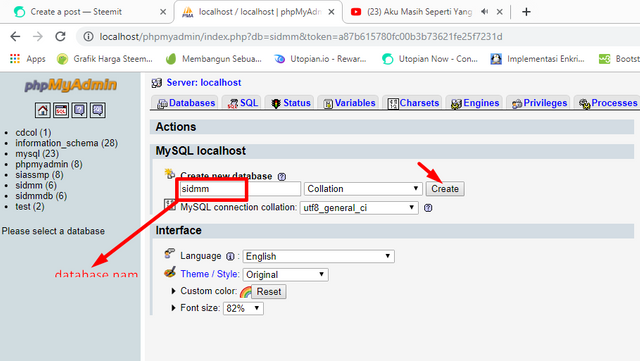
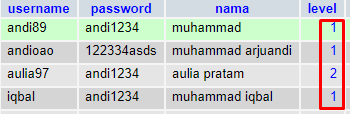
- then create a user table by name user
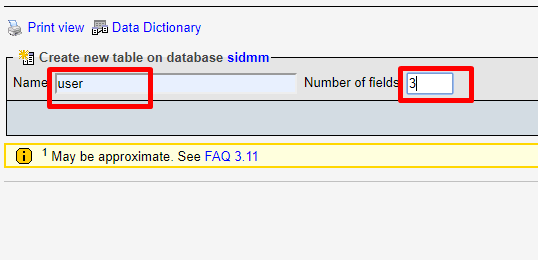
as in the picture above we create a table name and number of table fields
- in the user table there is a field username, password, and level to give different access when the password is successful.
- after that we will create a form to log in.
FORM VIEWS, CONTROLLER, AND MODELS
- then open your text editor, here I use visual studio code, you can use what you like, maybe SBLIME or another text editor.
- create a file with the name welcome.php in the view folder
<div class="card-body">
                <br><br>
                <div class="row">
                    <div class="col-md-1"></div>
                    <div class="col-md-10">
                        <div class="row">
                            <div class="col-md-4 mb-3">
                                 <a href="<?php echo base_url()?>plogin" type="button" class="btn btn btn-danger btn-lg btn-block"><h3 class='fas fa-user-cog'></h3> pengawas</a>
                            </div>
                            <div class="col-md-4 mb-3">
                            <a href="<?php echo base_url()?>login"type="button" class="btn btn-primary btn-lg btn-block"><h3 class='fas fa-user-edit'></h3> perangkat</a>
                            </div>
                            <div class="col-md-4 mb-3">
                            <a href="<?php echo base_url()?>Opsidesa" type="button" class="btn btn-success btn-lg btn-block"><h3 class='fas fa-users'></h3>masyarakat</a></div>
                        </div>
                    </div>
                    <div class="col-md-1"></div>
                </div>
                <br><br>
            </div>
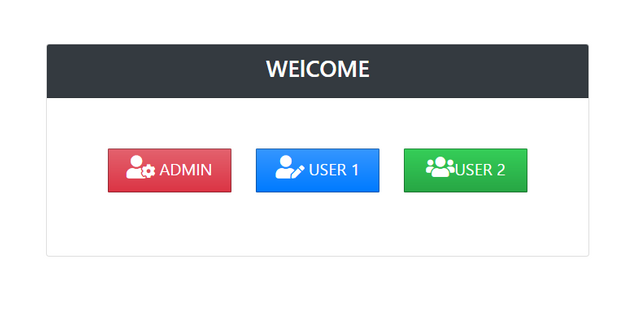
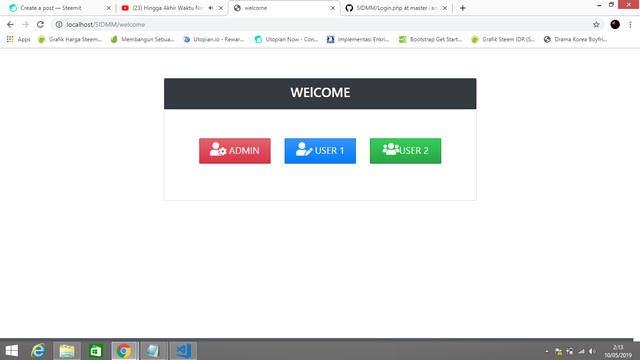
- Create a form with three options, I use this button for three types of logins.
- the results are as below:
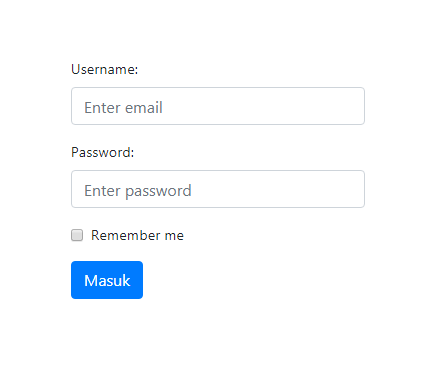
- then create a form for the input username and password in the view folder with the name login.php
<form action="<?php echo base_url('login/aksi_login'); ?>" method="post">
                                    <div class="form-group">
                                    <label for="email">Username:</label>
                                    <input type="text" class="form-control" id="email" placeholder="Enter email" name="username">
                                    </div>
                                    <div class="form-group">
                                    <label for="pwd">Password:</label>
                                    <input type="password" class="form-control" id="pwd" placeholder="Enter password" name="password">
                                    </div>
                                    <div class="form-group form-check">
                                    <label class="form-check-label">
                                        <input class="form-check-input" type="checkbox" name="remember"> Remember me
                                    </label>
                                    </div>
                                    <button type="submit" class="btn btn-primary">Masuk</button>
                                </form>
                                </div>
- this is part of the login page redirect action
<form action="<?php echo base_url('login/aksi_login'); ?>" method="post">
- the form as shown below:
- then create a file for the login model named M_Login.php in the models folder
<?php
class M_login extends CI_Model{

    function cek_login($data){
        $this->db->get_where('user',$data);
        return $this->db->affected_rows();
    }
}
- this is the section for selecting database tables
$this->db->get_where('user',$data); - this is to give effect to the database row
return $this->db->affected_rows();
- then we will create a controller file with the name Login.php in the controller folder
<?php
defined('BASEPATH') OR exit('No direct script access allowed');
class Login extends CI_Controller{
function __construct(){
    parent::__construct();
    $this->load->model('M_login');
}
function index(){
    $this->load->view('login');
}
function aksi_login(){
    $username = $this->input->post('username');
    $password = $this->input->post('password');

    $where = array(
        'username' => $username,
        'password' => $password,
        'level'=>'1'
        );
    $cek = $this->M_login->cek_login($where);
    if($cek > 0){
        $data_session = array(
            'nama' => $username,
            'status' => "login"
            );
        $this->session->set_userdata($data_session);
        redirect(base_url().'dashboard', $data_session);
    }else{
        echo "Username and password wrong !";
    }
}
function logout(){
    $this->session->sess_destroy();
    redirect(base_url('Login'));
 }
}
- I will give a little explanation for the code above:
- this is fuction to load the model files
$this->load->model('M_login');in the models folder - and this
$this->load->view('login');to load login page on view folder. - then this
function aksi_login(){ $username = $this->input->post('username'); $password = $this->input->post('password');is a function for login actions that will check username and password - and this is the main part which is to determine user access.
$where = array(
        'username' => $username,
        'password' => $password,
        'level'=>'1'
        );
- this form will only work if the username and password entered have level=1
- and this
$this->session->set_userdata($data_session); redirect(base_url().'dashboard', $data_session);serves to create a login session for users who have successfully logged in. - the last is for the logout function
function logout(){ $this->session->sess_destroy(); redirect(base_url('Login'));This function to delete data sessions that were previously created if the user logout and will be returned on the login page.
full code for:controllers/Login.php
- then the next thing you have to make is the model file and controllers file for the next access, the same way, what you have to distinguish is the number of levels.
- If we already, let's run it.
RUNNING PROGRAM
- first step run page welcome.php in your browser.
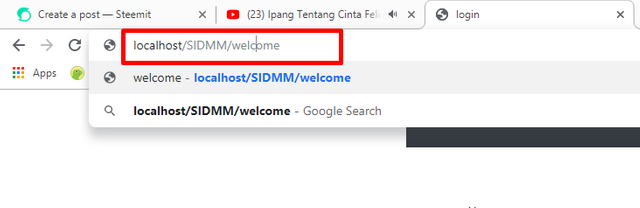
- it will appear as below
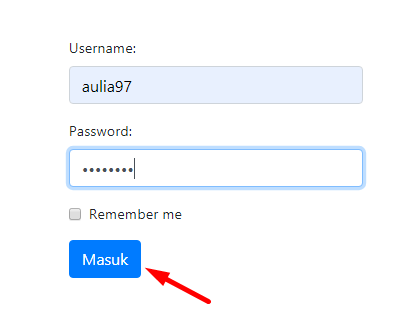
- then select the admin button, then enter a username and password that has level = 1 we can see the user table that we have entered some data.
then click login button
- then we see the difference
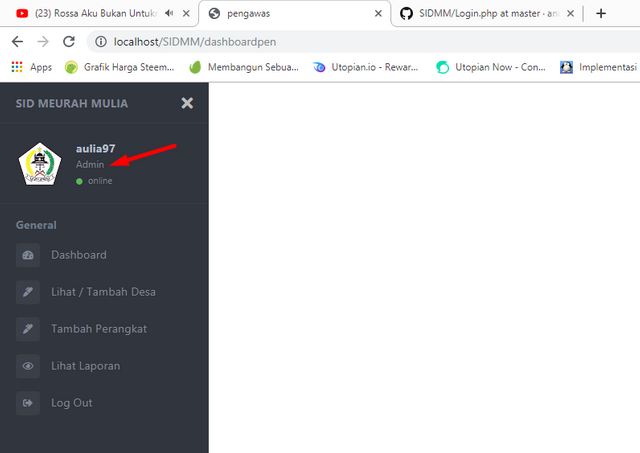
- if we login to the admin button and use the user with level = 1 then we will be directed to the admin page.

Curriculum
Include a list of related tutorials you have already shared on Utopian that make up a Course Curriculum, if applicable.
- How To Create Input And Output Form Using PHP
- How Create Charts or Graphics On Your Web Page Using PHP and MySQL
Proof of Work Done
Insert here the full url of the code used in the tutorial, under your GitHub or a relevant gist, e.g.
The code of your contribution has been found to be plagiarized from the following source here. Plagiarism is a serious offense.
Need help? Write a ticket on https://support.utopian.io/.
Chat with us on Discord.
[utopian-moderator]
Thank you for your review, @portugalcoin! Keep up the good work!