Rounded Image With Rainbow Color Shadow Animation with Sass-Scss
Repository
What Will I Learn?
- You will learn how to use
calcfunction and center the element. - You will learn why we use
background-size: coverbackground-repeat: no-repeatcodes. - You will learn how to define a round effect on square figures.
- You will learn how to use
beforeandafterfunctions. - You will learn the function of
animationcode and combining it with@keyframes. - You will learn the meaning and working of
linearandinfinitefunctions. - You will learn how to resize and reposition elements for effectrs.
Requirements
- Any text editor. (Brackets, Atom, Notepad++)
- Basic HTML knowledge
- Basic SCSS code knowledge
- SASS installed.
- Local server (Wampserver)
- Any browser
Resources
- https://en.wikipedia.org/wiki/Sass_(stylesheet_language)
- https://sass-lang.com/
- https://github.com/sass/sass
- http://thesassway.com/
- http://sass-lang.com/documentation/file.SASS_REFERENCE.html
- https://sass-lang.com/install
- https://rubyinstaller.org/
Difficulty
- Intermediate
Description
In this tutorial we will create a rounded form and rainbowcolor shadow effect for an image with sass scss. You can use this effect everywhere on your websites oly thing that you need to do is changing the image and maybe radius pixel as you want.
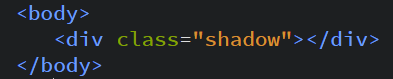
1- You need sass installed on your envorioment and need to let sass watch all changes between scss and css so that it can translate all codes to css. You need only a basic html page with 1 division in it with class name.
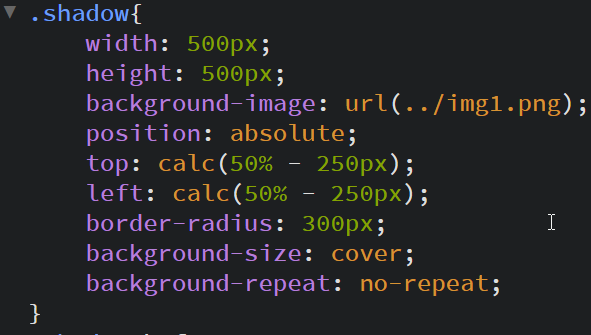
2- For our class we are defining a size and inserting our image. After positioning it with calc function we give rounding with radius.
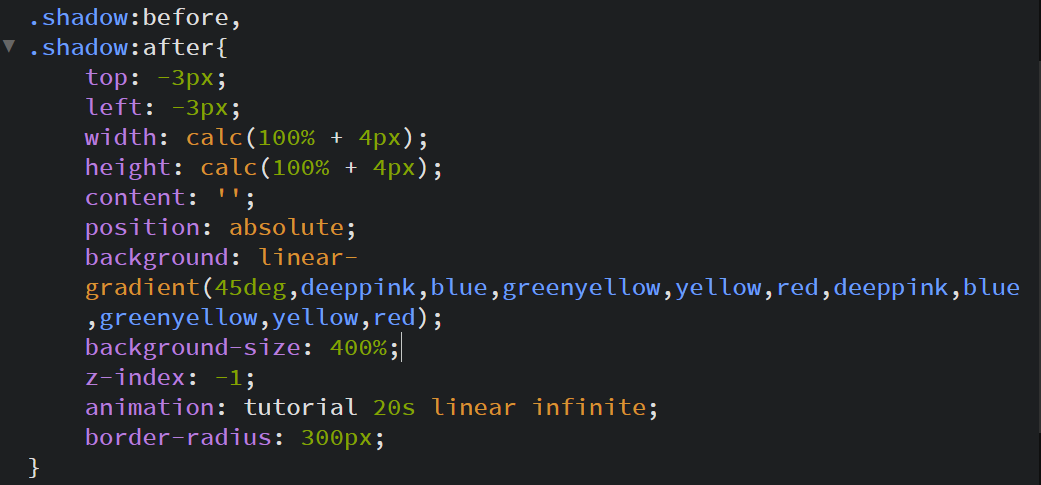
3- Here we need to write before and after of our class and as background color defining a rainbow colors. To make it visible we need to define a blank content. After that we are making its size 4px bigger and as opsition 3px to left and ro top.With this codes our before and after versions will make us a little space that we need for our effect. With z-index it will be on the background and as size it will be 400% bigger for our animatec effect. And don't forget to write radius there otherwise it will be square. And as last one we define our animation effect.
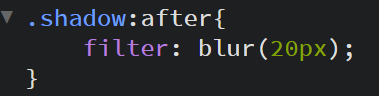
4- Here we are giving blur effect so that colors are being little bit misty.
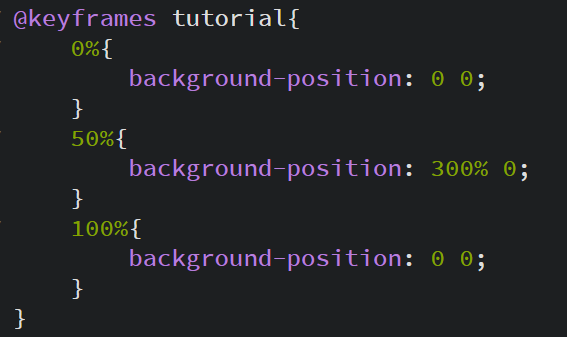
5- Here is main part of our lesson. With this codes we are activating our animation code and defining how animation will be. It chances background color with 300% to left and turning back.
6- This is our end work.

Video Tutorial
Curriculum
Creating a Personal Card with Animation with Sass Scss codes and meaning of the codes
Creating a Contact Form from a simple version to a stylish animated one with Sass Scss
Animated effect and styles for navigation bar with Sass scss
Thank you for your contribution @omersurer
Your contribution has been evaluated according to Utopian rules and guidelines, as well as a predefined set of questions pertaining to the category.
To view those questions and the relevant answers related to your post,Click here
Need help? Write a ticket on https://support.utopian.io/.
Chat with us on Discord.
[utopian-moderator]
More Than you Can Think
Get 20 upvotes and 10 followers only for join the site.
The 20 upvotes worth 1SBD so why wait get it quickly before the campaign over.
CLICK HERE TO JOIN
Hey @omersurer
Thanks for contributing on Utopian.
We’re already looking forward to your next contribution!
Contributing on Utopian
Learn how to contribute on our website or by watching this tutorial on Youtube.
Want to chat? Join us on Discord https://discord.gg/h52nFrV.
Vote for Utopian Witness!