Creating a Website With Django Using Python 3.6 (Part 2) | Creating Our First App
Creating a Website With Django Using Python 3.6 (Part 2)

In this second tutorial, I will be teaching how you can create your first app and use it in your Django website. In this part we will be coding a bit unlike the first part in which I spent most of the time explaining things. Time to work!
Repository
https://github.com/django/django
What will I learn?
In this tutorial you will learn about the following things.
- Creating a app
- Learning about different files that come with the app
- Learning about URL mapping
- Creating a URL map
- Creating a view
Requirements
To fully understand the concepts you must have basic knowledge of Python. I am going to be using Python 3.6 in this tutorial. Here are few things that you will need installed.
- Python 3.6 (Link at the end of the tutorial)
- Pip (Link at the end of the tutorial)
- Django
- Code Editor
- Ubuntu 16.04 LTS
Code editor is not necessary but it can make your life alot easier. Some of the good code editors include Atom and PyCharm. I will be using PyCharm for this series because it is designed for mostly Python and it is good for beginners.
Difficulty Level
- Intermediate
Tutorial
Creating a App
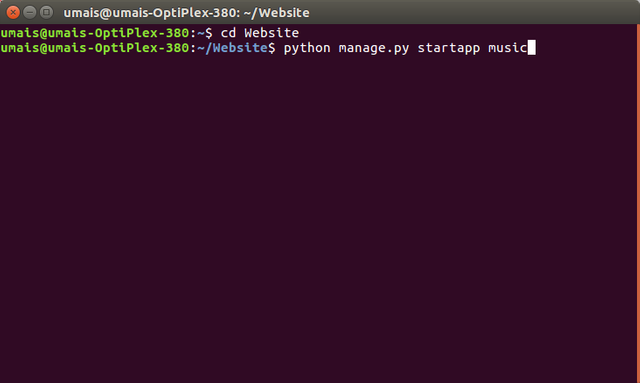
I'm gonna continue from my last tutorial, which means that your server should be running on localhost. At the end of last post I introduced you to apps in Django. So now we are actually gonna create our first app. To create a app first you will need to open the terminal and proceed to the directory in which your Django website is located. After doing this type python manage.py startapp music. So this will create a new app, let me explain the command abit. First we are calling the manage.py file using Python and starting app using the command "startapp" and at last we have named the app which for now is gonna be music. So here's what we are gonna create. We are gonna a website in which we'll be able to upload music and people will be able to listen to it.
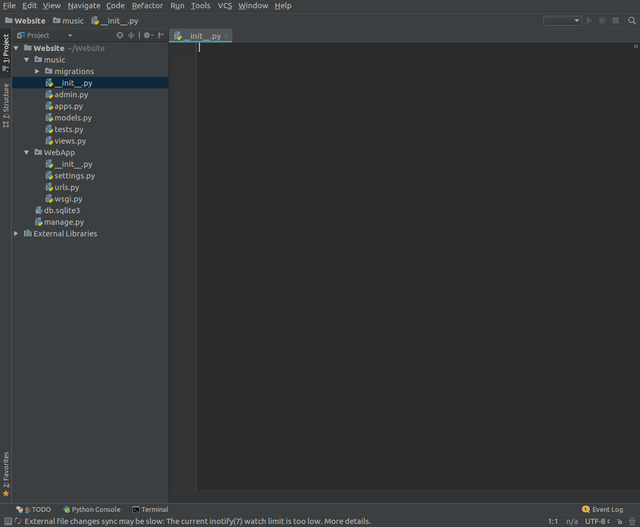
Now that we have created our first app, let's take a look at the new files that have been created in creation of app. If we go to the main directory we can see a new folder name music and inside music are bunch of files.
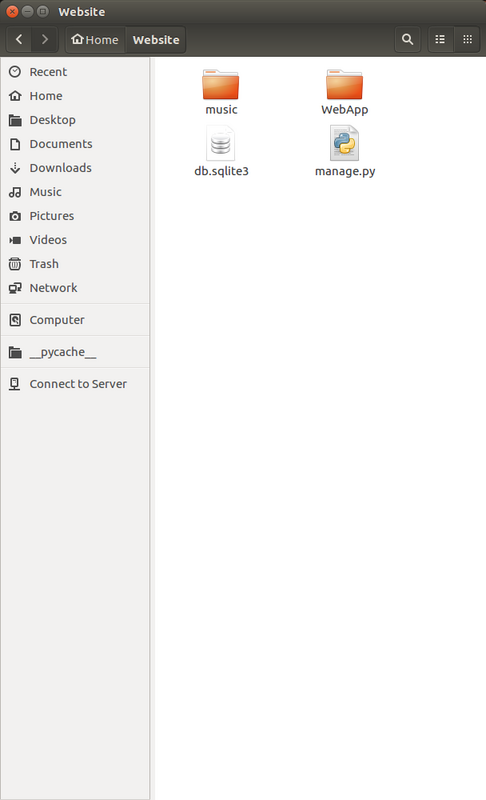
Main folder that contains all the files
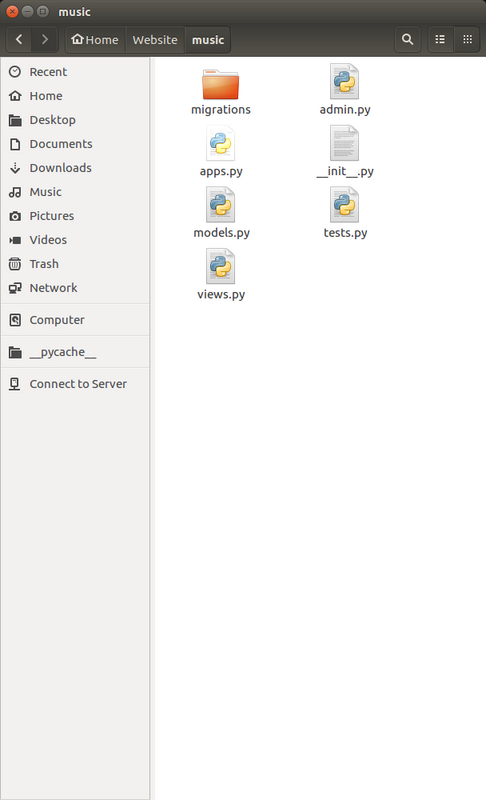
Files inside music folder
Learning different files that comes with app
Now that we have created a app in Django, let's get deep into it and learn what each file does, like we did with core files of the projects.
migrations
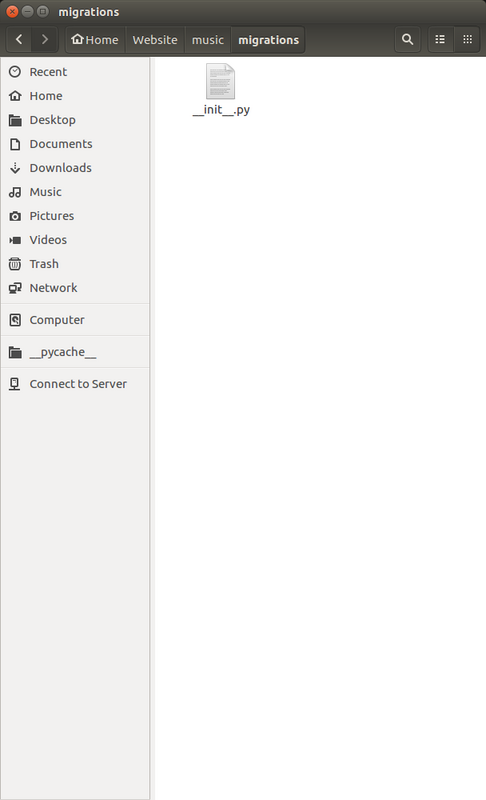
In the above screenshot you might have noticed a folder named migration. In Django migrations are a way to connect a app to the website. It automatically just connects or hooks all the changes that you make to the app. One of the main problems with Flask is that you have to restart server everytime you make any changes but with Django, you don't have to do that all the changes are made instantly and automatically. Here's a screenshot for the files inside the migrations folder.
__init__.py
This file is located in the folder of migrations which is inside music directory. Just like the init file in WebApp folder this files file tells the python to see it as a python package and this is not a normal directory. This file is located in almost any python package. If we open the file, we can see that it is completely empty.
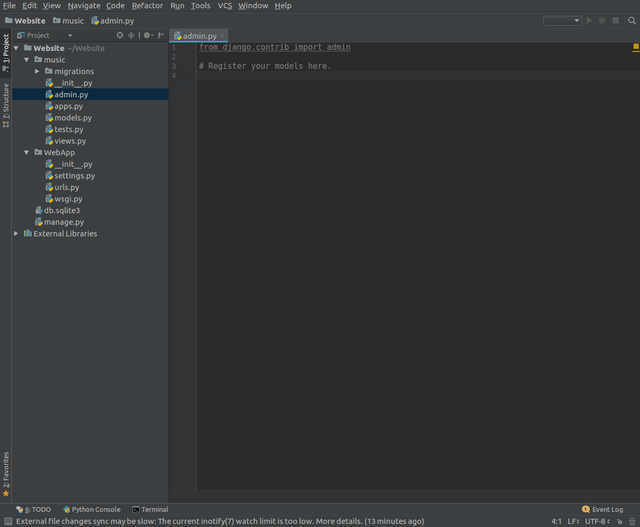
admin.py
Every website in the world has a admin section and only admin has ability to access it unless the website is hacked. While making Django, the developers noticed that there should be a section like this in Django as well, in which admin will be able to access database, delete users and do all sorts of admin stuff. So instead of making the section ourself Django already has that section and it gives Django a upper hand and makes your work easier. If we open the file we can see there isn't that much code in it. I'll show you how we can work with this file more in the future. This was just the basics.
apps.py
There's a lot in it but let's just jump right into basics for now. It is a configurations or settings for this app and you can see in the below image we don't have that much settings, right now. The most we have right is that the name of the app is music and this was automatically set up by Django. You might have noticed that Django really helps us along the way and makes our work easier as much as it can. The the power of community and how Django has evolved.

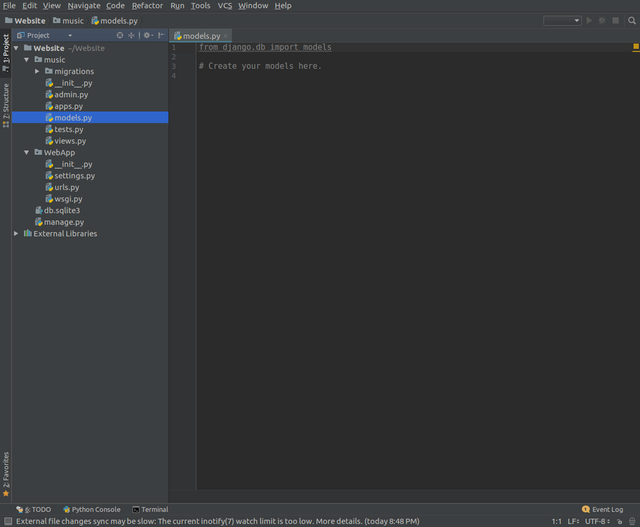
models.py
A model is like a blueprint for you database. It stores all the information like how you want to store data for this app in the database. All the tables, columns and rows that we will use in the database for this app will be found here and you obviously we'll be adding more settings in the future. There isn't much code in the file aswell. In the future we will create two classes in this file, one will be album and other one will be songs so that's the blueprint of how we are gonna set up our database.
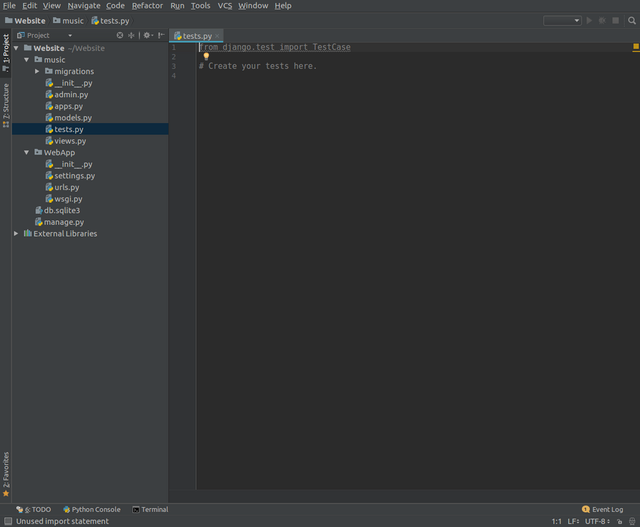
tests.py
This file is used for all the testing of the website. With the help of it you will be able to improve your site by running tests. It will also help you debugging. Just create few tests and you'll be able to find bugs, if their are any.
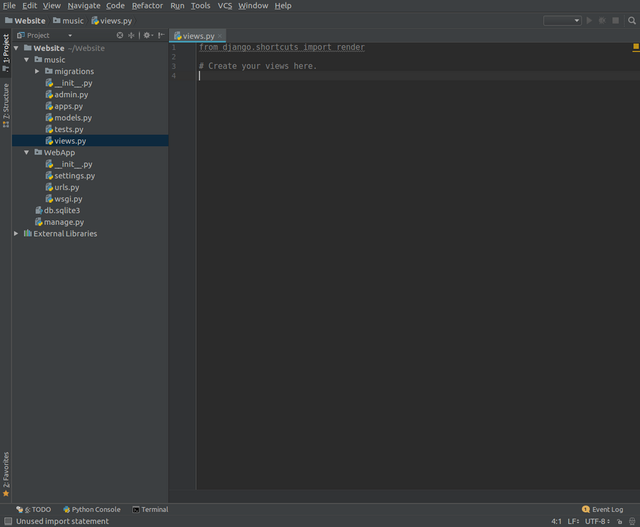
views.py
Views are really easy to understand. Views are just python functions and what they is like if a user requests anything they return something. Like if users request homepage of the website, it will return the homepage of the website.
Url Mapping
Learning About Url Mapping
We've learned quite alot so now let's just move on to more practical stuff. You should have remember that your localhost is http://127.0.0.1:8000 and your server. Go to this link http://127.0.0.1:8000/admin and just let me know the results.I know it's an error because we haven't set up views for that page. The main domain/host is not that much important but url after that like "/admin" is much more important. You'll be that homepage doesn't have that url at the end, well it has but the url after the domain is "/". Open the urls file inside the WebApp directory.
Inside this file we have url mapping or routing, many people call it mapping so I am gonna do that too. So what url mapping actually does is that it checks what user has typed after url and in our case we typed "/admin" after our domain and then returns something on the page. So here's what happens when a user goes to "/admin"on our website. Python opens up the urls.py file from the WebApp directory and then looks for the pattern that match. The patterns are written in regular expressions and if you don't know what those are you can just find the link at the end of tutorial to learn about them. Once it matches the pattern it checks the second parameter (which means after comma) which represent what to do. Python checks the second parameter to decide what to do, simple as that.
Creating a Url Map
Now that we have learned about url mapping, let's create our very first url map (finally some typing). So if everytime a user goes to "/music" which means 127.0.0.1:5000/music, we want to show something or do something. We can make url map in the urls.py that is located in WebApp folder but we don't want to do that and here's why. When this website becomes big people will be uploading songs, albums and all kind of things here and all the urls in that single file will become mess so think ahead. Instead we are first gonna create a file named "urls.py" inside the music directory which is for apps, so all our urls for this apps will go there. Here's what to type inside that file.
from django.conf.urls import url
from . import views

urlpatterns = [
    url('^$', views.index, name='index')
]
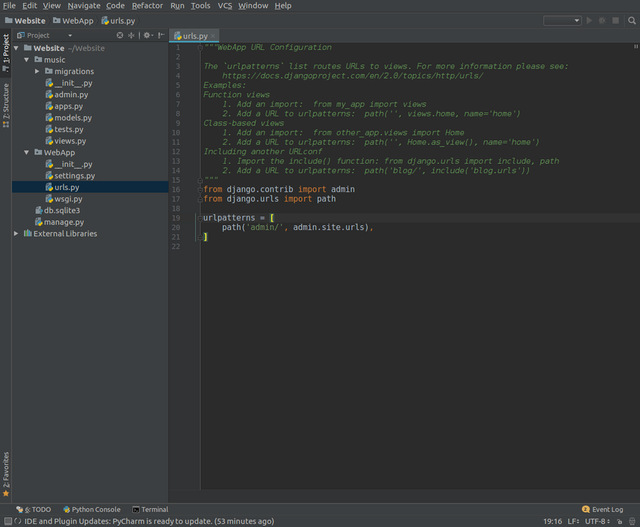
Then after writing this, open the urls.py file in the WebApp folder and change the code inside to something like this.
from django.contrib import admin
from django.urls import path, include

urlpatterns = [
    path('admin/', admin.site.urls),
    path('music/', include('music.urls')),
]
Let me explain you what we actually did. If you look at first line of first block of code we are importing urls from django's config. In the second line we are importing views from the current directory. (.) in the code means current directory. In the third line we have started making our url patterns. The first pattern is '^$' which means nothing so it's like a homepage of our app, they went to "/music" but after that they didn't requested anything. This is how we set up index for each of the homepage for each individual app. Now we need to set up the second parameter so whenever user goes to that page what do we want to do. In the second parameter we will create a view and name it index because that's what you usually do because index is the homepage of the section. This time we are gonna have third parameter aswell which will be name. We have set up the name to index as well. The name is actually optional but I will tell you later why it is important in most cases.
Now we need to set up our main website abit because whenever a user goes to certain directory of the website, then Django will check the urls.py file of the main website which is WebApp. Django doesn't know that we have a another urls.py in the music app. So we changed the urls.py abit and here is what we did. In the second line we first imported the include module from the django.urls. We will use this to include our file. Then we created a new path for "music/" and then in the second parameter we included the music.urls which is the urls file we created earlier.
Creating A View
If you are using a code editor then you will see a error in file urls.py of music app saying that we wanted to show view.index whenever user goes to "music/" but the index view hasn't been created. To fix this let's create our first view inside the views.py file in music app. So what view basically does is it takes user request and sends back a http respond. So we are gonna clear all the existing code inside the views.py file and write our own. There are also other responds but http respond is most easier to handle than the other ones. Here's what to write after clearing the existing code.
from django.http import HttpResponse

def index(request):
  return HttpResponse("<h1>This is homepage of music app")
Ok, explanation time. In the first line we are importing HttpResponse from the django.http. In the normal python we first have to define a function and then we can call that function whenever we need it. This is changed in Django we only have to define the function and the function automatically gets called when ever user goes to that page. "request" parameter should be always in the function because.. that's just how it works. Let's return a heading, so to do this we need to return a HttpResponse and inside the http response we can put any text, html or string. Right now we just want to show a basic heading. Now that this is completed let's run the server and go to http://127.0.0.1:8000/music/ and we can see a heading is being shown. We haven't fixed "/admin" yet but we will do it in next post.
Go here https://steemit.com/@a-a-a to get your post resteemed to over 72,000 followers.
It was found that this account is a duplicate account of Umais (proof in post screenshot), and hence this account is now also banned from receiving Utopian Reviews.
Need help? Write a ticket on https://support.utopian.io/.
Chat with us on Discord.
[utopian-moderator]