Humaneyes Vuze+ 4K 360-degree VR camera review
The new Vuze+ camera captures life-like VR experiences.
I’ve been playing around with the Vuze+ 4K 360-degree camera, initially launched in January 2018. The camera promises potentially professional video and photographic stereoscopic capture in 4K. There's plenty of impressive specs but does it all add up to something that you need?
Let's check it out.
Vuze+ design
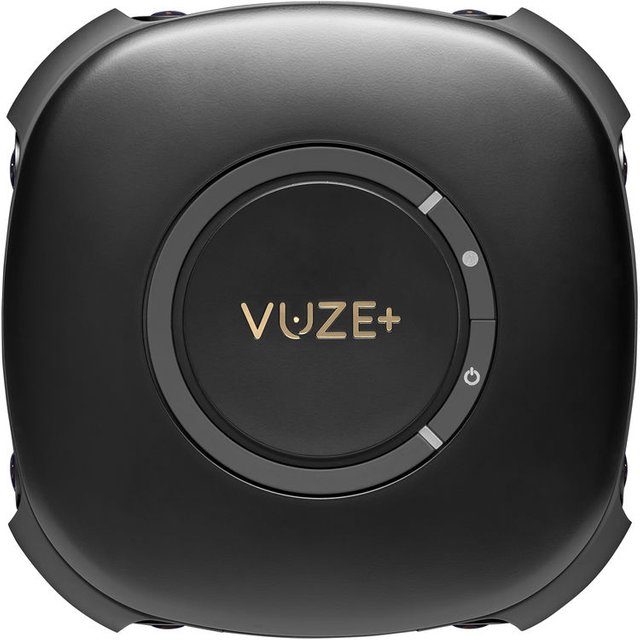
The camera is kind of a rounded square and finished in matte and semi-matte black. It tips the scales at a portable-friendly 460 grams and measures 12 x 12 x 3 cm in size.
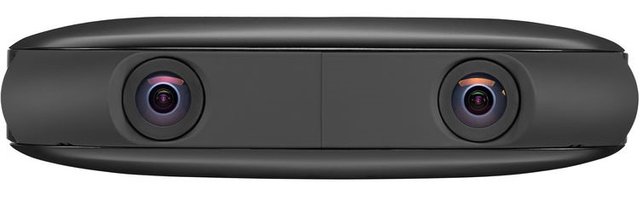
Each one of the camera’s four sides has a pair of F/2.4 fisheye lenses (eight total). The lenses are arranged to mimic four pairs of eyes for stereoscopic capture. Each pair has its own Sony FHD image sensor.
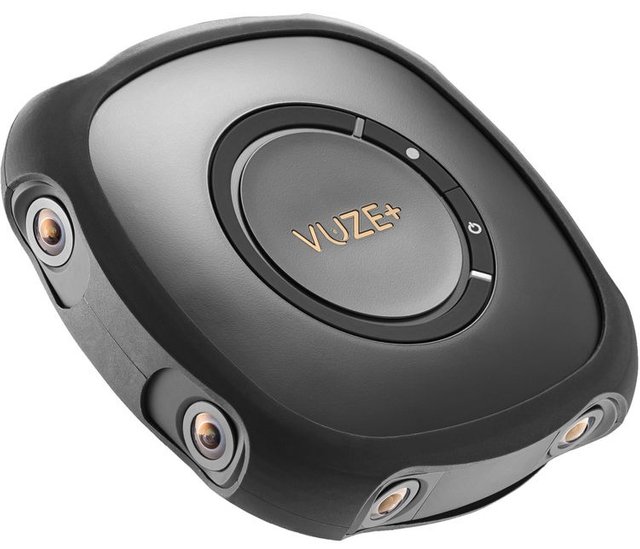
Additionally, each corner gets its own microphone. Those mics join forces to capture first-order ambisonic audio - natural spatial sound.
On the top of the camera, you'll find two buttons; one for power and mode control and the other to start recording video or capture a photo. There is also a pair of LED indicator lights.
The bottom of the camera has a standard ¼ screw for a monopod, tripod or other such accessories.
Behind the protective flap, you'll find a micro SD card slot, USB 2.0 port and a button for pairing the camera to your smartphone. The latter caused me some confusion as I wasn't expecting to find it there. Ah, well. That flap also endows the camera with an IP65 rating, meaning it’s dustproof and can withstand jets of water.
The USB port is used for transferring data as well as for charging the camera’s 3,700 mAh battery. The battery is good for about two hours, which is handy as the cable will be in the shot if you tried filming and charging at the same time. From empty to full charge takes the camera about 3 hours.
Finally, the camera has a built-in accelerometer, gyroscope and compass to track both the horizon and camera motion so the Humaneyes VR Studio can best stabilise the footage during rendering. More on that later.
Along with the camera, the box contains a mini tripod that also works as a handle. Most importantly, you also get a hardshell case bundled in.
Vuze+ tech
As already alluded to, the Vuze+ can capture 4K per eye stereoscopic 360 video at 30 fps or 4K monoscopic 360-degree video at 60 fps, as well as mono or stereo 360 photos. Additionally, if all that wasn't enough, it's capable of live streaming at full resolution (when connected to a PC) to Facebook, YouTube, Periscope and any RMTP (Real-Time Messaging Protocol) platform.
Vuze+ in use
Setting up the Vuze+ is truly simple. All you have to do is insert your micro SD card and power on the charged camera. You can control it either with the two buttons on top of the camera or with its companion app for iOS and Android.
Pressing the power button will turn the camera on. Also, the same button can be used to switch between video and photo modes. The LED light flashes as it boots but solid blue means the camera is in video mode, solid yellow means photo mode, and purple means live streaming mode.
When the second light above the record/capture button blinks red continuously, you’re recording. If it flashes red once, you’ve taken a photo.
Using the camera's buttons is relatively straightforward; however, I really recommend pairing the Vuze+ with your smartphone and using the app. Now you can control and preview footage on your smart device. The app also lets you change settings on the camera.
Vuze app
The free companion Vuze Camera app is easy to use and intuitive to navigate.
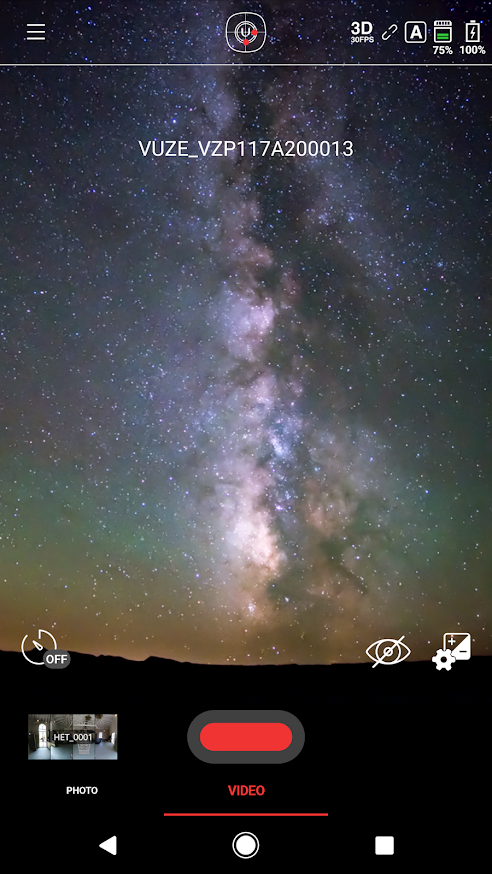
Within the app, the icon at the top centre of the app (the Vuze icon in a target) indicates whether-or-not the camera is level. If one edge is too low, it is shown by red dots. The icons at top right show you the mode you’re in, the capture frame rate, camera's battery life and remaining memory.
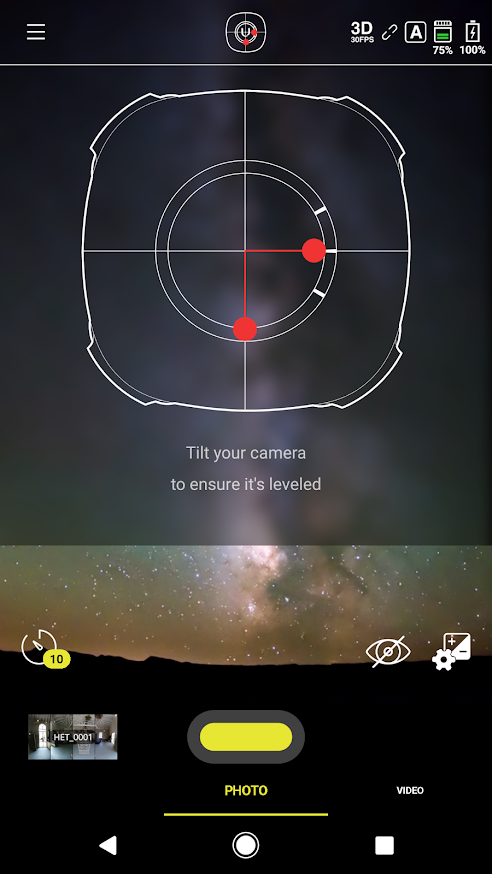
The eye icon at bottom right is used to turn live preview mode on and off. Opposite the eye icon on the left side of the screen is the timer that ranges through off, 5, 10 and 20-second delays. Below that, you can change between video and photo mode, as well as initiate recording.
The bottom left corner thumbnail accesses your media gallery. The top left icon can be used to adjust the camera’s settings as well as being another point of entry to your gallery.
Settings
The settings options are as you would expect; different frame rates, resolution and so on. However, the really handy one when dealing with quadruple pairs of lenses is the exposure setting.
Through the exposure setting, you are able to choose which pair of lenses are used to set the overall exposure across all four.
Being able to choose which set of lenses sets the exposure of the entire frame is beneficial; especially outdoors amongst buildings where the lighting changes dramatically. There are also occasions indoors where the lighting in a particular room may be dark at one end but light at the other.
Vuze+ capturing
Using the app to capture video and stills is really simple. Pairing was faultless and enables you to control the camera from a decent distance. Of course, the best thing about that is being able to start recording without being in the shot yourself.
Humaneyes recommends a distance no closer than 1.6 feet (50 cm) at the camera’s sides and 5 feet (150 cm) at its corners, for both 3D and 2D footage.
I took the Vuze+ on my visit to Wiltshire, plenty of space out there. Thankfully, it was timed when the UK saw good sunny weather too. Items within the 5-7 feet range shows good detail. However, beyond that, this tails off quite quickly. Moreover, if those items are moving (check the vehicles driving past in the clip).
Dynamic range was better than I was expecting from the camera if I am to be completely honest.
You'll have to click on the picture above to have a look around.
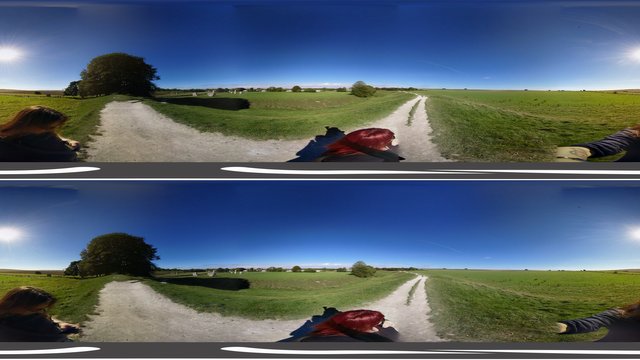
This is the same shot but flattened.
Using a tripod or even a monopod seemed to give me my best results. However, if you are considering to use the camera while moving around, I would strongly suggest using a compatible gimble as stabilisation is an issue.
Humaneyes VR Studio
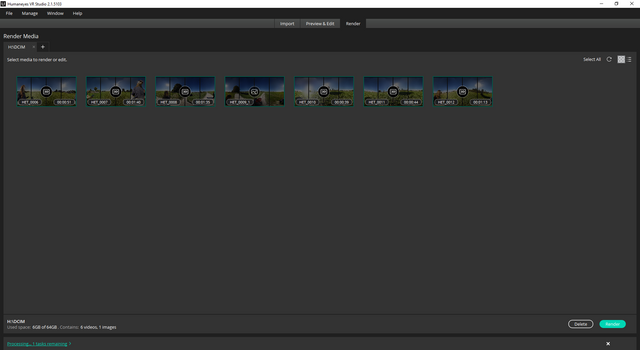
With the Vuze+ camera, you also get access to Humaneyes VR Studio. This is mostly to help you stitch your videos as well as making other adjustments before publishing your creations.
You can either download your footage or just connect your camera to your PC, open Humaneyes VR Studio and import your footage directly. From there, select the clip you want to stitch and adjust.
Once your footage has been imported, and you’ve selected a video, you’ll be taken into the preview and edit window. Down the left side are tools to flip the video 180 degrees, set the centre point, set the field of view, replace the nadir with a logo, stabilise the horizon, as well as some more advanced settings.
The flip 180 degrees tool is useful should you shooting with the camera upside down such as suspended from a boom.
The set centre tool can be used to choose the direction in which viewers will initially be looking within the clip. Just select this tool, then drag to centre.
The tool to set the field of view can be used to choose only a portion of the 360 video to show.
There’s also the option to replace the nadir (immediately beneath the camera, where you will see the tripod) and the zenith (above the camera) with a photo. Using this you can replace the space with your logo or even a picture you took of the ground or sky of your scene. Vuze recommends uploading a plain, square JPG because the software will crop a circle from it and fit it into your video.
There’s also a tool to fix and stabilise the horizon. This goes back to what I said about shooting videos on the move. The Vuze+’s built-in accelerometer, gyroscope and compass track both the horizon and camera motion so Humaneyes VR Studio can best stabilise the footage during rendering.
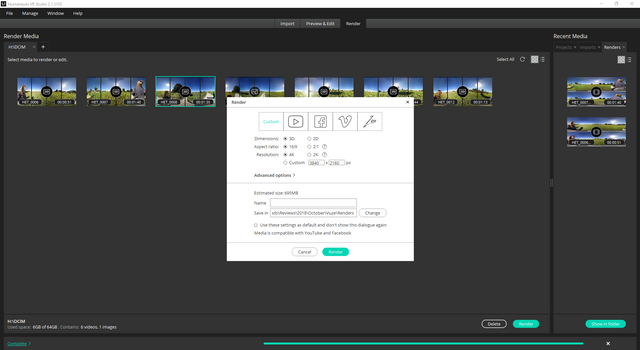
At the top is some preset export options for YouTube, Facebook, Vimeo and Humaneyes Zone. Select one, and the settings will change to what’s required for the particular platform, metadata and all. Very handy.
You can even submit your creation to Google Street View!
Although I didn't delve very deeply into the software's capabilities, I found it straightforward enough to use. I am sure that those more familiar with video editing will get much more from it; even more so, those experienced with tweaking 360-degree footage 'stitching'.
Humaneyes Vuze+ review conclusion
I have been impressed by the Vuze+ camera. I love my tech (obvs) but this has been the closest to me using a prosumer 360-degree camera, and I was a little apprehensive, to be honest. However, I needn't have been as it was straightforward to get set-up and start shooting.
I can happily recommend that anyone looking to invest in a decent stereoscopic camera, whether that's small businesses or video enthusiasts, then the Vuze+ is a great option. Especially when you add in the easy-to-use editing software and ability to ping off your creations to social networks.
Vuze+ price and availability
You can buy the Humaneyes Vuze+ camera right now for £1,100 from Amazon.
Posted from my blog with SteemPress : http://gadgetynews.com/humaneyes-vuze-4k-360-degree-vr-camera-review/