Fabricated Films: "I Am a Flamingo" Production Photos - Sets
Hey Steemers!
Here's part three of my creation process for "I Am a Flamingo." I'll be talking about the set build and everything that went into that. If you missed part two where I discuss the process I used to build Allie, the alligator, here's a link to it:
Overall, I'd say the actual set build was probably the fastest part of the production process. In total I think we spent 5 or 6 days on it. Which for comparison, I think the puppets took me 6 or 7 weeks...
Step 01: Designs
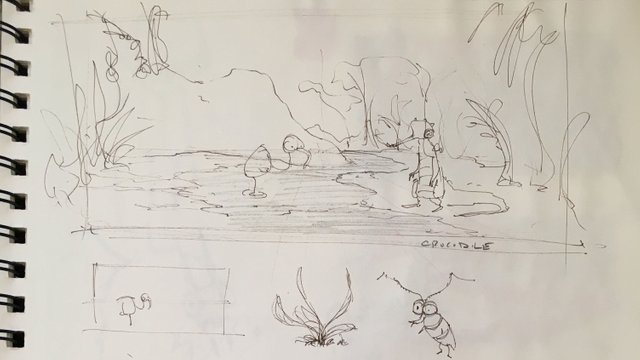
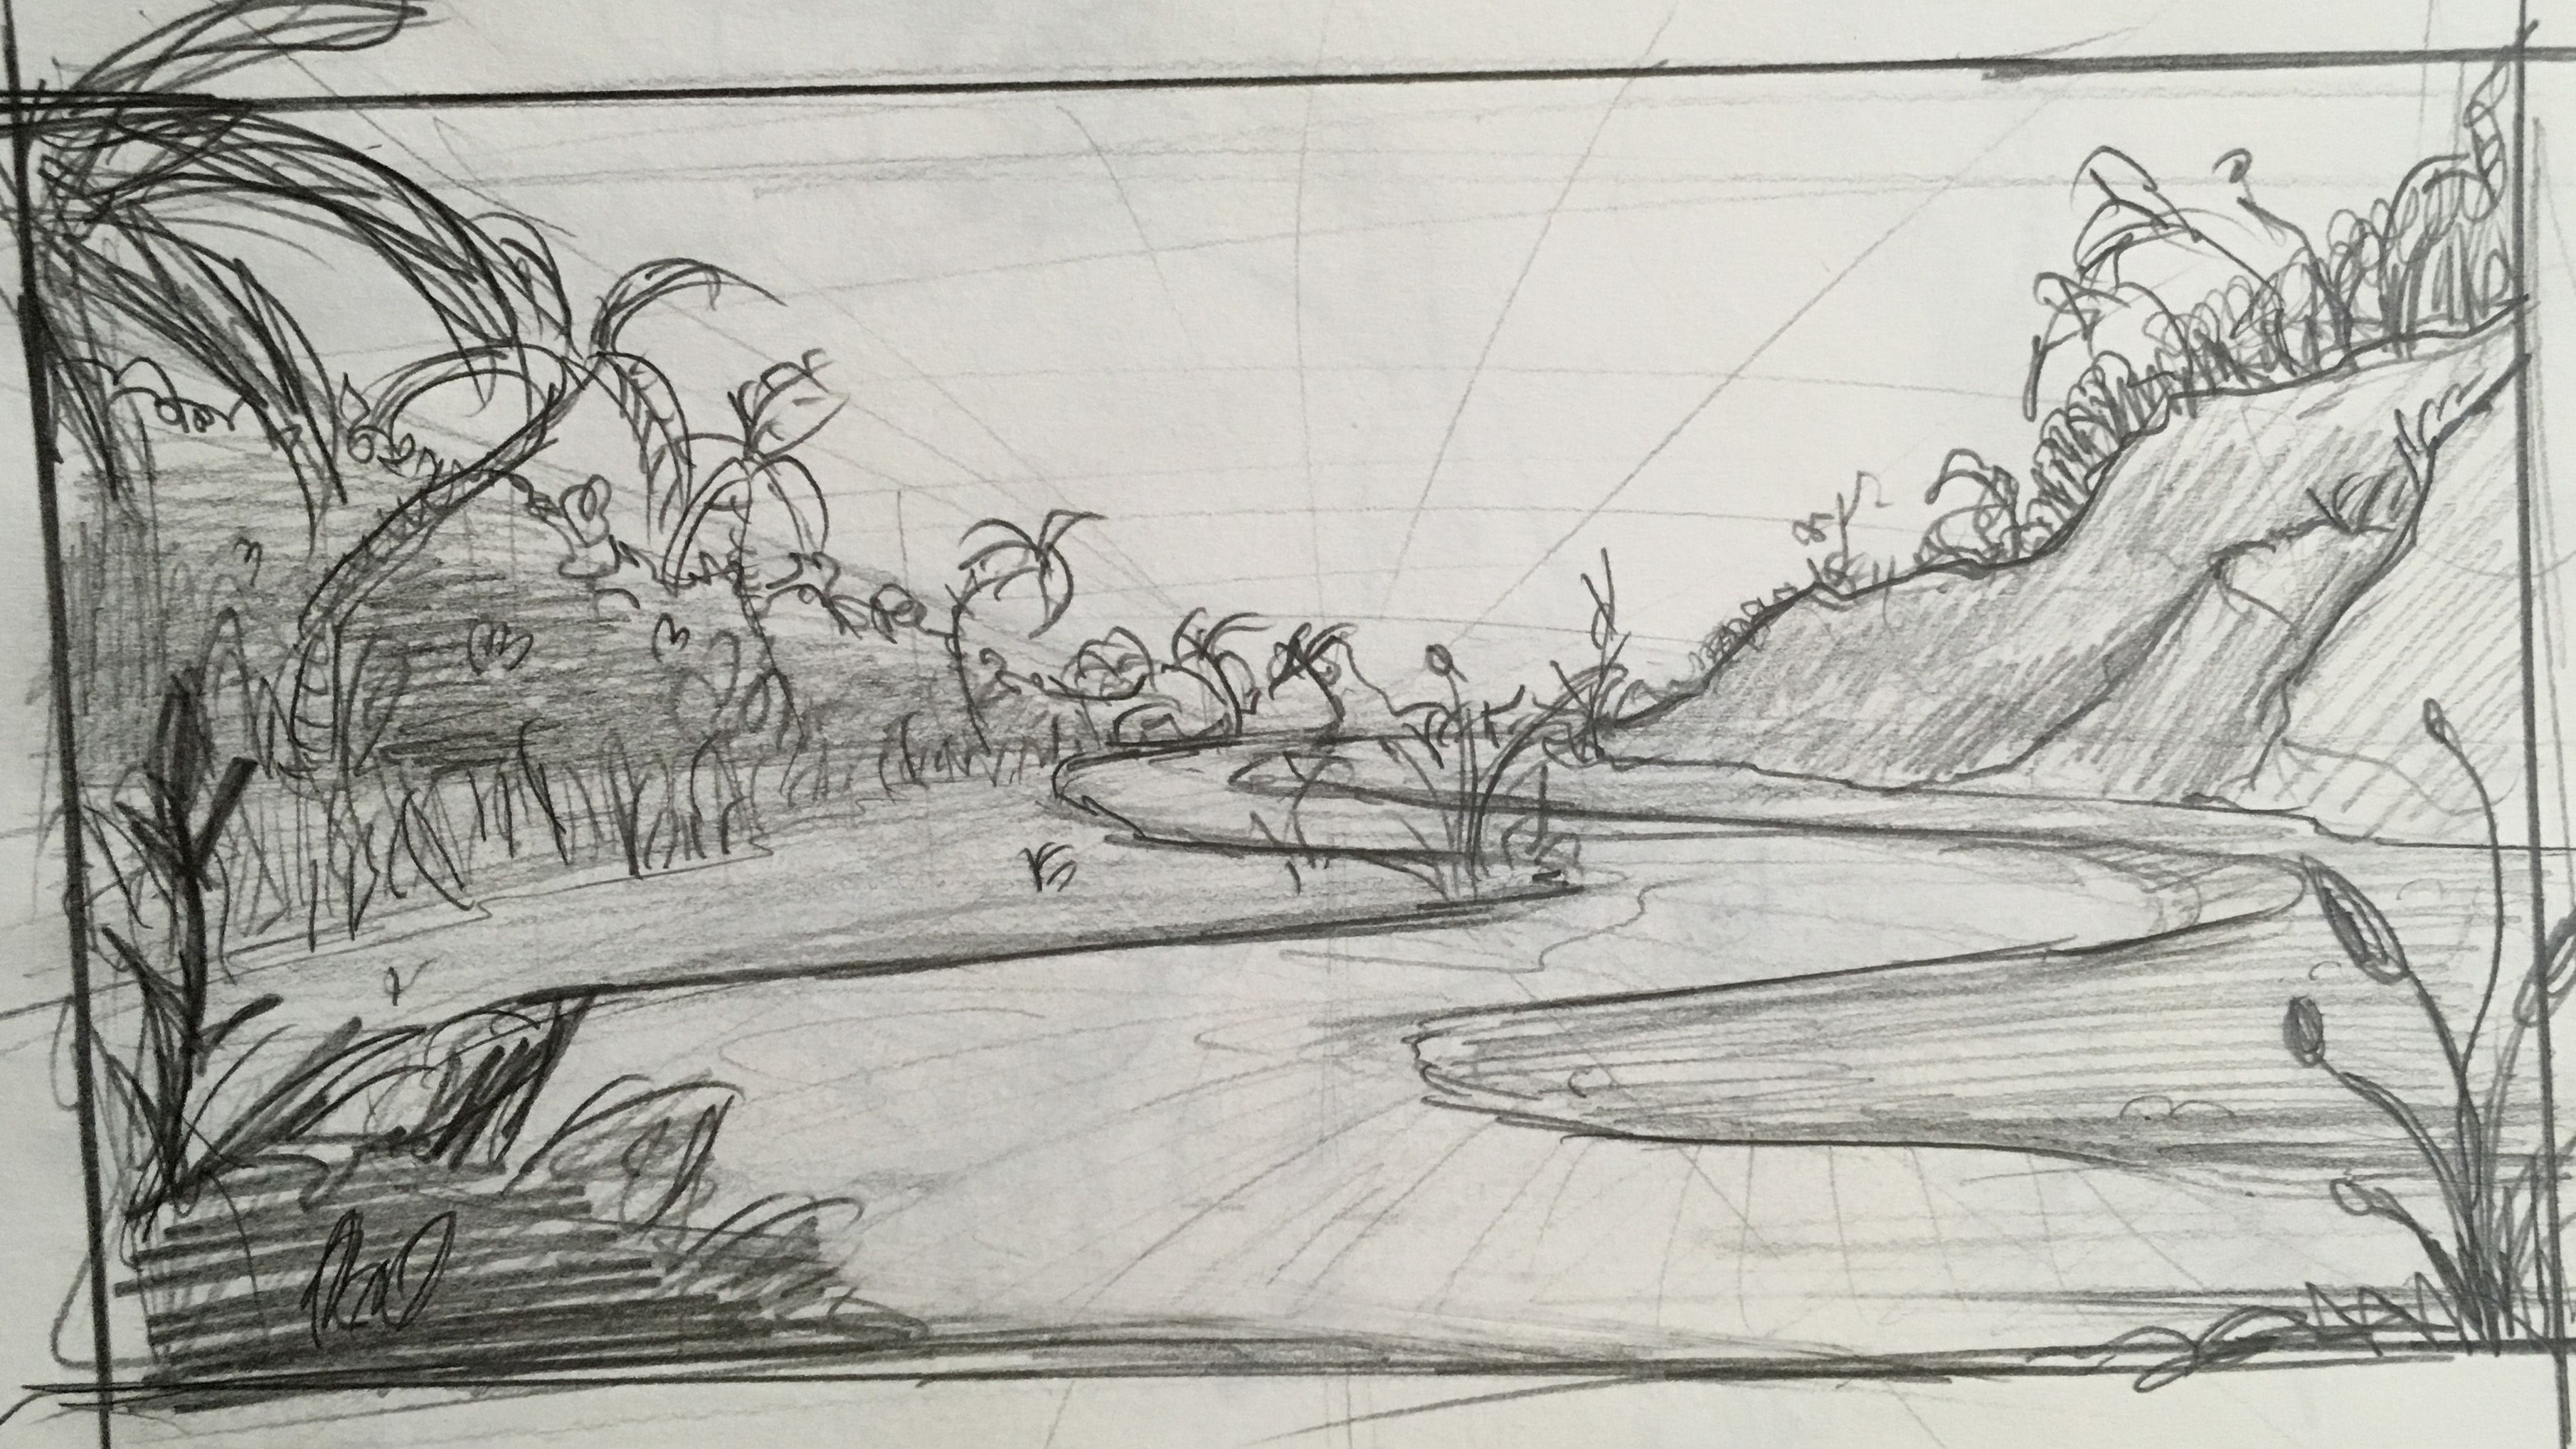
Preliminary designs involved me just sitting down and trying to translate what I was seeing into my head onto paper. I knew I wanted to separate the frame using some sort of river or stream, but aside from that, I just worked on a bunch of small thumbnail sketches until I settled on a design I liked.
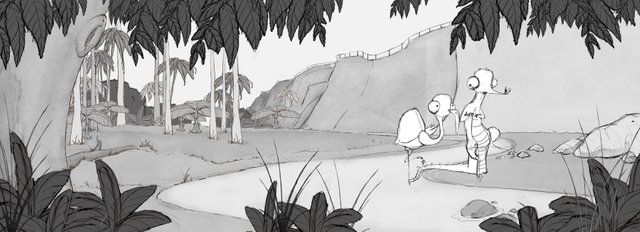
This is a cleaned up version of the final design. I wanted the foreground elements to help push the idea that the audience is sort of watching this interaction from the bushes.
Step 02: Blocking out the Forms
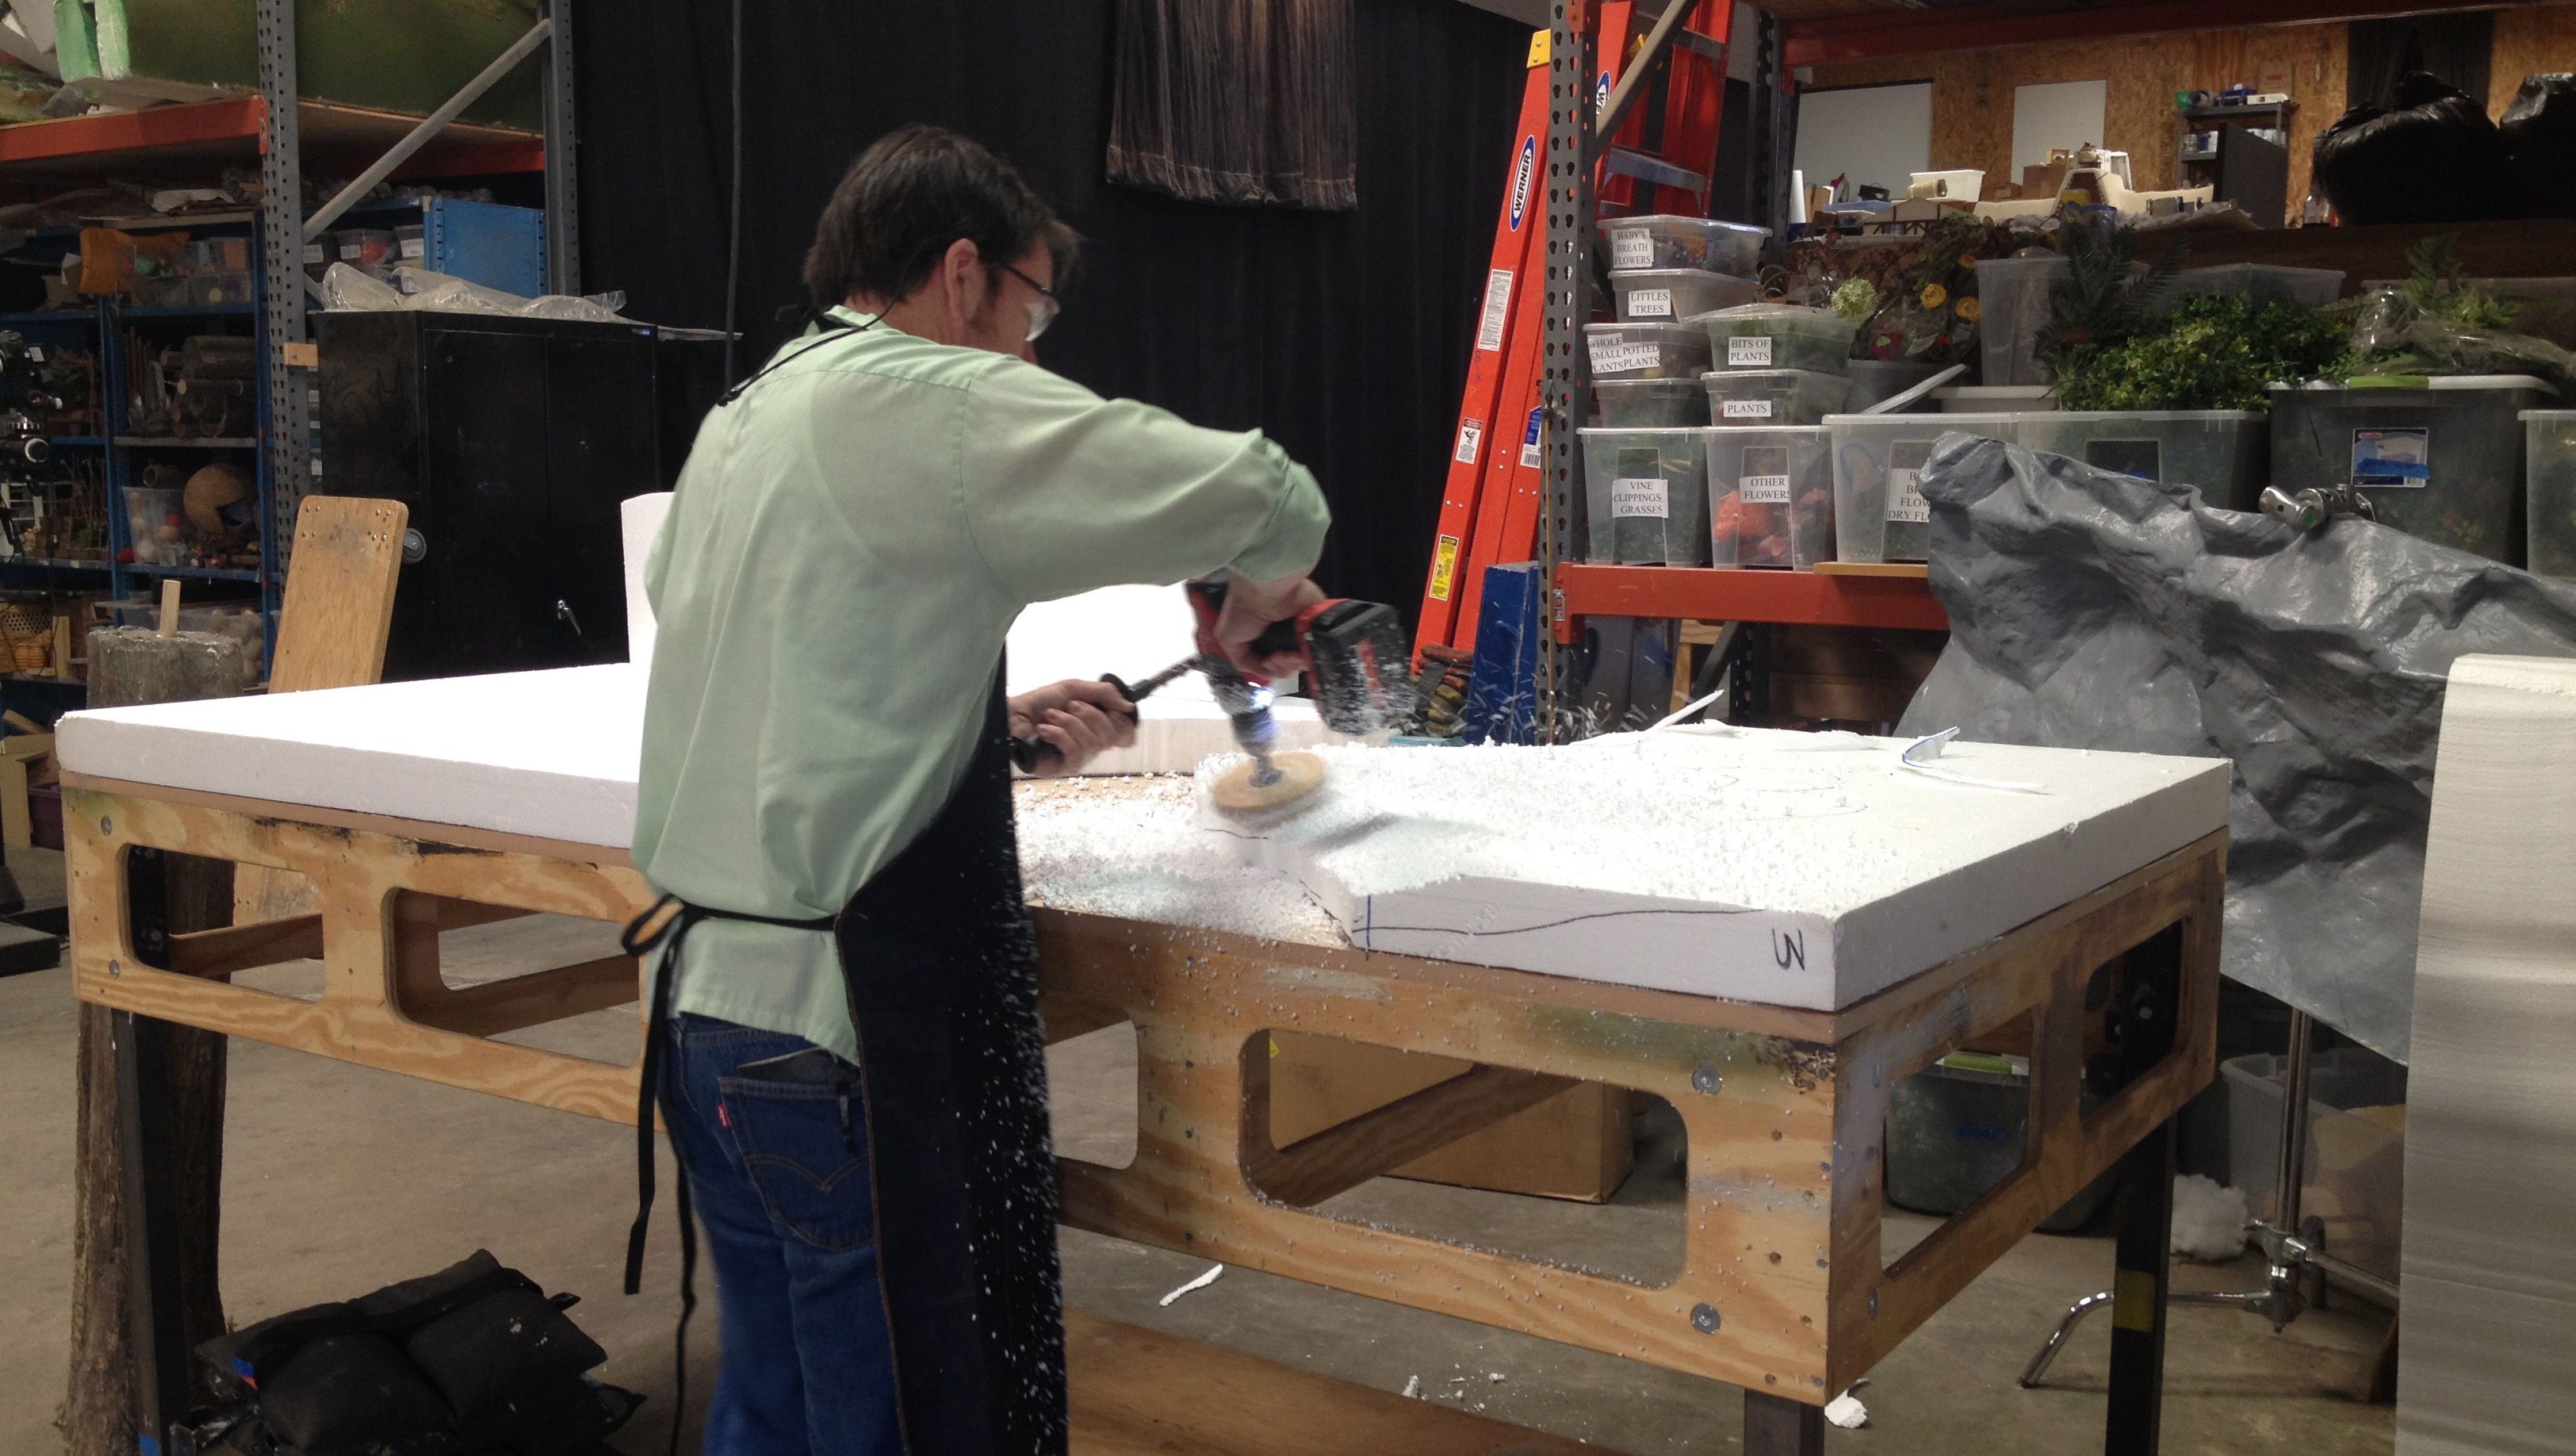
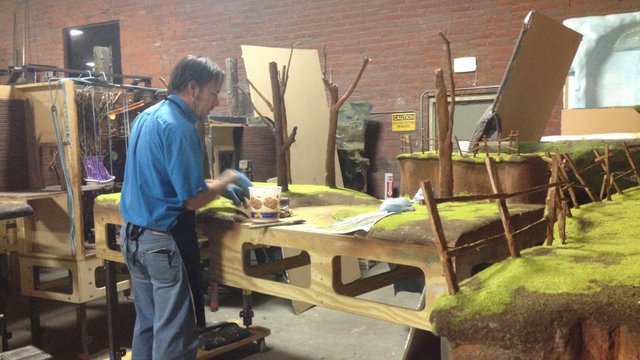
The set starts out as one giant piece of 8 x 4 MDF (a panel of fibreboard, similar to plywood), and then a 3" sheet of foam is glued to it. The foam sheet is formed to whatever the topography of the set is...in this case, I needed a river running down the center of the set, with two riverbanks on each side.
This is Jeff, the production designer, shaping the foam with a home made tool called the "Gribbler." haha You wouldn't want to get your hand caught that thing.
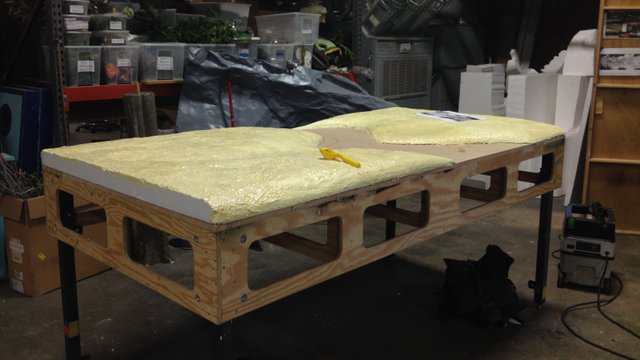
A layer of hard expanding foam (foam-it) is then brushed on to the sculpted foam sheet, in order to make a hard "shell" for the puppets to be tied down. Without this layer, the foam is too squishy for the characters to be tied into. This layer of hard foam is then sanded as smooth as possible, before being covered with a coating of plaster, which makes a better surface for paint and other materials to stick to.
Step 03: Ground Cover and Flocking
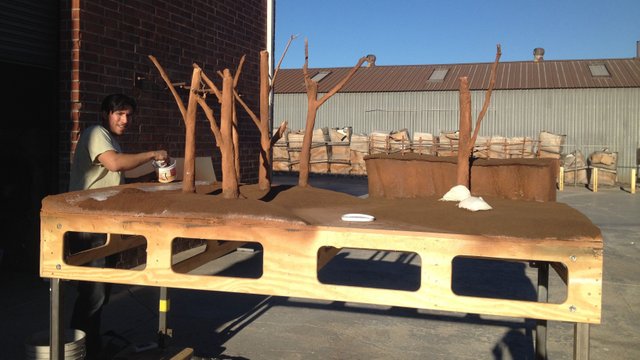
Jeff laying on a base coat of brown paint, this is to make sure that none of the white foam shows thru the ground cover.

This is Derek, he assisted with the set build and props. Here he was laying down the ground cover, which is made up of peet moss and adhered using elmer's glue.
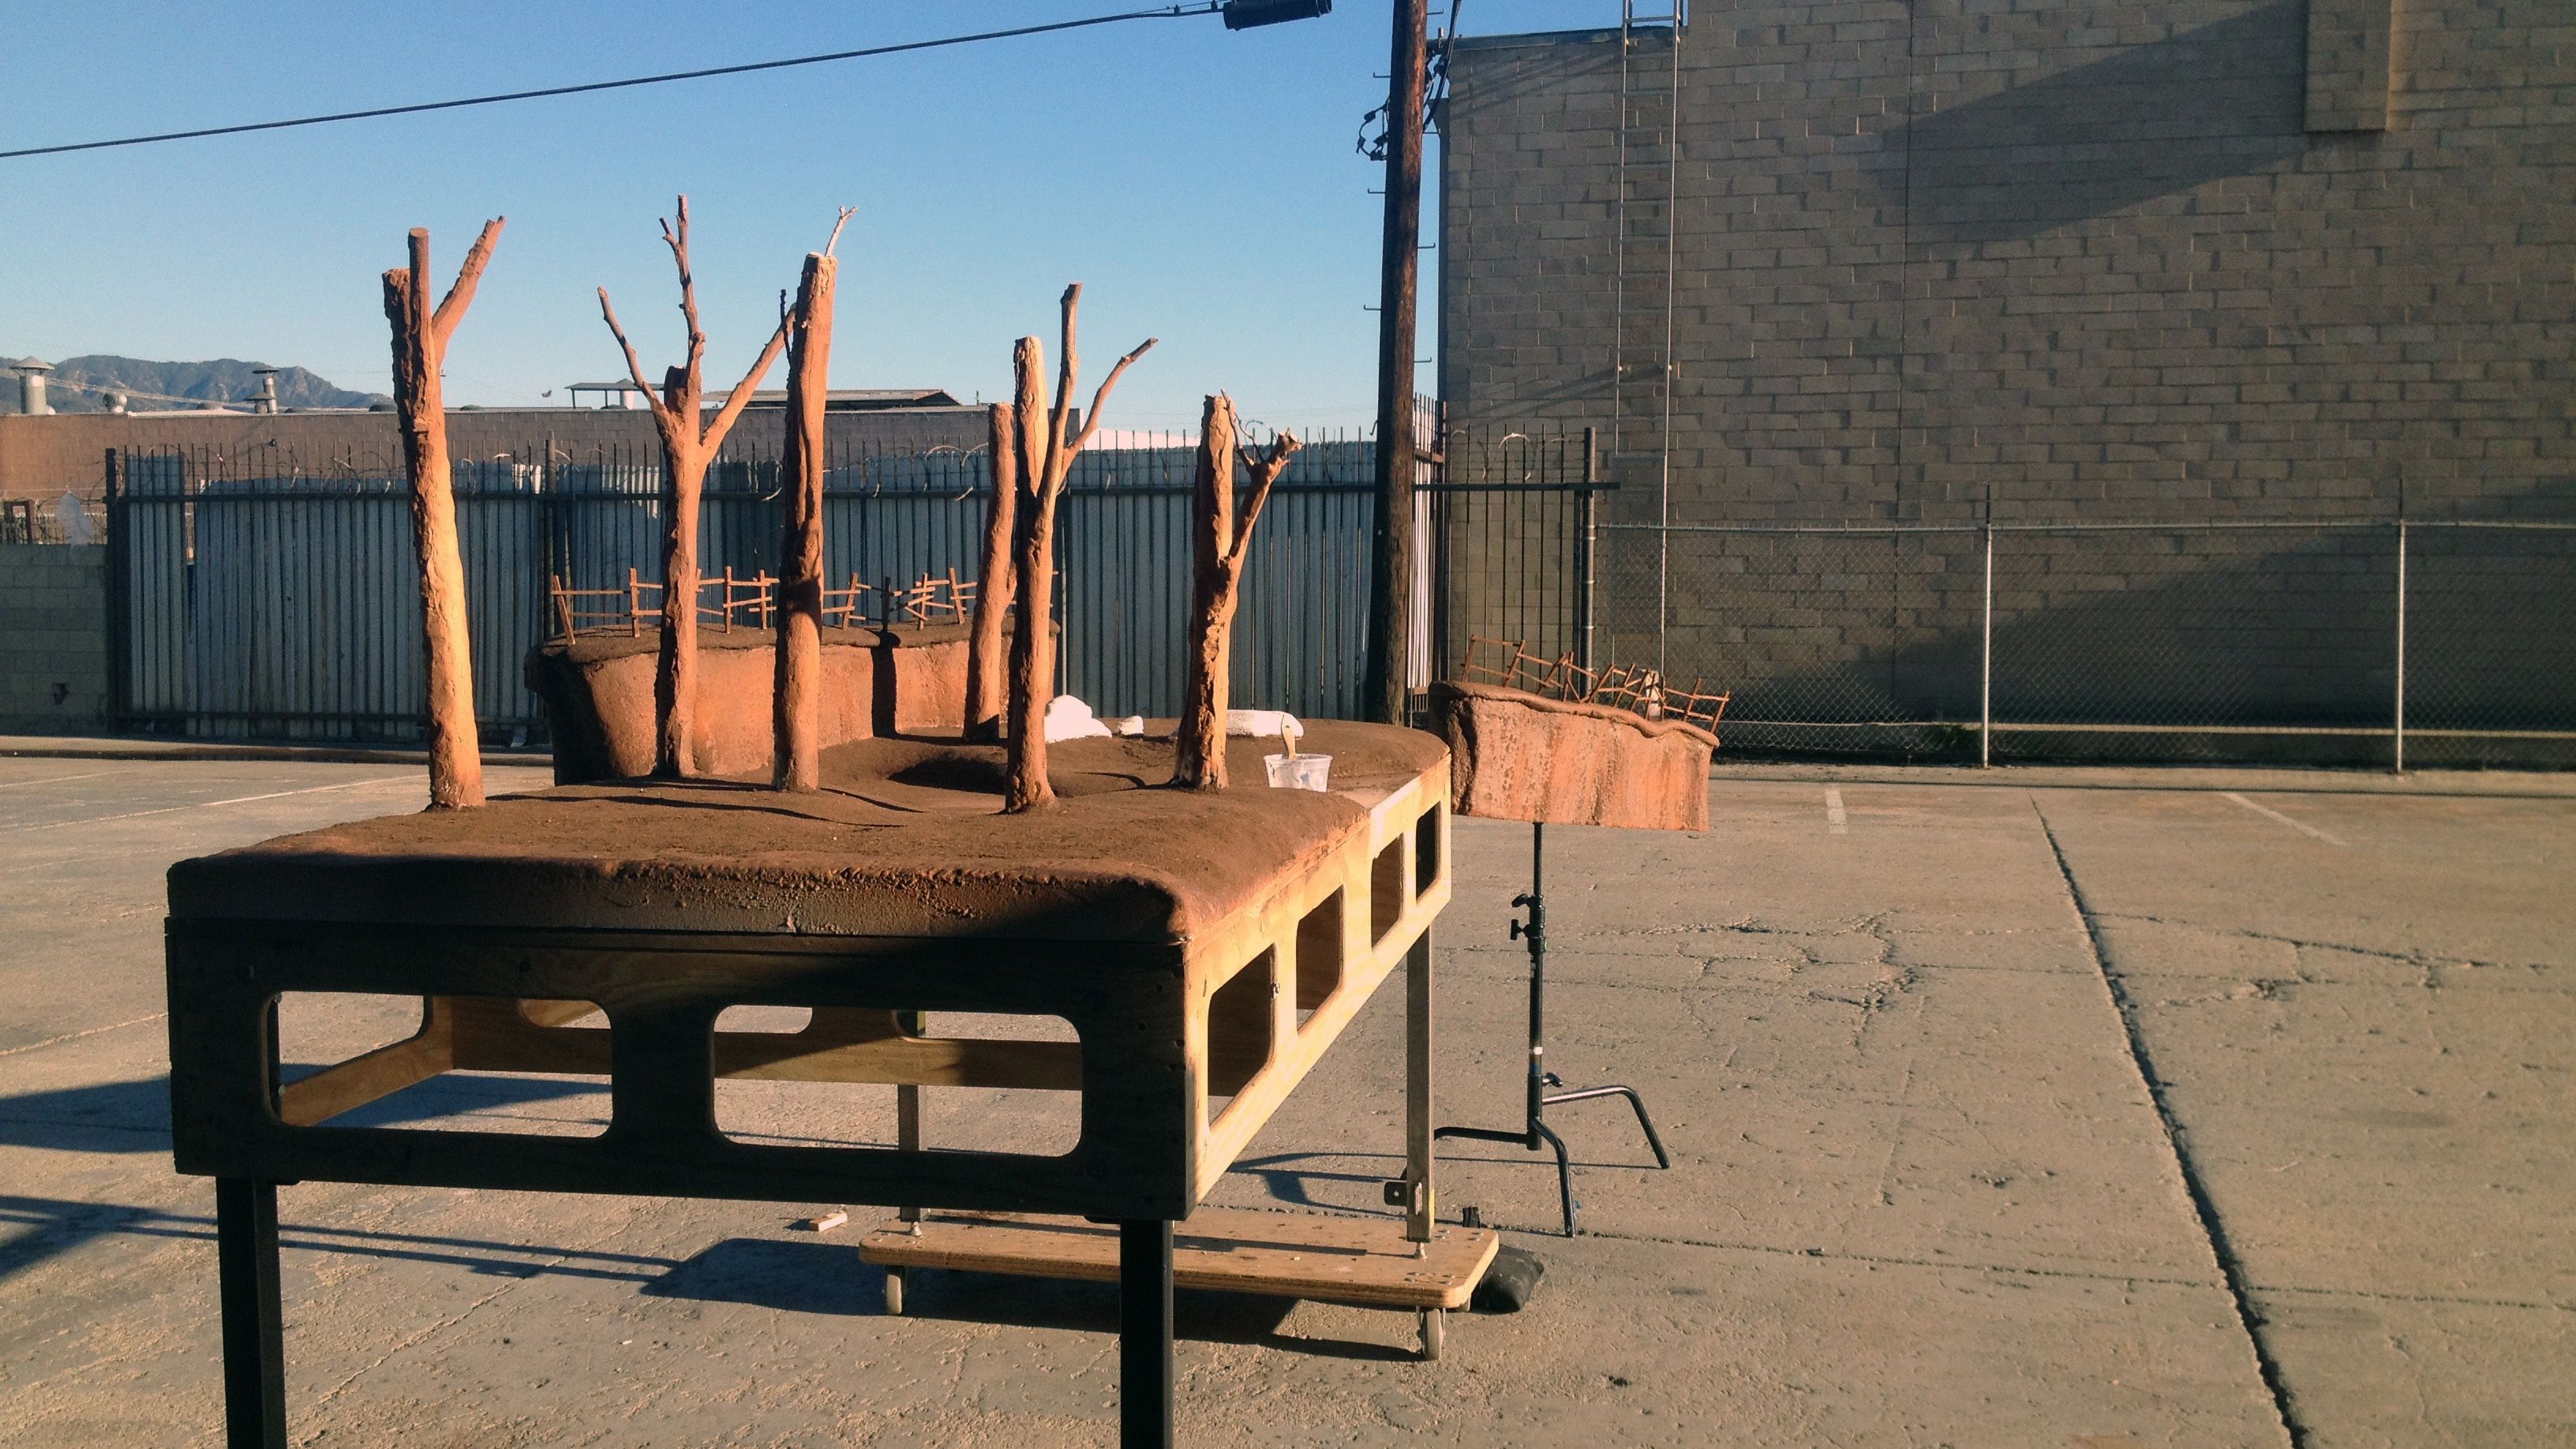
Here's the set with all the ground cover glued on. Left out in the sun for a few hours to dry.
Here's Derek flocking the set, which is actually a really cool process! The grass flocking is shot out of an electrically charged flocking gun, so when the flocking is shaken out of the gun, it shoots into the glue standing up and dries in that position. Here's a video demonstrating the technique:
Here's Jeff working on the flocked set:
Step 04: Set Elements
The rocks are just carved out of a dense, hard foam and then treated with spackle so they can be painted and textured.

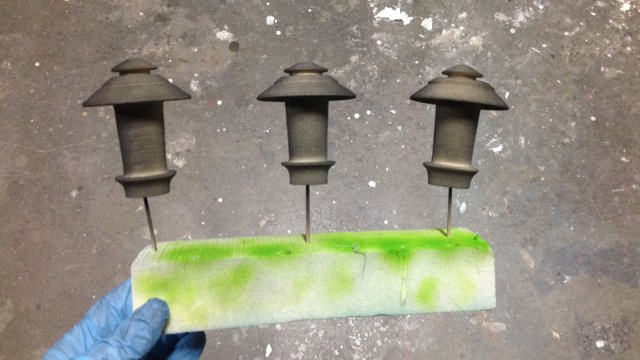
These street lamps were also carved out of foam...I think every prop on this production was carved out of foam.
Here's a very brief video of set prior to placing in the river material.
Step 05: Set Dressing and Lighting
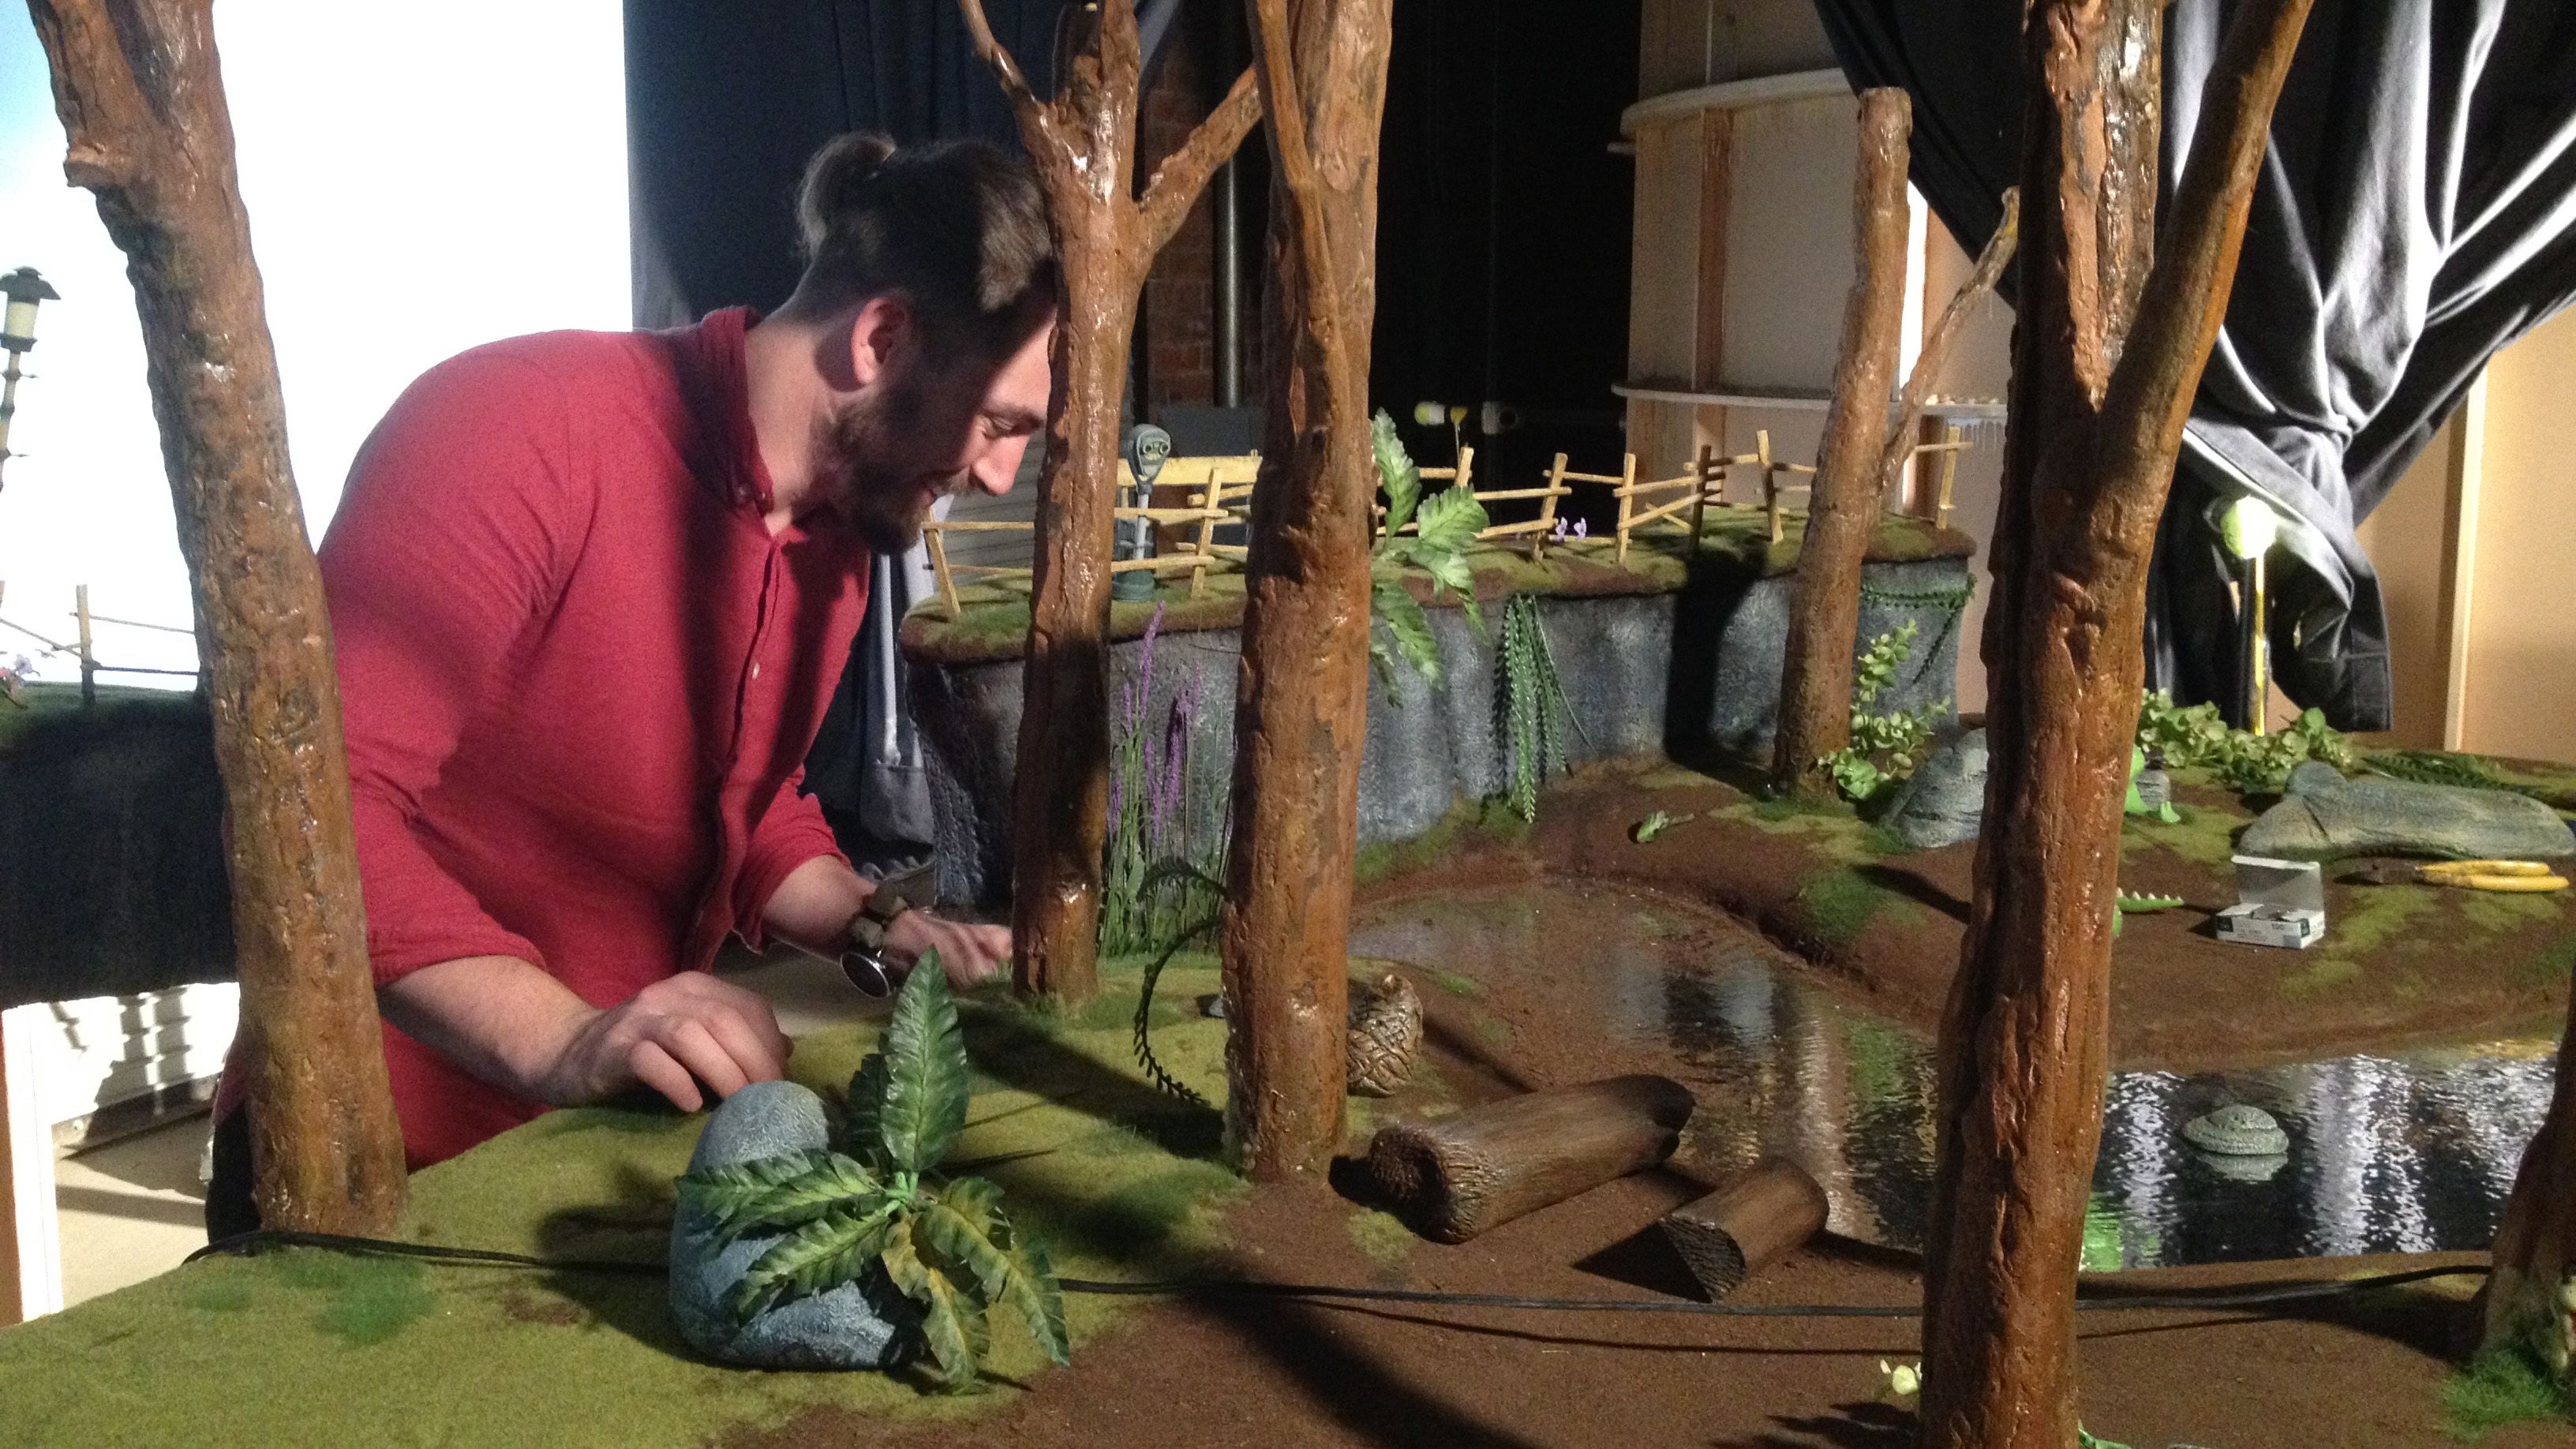
Drayson was one of the prop makers on this production. Here he is placing foliage and helping me dress the set to camera. All of the foliage was bought from a craft store, painted and repurposed.
Unfortunately I can't find any photos documenting the water effect, but it's basically just mylar (a reflective material) layed over super 77 (spray adhesive) to give it a bumpy texture. The way the light hits it is what really sells the water look.
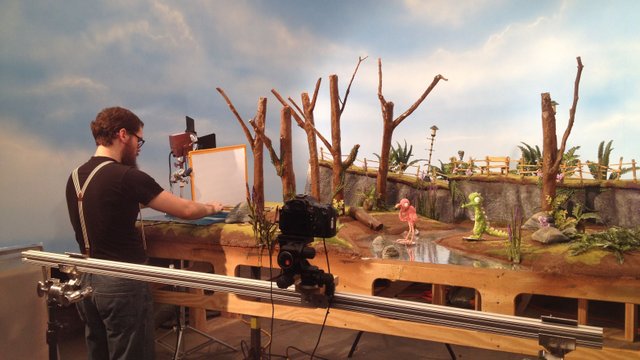
Warren was our grip and helped with the lighting. Our DP was Jeff Gardner, and he absolutely killed it. Pro tip: There is no point in spending vast amounts of time making your set look good if it isn't going to be lit well, so make sure you know what you're doing or have someone light it that does!
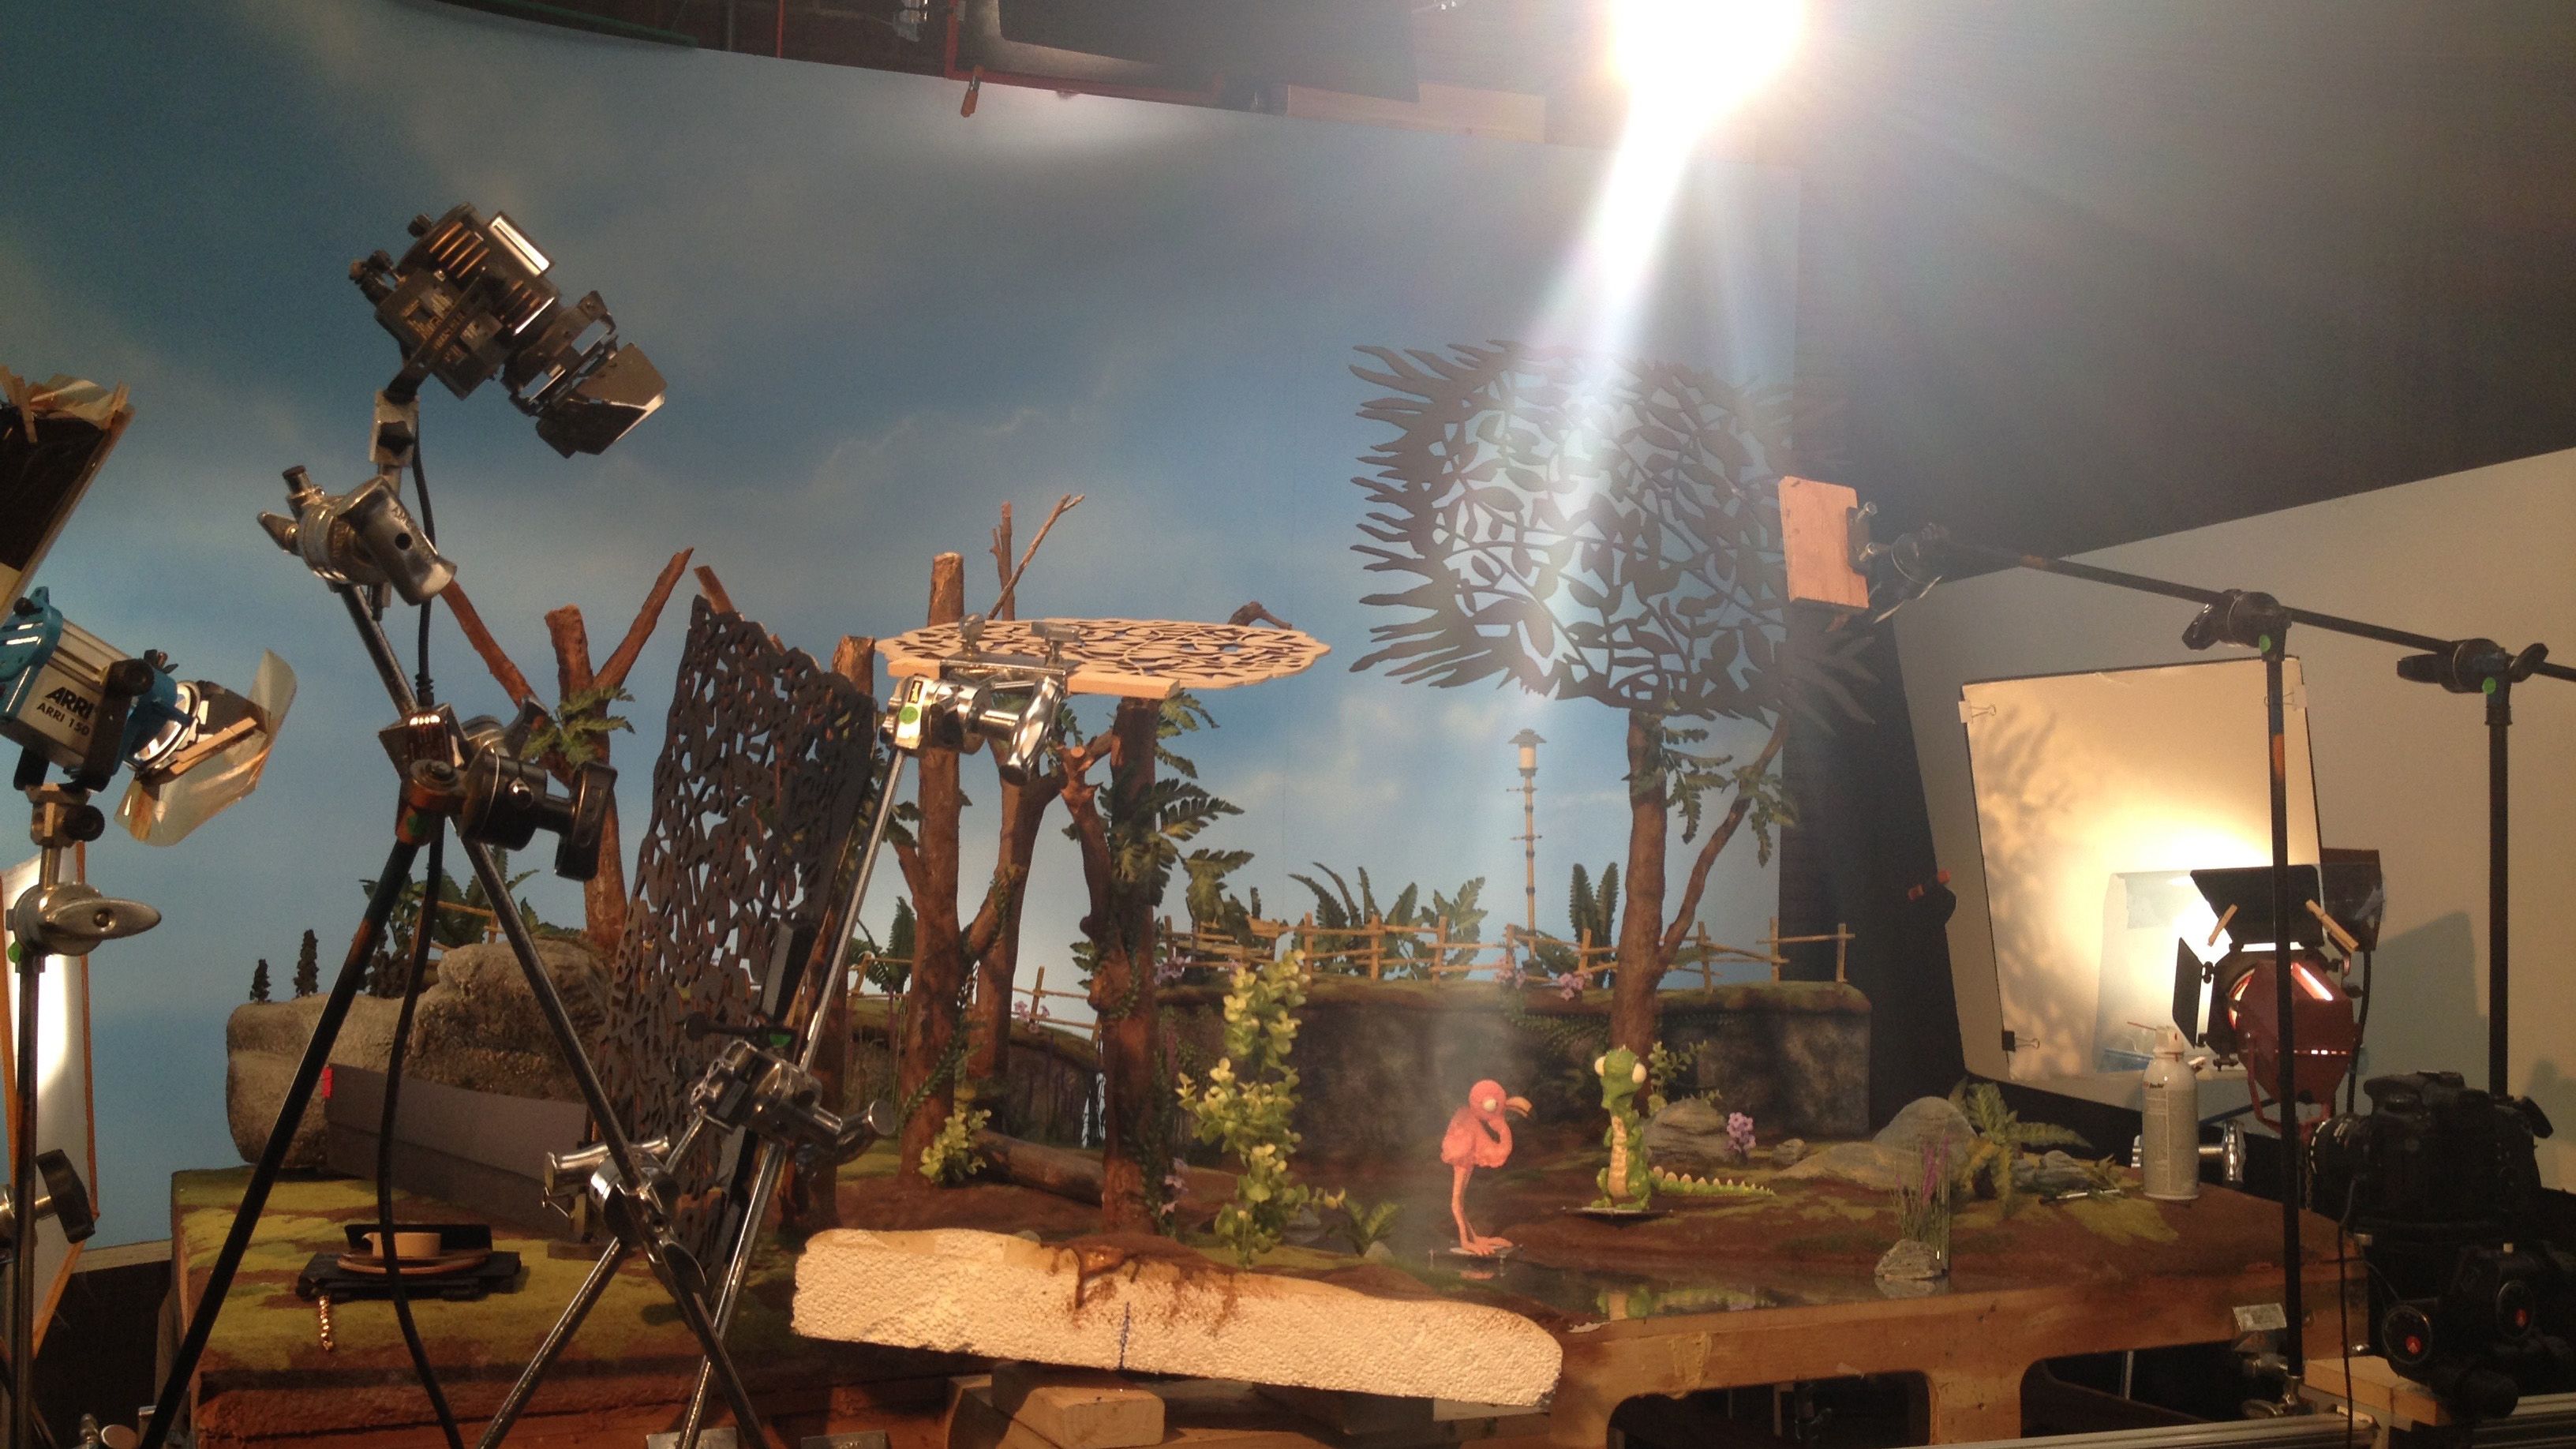
Here is a technical analysis of the lighting setup for the scene. If you're not into gritty details I suggest skipping this one, as it was only meant to be used as reference in case something catastrophic happened and we had to relight. It is kind of neat to see how many lights it took to make this thing shine though. Jeff is just an absolute wizard with lighting, and I was so fortunate to have him on the project.
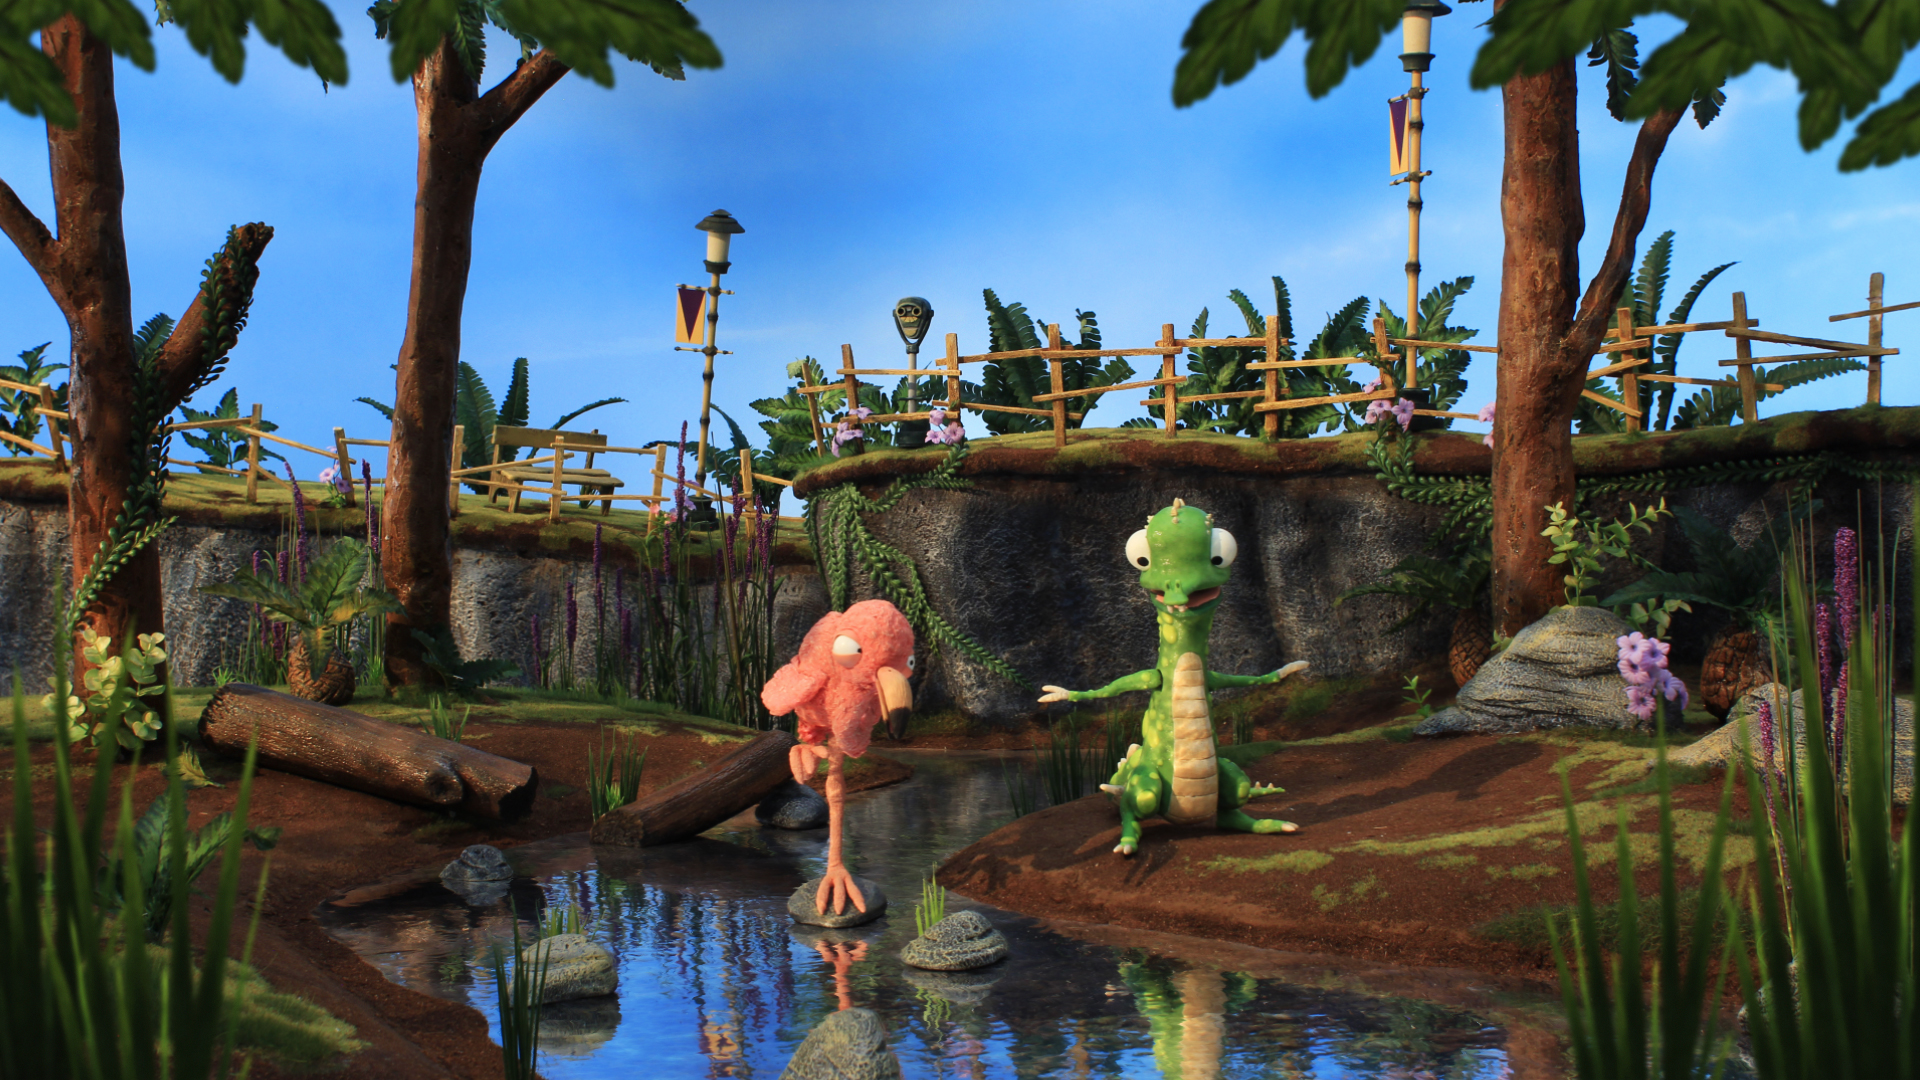
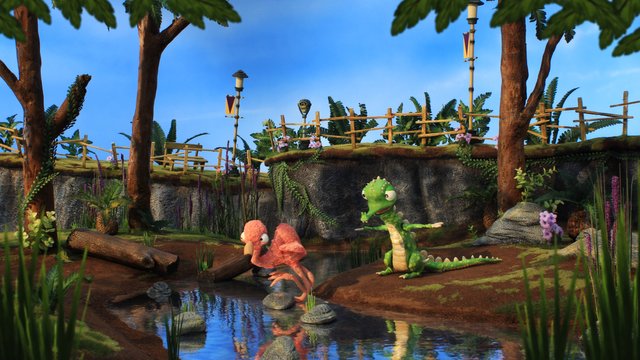
And here's the set in all it's glory. I am particularly proud of the finished product when compared to the initial designs. A lot of this production was "eye-balled" when we started production, so I'm really happy with how the visuals translated into 3D without concrete designs.
Thanks again for all the support. It's been a pleasure sharing my process with you guys! I'll try to answer any questions you might have in the comments.
Thanks for peepin!
That was quite a process putting the set together. The mylar looks like real water with the rippled surface and all those lights, bounces and flags come
together nicely for a very natural look. Another impressive post. I think it would be great for art students interested in animation to see how the pros do it.
Thanks! Once the vfx was placed over the water it really brought it to life.
And yeah I think it’s helpful for art students to get a look at what professional quality vs student quality really is. I went to art school myself, and there is a huge problem with lack of critique and criticism of students work.
Did the characters take longer due to having to guess the moulds or just because more attention needed to be paid? Set building looks like fun XD And all that turned out awesome!
Yeah building the sets was a blast! The characters took longer due to a lot of factors, but the molds were a big part of that. There is a lot of precision needed to make a puppet work, and a lot of time consuming processes that I'm just not that great at doing quickly -- mold making is one of those things. haha
If I retained more of that knowledge between projects, I probably wouldn't make so many mistakes trying to relearn things I've done in the past, and the process would be quicker.
Do you keep notes? One of the useful things I found when I started blogging is that I could throw some notes on my blog with screenies semi-tutorial style so if I forgot how to do something and I remembered writing about it I could just search for it. And sometimes if I didn't remember writing about it DDG/Google would helpfully find the notes I wrote when I was searching XD
I try to! Sometimes I keep a production blog, which, pre-steemit, involved me just pointing a camera at my face and talking about the process. haha
Evernote is something I utilize often too! I'm just not particularly great at staying organized. :/
incredible man. Are you shaping the Styrofoam block with a flap disc in that video? Pretty smart play
Prikolnenko post! Very surprised with some things.
Oh, wow, this must've take some work... But it looks incredible! Congratulations!
Wow this is phenomenal! Thank you so much for sharing what goes into making this film!
This is amazing work!
Thank you! I t’s been a lot of fun sharing my process with the community.
This is quite the passion project brother!, I can't wait to watch it!! :)
This is really really amazing. I just enjoyed reading through the post. I pray your hard work pays
This is so detailed and amazing, In love with your work and already feel like i wanna learn to do this