Commission Work : An In-depth Step by Step Process
Hello Fellas! Let me give you some in depth step by step process of this commission I painted using Photoshop CS6. And If you are quite attentive to read and not just look at the photos, you will also acquire tips and knowledge along with it hihi XD
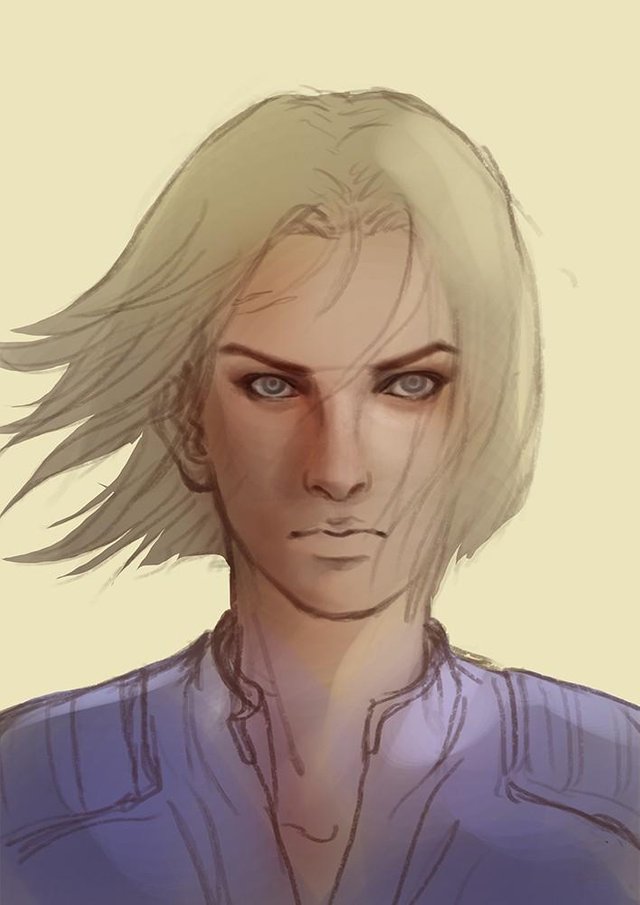
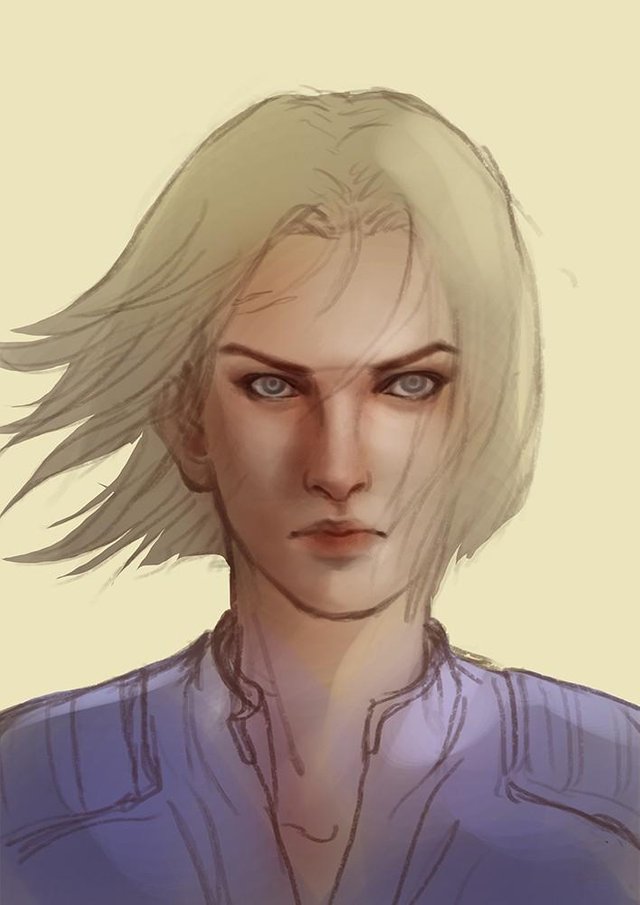
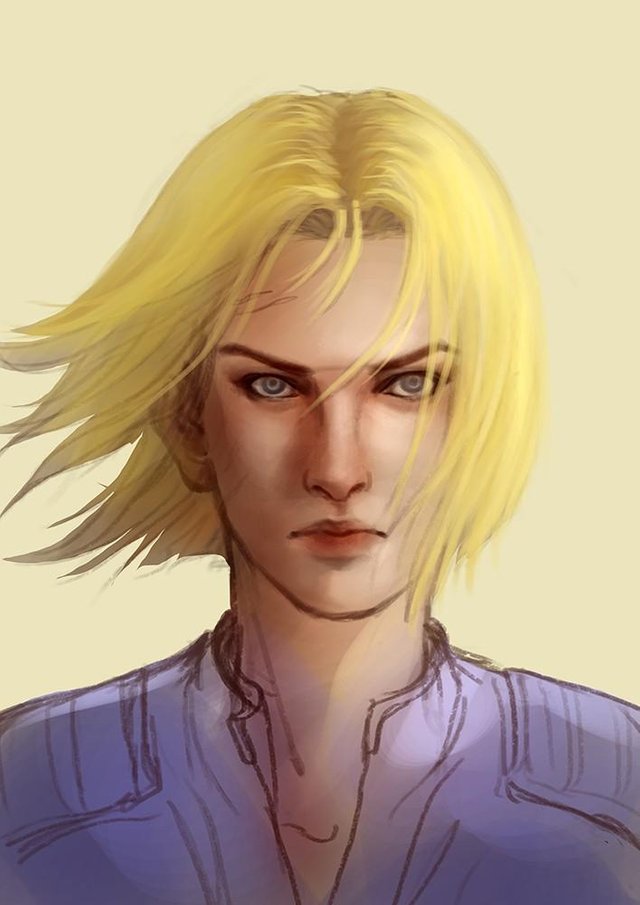
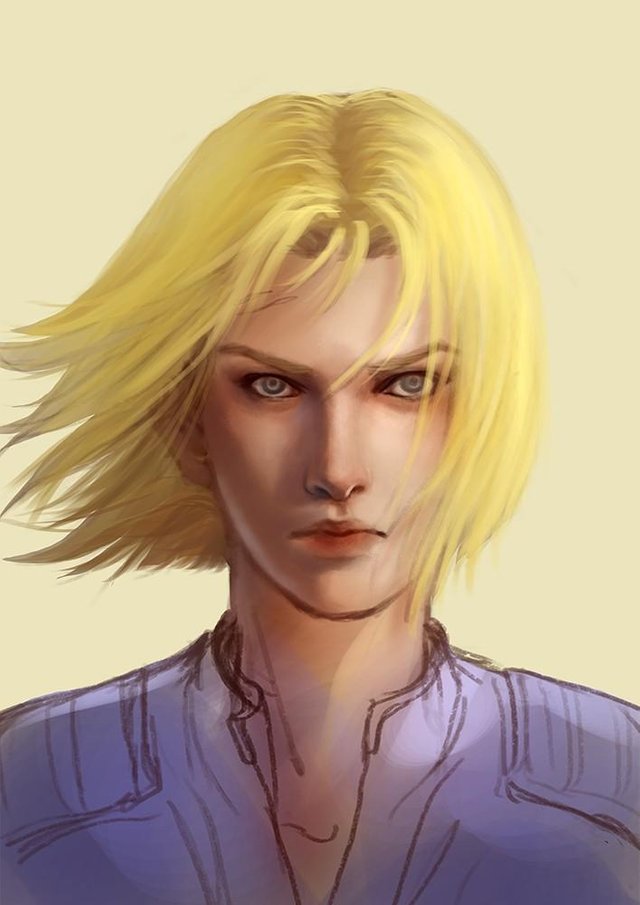
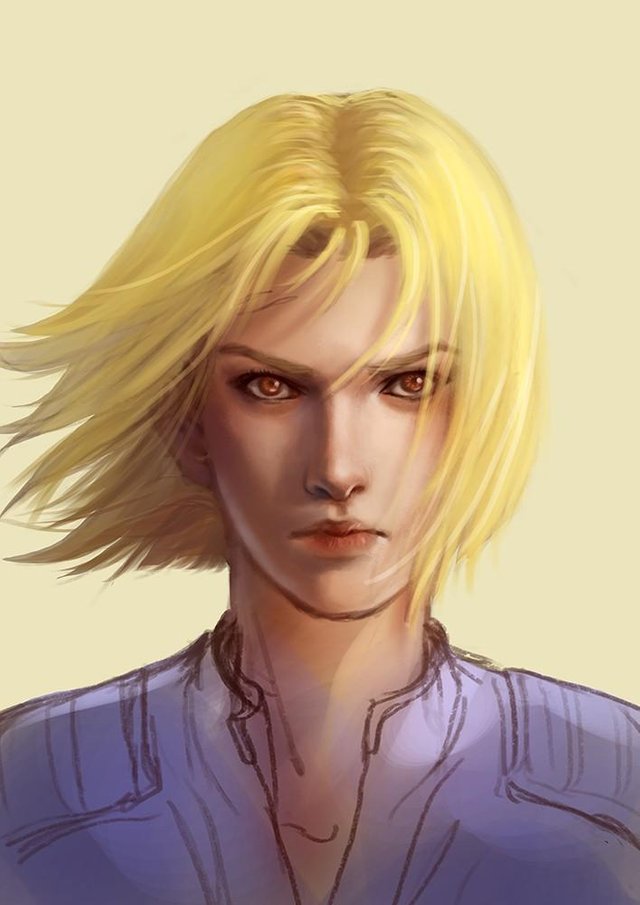
This is Alejandra's Original Character and she wanted me to paint it with my art style. She gave me this images as reference of her OC. If I am not mistaken the upper image was done by Emily (her friend) and the lower one was done by her :D
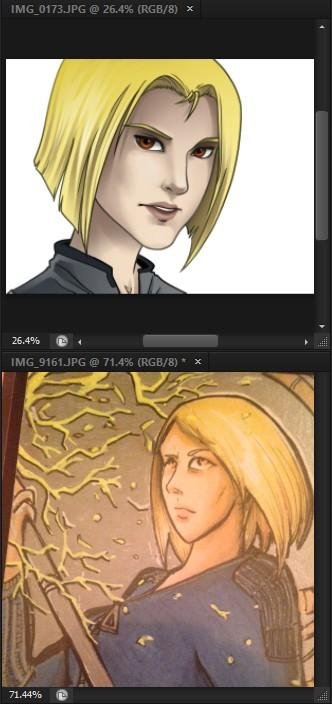
She stated that her personality is very focused and confident. -- but a little sadness can show, she is also an athletic- fighter type and has sharp stare.
Basically she is a strong woman internally as well as out.
She also wanted it to be facing forward looking out at the viewer.
And now for the process:
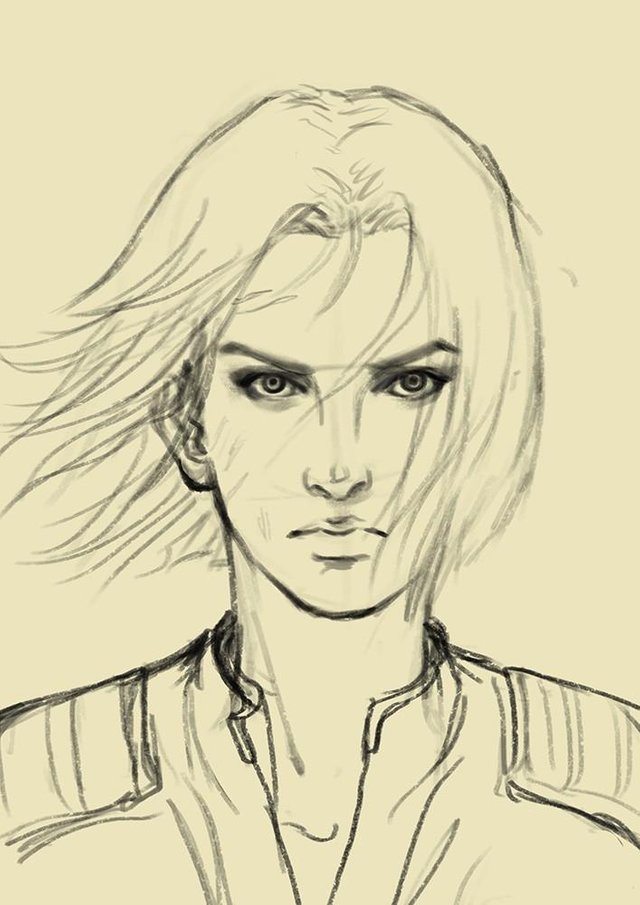
- (1) Sketches
When I do commission work, I always send sketch to the client first and wait for them to approve it. And I would gladly revise if there's anything that's needed to be done :D
Tip: in order to avoid to much revisions, always stick to what the client wants, the character brief are there for a reason. Do not be hard headed and do just whatever. You are given an instruction and you need to follow it.
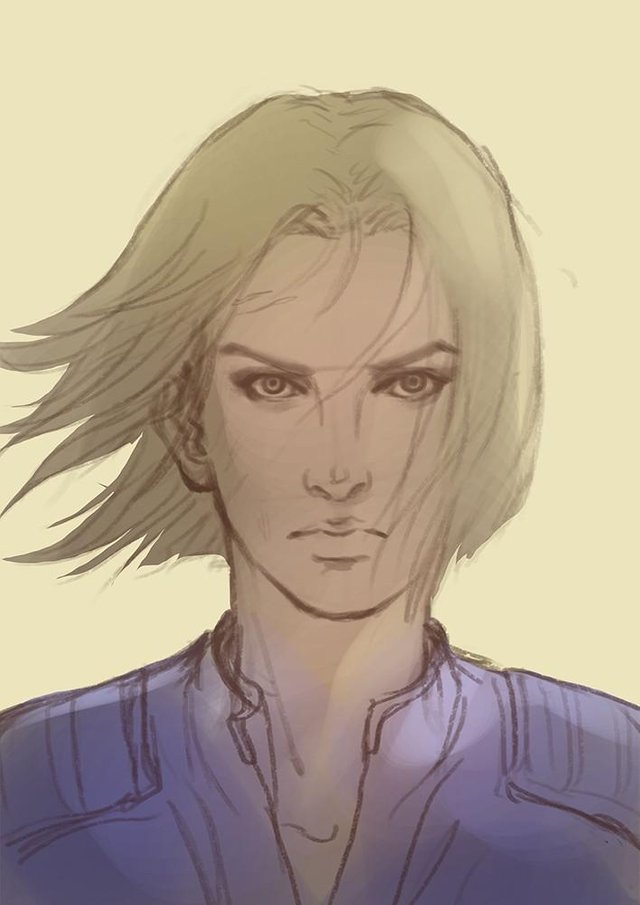
- (2) Base Color
Once approved I move to the next step, apply base color to the image. What we have here is the hair, skin and suit base color.
Tip: If you are aiming for a semi realiztic look, lower the opacity of the sketch layer so that the lines won't be too harsh for your painting.
- (3) Eyes
Basically in all my artworks I start defining the eyes. You heard the quote "eyes are windows to the soul" right? That's totally true for me. If I messed up the eye, I messed up everything! But do not totally finish off the eye right away, as I said "start -defining-" not "polishing" :P
- (4) Shadow Area
The next thing I do is to plot where my shadows are (face area). Shadows are defined by where your light source is, how intense and whether it is diffused or not. Diffuse light results to soft shadow and direct light results to harsh shadow.
In this image I did not make it super harsh right away (but you may, if you want to). But for me, I'll be painting it layer by layer.
- (5) Light areas
Have you ever noticed which part of your face the oils are shimmering? That is same as where you're hightlights should be. And common sense say, where the highlights are, is where the lighted areas are as well.
They are usually on the high level areas: forehead, t-zone (nose bridge, nose tip) , cheeks, brow bone, cupid's bow (line above you lips), tearduct, and chin
- (6) I added the hair saturation and at the same time defined my shadow a bit more (define in a sense that it is darker now than the previous stage.
I just create a new layer, set it to "soft light" layer and add desaturated dark bluish hue.
- (7) I adjusted the curves of the whole image and started defining the hair as well.
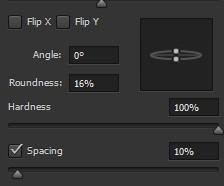
How I create my hair brush?
-just use the hard round brush
-press F5
-and adjust the roundness like this:
- (8) Now, I started to polish some parts.
Take note on the shadow part, I added a subtle colored secondary lighting to redefine the form of the face
- (9) I add the eye color and re enforce it with highlights on the tearduct, nose tip and and side of the lip to make it pop out
- (10) Further details
Details on the eyes, highlights on lips, and re-enforment shadows on hairs that has been flowing on her face
- (11) Polish
I worked on the suit, it's not that much thing to be done since I wanted the viewers to focus solely on the face. You don't want your main focus be overtaken by unnecessary distractions, right?
I then also add the cuts on her face at the last stage.
Tip: Add the effects last and do it in separate layers. If client wants changes on them, it would be hard for you to edit it out if you place it same layer as the skin. We don't want to waste our time repainting it back to skintone. Remember, TIME IS GOLD!
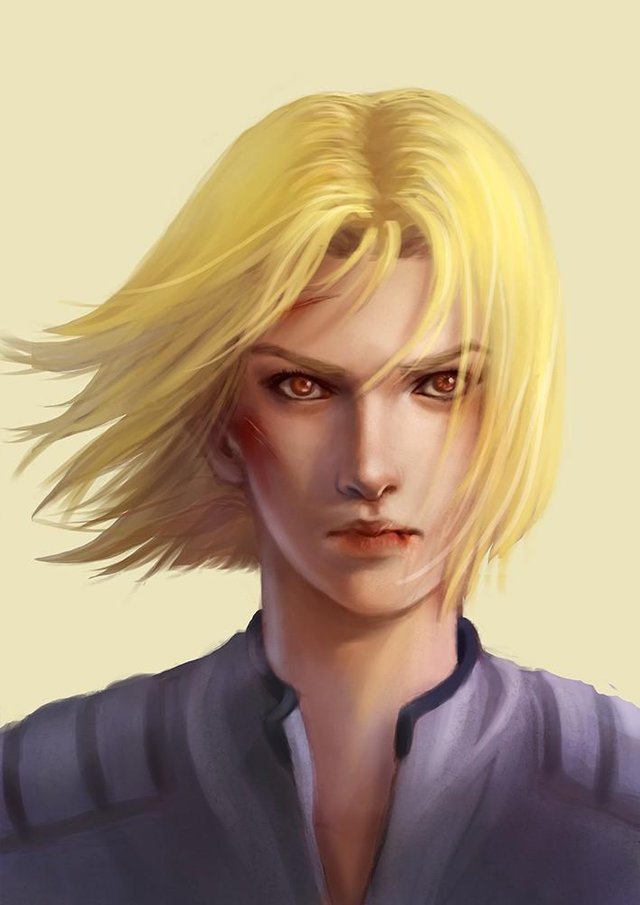
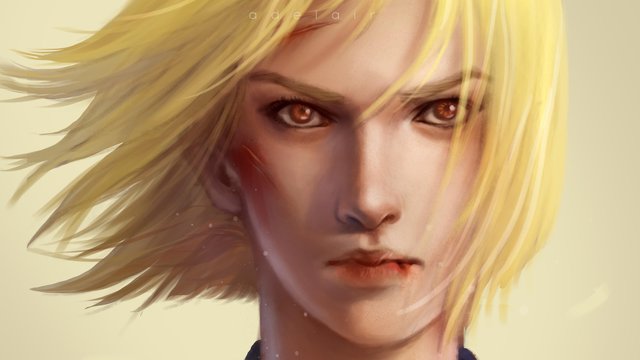
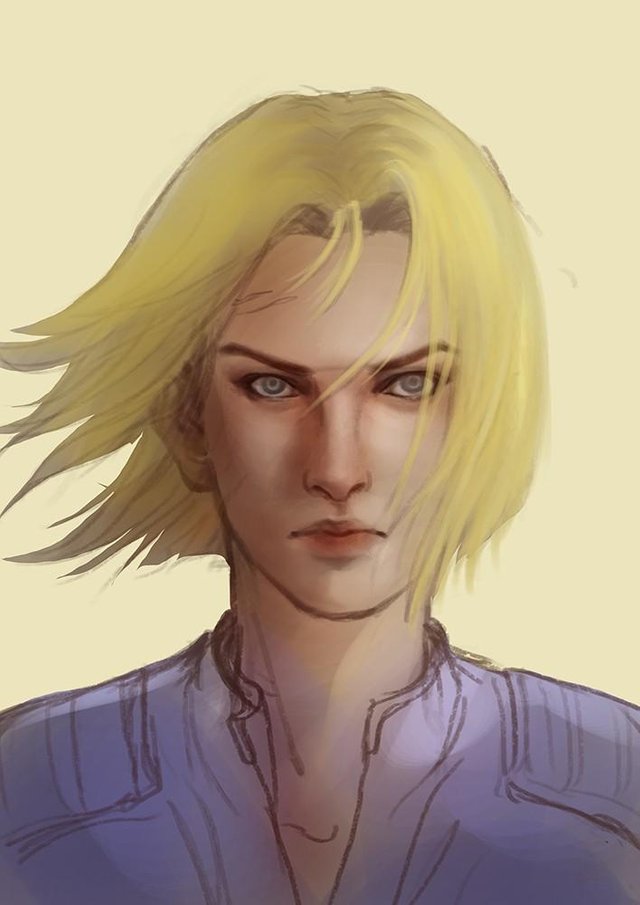
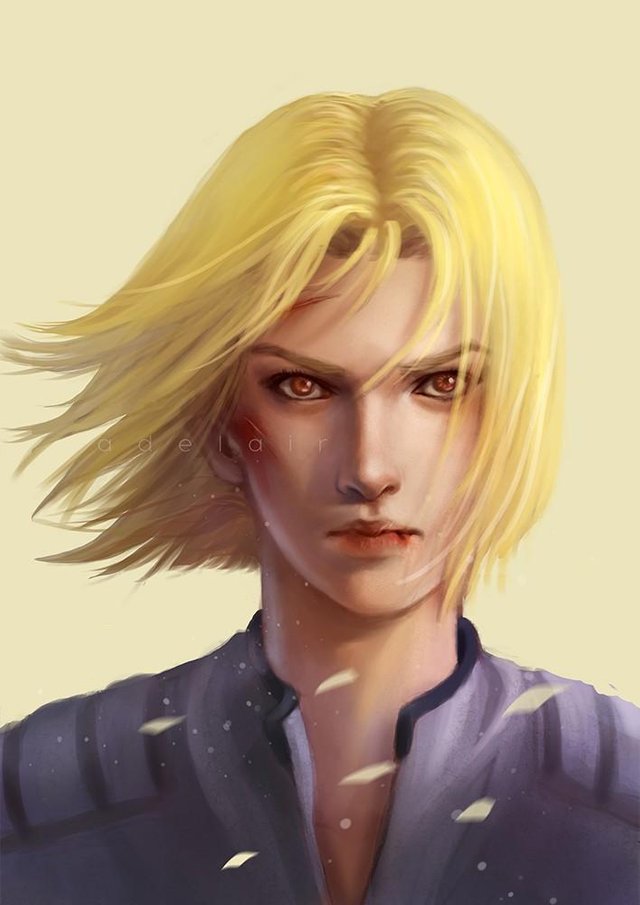
- (12) Final Output
I also add some debris effects to re enforce the windy vibe of the hair and for more personality.
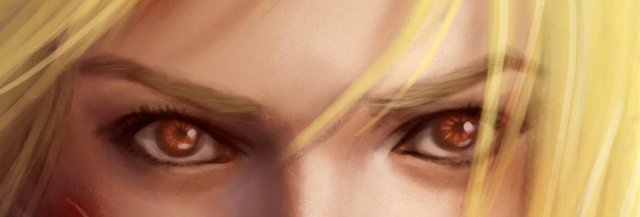
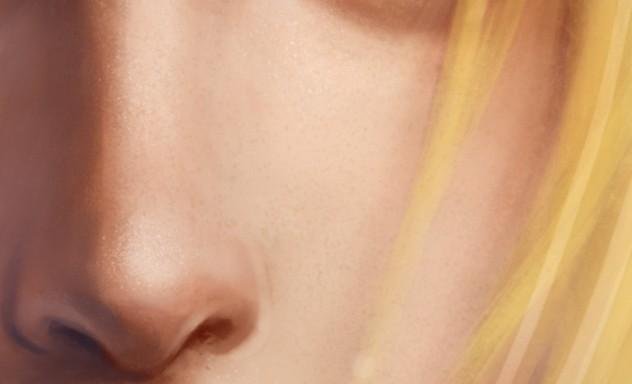
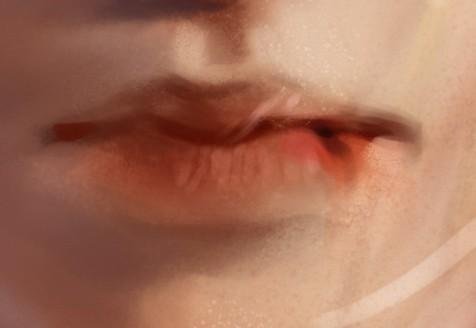
Close up shots
Eyes
Skin texture
Mouth
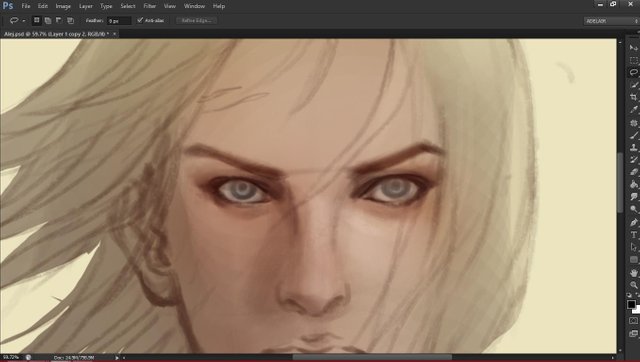
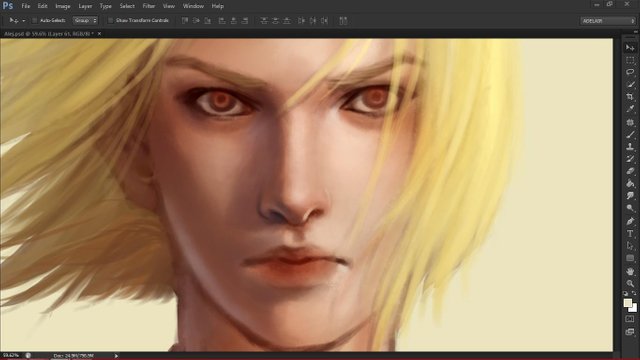
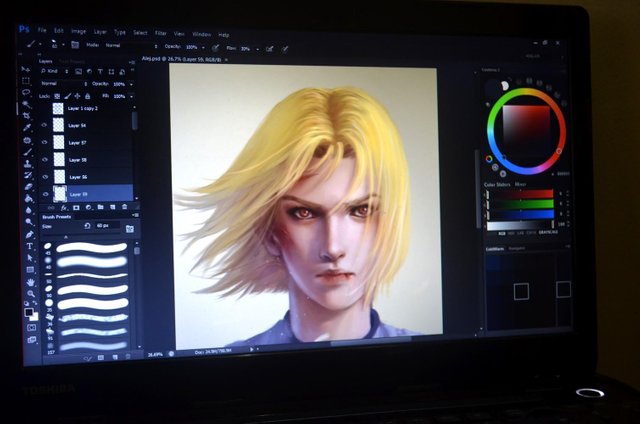
Workspace
Wow, I am taking this as my personal course blog to be sent out to my future children and their future children's children hahahha!
I hope you'll stay tuned for more!
Have a great day, see you again next time!
Adelair
Very nice, in depth, informative and beautifully written article.. Well done.
Wow, I didn't know you are a fast reader. I hope you truly internalize what I said hahahahha
Wowowowowo thats so coool!! Wish I can commission you some day! and nice process, it's kinda similar with mine 030
Thank you very much @maya525 <3
That's great to hear! hihih I look forward to that day :D
And I'm glad we have same process! keep it up!
Congratulations, your post had been chosen by curators of eSteem Encouragement program. Feel free to join and reach us via Discord channel if you have any questions or would like to contribute.
Thank you for using eSteem
Yeeeey! Thank you very much @horpey :)
This post was shared in the Curation Collective Discord community for curators, and upvoted and resteemed by the @c-squared community account after manual review.
Nice work, @adelair :> The character translates nicely through your style ! Good step by step presentation also <3 And the eyes' glare is very well done !!!
Thaaaaaanks @veryspider ♥️ I'm glad I was able to translate what the client wants XD I hope the steps was of help 😊
Posted using Partiko Android
Congratulations! This post has been upvoted from the communal account, @minnowsupport, by adelair from the Minnow Support Project. It's a witness project run by aggroed, ausbitbank, teamsteem, someguy123, neoxian, followbtcnews, and netuoso. The goal is to help Steemit grow by supporting Minnows. Please find us at the Peace, Abundance, and Liberty Network (PALnet) Discord Channel. It's a completely public and open space to all members of the Steemit community who voluntarily choose to be there.
If you would like to delegate to the Minnow Support Project you can do so by clicking on the following links: 50SP, 100SP, 250SP, 500SP, 1000SP, 5000SP.
Be sure to leave at least 50SP undelegated on your account.
Good and detailed art blog, Adelair. The woman has a very determined expression, just like the client ordered. It is a professional skill to satisfy what the customer wanted :).
Thank you so much @scrawly XD I'm also happy it came out the way I wanted it too. Hihi my past works isn't this great, i'm kinda proud how this came out XD
Posted using Partiko Android
Thanks for including the close-ups, they really help.
No problem @sidequest
I'm glad it helped 😊
Posted using Partiko Android