Build the model Lamborghini Huracan.
Hello! Well, I take a day off in bets, need to think everything over, work on the bugs. In the meantime, I will share my achievements in my hobby. During all this time I had a chance to collect a lot of models, but there was no time to write stories, and I didn’t want to take pictures. Therefore, today the review of the assembly history of Lamborghini Huracan from Aoshima is on display. Photos of the assembly process was a bit, and the story itself will not be long. Let's start.
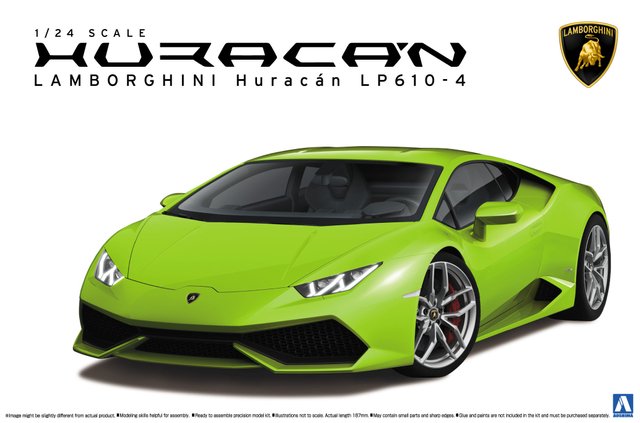
The model is quite simple and easy to assemble, unlike other Lambo models from this manufacturer, only the engine compartment opens from the Huracan, and the assembly is simplified accordingly. Start as usual with the materiel, photos of the real model are found, you can proceed.
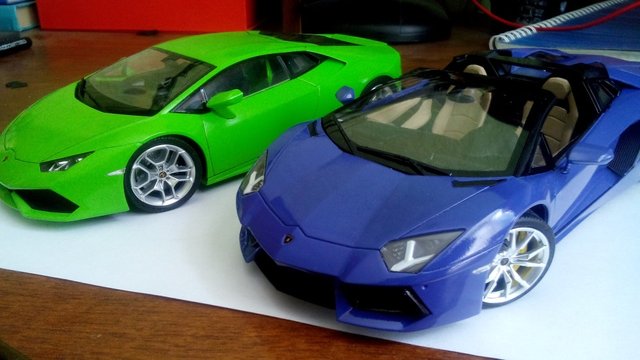
With the body color and interior painting, I decided immediately how to buy this set. I wanted to collect in a bright green color, in this I wanted to collect my first Lamborghini - Murcielago, but then I did not find the right color. This time the color was found, though not the first time, because the original color “Lime Green” turned out to be more metallic than ordinary gloss and as a result I stopped at “Light Green”. Along with the kit were purchased additions in the form of photo-etched and metal markers.
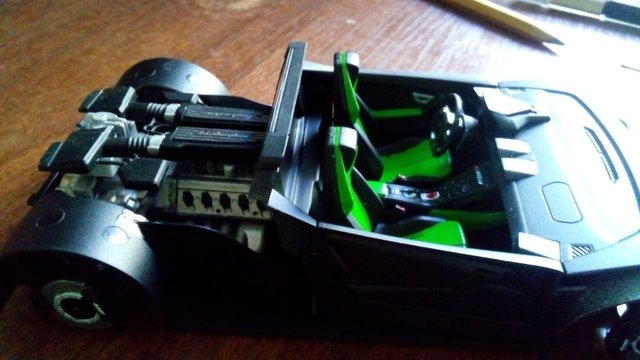
Well, the beginning of the assembly, as usual, from the engine. In the set it is given by one sprue of parts of good quality, our task is only to correctly fit, glue and paint everything.
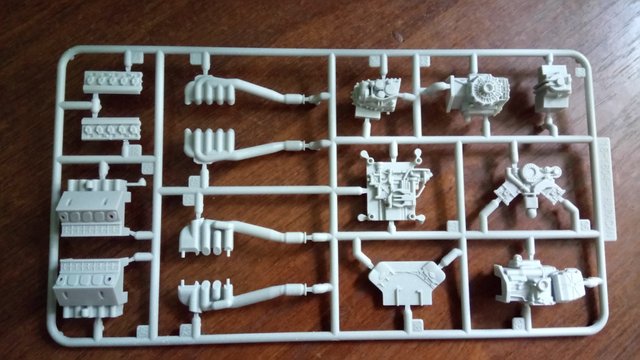
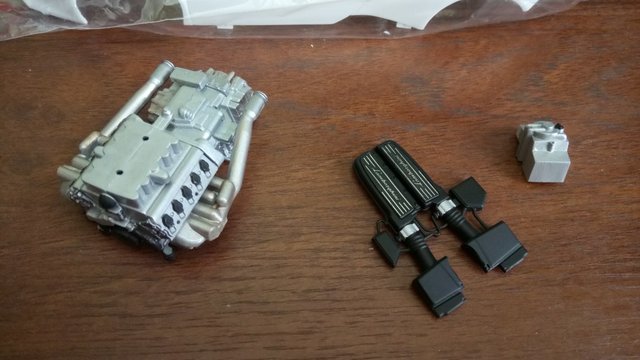
There were no problems with this, as well as with coloring. The main color was "aluminum", sometimes it went through "copper" and a wash to give it realism. I had to tinker with the engine cover, since there were no separate metal lickers with the Lamborghini company name. They were given in the form of two separate strips with engraving, which had to be painted black. But in general, there were no problems.
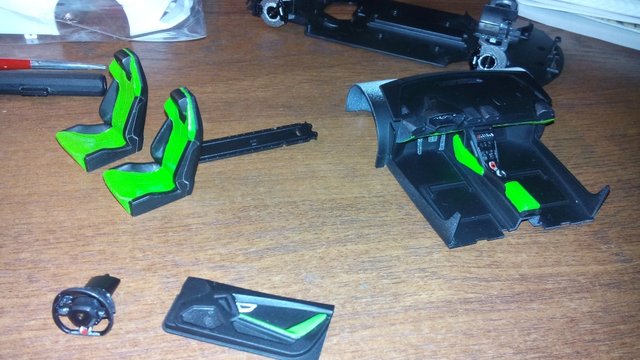
Next on the plan was chassis and interior. The first was quickly assembled, and then I moved on to my favorite part - the painting of the cabin. Here, the details were also given the highest quality, everything is perfectly docked. Further coloring and adding realism.

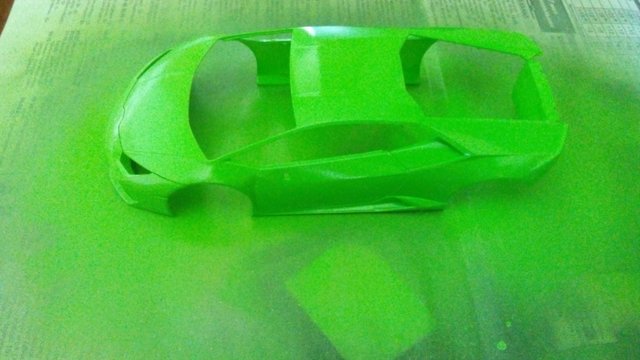
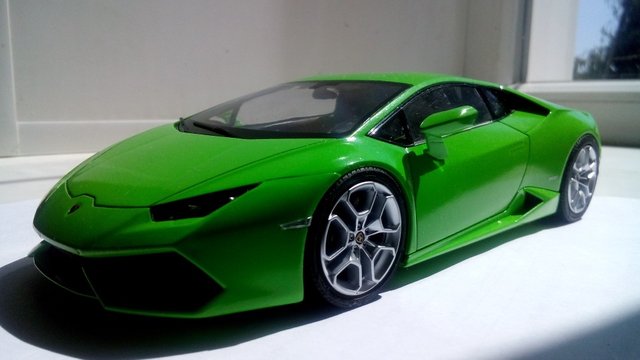
Along the way, I decided to take up the body. It was given in the form of one large piece, two separate bumpers and side skirts. As usual, I had to go through the sandpaper P1500 in order to eliminate small sinkers and press mold joints, and then the primer and the first “dry” layer of paint, and after one and a half hours another. While the interior was being painted, the body slowly gained its color and after a day two more layers were applied.
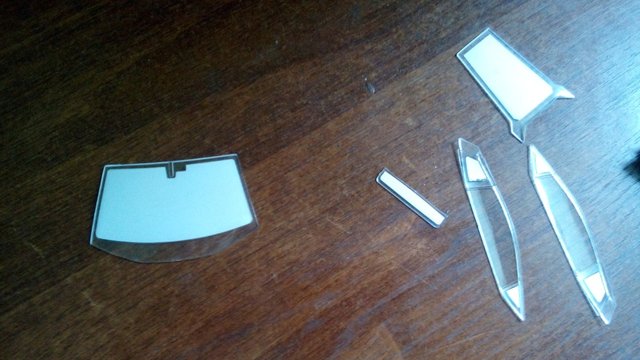
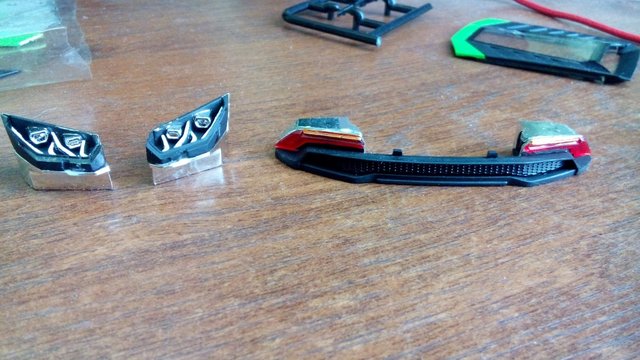
Also the glazing was prepared. Then it was the turn of applying varnish on the body. I applied it as usual in 4 layers, then two weeks for shrinkage. During this time I have prepared the headlights front and rear, as well as the grille on the body.
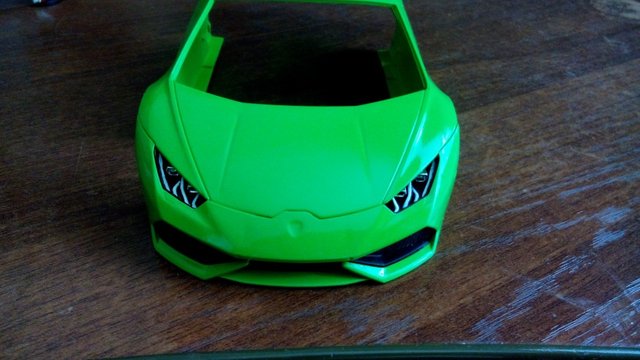
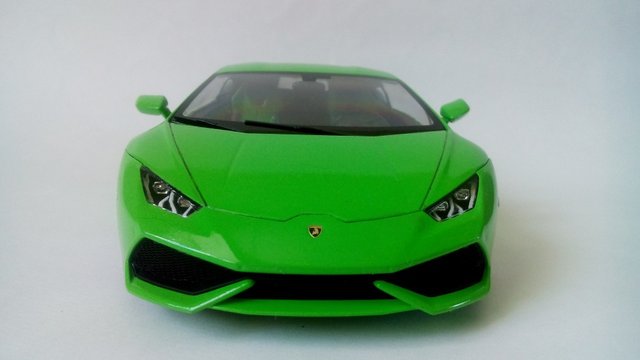
Two weeks later, the body was trimmed with P2000 sandpaper and the assembly entered its final stage. It was first assembled front.
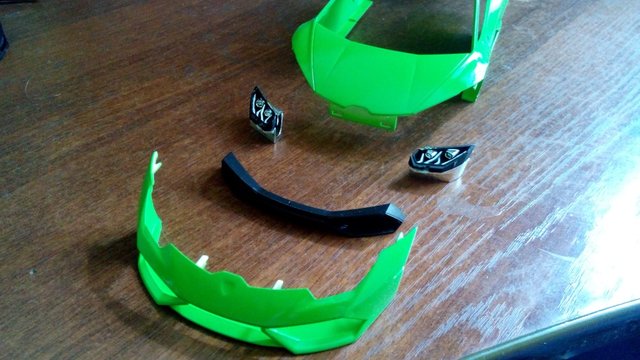
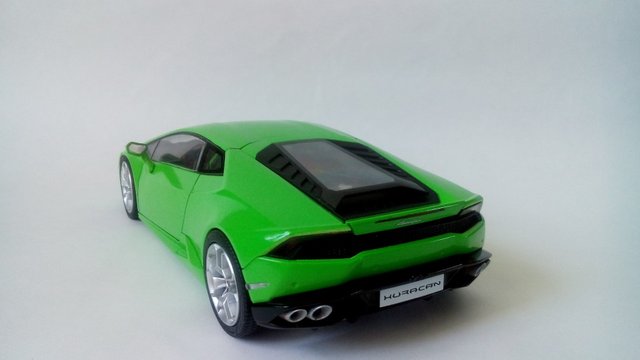
Then the back.
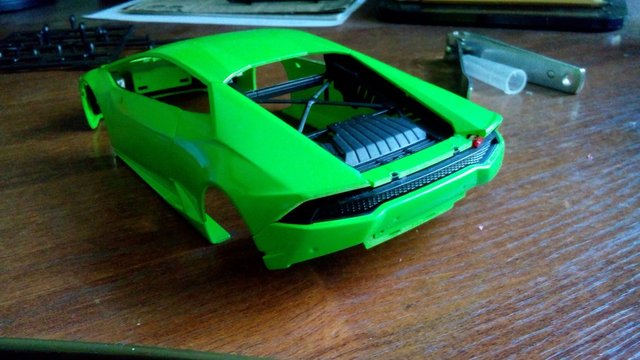
Quite a lot of time (by the standards of this model) took the gluing of the taillights, they didn’t want to get into place. It was then installed glazing and wipers. Also, the seats and the engine were glued to their seats. And everything is connected together. There remained a few touches, such as decals and Lamborghini logos, direction indicators, rear-view mirrors, rear bumper and spoiler.
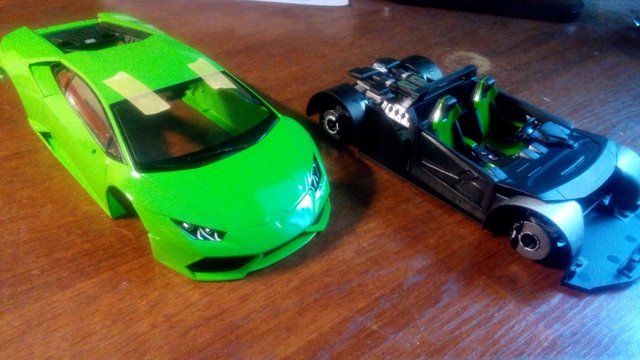
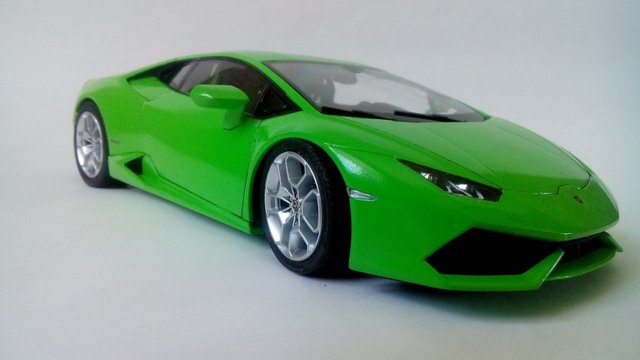
That's all. It all took about a month. The assembly is not complicated, but there are shortcomings, and one of them is the most noticeable - this is a suspension. There is no distance between the body and the wheels, although the assembly was correct, there were no errors on my part. But in the process of connecting the two parts of the wheel model, they eventually run into the body, which should not be. But let's write it down on the “lowered suspension”.
Thanks for watching!
My previous work:
Great job!
Thanks bro!
Congratulations! This post has been upvoted from the communal account, @minnowsupport, by alessandarus from the Minnow Support Project. It's a witness project run by aggroed, ausbitbank, teamsteem, someguy123, neoxian, followbtcnews, and netuoso. The goal is to help Steemit grow by supporting Minnows. Please find us at the Peace, Abundance, and Liberty Network (PALnet) Discord Channel. It's a completely public and open space to all members of the Steemit community who voluntarily choose to be there.
If you would like to delegate to the Minnow Support Project you can do so by clicking on the following links: 50SP, 100SP, 250SP, 500SP, 1000SP, 5000SP.
Be sure to leave at least 50SP undelegated on your account.
Congratulations @alessandarus! You have completed the following achievement on the Steem blockchain and have been rewarded with new badge(s) :
Click here to view your Board
If you no longer want to receive notifications, reply to this comment with the word
STOPThanks!