Hydra Pendragon- 3D Sculpt break down
Hi All,
After receiving a great response from my previous post, I decided to share more of the breakdown processes of my other digital sculpts. Hydra Pendragon was one of the most viewed and appreciated sculpts on Art station and LinkedIn so makes sense a break down is a must. I sculpted these in Zbrush and rendered using Arnold in Maya.
The process is as follows.
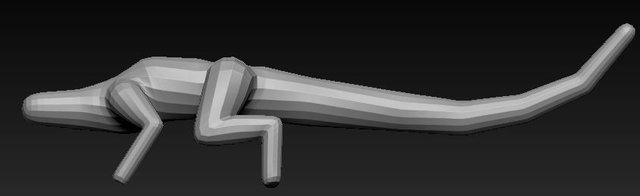
First step like always is to get the base shape ready. I use Zsphere to achieve this.
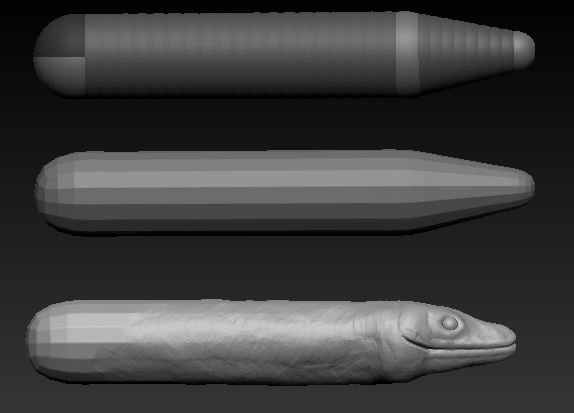
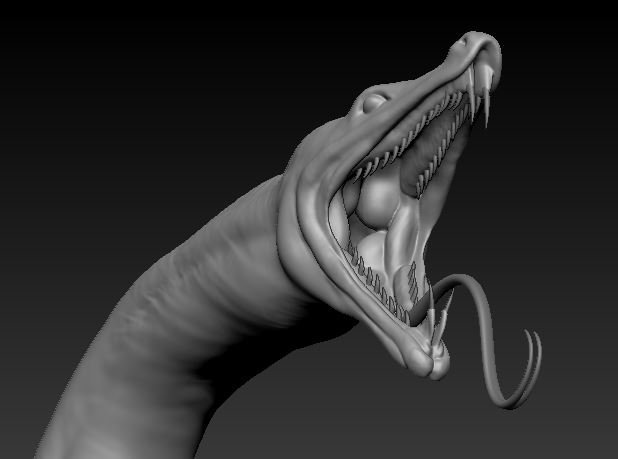
Once I am happy with the shape i sculpt it to highlight the features of the snake head.
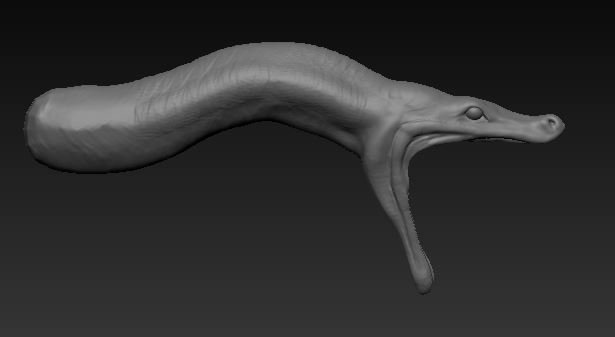
You will see there are no details so far because this is still in concept phase and it makes easy for me to change if i wish without spending much time on it.
Now to work on the body. I follow the same process as the head using zspheres.
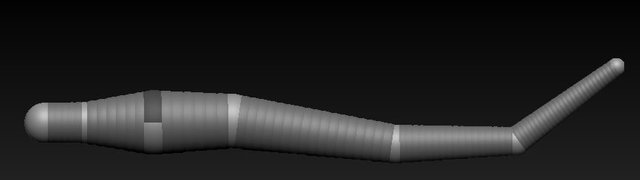
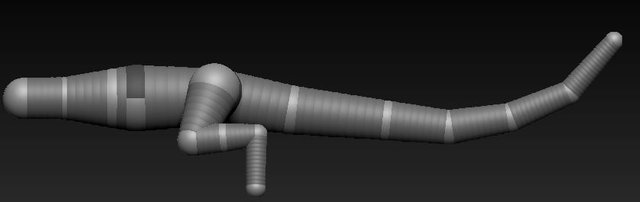

Once the Zsphere shape is satisfying, I convert it to a polymesh and sculpt to resemble a lizard/dragon body.
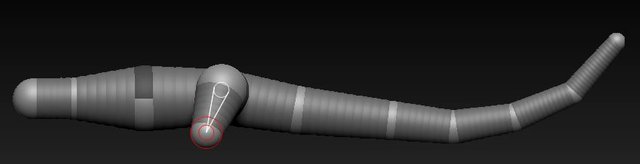
Just a quick note, using lots of references helps in the entire process and then you can mix and match the look you want to achieve.
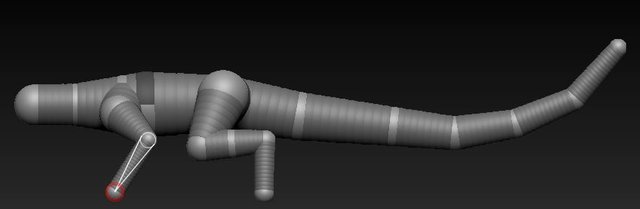
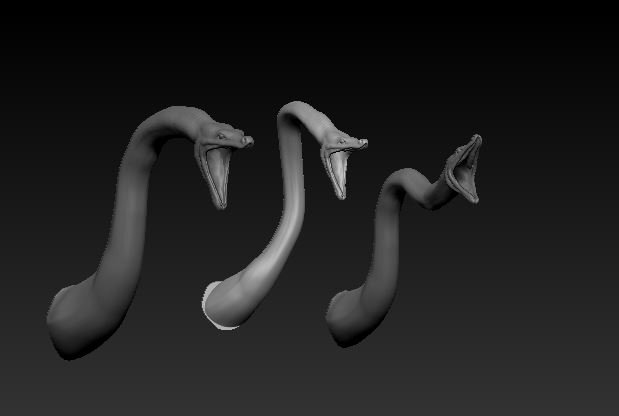
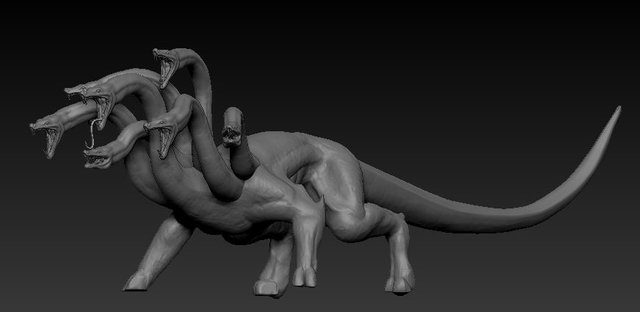
Now the base head and body is ready , I duplicate the head to create different versions of it.
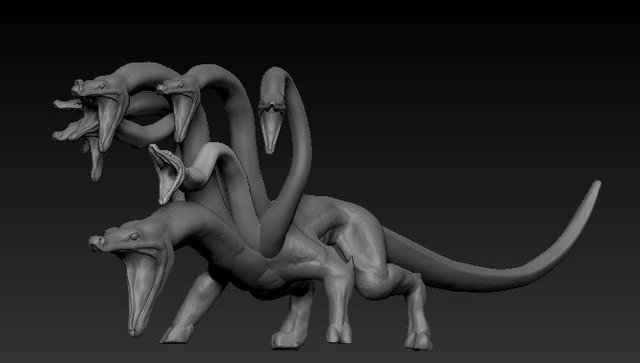
Now its time to play with the placement of the heads on the body. After a few trial and errors, I finally liked something I liked. Its basically duplicating the 3 heads i create previously and placing them.
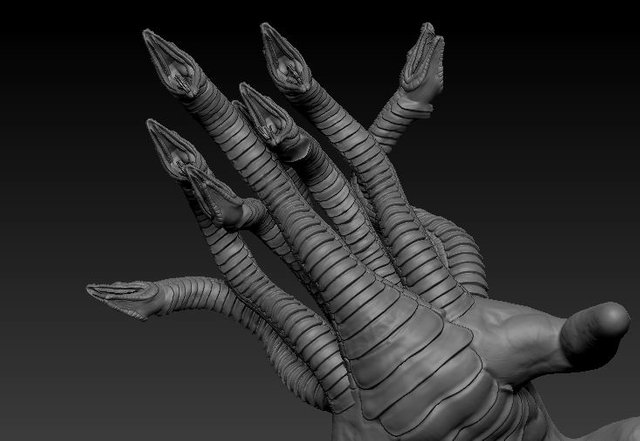
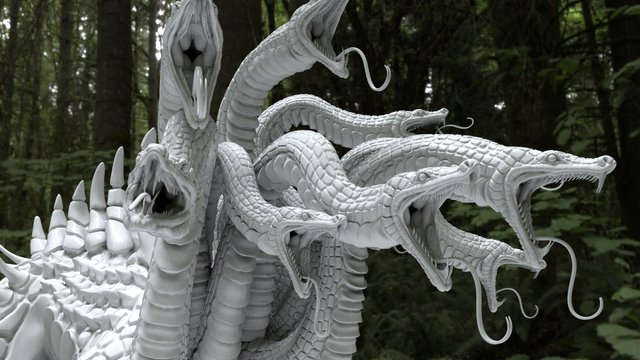
Next step is to start detailing the head of the hydra. Again the detailing is done only one head which would be duplicated later.
Using references, I start working on the insides of the mouth details.
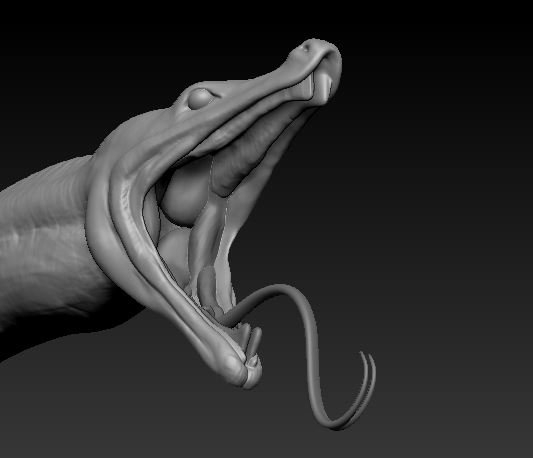
Now adding teeth :)
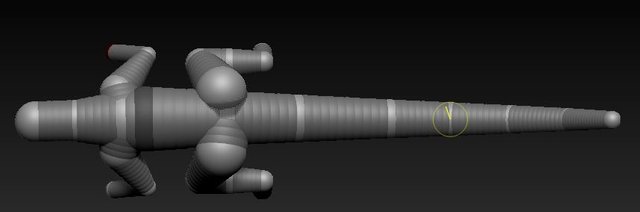
I again test out now the new heads will look on the main body before going ahead.
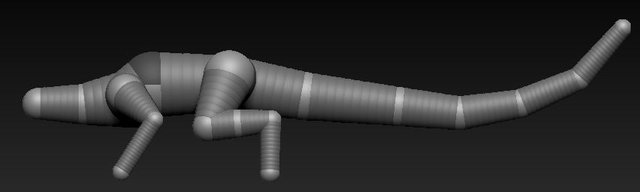
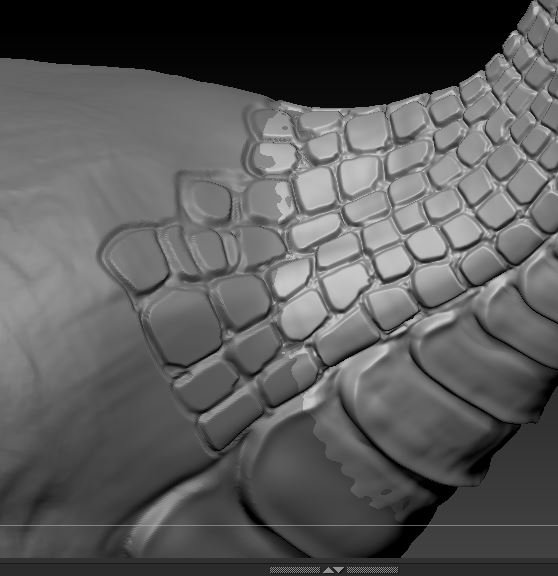
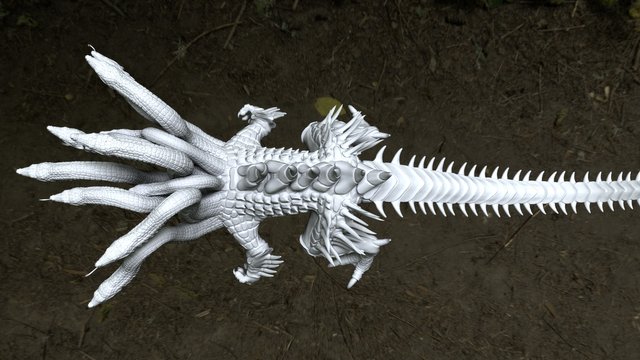
Since I was happy with the way it looked, I went ahead with adding scales to the head manually. I manually sculpted every detail using various references.
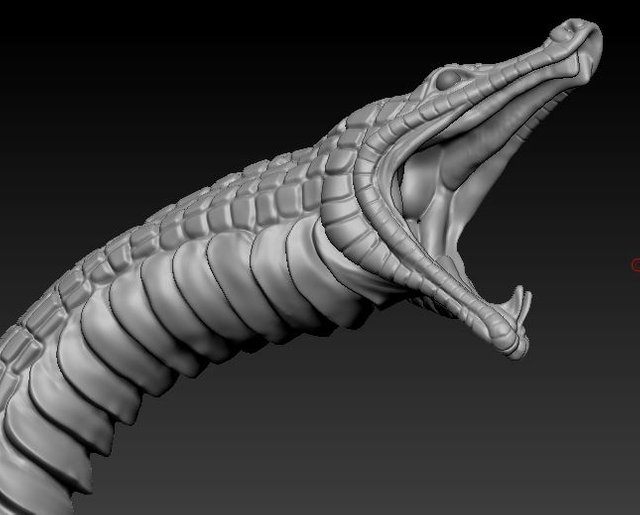
You will notice in the above picture that the head is not merged to the body but is a separate mesh.
I seamlessly add the details on the body so that it appears as one mesh.
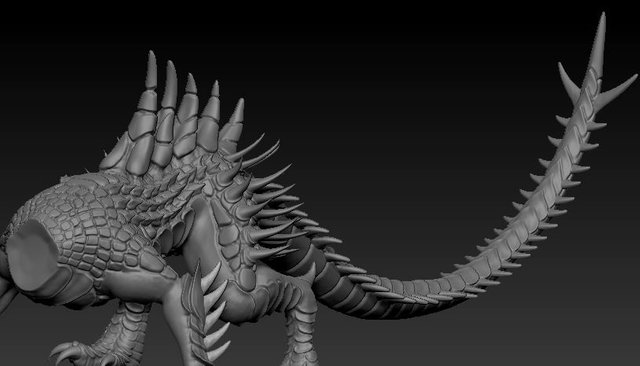
Finally I finished the detailing the body.
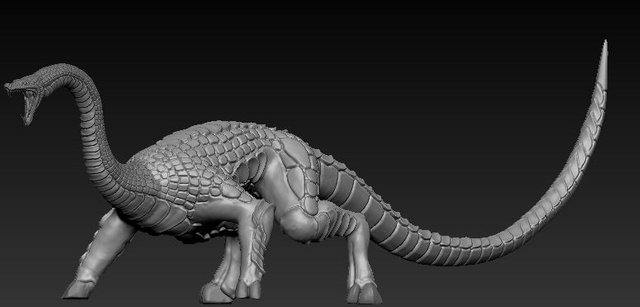
Now I add more spikes just to make it look little dangerous :P
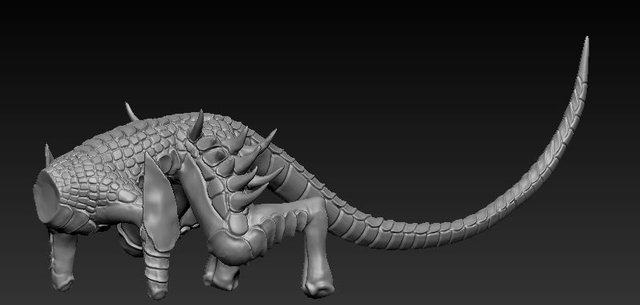
Even though it looked good, I wasn't happy with the front legs. It just looked not fitting, so I changed it to arms instead of legs. This took some time to accomplish but I just had to .
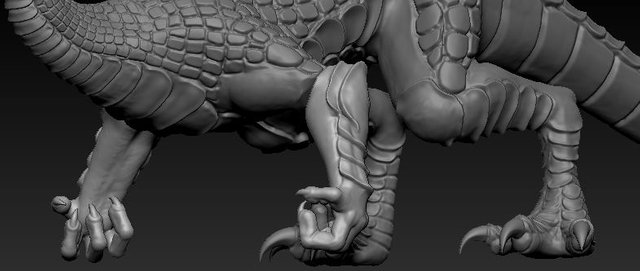
Finally, I added more details on the body.
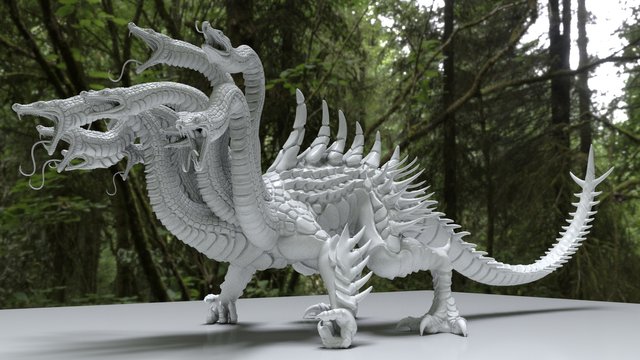
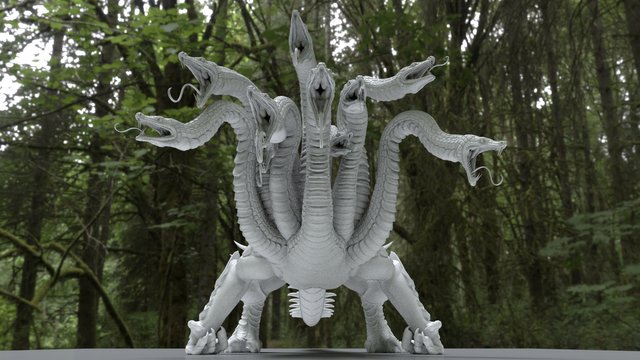
Final rendered Images:


I hope you guys like this as well. thanks for all the love.
You can follow me on IG @thedivinealchemist
Lots of Love,
Allan :)
Congratulations! This post has been upvoted from the communal account, @minnowsupport, by thedivinealchemist from the Minnow Support Project. It's a witness project run by aggroed, ausbitbank, teamsteem, someguy123, neoxian, followbtcnews, and netuoso. The goal is to help Steemit grow by supporting Minnows. Please find us at the Peace, Abundance, and Liberty Network (PALnet) Discord Channel. It's a completely public and open space to all members of the Steemit community who voluntarily choose to be there.
If you would like to delegate to the Minnow Support Project you can do so by clicking on the following links: 50SP, 100SP, 250SP, 500SP, 1000SP, 5000SP.
Be sure to leave at least 50SP undelegated on your account.