Leather is my art medium: Part 3 Making a Great Card Wallet of the Apocalypse. How I Did That AND a contest.
Hiya everyone! I am a leather craftsman and artist who enjoys showing you all how I take a plain piece of unfinished cowhide and turn it into a distinctive and useful piece of leather art.
If you missed Part 1, where I introduced my line of "Mad Max" wallets, phone cases, hats and belts, check it out here: https://mspsteem.com/art/@armadilloman/leather-is-my-art-medium-the-great-wallets-phone-cases-and-hats-of-the-apocalypse-part-1
And in Part 2, I demonstrated how I take plain old cowhide and textured, distressed and colored the leather in the "Mad Max" fashion. Please check that out here: https://mspsteem.com/art/@armadilloman/leather-is-my-art-medium-the-great-wallets-phone-cases-and-hats-of-the-apocalypse-part-2-making-the-leather
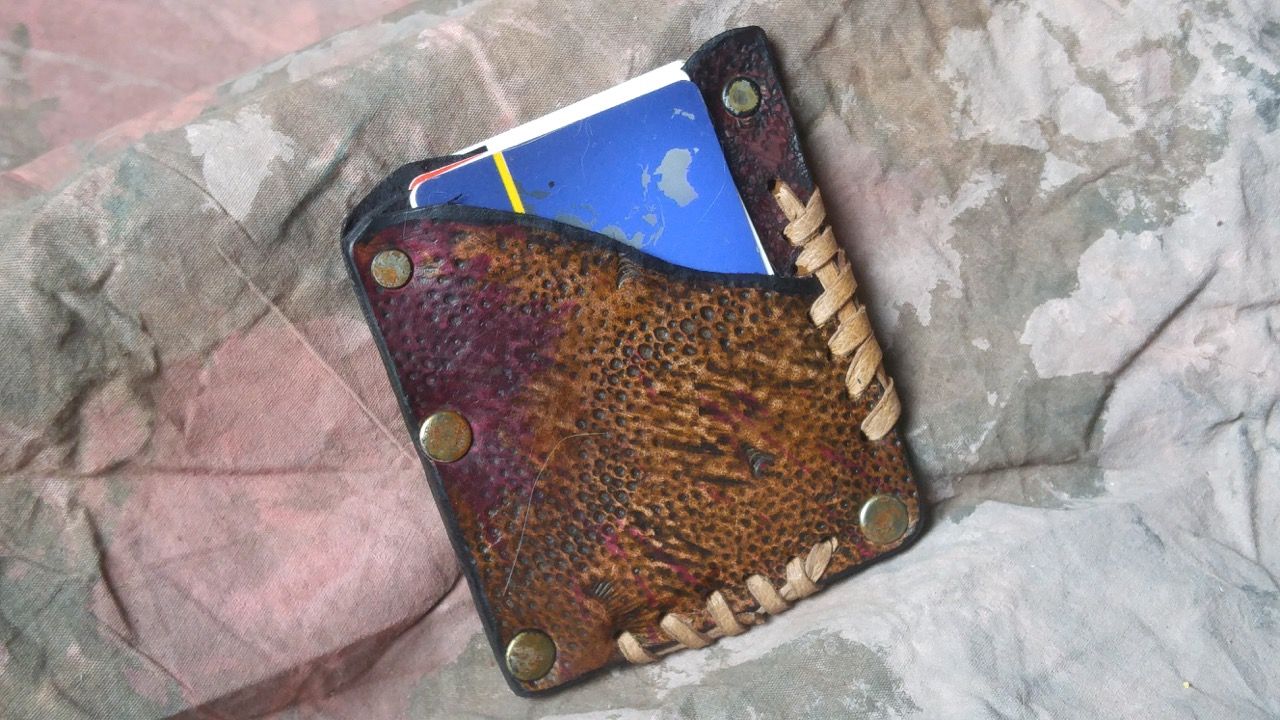
Now that we are all caught up, lets plunge into making something neat from the leather finished in Part 2... The Great Card Wallet of the Apocalypse!
And I am going to give this card wallet away to some lucky Steemian. See how at the end of this post.
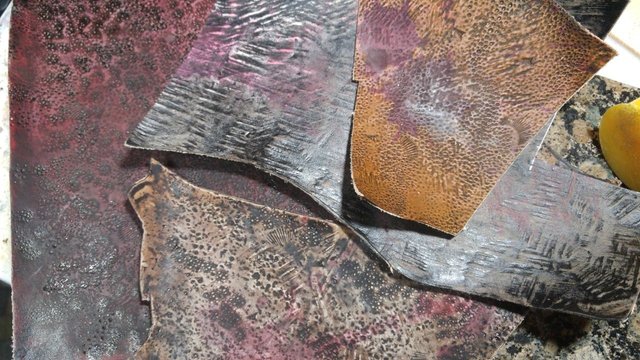
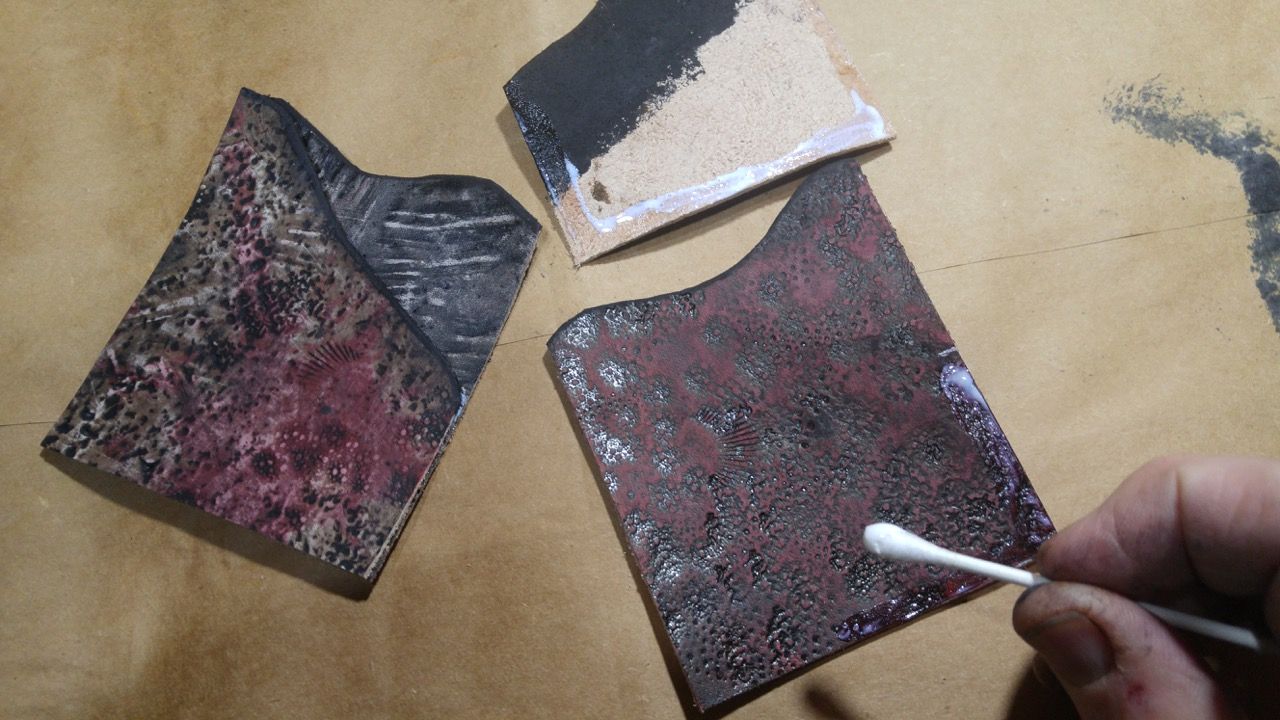
1. Choose the leather
Out of the box of leather pieces that I have previously finished, I pull out 4 that I like the pattern and colors for this project. The bottom piece in the photo is the one completed in Part 2
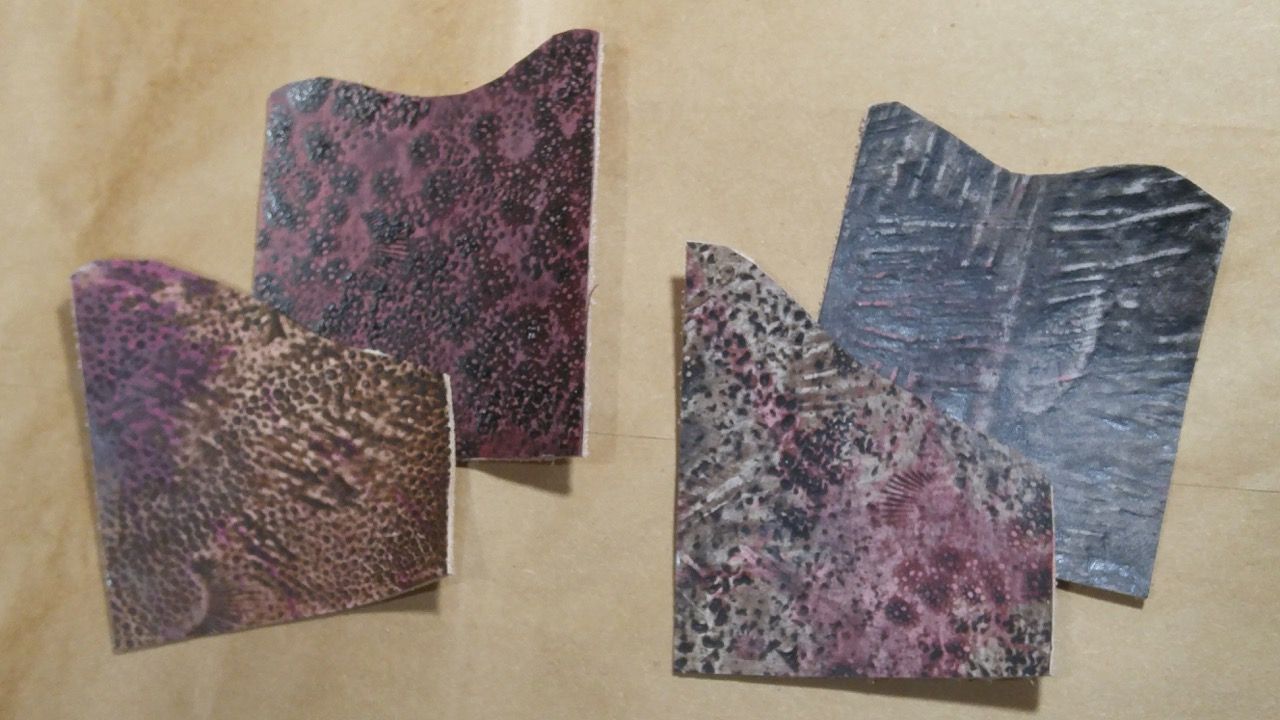
2. Cut out the wallet parts
This is going to be 3 pockets, one shorter one on front and back, and one center pocket. I cut out two 3 1/4" x 4" and two 3 1/4" x 3" pieces and sculpt the top edges that give you the cutouts to access the cards.
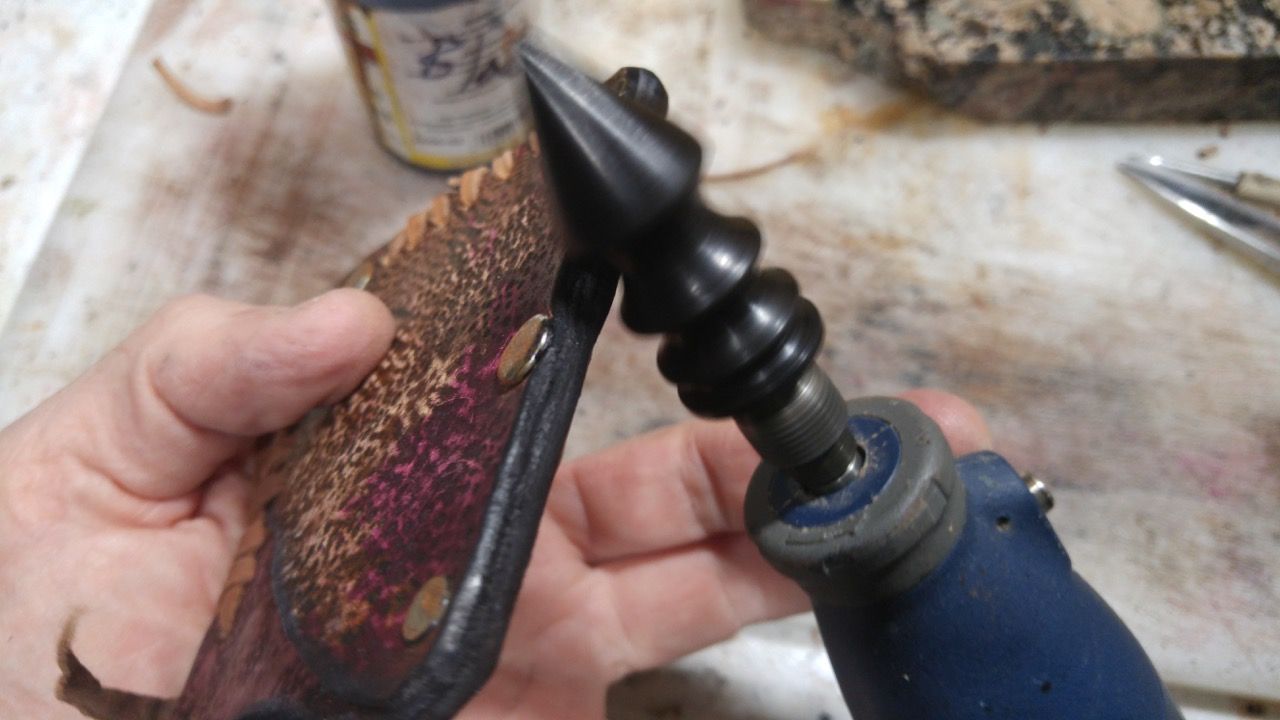
3. Bevel the top edge
Taking a Dremel rotary tool with a sanding drum I bevel all the top of the pocket edges.

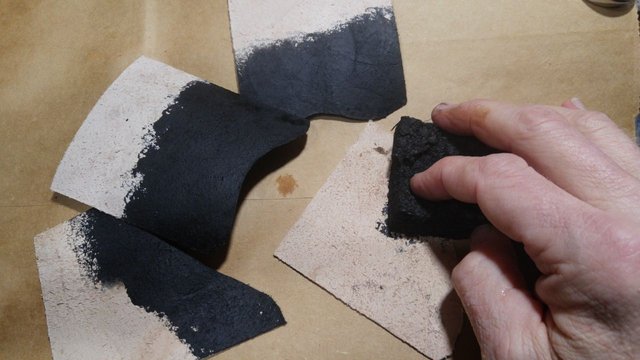
4. Dye the edge and backs
Black stain is applied on the edges and inside couple inches of the leather backs. No need to dye the whole back as no one is going see that far down the wallet.

5. Glue it up
Glue the shorter front pocket pieces onto the taller center pocket pieces and then glue front and back together. The glue is to hold it all together while we set the rivets.
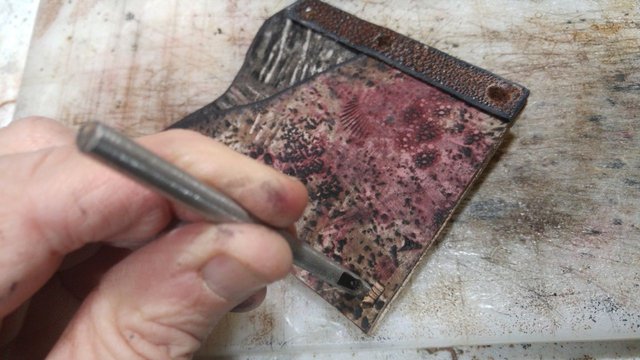
6. Mark and make rivet holes with a drive punch
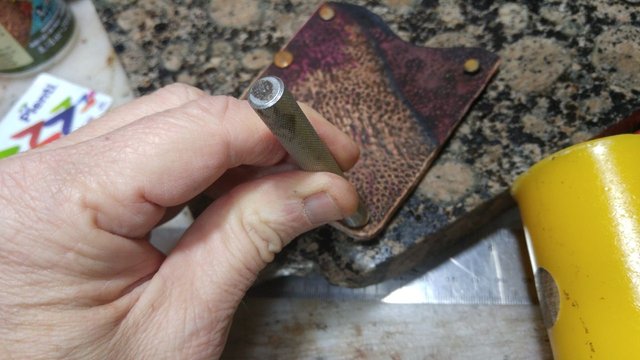
7. Set the rivets
If you sand off the plating of a rivet and soak it in water for a week, they rust and corrode and generally look well used and abused. I dig through the pile to find the right length for each hole. All different size caps add to the look. Then set the rivets with a setting tool and mallet.

8. Punch the holes for the lacing with a rotary punch
The lacing holes don't have to be even or completely straight with this look. For that matter it looks odd if the holes are even and straight.

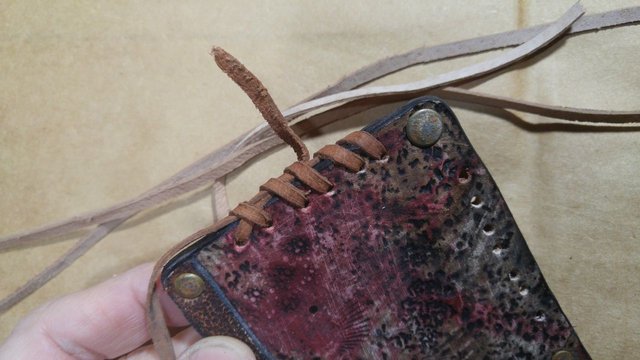
9. Lace up 2 sides
I cut 1/8" pigskin laces and wet the lace so that it will shrink up tight when it is dry. Whip stitch and trap the loose ends under the stitches and pull it tight.
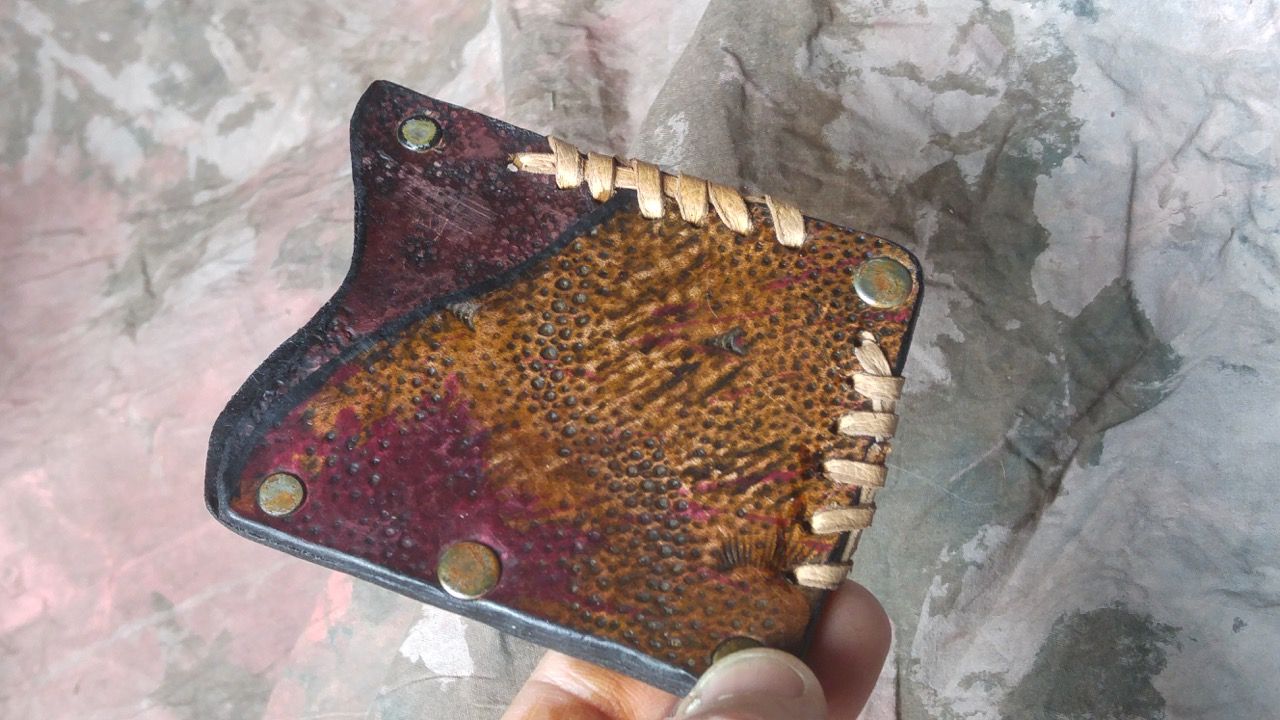
10. Burnish the remaining edges with rotary tool and you are done
A coat of semi gloss finish, and the wallet is ready to use.

Hope you all enjoyed seeing the process.
Now I am going to give this card wallet away to some lucky Steemian. I sell wallets like these (of course no two are alike) for $40 each on Etsy. Follow, Upvote and write "I want it" in the comments. I will randomly choose one of those who commented when I reach the milestone of 150 followers. I am a one week old minnow who needs all the help he can get!
Resteeming this post if you like it will help the goal of reaching 150 followers be acheived even faster. Thanks!
Followed and upvoted love your work! Looking forward to more posts and welcome to steemit @armadilloman 👍🏻
Would love to see your full Etsy if you can drop a link :)
Thanks @dayleeo! https://www.etsy.com/shop/ArmadilloLeather
Woah, that looks awesome! I hate bulky wallets, they take all the joy out driving.
And of course, I want it!
This is awesome! And I love getting to see the process.
And it is a process that has become a bit of mystery in the last 30 years, so its fun to show the world how its done.
I want it! Its totally beautiful and what a great idea for getting the word out about your posts!
I want it!
I was already following. Of course I would love it.
Congratulations! This post has been upvoted by SteemMakers. We are a community based project that aims to support makers and DIYers on the blockchain in every way possible. Find out more about us on our website: www.steemmakers.com.
If you like our work, please consider upvoting this comment to support the growth of our community. Thank you.
I want it! Thanks for another awesome process post, really cool to see the leather you created in the last post manifest into an object. Now I just need to see how you make those incredible hats! Keep up the good work
Thnaks @somekid! I will do a hat sometime soon. I am going to get a hat made aimed at the Wasteland Weekend crowd with a barbed wire hat band. Maybe I will do a how to then.
Congratulations @armadilloman! You have completed some achievement on Steemit and have been rewarded with new badge(s) :
Click on any badge to view your own Board of Honor on SteemitBoard.
For more information about SteemitBoard, click here
If you no longer want to receive notifications, reply to this comment with the word
STOPWe have a winner! Announcement is forthcoming! Stay tuned!