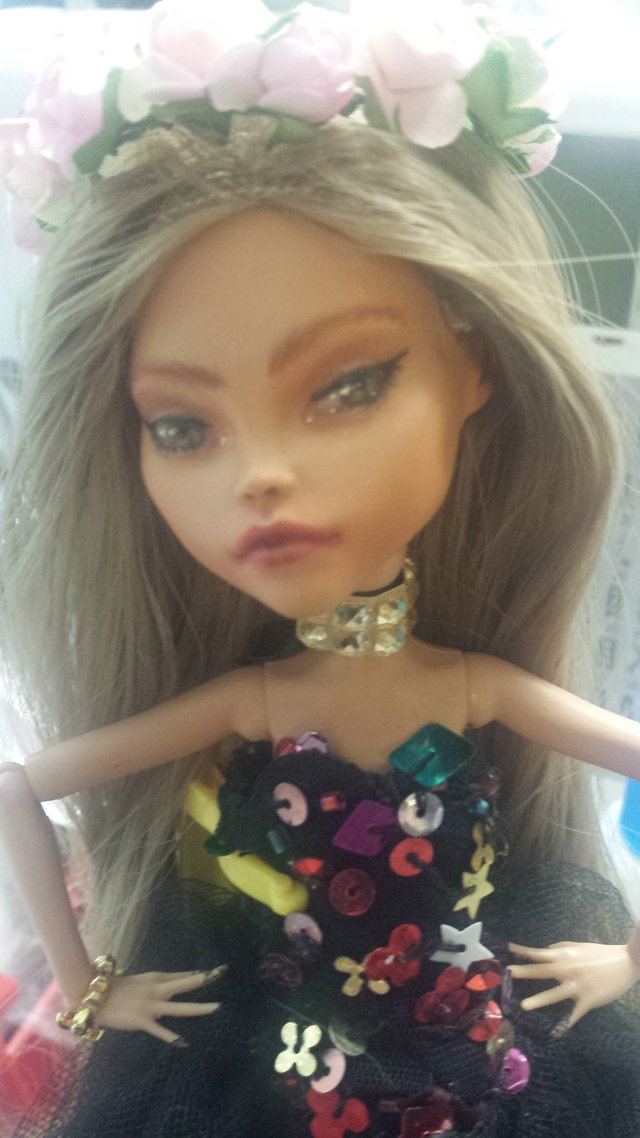
Wig Making - The Easy Way!
I apologize in advance for the poor quality in pictures. I only had my phone available (it takes forever to charge my Beast Camera battery).
I have to break up the doll process over a couple of posts, as the process might be long! So this part will be about how I made the wig, and the next about repainting the face and body.
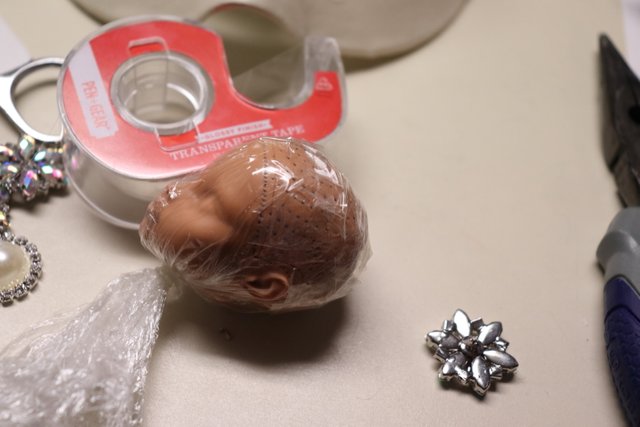
The first step is to remove the head, cut the hair, and remove the original paint. How you do that is you cut the hair as close to the scalp as you can, then put the head in warm water or use a blow dryer to warm it up to soften the plastic of the head for it to come off. After, you remove the hair from the inside with a pair of tweezers. The heat used to remove the head should also soften the glue a little. Then, take some cling wrap and securely put it on the head. So when you're done with aaaaall that, it should look like this:
Next, you take some plain ol' scotch tape and make a base for your wig. Don't worry if you cover the ears or go down too far on the forehead, you can trip it later! When you use the hot glue gun to glue the hair on, the glue melts the tape to make a sort of silicone-feeling cap. Then you start securing the hair!
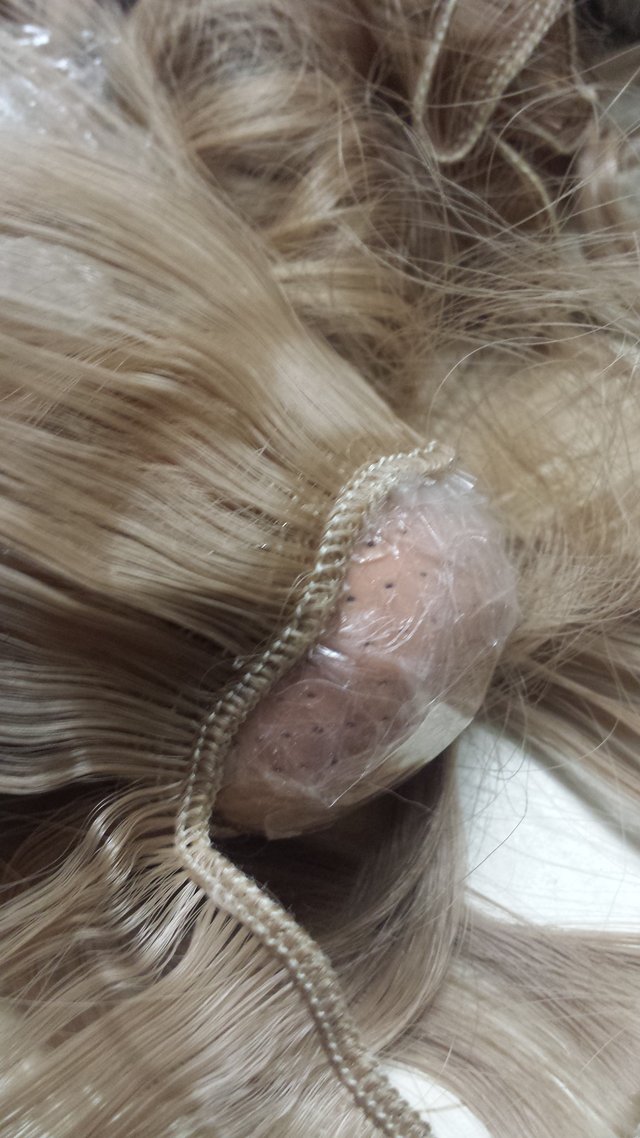
The quickest way (but not the neatest way) is to just spiral it around the head, going toward the top as you go. This way ends up showing the 'roots' more, but it's quick and easy. I don't have to worry about what piece of hair is going to lay where. This is a very simple wig, it won't be styled a lot after (I'll have a second wig hopefully soon that will be of a different style!).
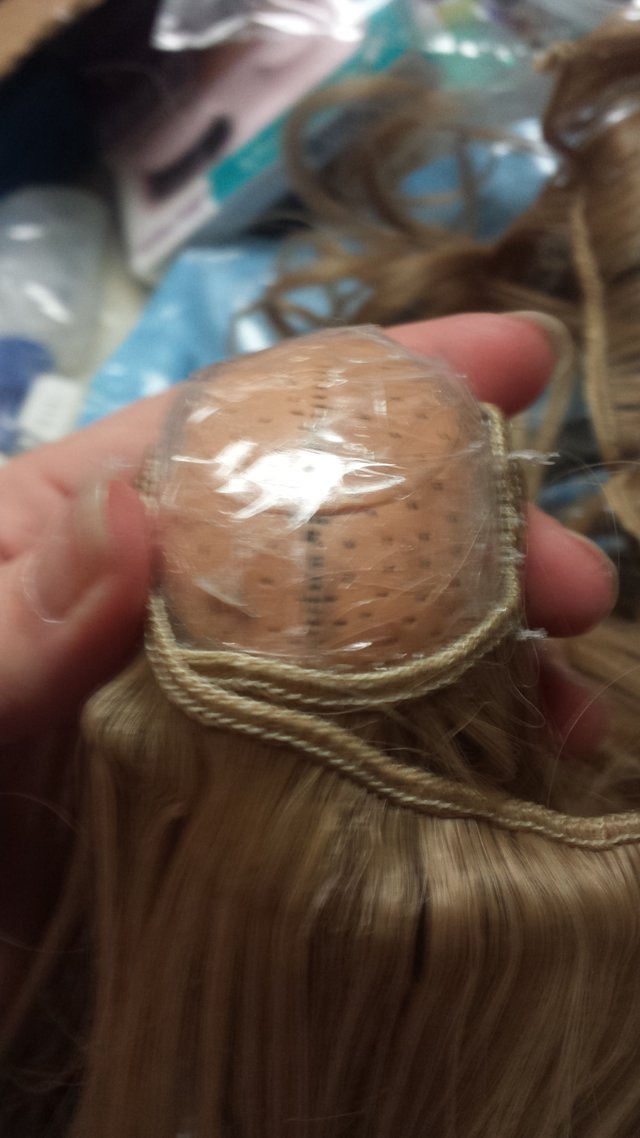
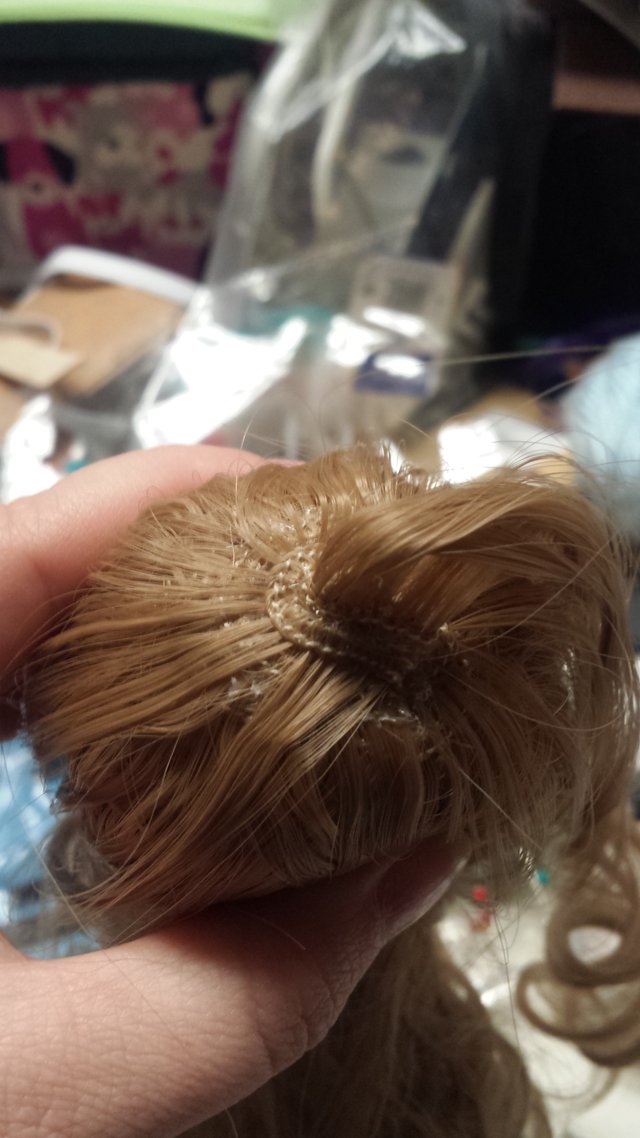
So when you get to the top, you'll have a small circle left that you won't be able to make look right using the spiral method. Instead, what you do is cut a small portion of the hair off, about an inch or two, and roll it up vertically, and securing it with glue to keep it rolled up. Once you have it rolled up, you glue it straight up in the little hole. When you're done, it'll look like this:
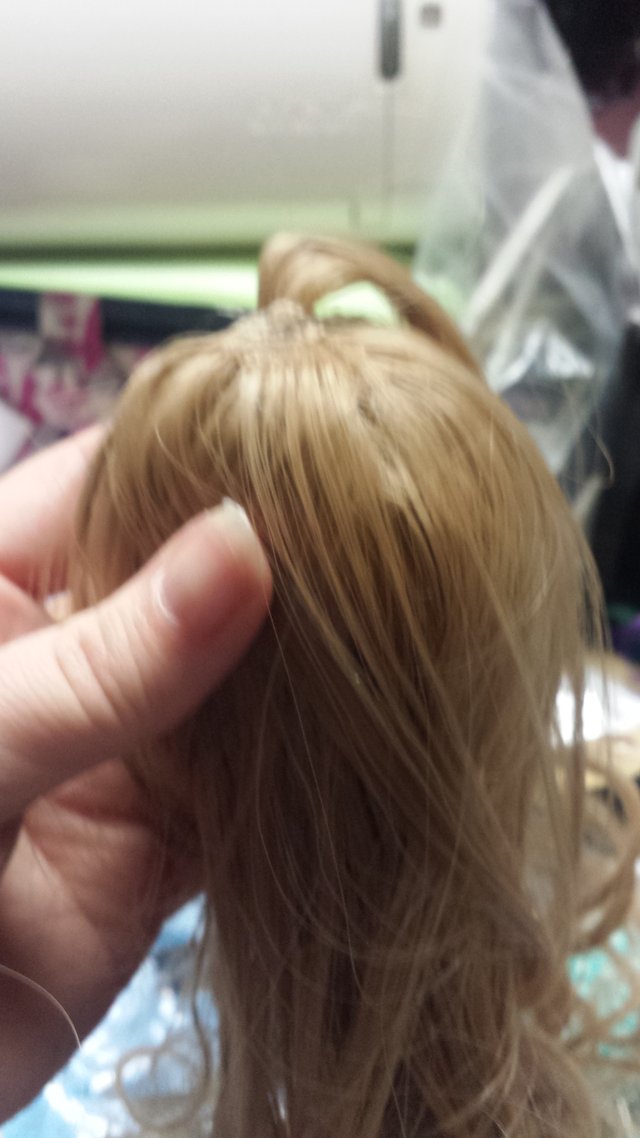
Once you lay everything down a little, it'll look like this:
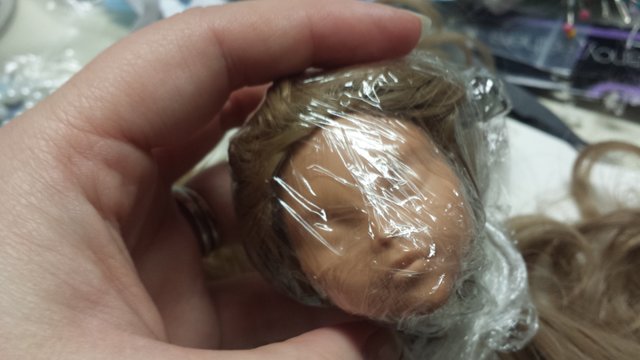
Now you need to trim your cap to make sure there's no overlap. For this hairstyle, I wanted the front to be pulled back away from the face. So I flip the hair over the top of the hair, and wrap it in another layer of cling wrap, keeping it on the head.
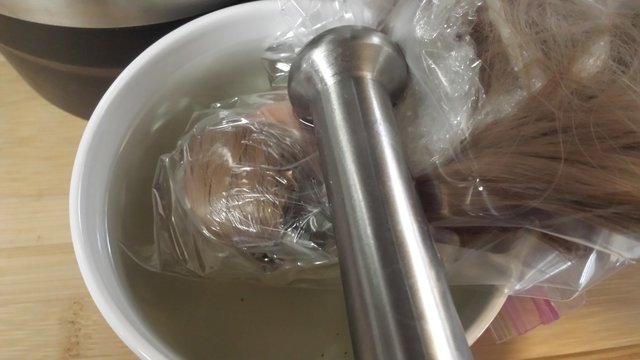
Next, in order to get the hair to stay in place, you want to heat it using a blow dryer or hot water. If you use water, make sure you use something to keep it down in the water. It takes about ten minutes with water, and probably slightly less time with the dryer, though you'll have to hold the dryer. Don't forget to put her head in a sandwich bag to keep those curls from getting wet!
This is what it looks like:
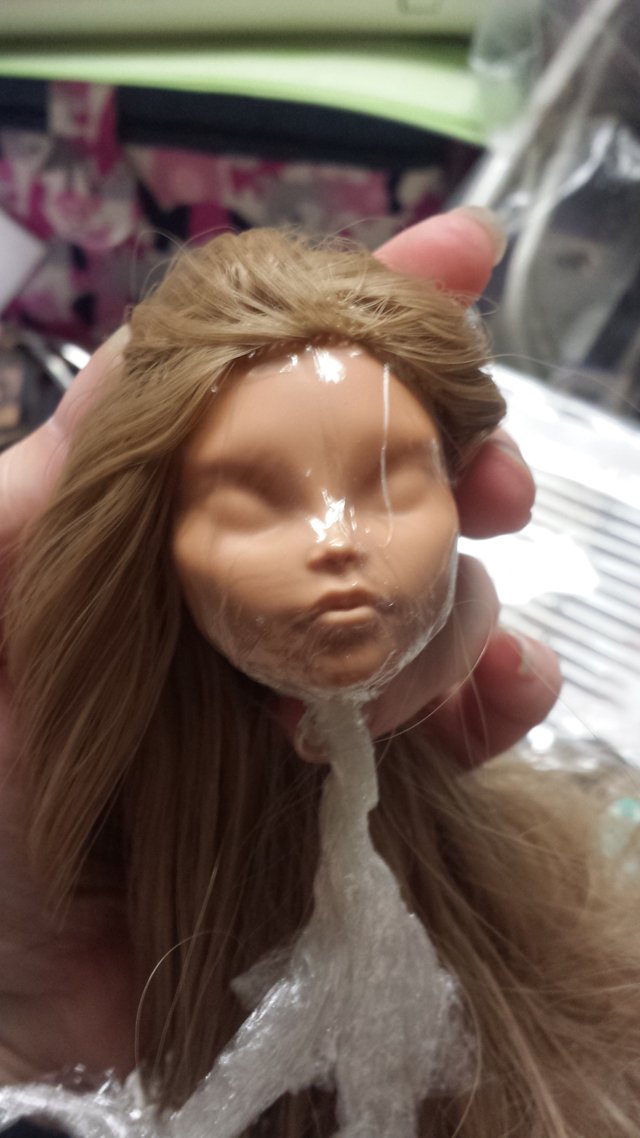
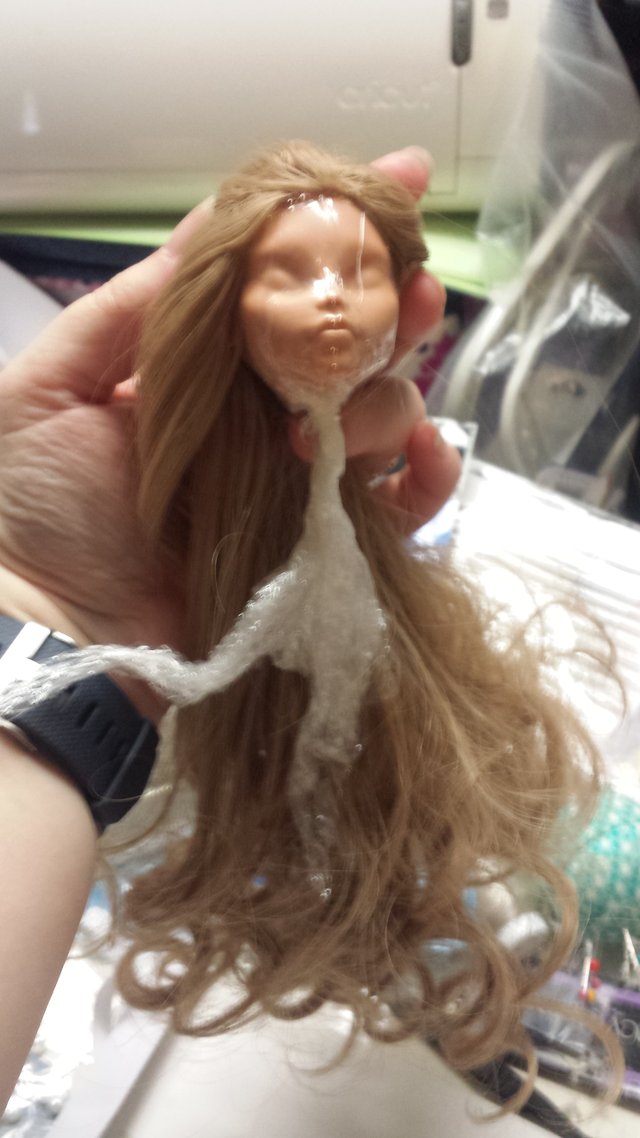
And this is the full length of the wig (on the doll it goes down to around her ankles):
Twining some paper flowers on wire together, I also made her a flower crown.
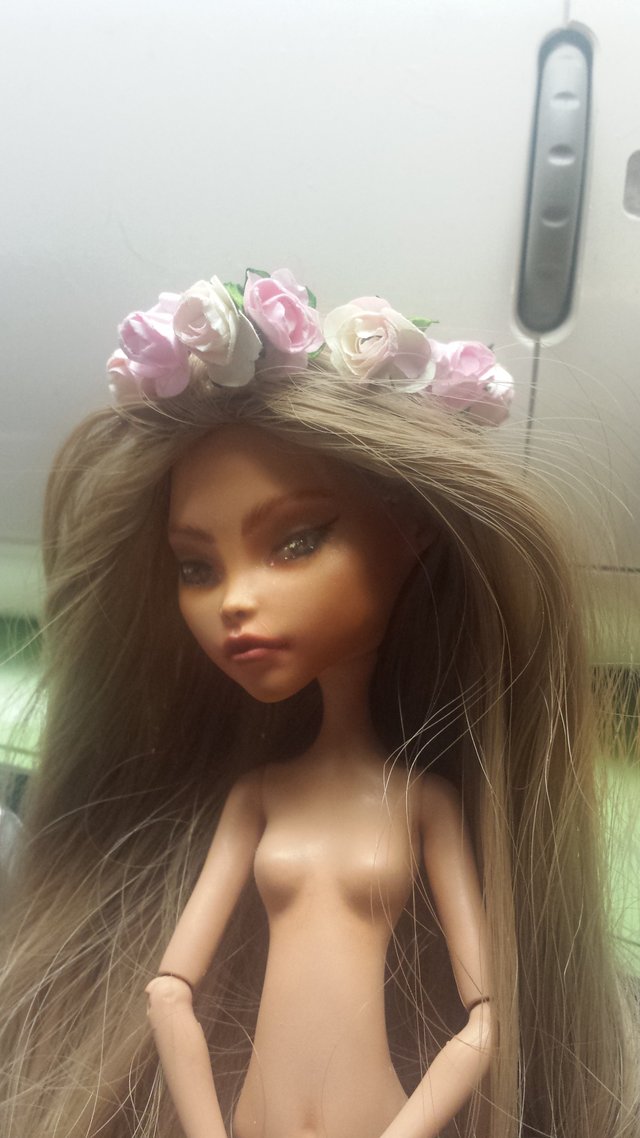
Eventually this doll will be completely finished! I'm waiting on the last references for the other wig I wish to do. Then, I'll add eyelashes and glaze her eyes and lips, maybe. I'll have to ask the owner of the doll if that's what she wants. ;) The doll (dubbed Luxelen Larkspur), will continue to make sassy faces at her owner until she complies. Lux does not wait around for people, and it doesn't help she can create illusions and turn you into a toad!
