Creating "Fairy Forest" collage in Adobe Photoshop CC 2019 Part 1
First we will prepare the base for the scene using an image with a ladder and a forest. Then we will add a waterfall, an arch and a lantern, merging all the images into one, using adjustment layers, layer masks and a brush. Applying adjustment layers, we will also adjust the overall color scheme and add more light from the lantern.
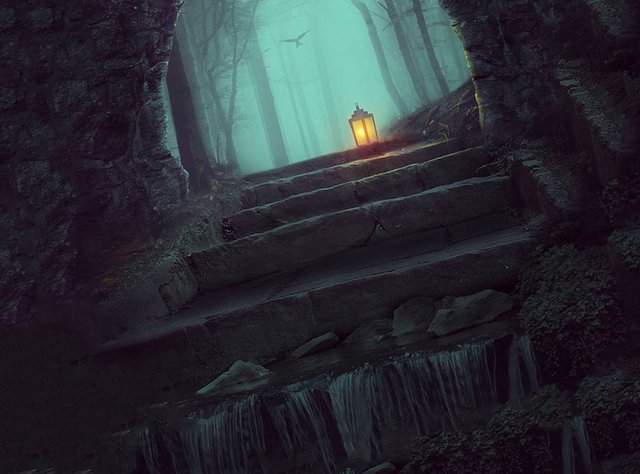
As a result of the lesson, you will create a “Fairy Forest” collage.
Final Result:
Step 1. Create the basis for the scene.
Step 1.
Create a new 2000x2000px document with settings, as in the screenshot below.
Step 2.
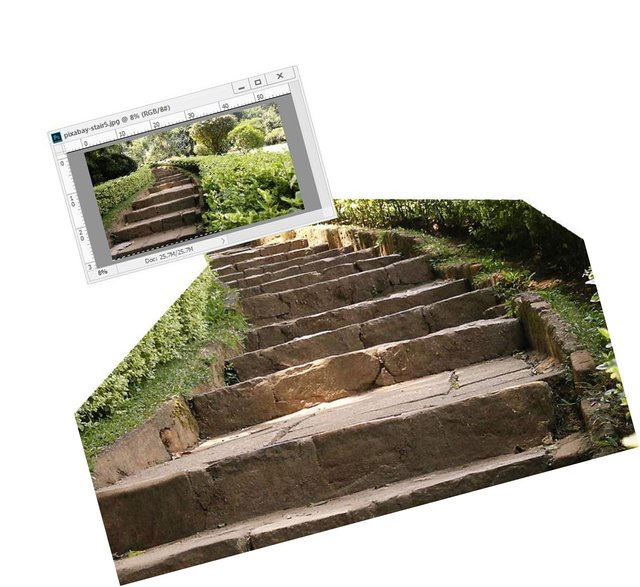
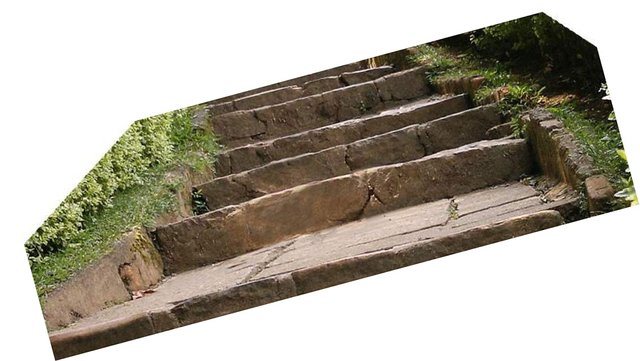
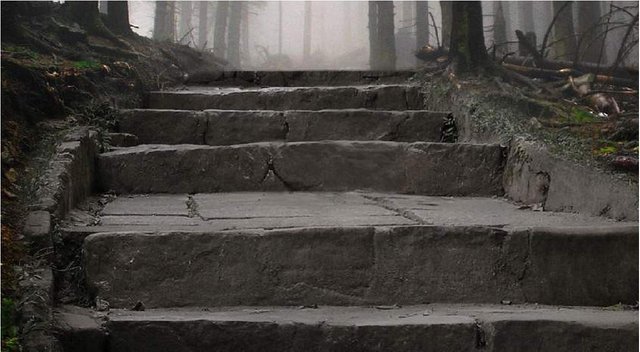
Open the “Stairs” image. Using the Polygonal Lasso Tool / Polygonal Lasso Tool (L), select the step area and place it in our document using the Move Tool (V). Place the steps at the bottom.
Step 3.
Some steps have unwanted light spots. To fix this, create a new layer in the clipping mask to the “Stage” layer. Select the Clone Tool / Stamp Tool (S) and delete unwanted areas.

Step 4.
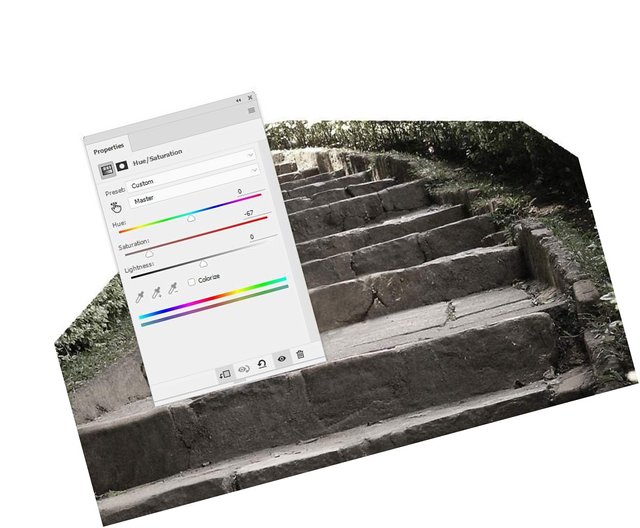
Add a Hue / Saturation / Hue / Saturation adjustment layer in Clipping Mask / Clipping Mask and discolor the steps by setting the Saturation / Saturation value to -67.
Step 5.
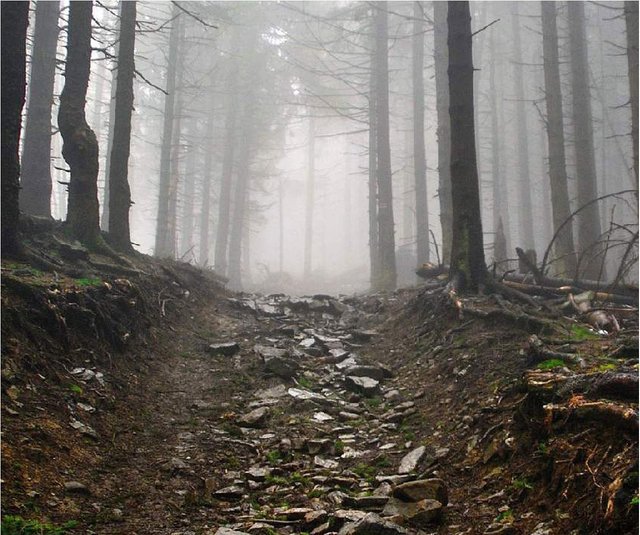
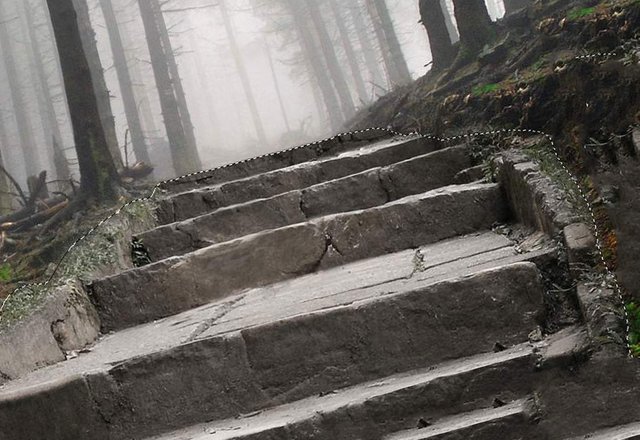
Move the “Forest 1” image to our document. Add a mask to the layer and use a soft black brush to erase the bottom part thereby showing the steps.
Step 6.
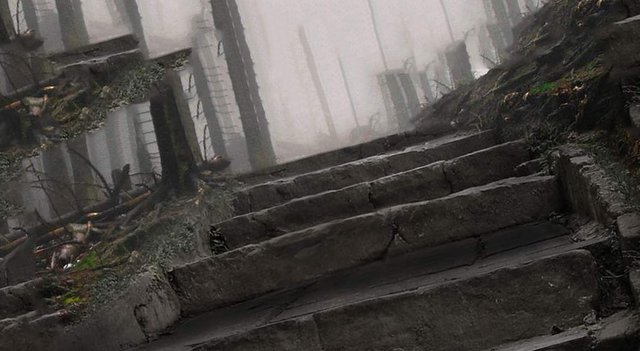
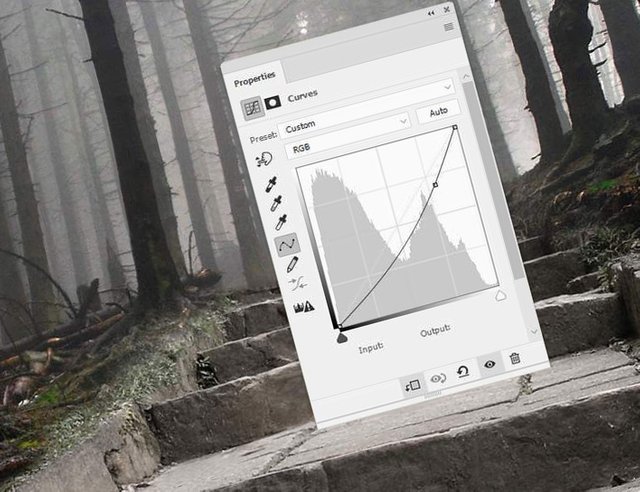
Add a Curves / Curves adjustment layer and darken the forest slightly.
Step 7.
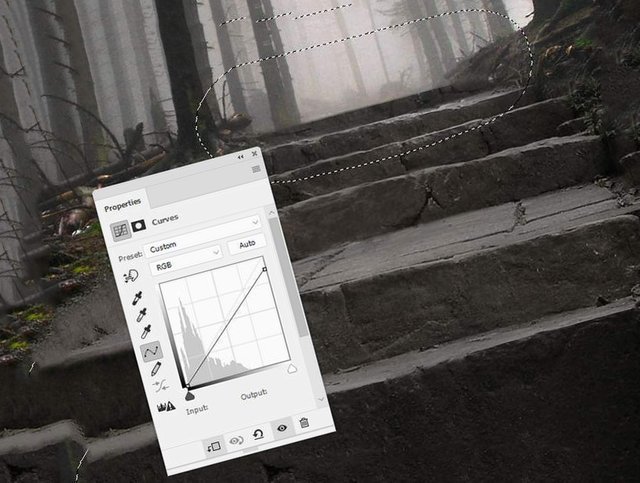
Go to the “Steps” layer and create a Curves / Curves above Hue / Saturation / Hue / Saturation adjustment layer.
On the mask of the adjustment layer, using a black brush with a small Opacity / Opacity 10-30%, adjust the brightness on the steps.
Below you can see the result on the layer mask and on the image itself.


Step 8.
Create another Curves adjustment layer / Curves and lower the brightness of the steps again. Disguise the upper steps on the mask of the correction layer, since more light should fall on them than on the lower ones.
Step 9.
Add a new layer, set it to blend mode Overlay / Overlap, and fill type 50% gray.
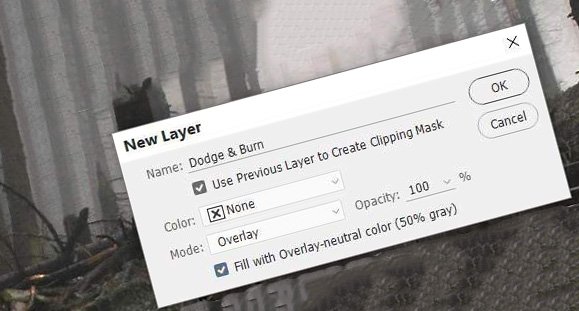
Using the Dodge Tool / Clarifier Tool and the Burn Tool / Dimmer Tool (O), by setting the Range / Range to Midtones / Mid Tones, and the Exposure value / Exposure around 10-20% specify the bright and dark places. You can see the result on the screenshot below in
Normal / Normal and Overlay / Overlap.