Creating "Fairy Forest" collage in Adobe Photoshop CC 2019 Part 3
Step 3. Add a waterfall.
Step 1.
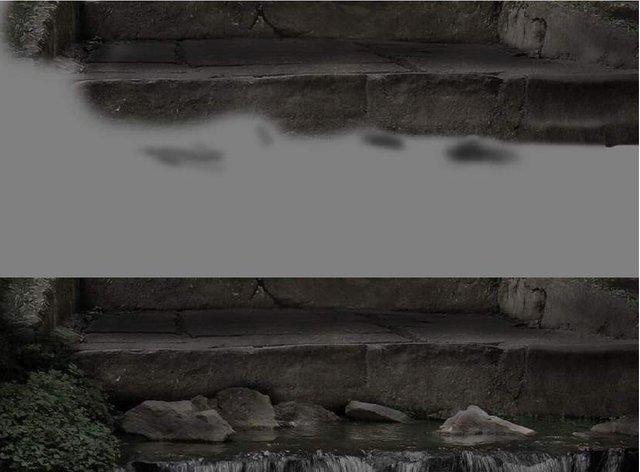
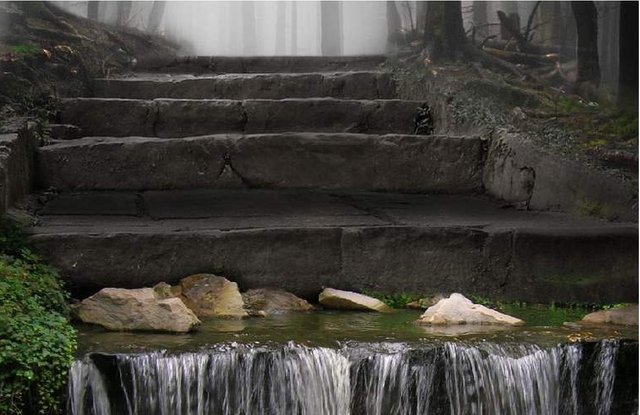
Add the "Waterfall" image to our document and place it on the bottom step.
Flip it horizontally. Edit / Edit> Transform / Transform> Flip Horizontal / Flip horizontally and erase the top area using the layer mask. See the screen below.

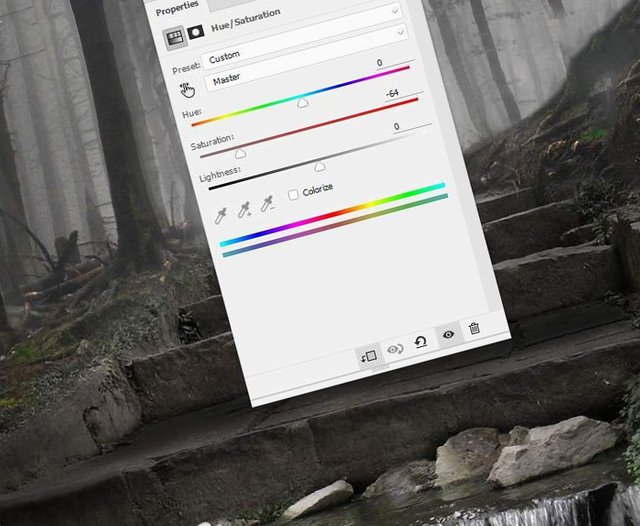
Step 2.
Add a Hue / Saturation / Hue / Saturation adjustment layer and discolor the waterfall by setting the Saturation / Saturation value to -64.
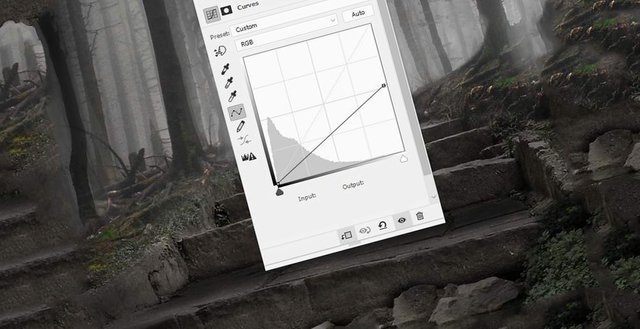
Step 3.
Add a Curves / Curves adjustment layer and darken the waterfall slightly.
Step 4.
Add a new layer, set it to blend mode Overlay / Overlap, and fill type 50% gray.
Use the Burn Tool / Dimmer Tool (O) to darken the area of the stones.