Creating "Fairy Forest" collage in Adobe Photoshop CC 2019 Part 5
Step 6. Add a flashlight.
Step 1.
Separate the lantern from the background and place it in our document.

Step 2.
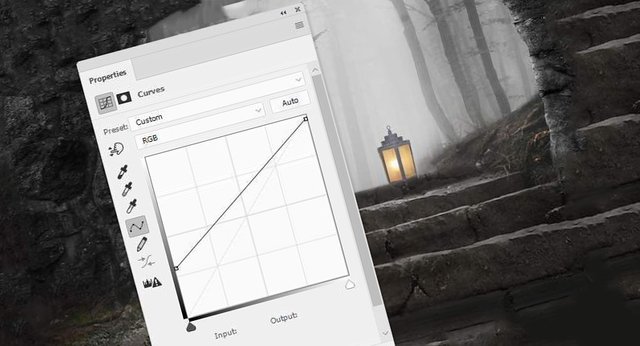
Add a Curves / Curves adjustment layer and lower the lamp contrast.
Step 3.
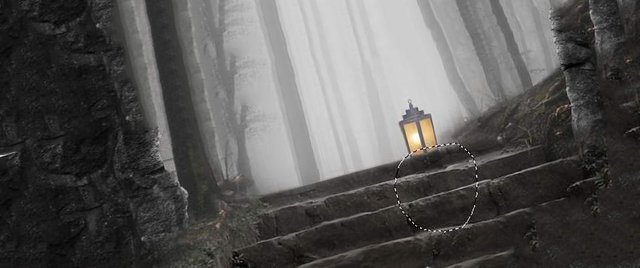
Add a new layer, set it to blend mode Overlay / Overlap, and fill type 50% gray.
Using the Burn Tool / Dimmer Tool (O) draw a shadow from the lantern on the steps.
Stage 7. Color correction.
Step 1.
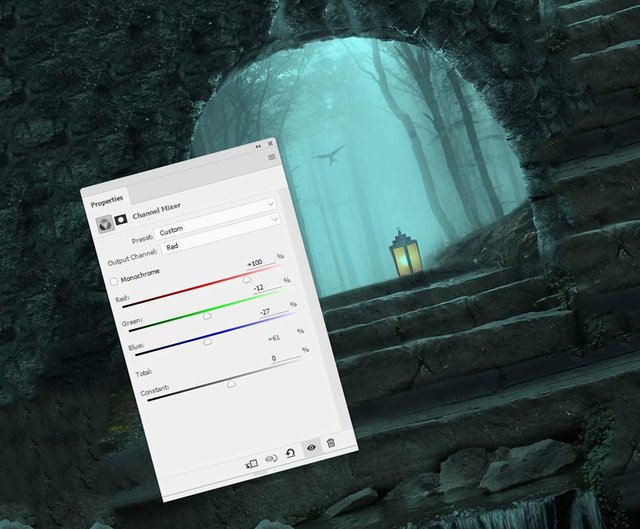
Add a Channel Mixer adjustment layer and change the settings for the red channel.
Step 2.
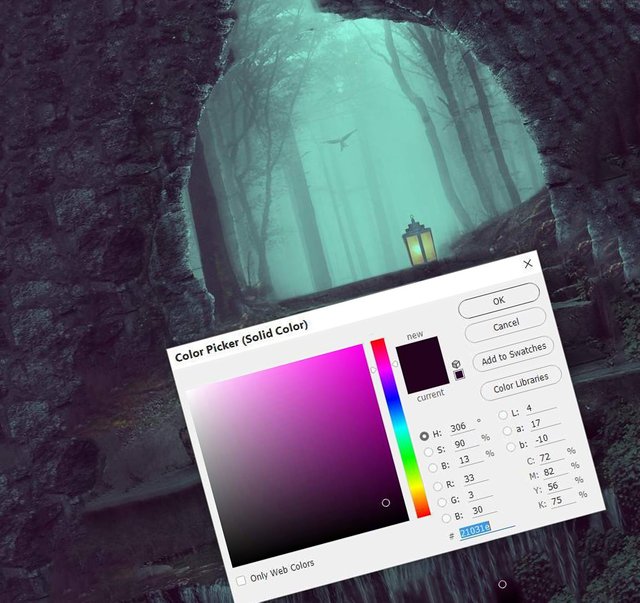
Add a Color Fill adjustment layer, set the fill color to # 21031e. Then change the blending mode for the layer to Exclusion.
Step 3.
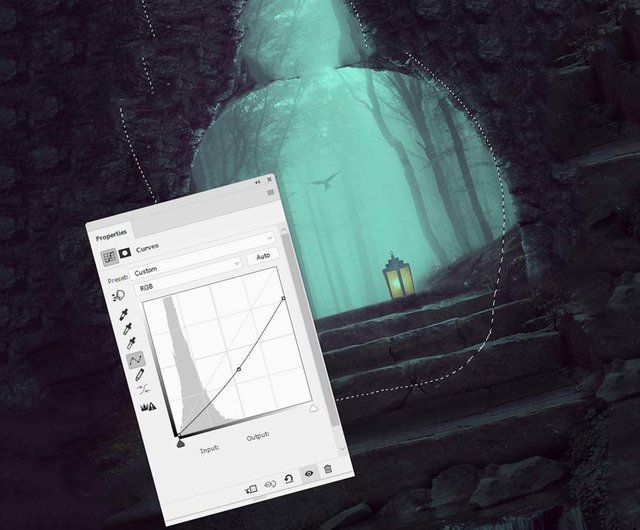
Add a Curves / Curves adjustment layer and add more contrast at the edges.
Mask the area inside the arch.