Hyena on A Pogo Stick | step-by-step making-of
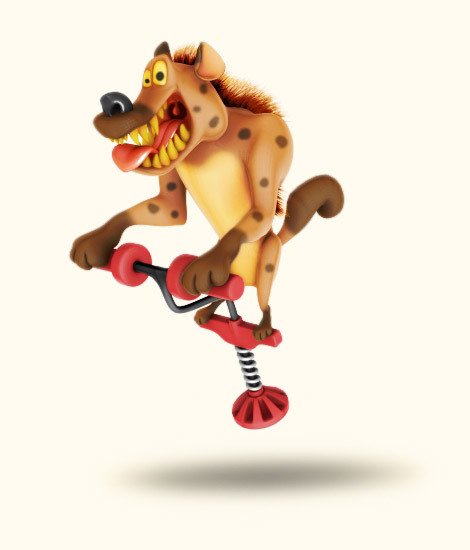
This was my entry for the Stylized Animal challenge at 3dtotal.com. It won me the third place, so I had to write a detailed making-of of how I created the image. I thought it might be useful to some steemers who are starting out creating artwork in Blender or other 3d software packages and so I decided to share it with you guys :)
Concept
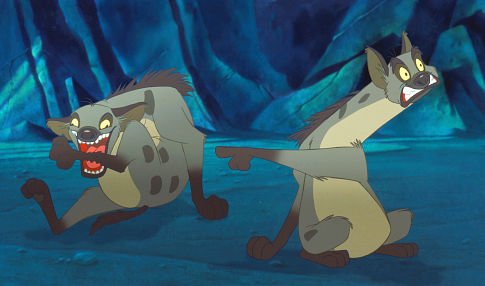
For this project I decided to start out a little bit differently than I normally would do. So instead of making some concept sketches, I decided to do a quick Google search, just to get a flavor of how other people would go about making a stylized hyena. I especially liked the trio of the Lion King. One of them, I guess his name was Ed, had this crazy look with an expressionless face and a hysterical laugh. I wanted to have the same combination in the character I was going to make. That’s where the idea of a crazy hyena jumping with a pogo stick came from.
Modeling
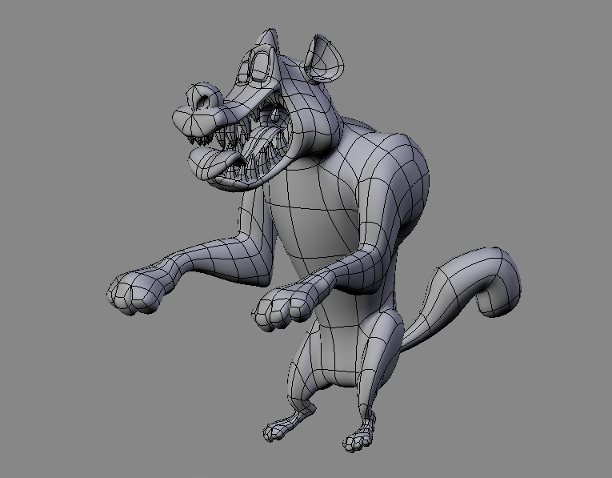
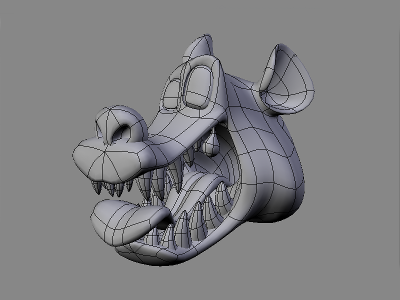
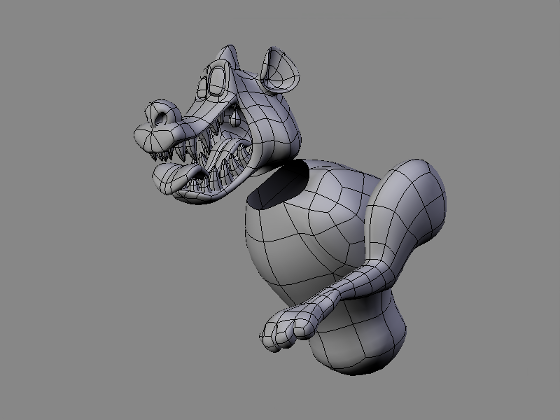
Usually I would model my characters in a neutral pose so that I can rig them and repose them the way I like. But since I decided to participate in this challenge a bit late, I had to model the hyena straight into the final pose in order to save some time. Keeping in mind the final look I wanted for my hyena, I started to model him in Blender using a poly-by-poly approach. I started out with a simple plane, enabled the mirror modifier, and continued from there by extruding and moving vertices along the way. It was important to get the expression right at an early stage. So once the head was done, I applied the mirror modifier and started adjusting the eyes to break the symmetry and nail down the crazy look.
The rest of the body was modeled separately to take advantage of the mirror feature without affecting the now asymmetric head. The legs and tail were also modeled separately from the main body. First I modeled the front leg, then I duplicated it and adjusted it to make the back leg. I then attached the legs to the main body. I finally joined the body and the head together. I wanted to caricature his figure even further, so I used Blender’s proportional editing tool to scale down his hind legs.
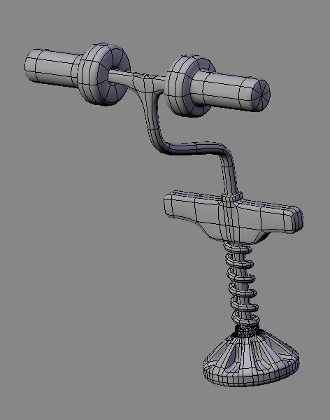
The pogo stick was fairly simple to model: just some extruded circles and planes to get the desired shape.
Hair
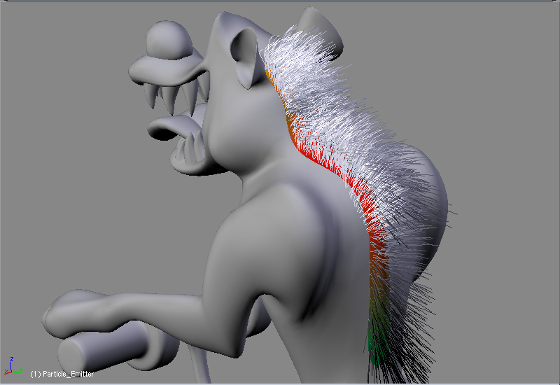
I selected a couple of polygons from the back of the hyena model, duplicated them, and separated them from the original mesh. I then created a static particle effect for the duplicated polygons to make the hair. I used three curve guides to control the flow of the hair and adjusted the length of the hair strands in Blender’s weight paint mode.
Lighting & Shading
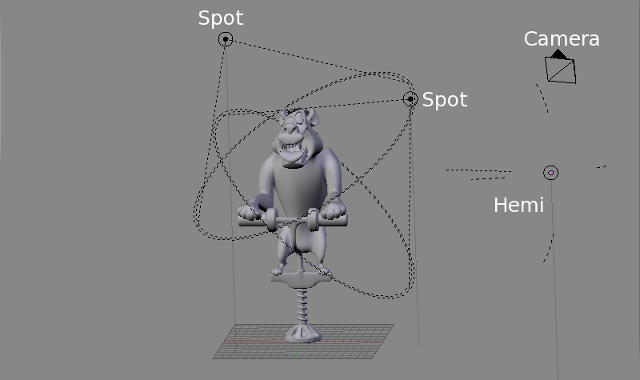
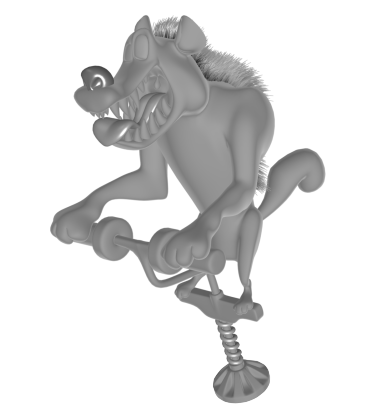
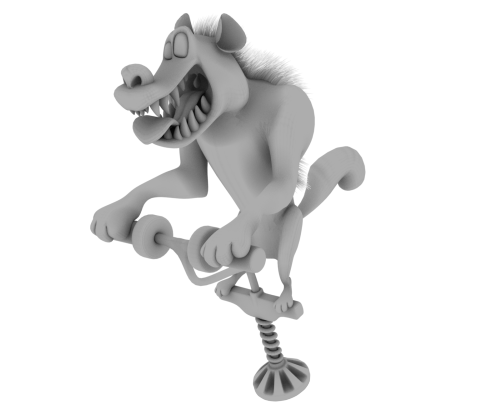
The deadline for the challenge was drawing near quickly at this stage, so I had to settle for a plain background for my character. That’s why it was important to have him lit evenly from all directions. I used one hemi light (similar to 3ds Max’s Sky light) and two faint spots.
I also used a Toon shader for the body of the hyena with a very high ‘Smooth’ value, to achieve a smooth transition between lit and shaded areas. The ‘Size’ value of the Toon shader was also high to have as little shadow as possible. Then I added a ramp shader to have a smooth, peach-like color fall-off. I also used the same material for the plastic of the pogo stick. The nose, tongue and metal on the pogo stick had a material with a high specularity value. In Blender, the shape of the hair strands can be controlled in the material panel. So I gave them a large base to simulate thick hair and a small tip to have them blend smoothly into the background.
To further enhance the effect, I assigned a procedural blend texture to the alpha channel of the individual strands, making their bases fully opaque and their tips fully transparent. All materials had a neutral grey colour.
Rendering
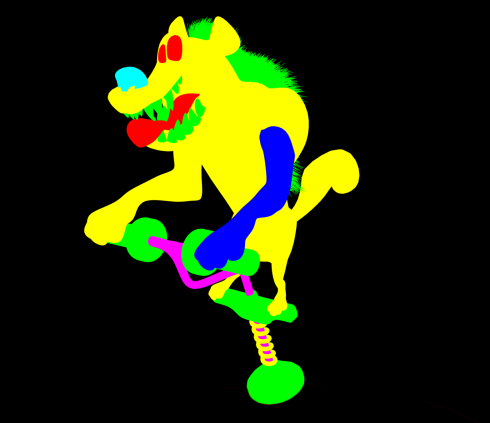
Being a lousy painter, I’ve always had difficulties during the texturing process. Trying to make a good UV map, hiding seams and readjusting color maps because they look different after being lit, to name just a few. I didn’t have enough time to deal with all these problems, which is why I decided to render this image in greyscale and paint over it directly in Gimp. I also rendered an ambient occlusion pass and prepared a selection pass to be able to select the areas I wanted to paint over easily in Gimp.
Compositing
I loaded up my raw render and selection pass into Gimp, and started painting. There I could select an area of my image using the selection pass, add a new layer, change the layer’s blending mode to Color, and fill the selection entirely with one color or paint inside it with a brush.
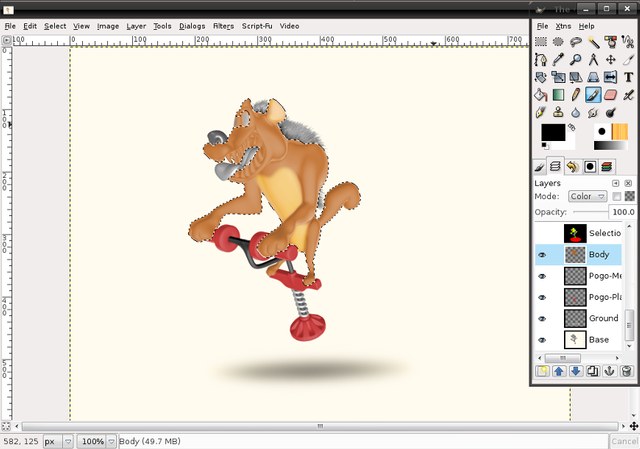
I continued with this process until all the image was coloured. If I thought that a particular area of the image looked too bright or dark, I would select that area and use the Levels tool on my base layer to fix it. If I didn’t like the colour of a particular part, I would use the Colorize or Dodge/Burn tools on the corresponding layer to adjust the colour to my liking. The wonderful thing about this method is that I could try out different possibilities and see all the changes made in real-time!
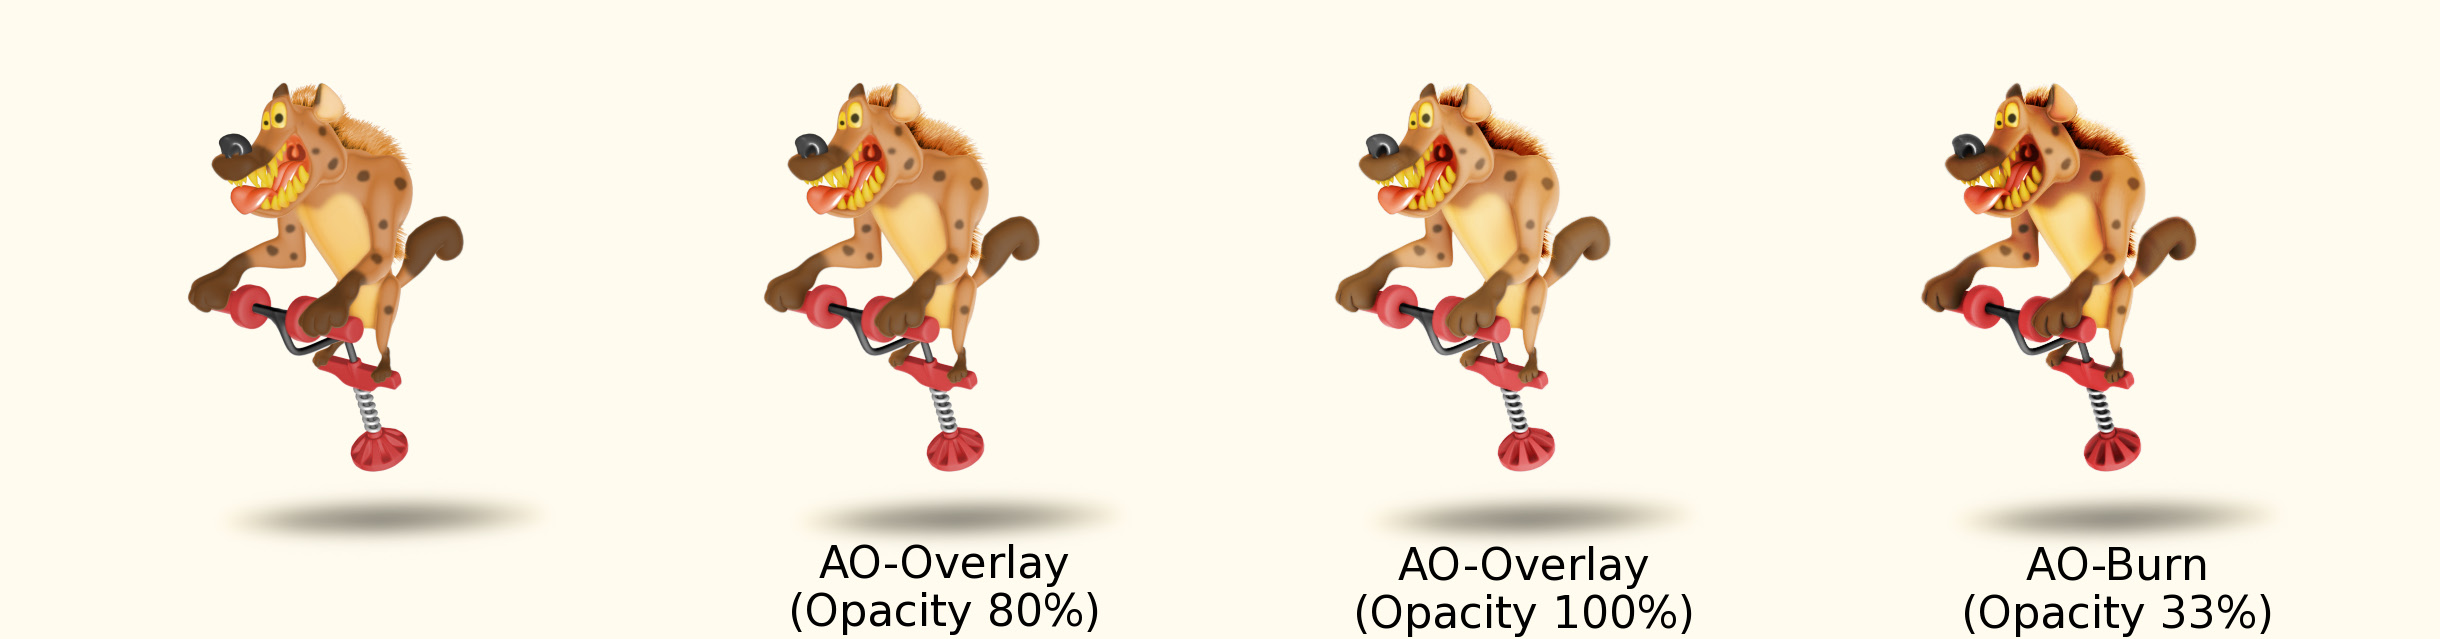
I then placed the AO pass on top of my layers stack and duplicated it twice. I changed the blending mode of two of the AO layers to Overlay and the third one to Burn. This basically enhanced the lighting of the image and restored some of the details that were lost because of the Toon shader.
To finish it all off, I added a subtle light wrap effect to blend my foreground elements into the background, and I scaled the image down to get rid of any rough edges.
I hope you’ve all enjoyed reading this making-of as much as I enjoyed writing it :)