Nelson Mandela - Make your own halftone sketch
Hello All!
I recently had a challenge of coming up with an interesting design of the late, great Nelson Mandela for a school graduation programme.
I wondered if I could recreate line-work halftones using regularly spaced lines, but with different thicknesses to depict highlights and shadows in the image.
I am aware that PhotoShop can do this automatically but I wanted vector stripes rather than the bitmaps that PhotoShop uses to produce halftones.
Just for the information of those that do not know what "vectors" and "bitmaps" are, allow me to explain using this very comprehensive definition from techterms.com.:
Unlike JPEGs, GIFs, and BMP images, vector graphics are not made up of a grid of pixels. Instead, vector graphics are comprised of paths, which are defined by a start and end point, along with other points, curves, and angles along the way. A path can be a line, a square, a triangle, or a curvy shape. These paths can be used to create simple drawings or complex diagrams. Paths are even used to define the characters of specific typefaces.
Because vector-based images are not made up of a specific number of dots, they can be scaled to a larger size and not lose any image quality. If you blow up a raster graphic, it will look blocky, or "pixelated." When you blow up a vector graphic, the edges of each object within the graphic stay smooth and clean. This makes vector graphics ideal for logos, which can be small enough to appear on a business card, but can also be scaled to fill a billboard. Common types of vector graphics include Adobe Illustrator, Macromedia Freehand, and EPS files. Many Flash animations also use vector graphics, since they scale better and typically take up less space than bitmap images. ---
Credit
So the experiment began using this image of Mandela as a reference:
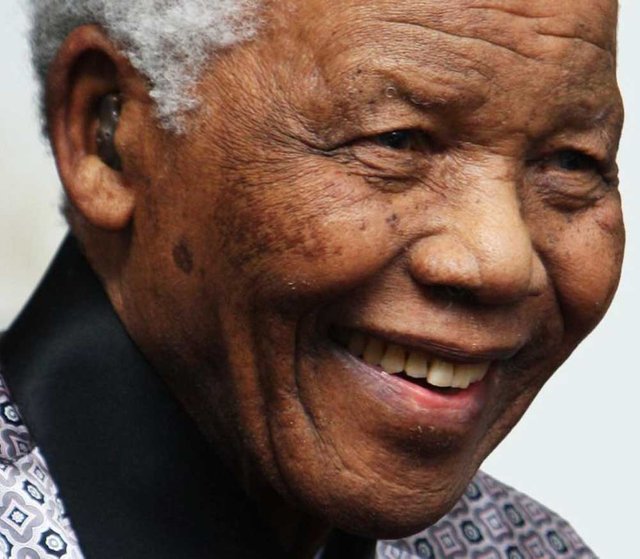
Image credit
I used PhotoShop to turn the image into a monochrome picture to make it easier to see where I would place the stripes:

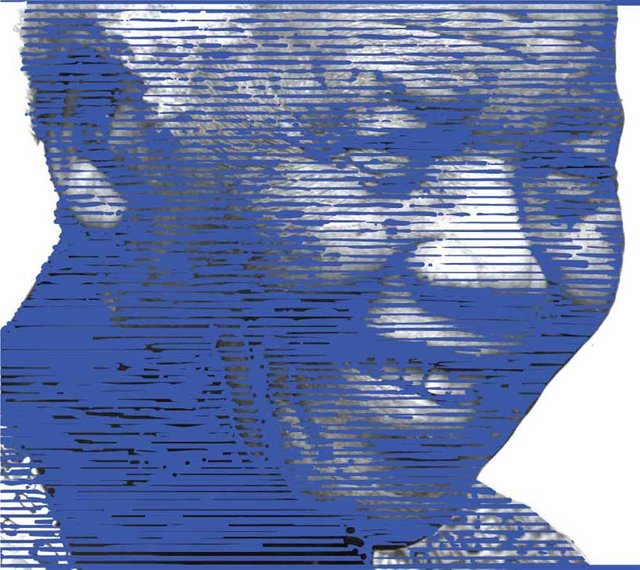
I then used the "blob-brush" tool in Adobe Illustrator to draw the lines in various thicknesses interpreting the shadows and highlights as best I could:
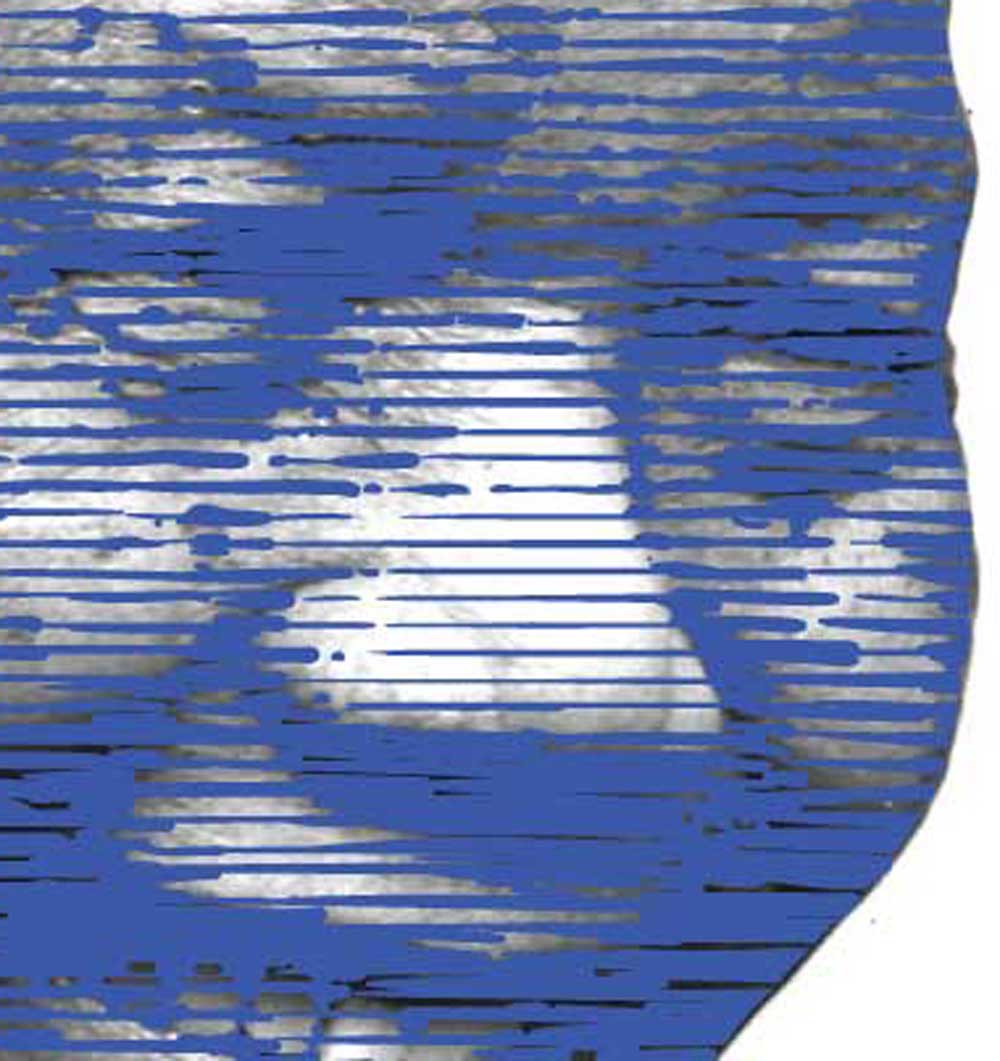
Here is a close up of the striping:
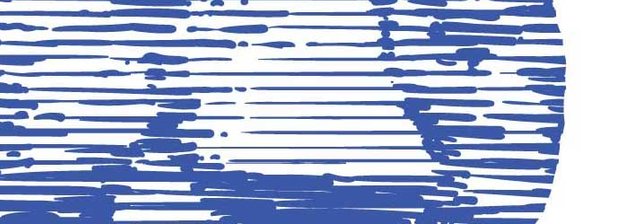
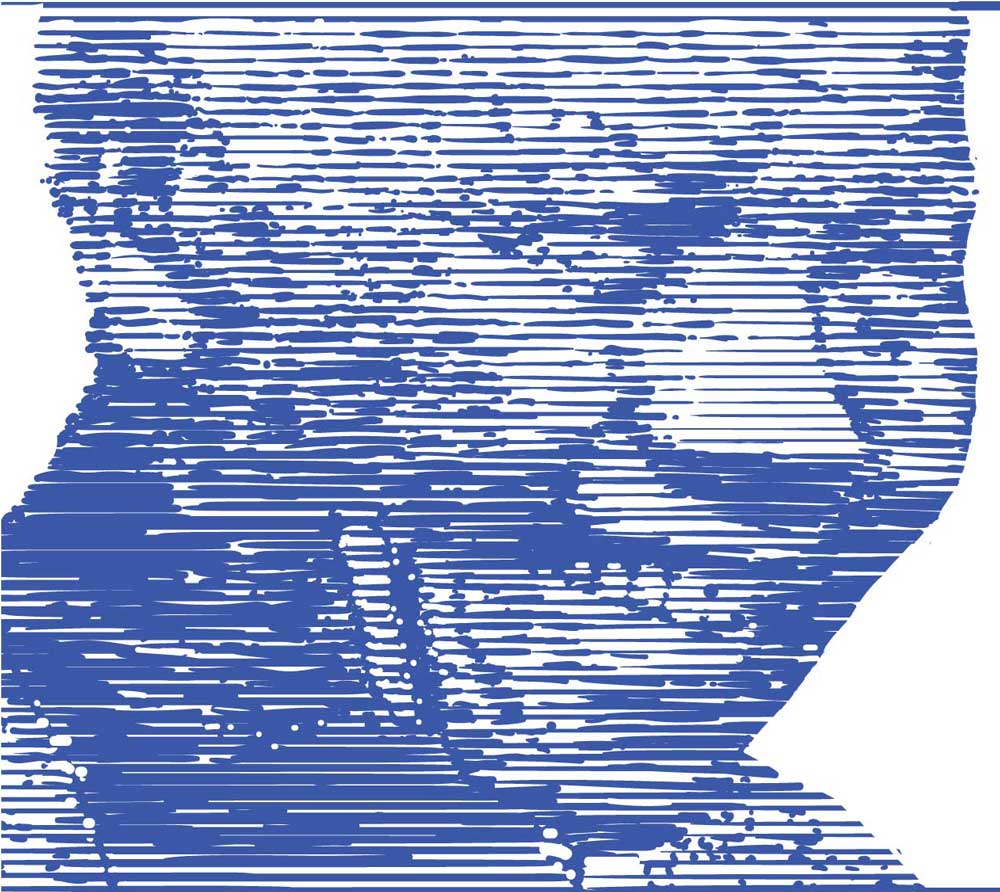
Then the photo refence was removed leaving only the stripes:
And here is how it came out. (It might help to step back from your screen to see the image clearly):
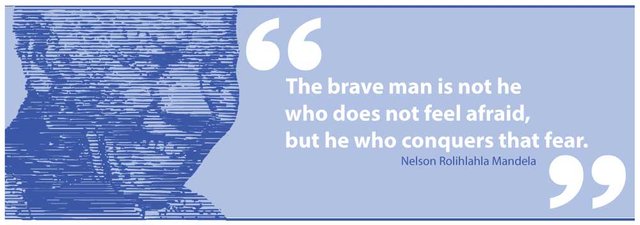
...and, finally, this is the design on the programme using the vector stripes....
I hope you found that interesting....have a great week and lotsa love!
Nice descriptive piece on how you achieved your final piece @juniorshelver visiting from #teamsouthafrica welcome look forward to getting to know you.
Thank you@joanstewart. I am working on some more charicatures and will post soon. I have followed you as well
This post has received a 2.98 % upvote from @boomerang.
You got a 3.76% upvote from @upmewhale courtesy of @juniorshelver!
Earn 100% earning payout by delegating SP to @upmewhale. Visit http://www.upmewhale.com for details!