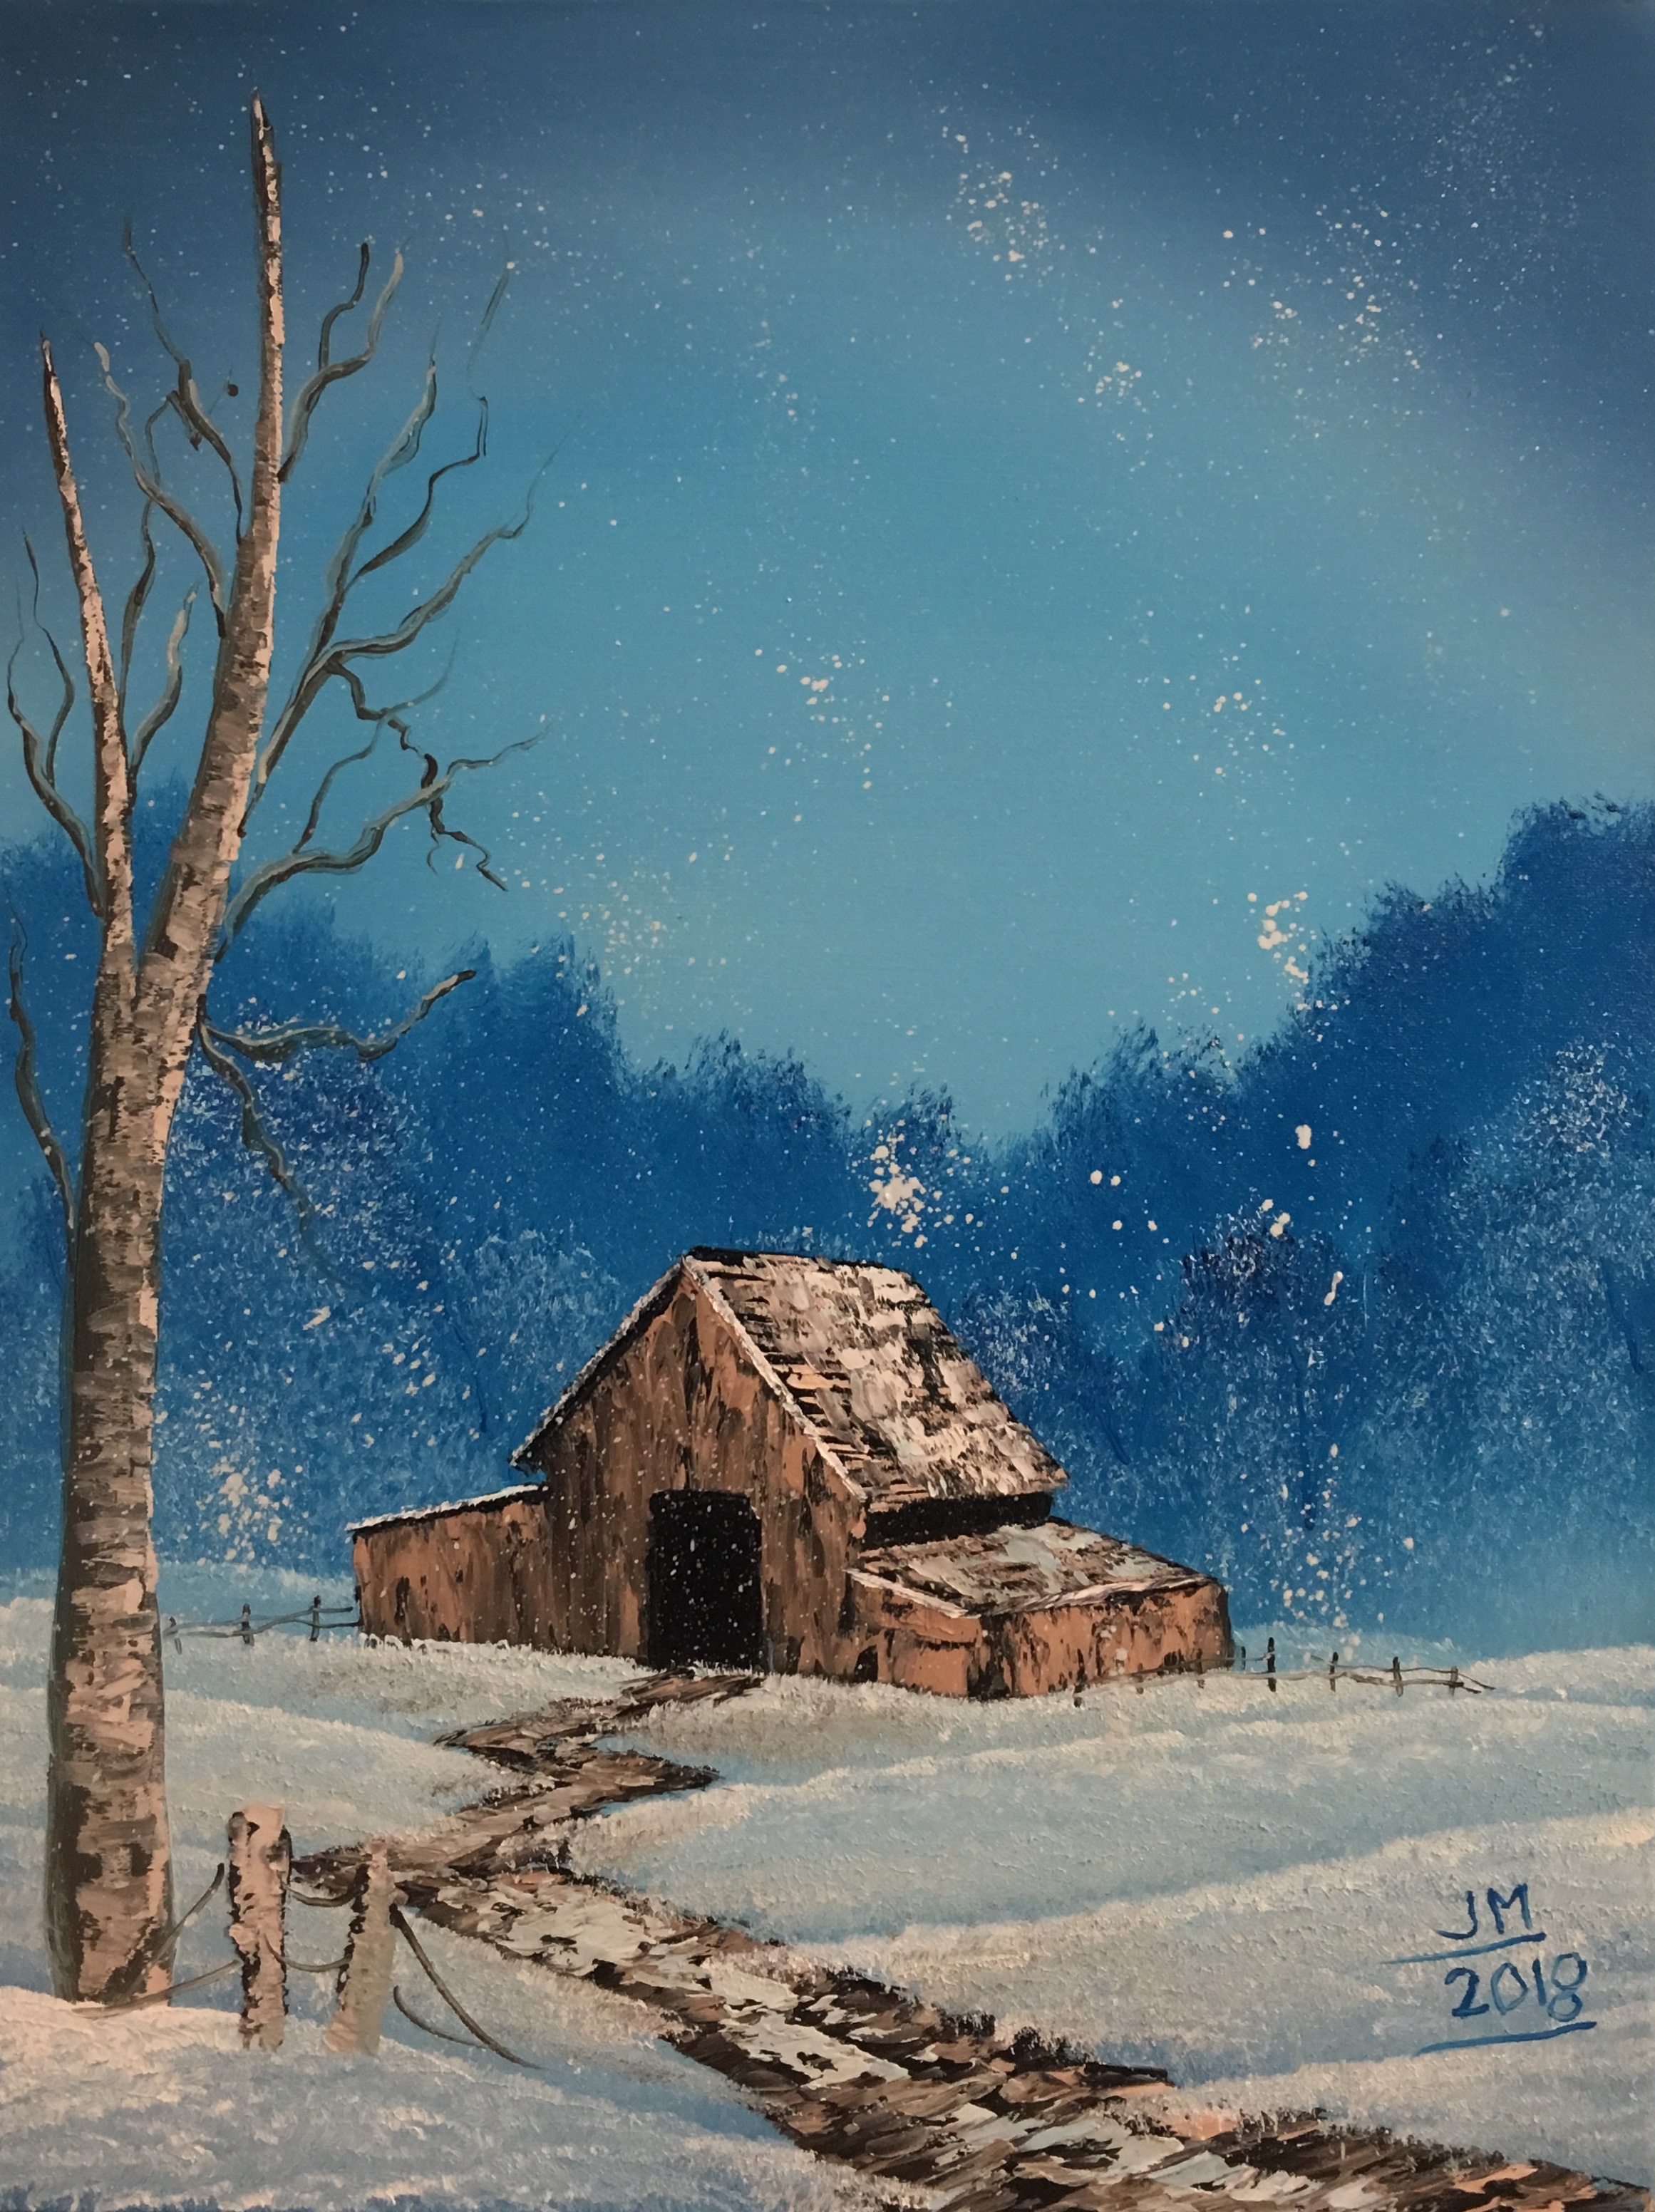
"Countryside Barn at Winter": STEP BY STEP.
Hey my Steemit friends! Here's a step by step process on how to paint "Countryside Barn at Winter". For this piece I used the usual 18x24 inch-sized canvas just like Bob would use. I just want to point out that if you try and paint this on your own, any size canvas is convenient.
Hope you all enjoy!
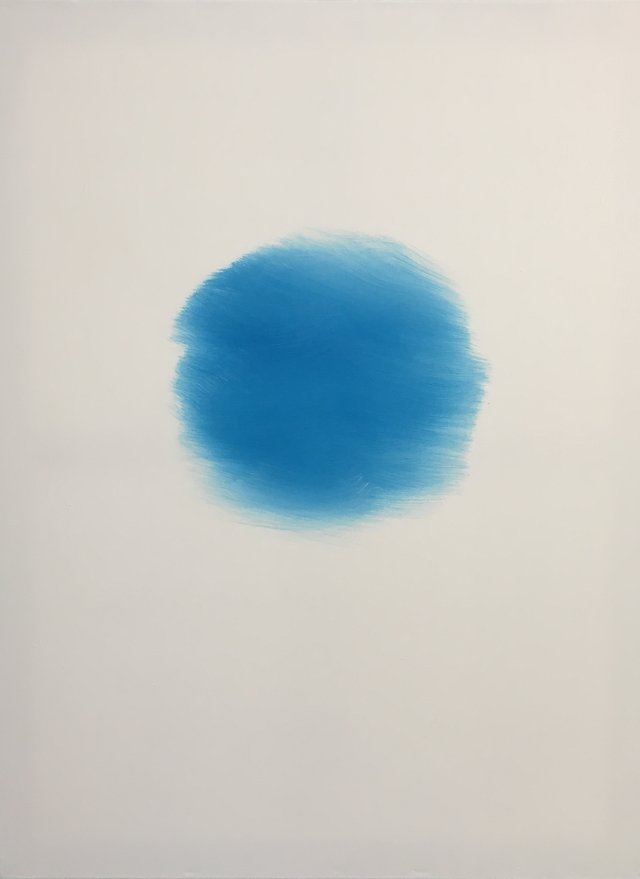
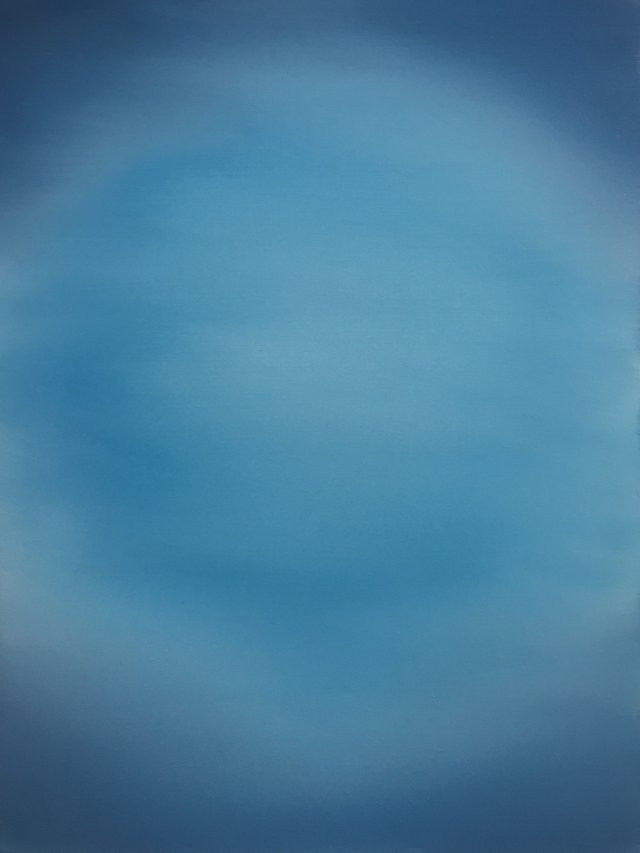
First of all, as always I've covered the entire canvas with a thin coat of the Liquid White, so that it will be wet and slick and all set to go. Next I grabbed my 2-inched brush and coated it with a small amount of the Phthalo Blue. Then I started making criss-cross strokes, going circular, making a circle in the center of the canvas. Then I got some more of the Blue and went all around the circle, going on out a little further out with it.
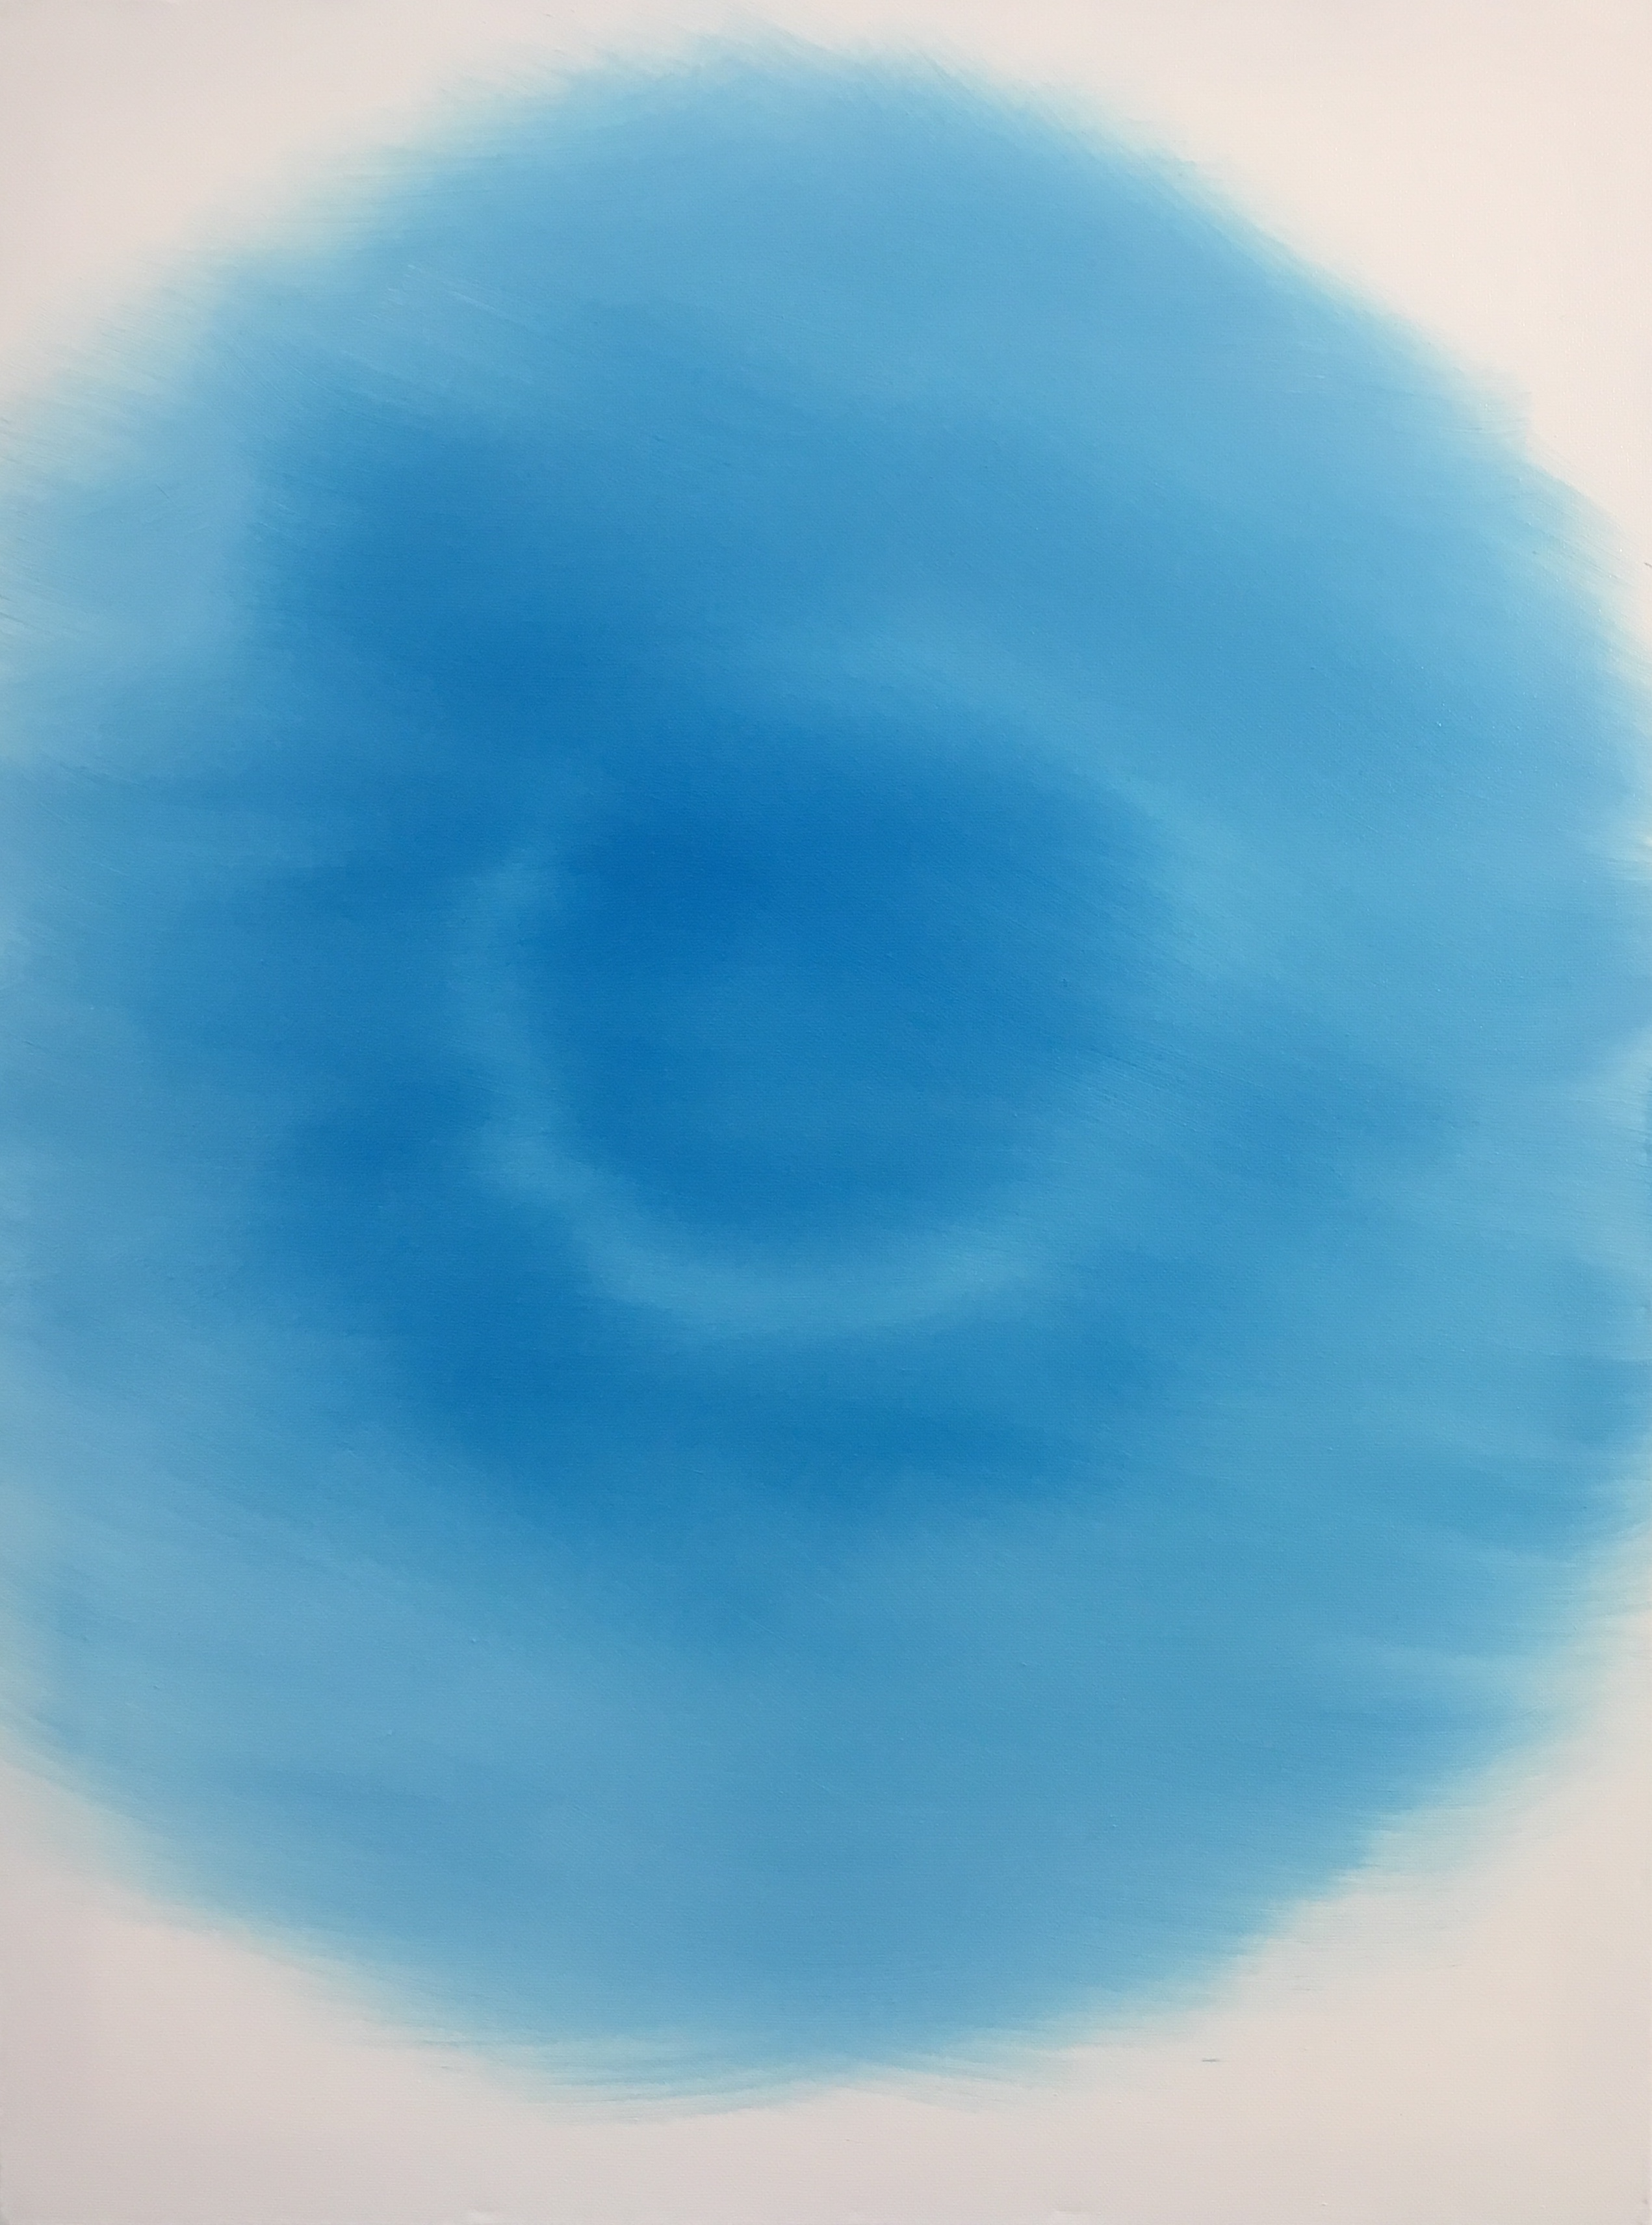
I then started to add a little of the Prussian Blue with the same dirty brush, making it a little darker on all the corners. Start blending a little while coating it with the blues. To darken the corners just a little more, I've added a tiny amount of the Midnight Black with the same brush.
After cleaning the brush with Odorless Paint Thinner, and beating the devil out of it, with the brush dry, I blended the entire canvas, blending the colors and smoothing the color out and same with the corners.

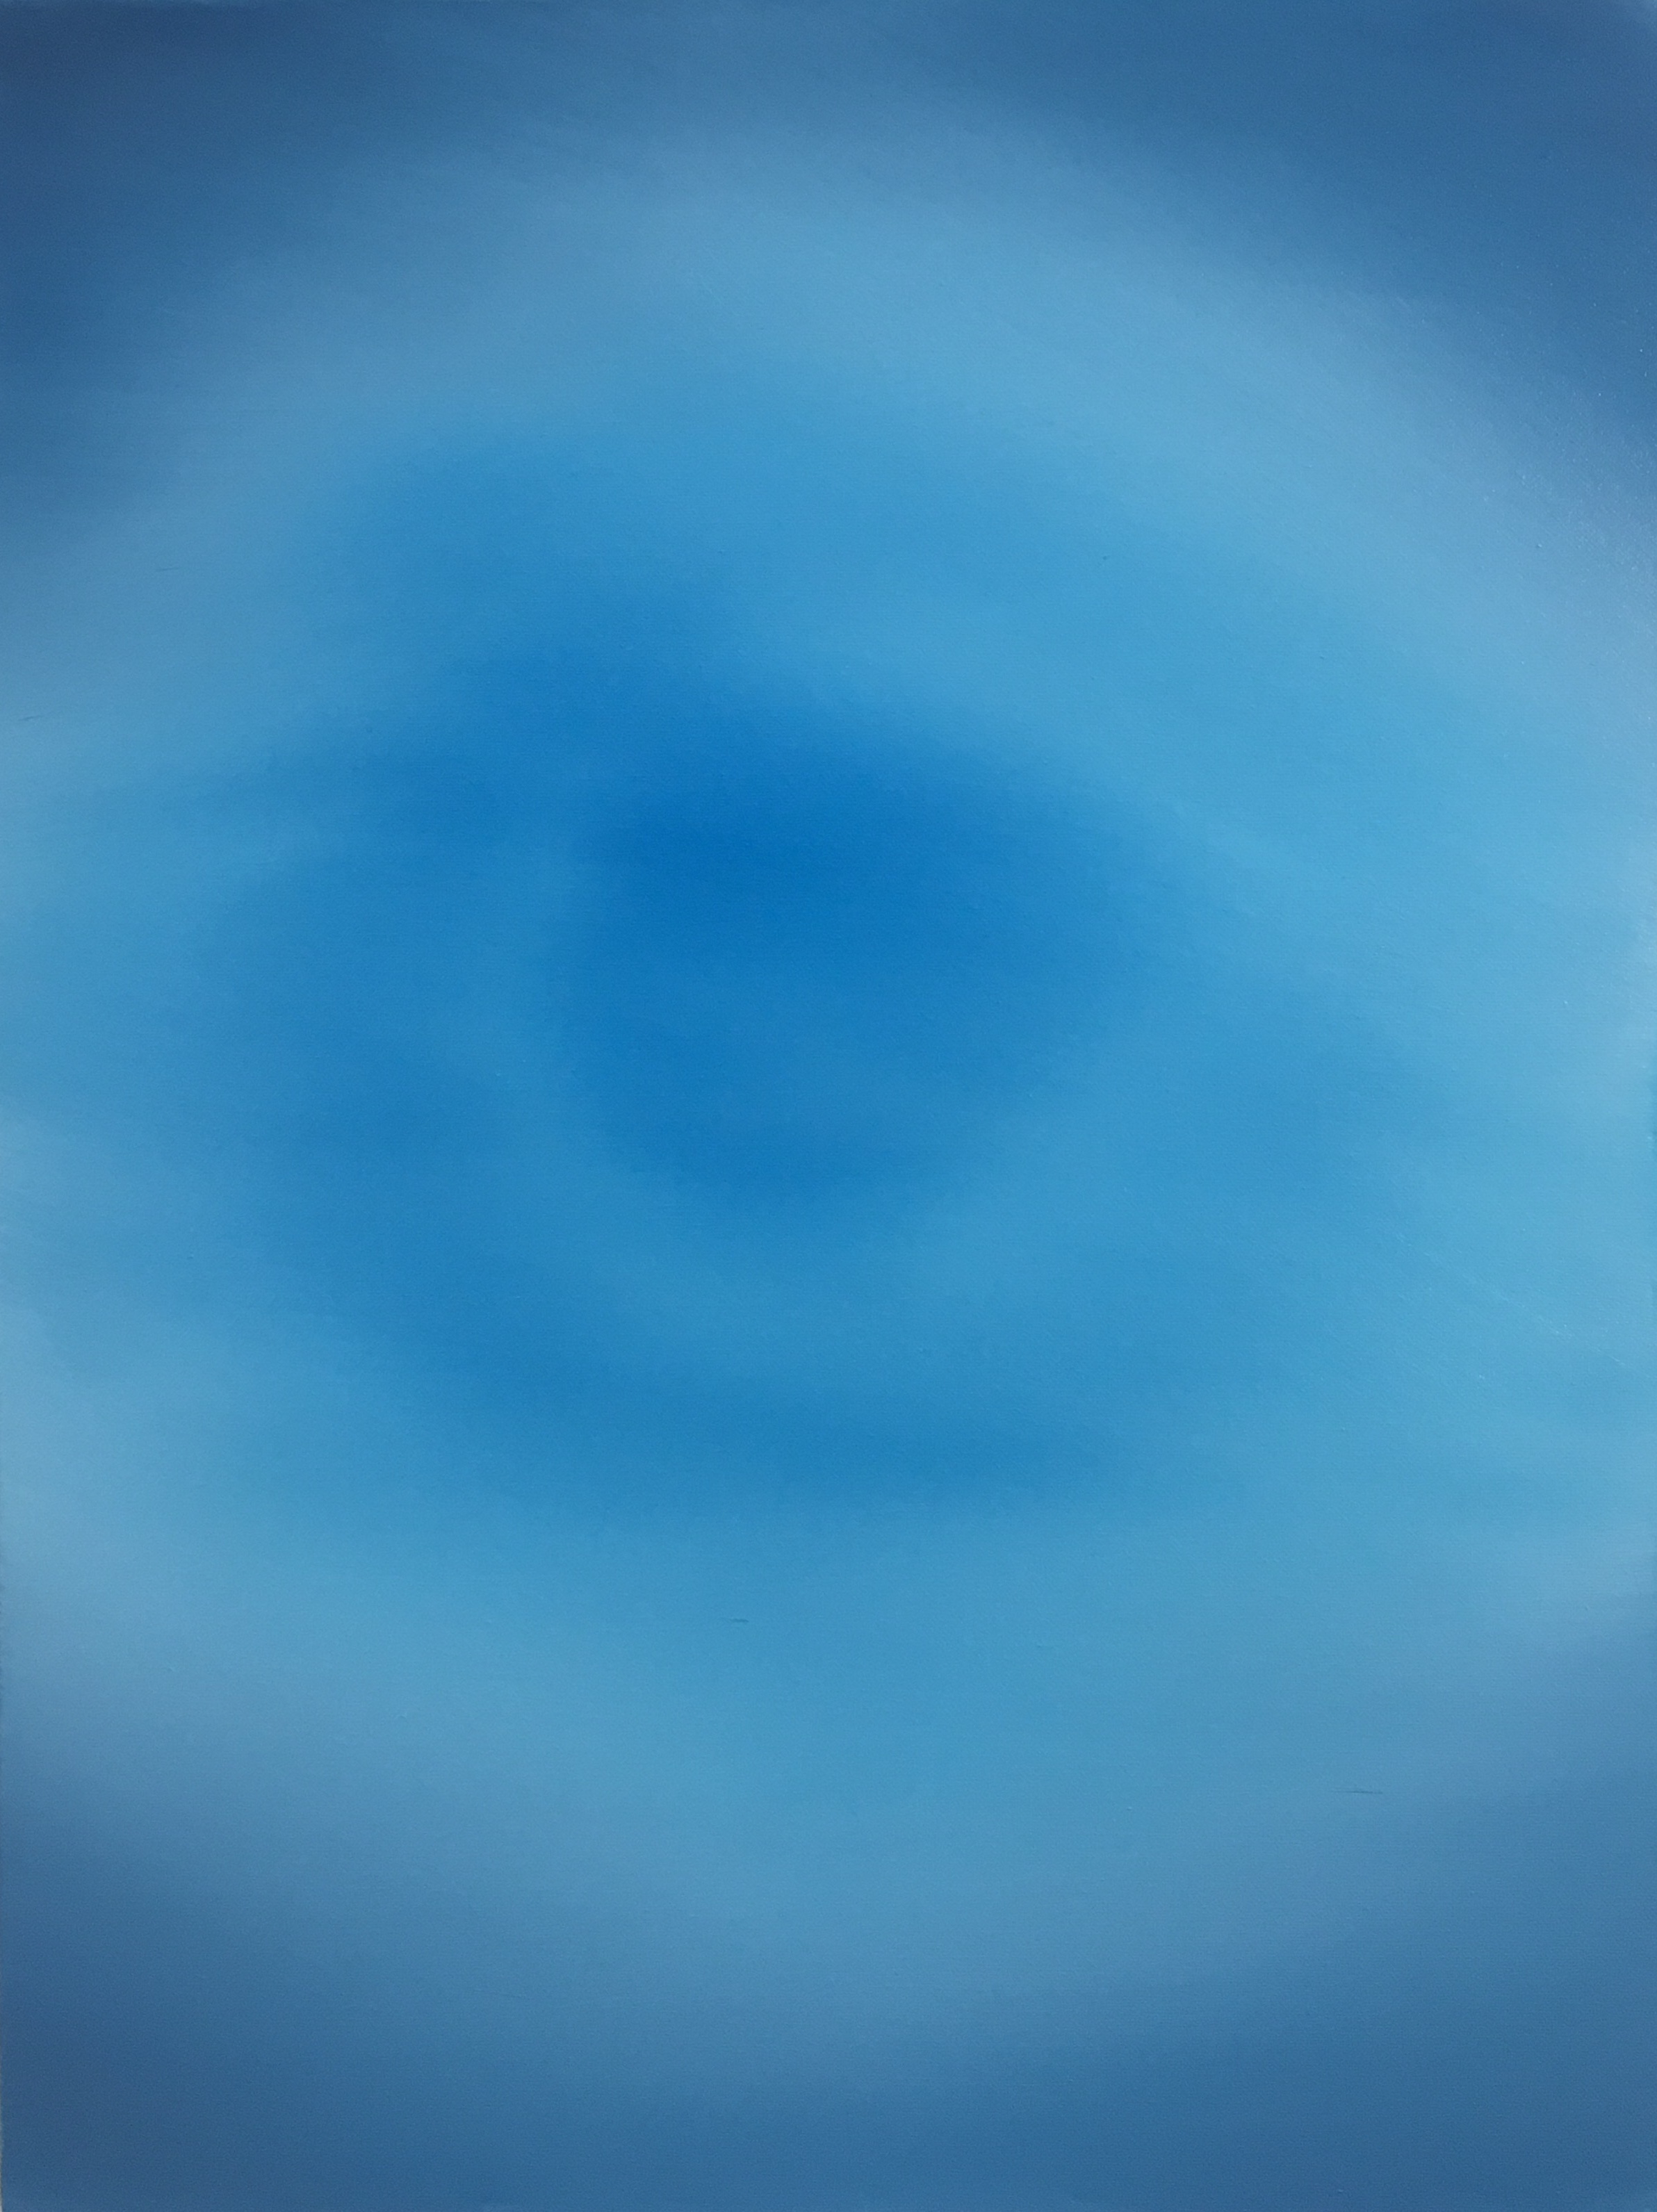
Next I grabbed another 2-inched brush and went into some Titanium White, tapping a little on one side of the brush, and then I went to the center of the canvas, creating a light source. We're making the lightest area in the sky. Begin by just blending outward. You can do this as many times as you want to make it as bright as you can. After that was done, I began blending the whole sky again with another dry 2-inched brush.
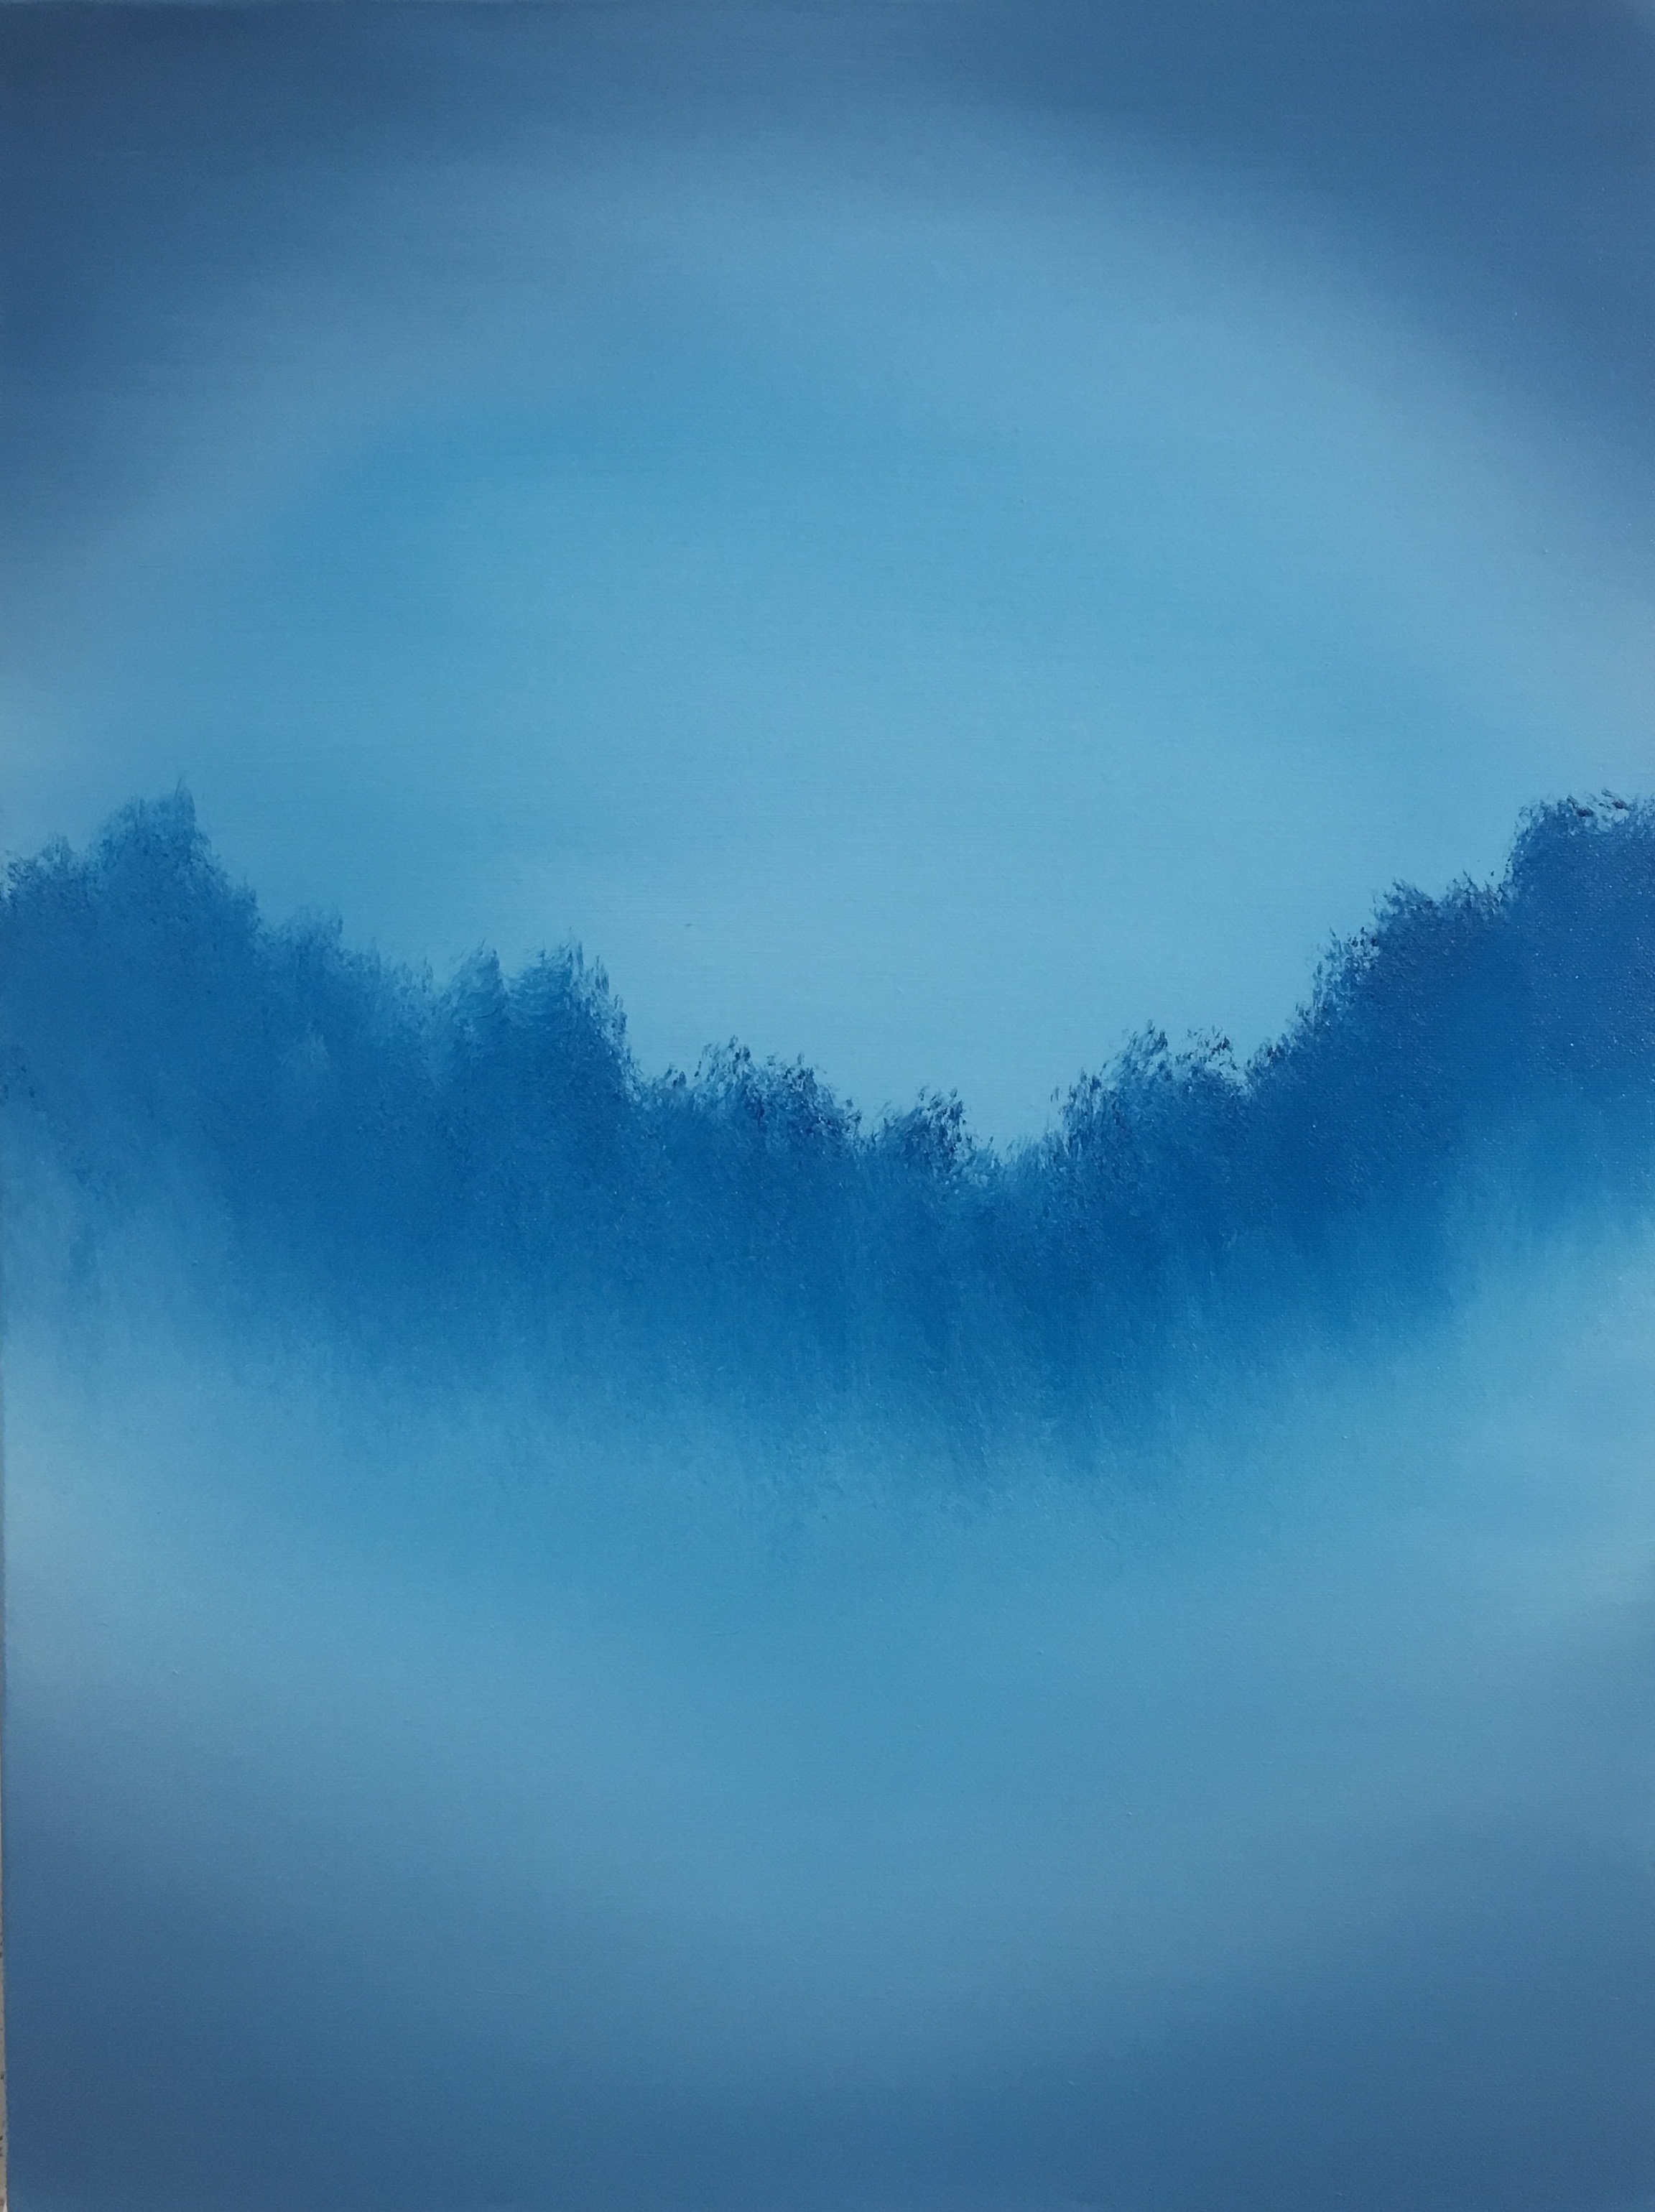
With the same dirty brush, I went into more of the blue color by just tapping on one corner of the brush. Using the top corner of the brush, I've created shapes of some trees and bushes in the distance. Just by tapping from the top corner of the brush, and you can decide where the trees or bushes live. Now as they get closer to us, we can make them just a little darker so they'll stand out. That's the reason we're just using the corner of the brush and automatically the bottom will be lighter than the top of the trees and bushes. You can make as many layers as you want when you paint this.
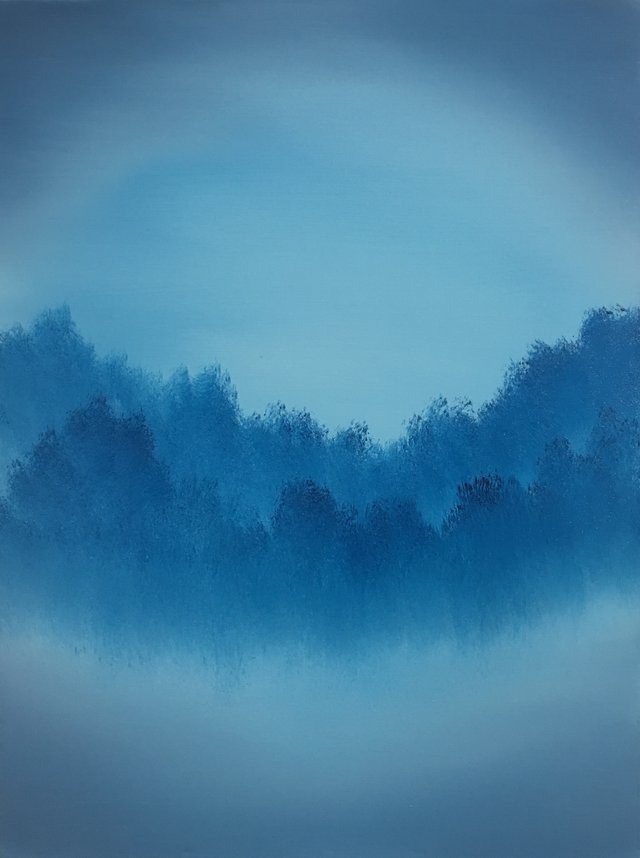
With another dry 2-inched brush, tap on one corner and coat it with some Titanium White. For this we'll be creating highlights on the distant trees/bushes. Using just the top corner of the brush, tap with not a lot of pressure, start creating the highlights. Now if you put a whole lot of pressure with the brush, your highlights will immediately change color and it'll darken and I didn't really want it to change that much. Then I cleaned the brush with Paint Thinner and beat the devil out of it.

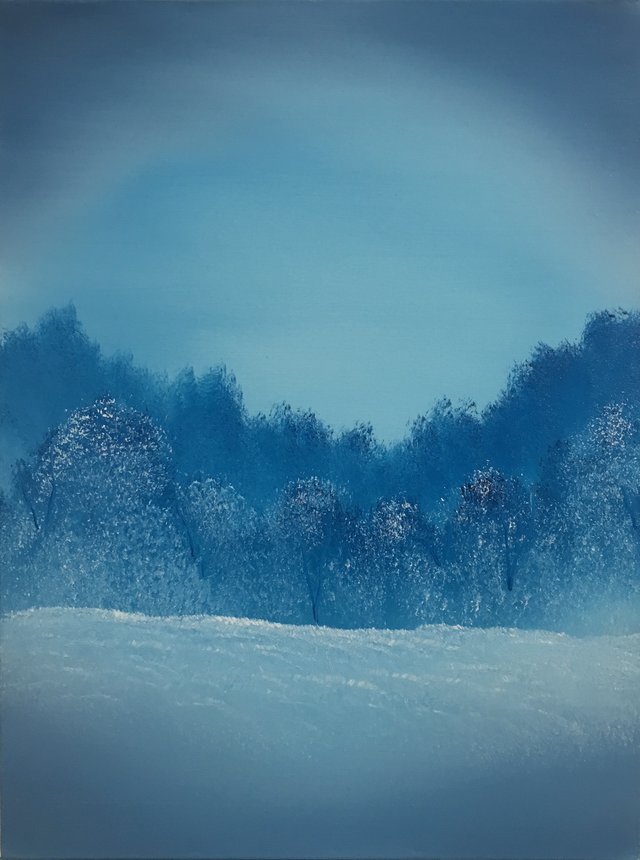
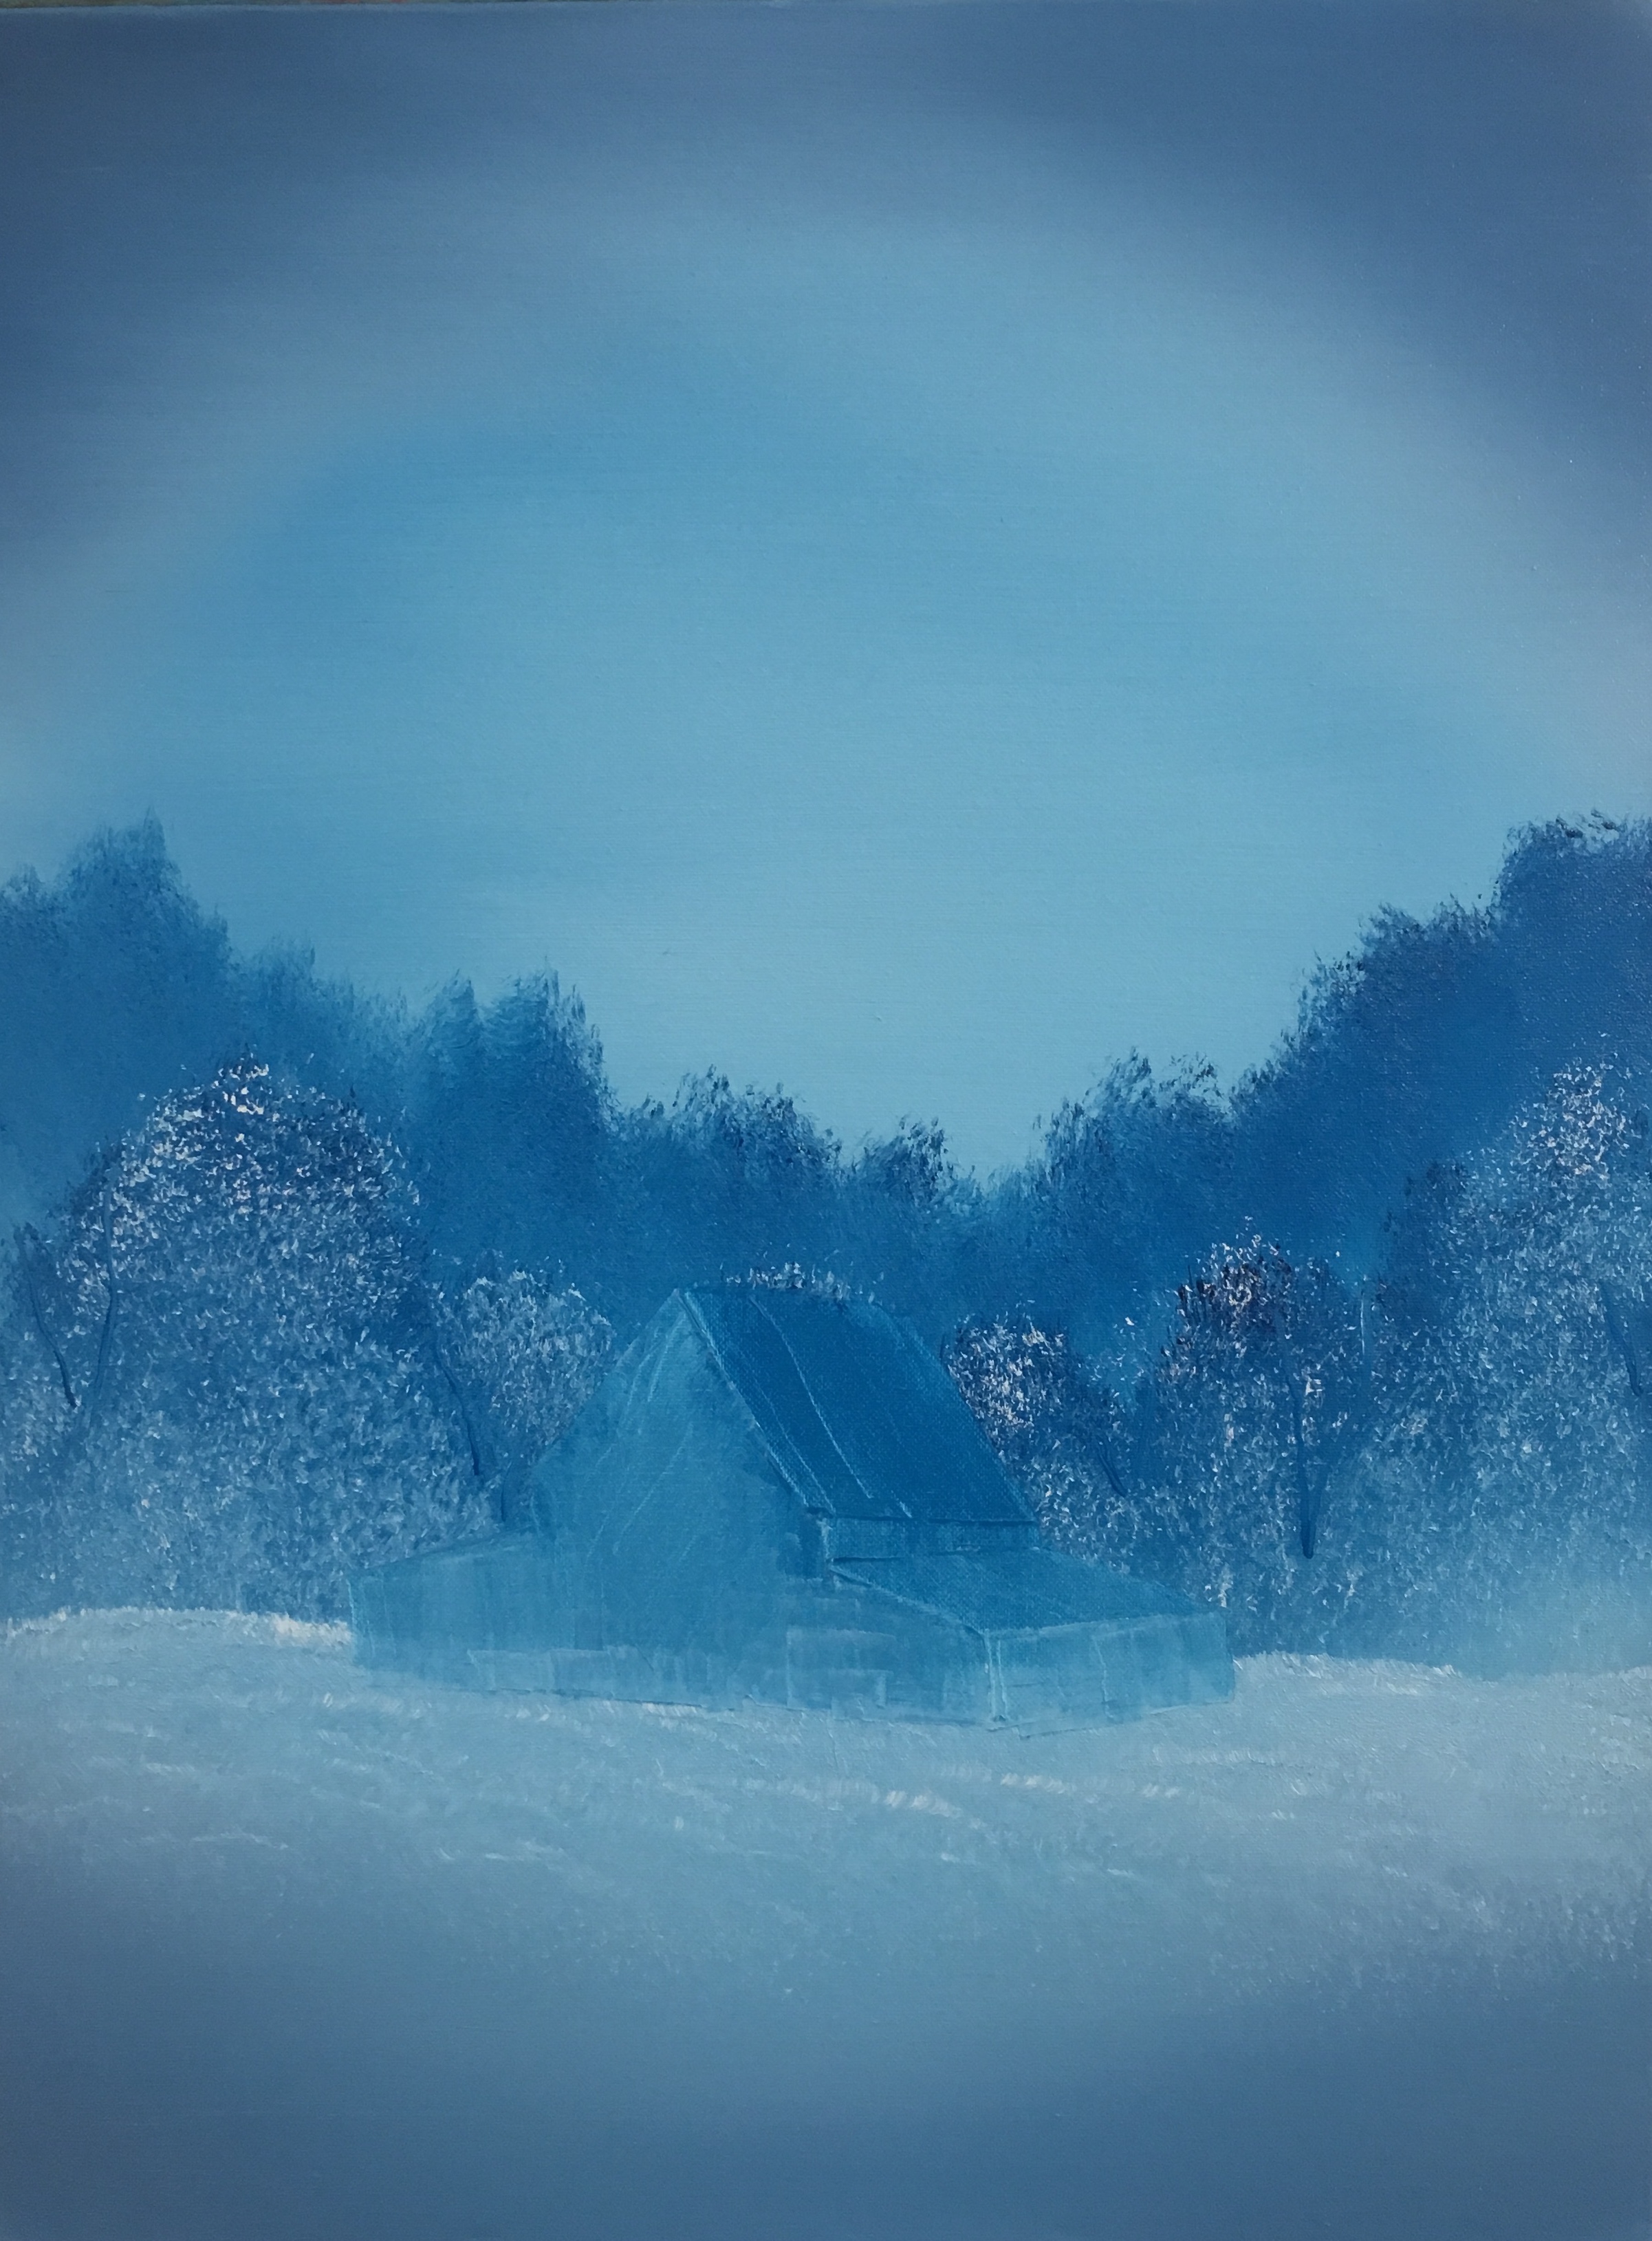
Next with the Script Liner Brush and some Paint Thinner, I went into some of the blue color, and I put an indication of some tree trunks showing. I didn't put too many on there, but you can put as many as you want. With a dry 2-inched brush, I coated it with some Titanium White. Load it up by tapping firmly onto the palette. Then it was time to put a little hill in the foreground.
Time to get crazy and create the big barn. Take the Palette Knife, and scrape out a basic shape of the barn. It helps for some people but not all people do it when they paint in a building or such. It helps me a lot and same for Bob when he paints houses/cabins or barns. It helps just to get an idea of shape and where I need to put everything, perspective or whatever.
By creating the shape of the barn with the knife, all your doing is scraping/moving excess paint, and giving us the basic shape to go by.
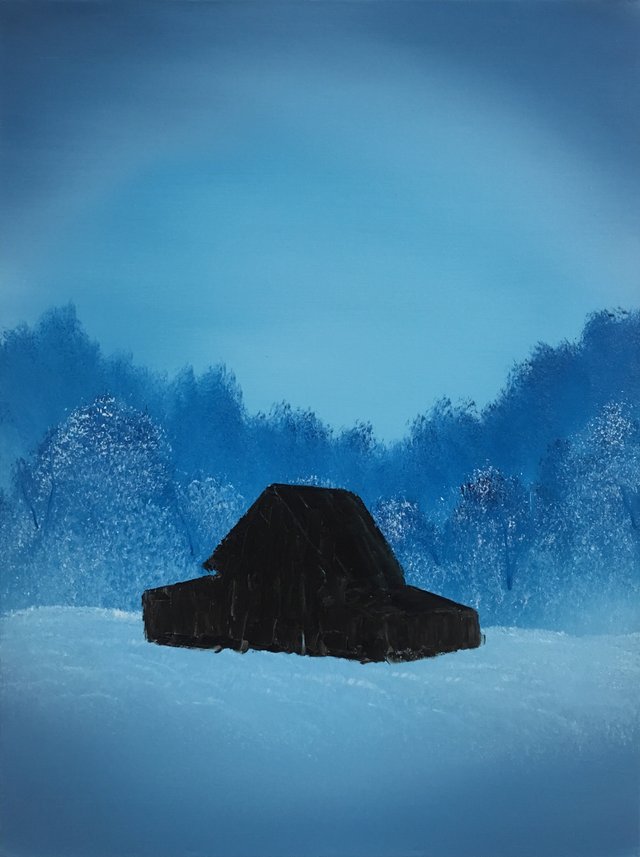
Take some Van Dyke Brown on the knife, and start with the back eave. You're pretty much starting to block in with the color of the basic shape you've created with the Palette Knife earlier.
Using the Palette Knife, take some Dark Sienna and Titanium White mixed together. Pick up a little roll of paint on the edge of the knife, and then lightly, touch and pull down, creating the highlights of the barn.
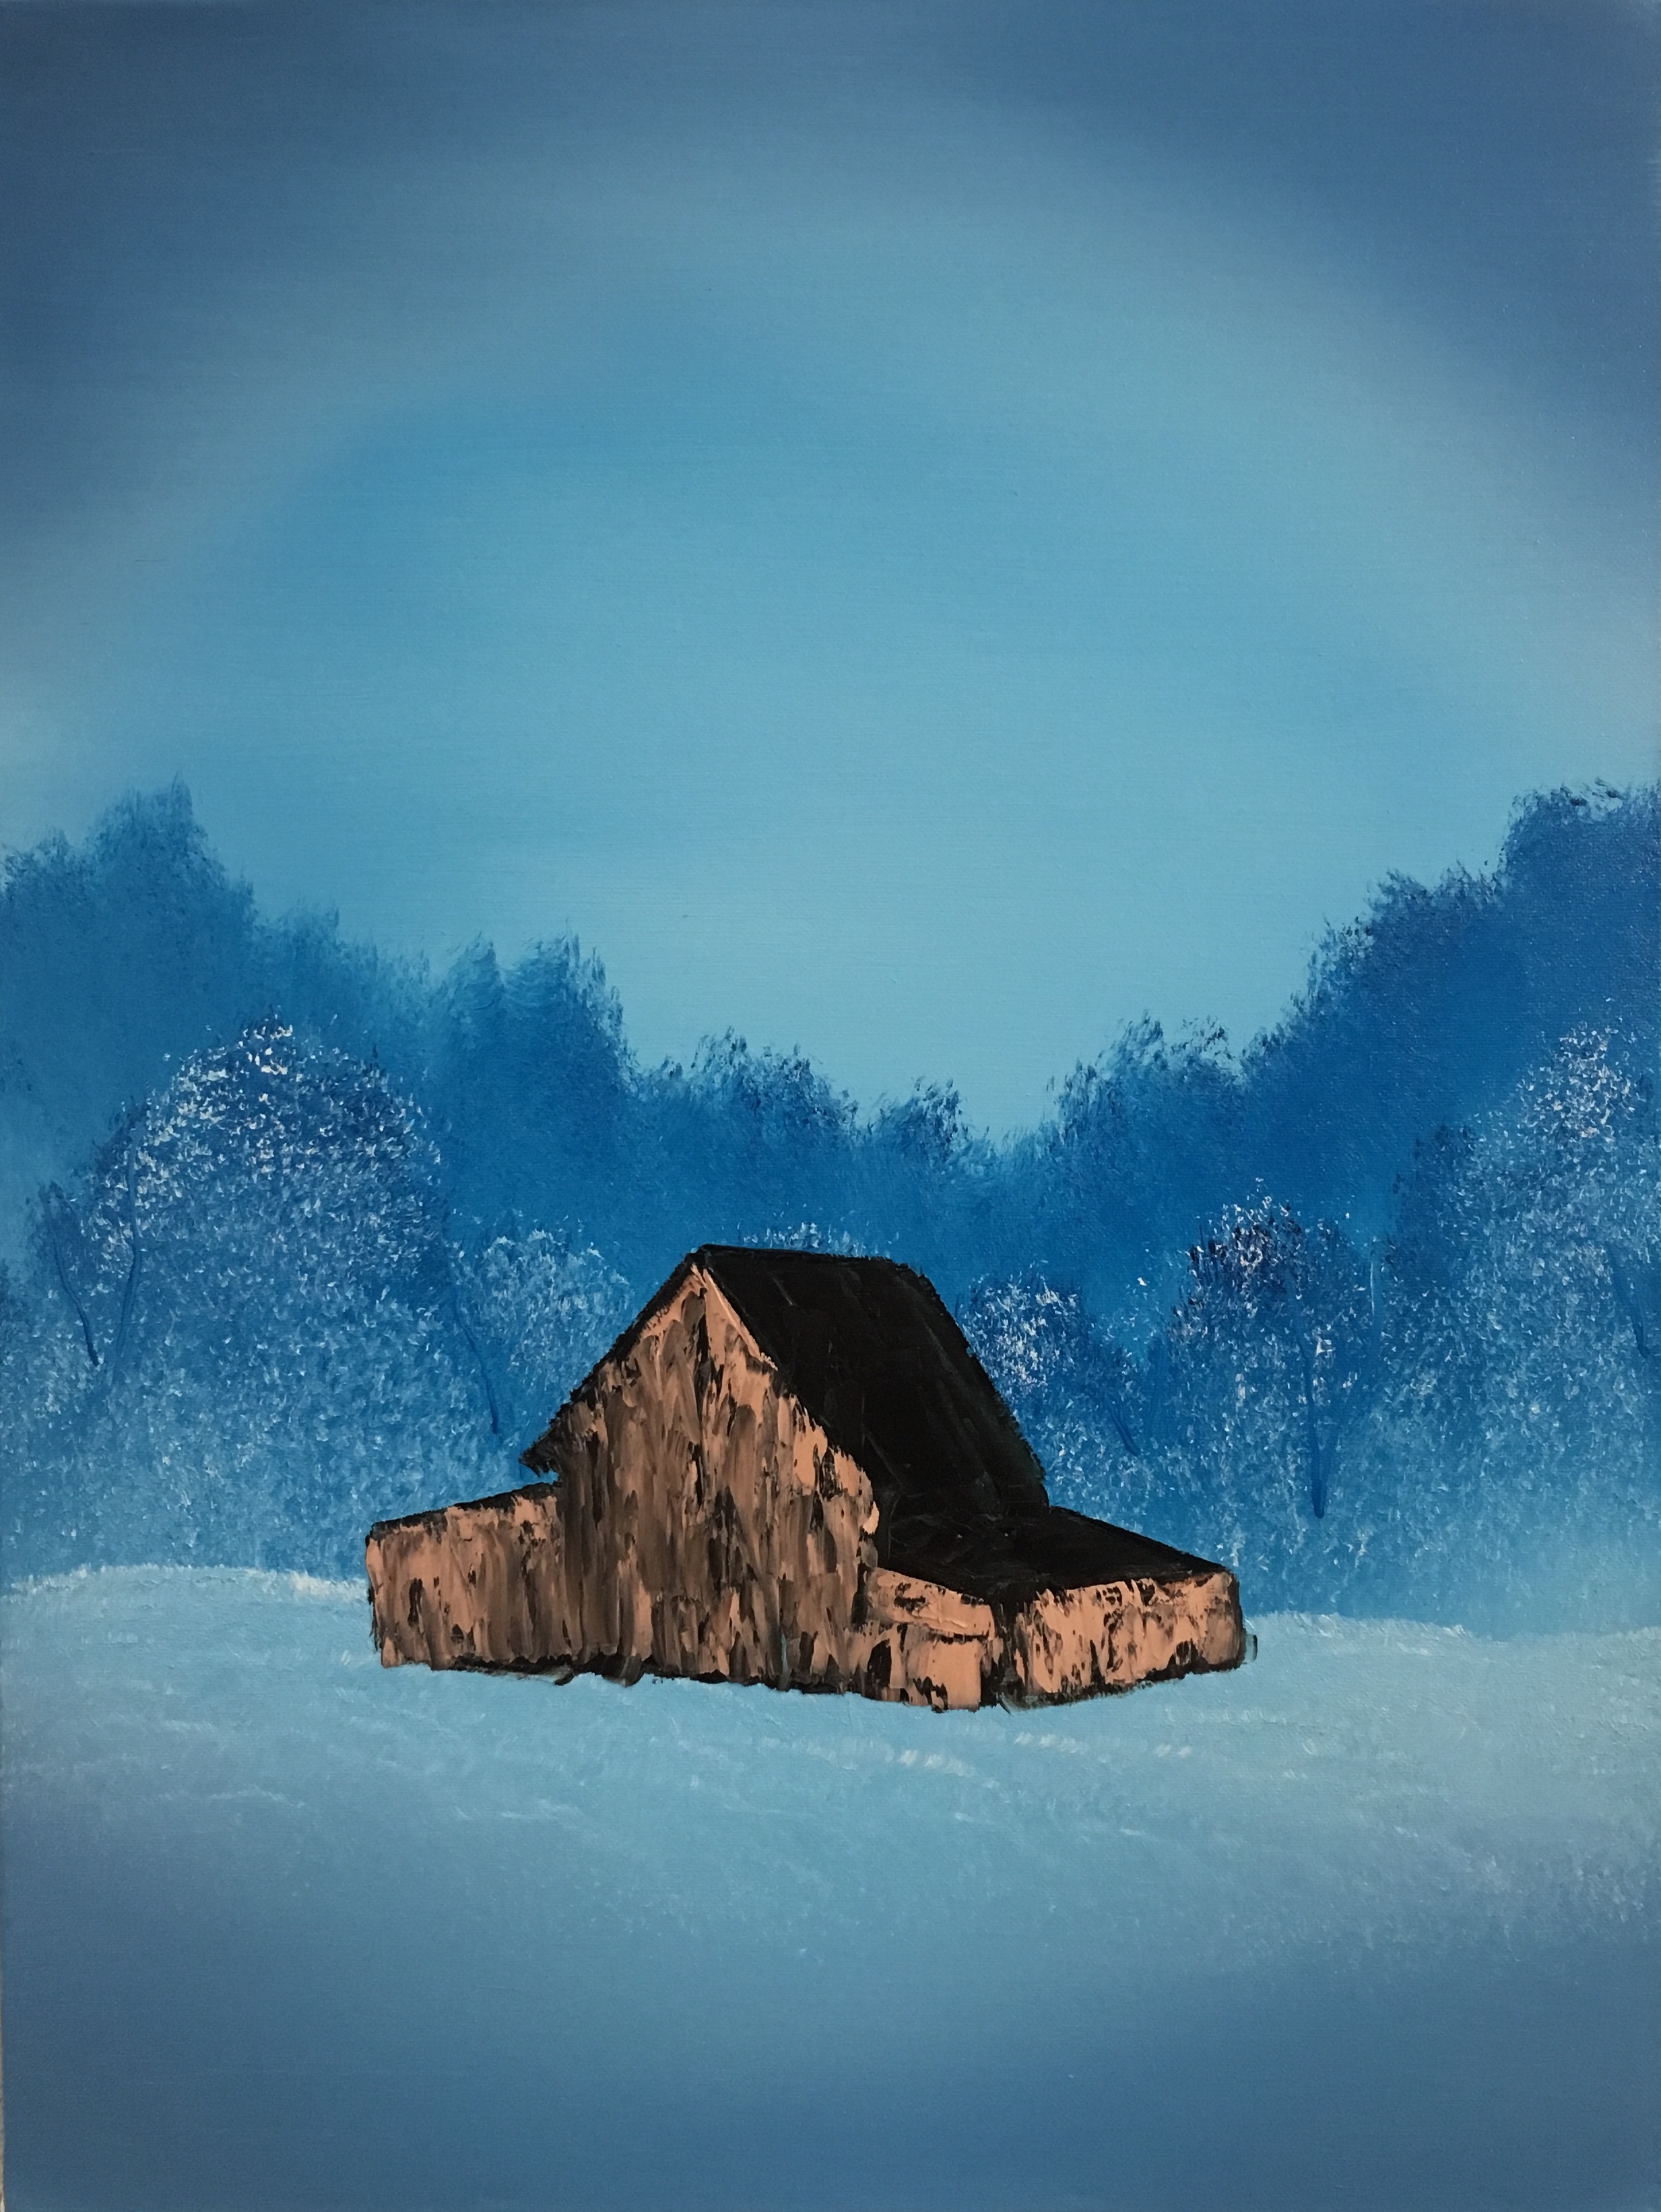
For the roof, brighten up the highlights with some Titanium White, take a little roll on the edge of the knife and sort of let it bounce when you use the knife to put the highlights on the rooftops.
I wanted some snow to show on the rooftops so I took some Titanium White with the knife and I just pulled downward just a little, not using a lot of pressure. Just letting it slide down. To make the door, I took some Midnight Black with the knife, and went to the center of the barn and pulled downward.
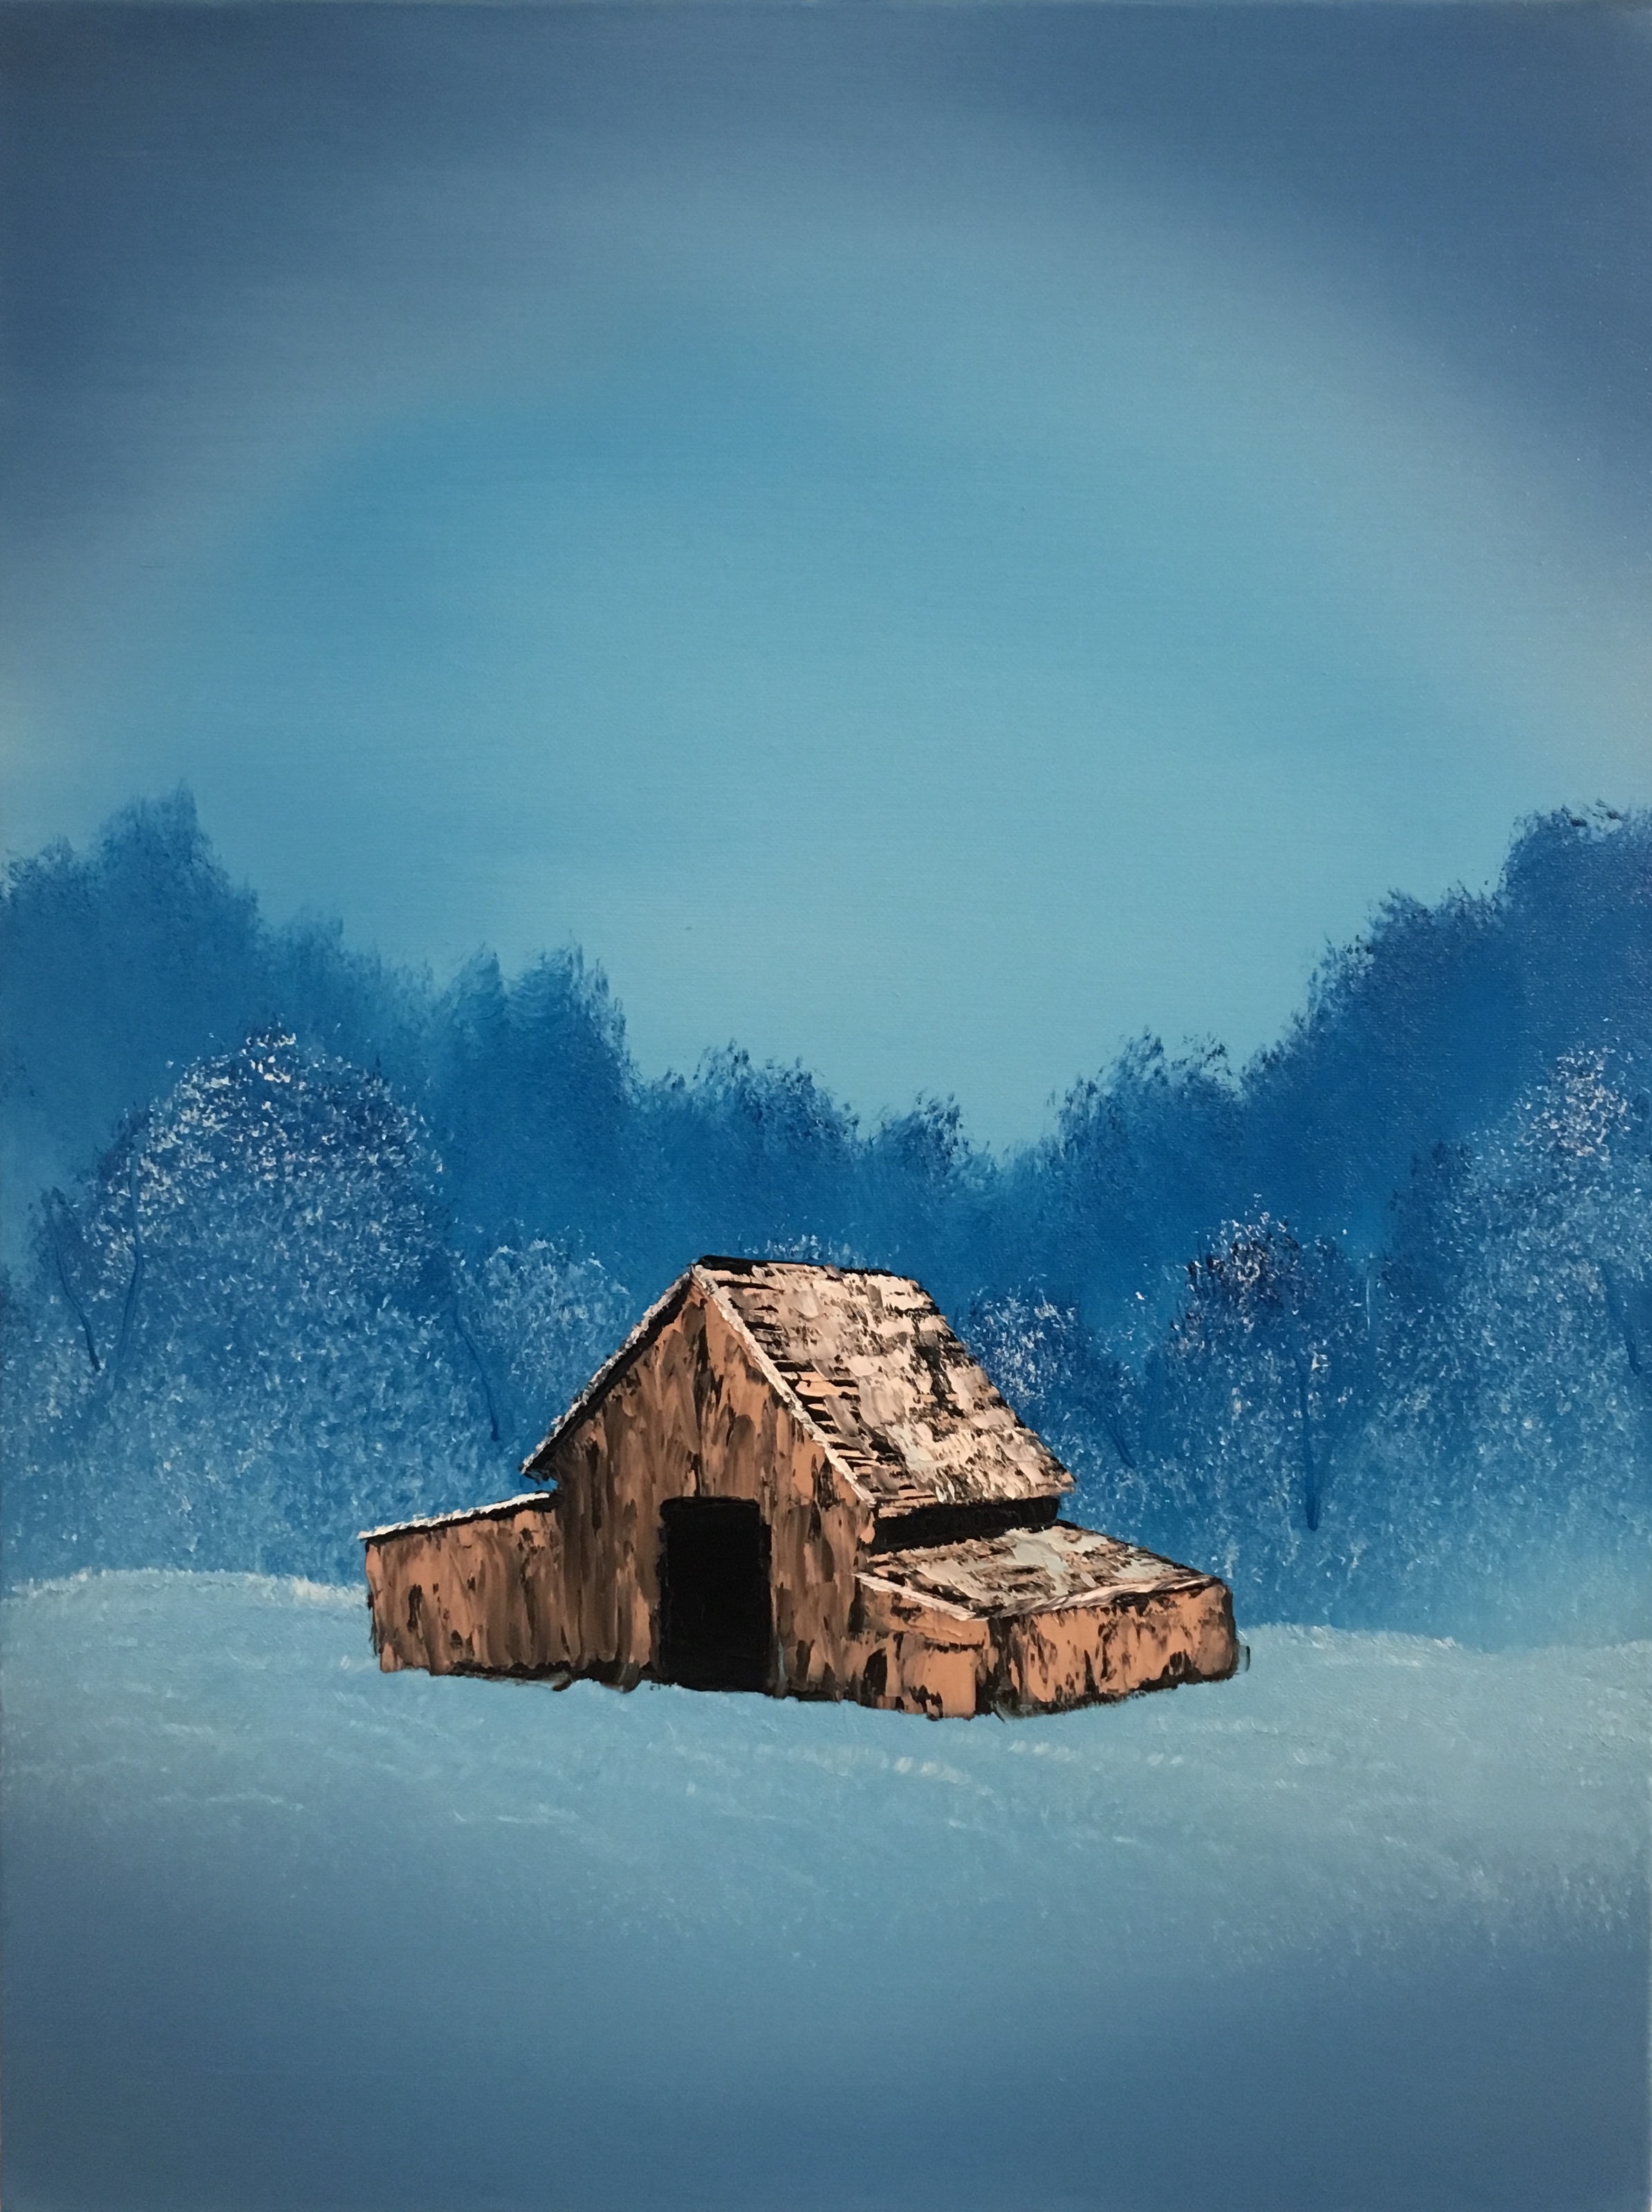
Before adding the snow and a pathway, I did a "Barnectomy", as Bob Ross would say by cutting off the bottom parts of the barn with the knife. Cutting it off where you want it, thinking about perspective and all. Then I went back to my 2-inched brush with the Titanium White, creating some snowy areas by tapping onto the canvas.
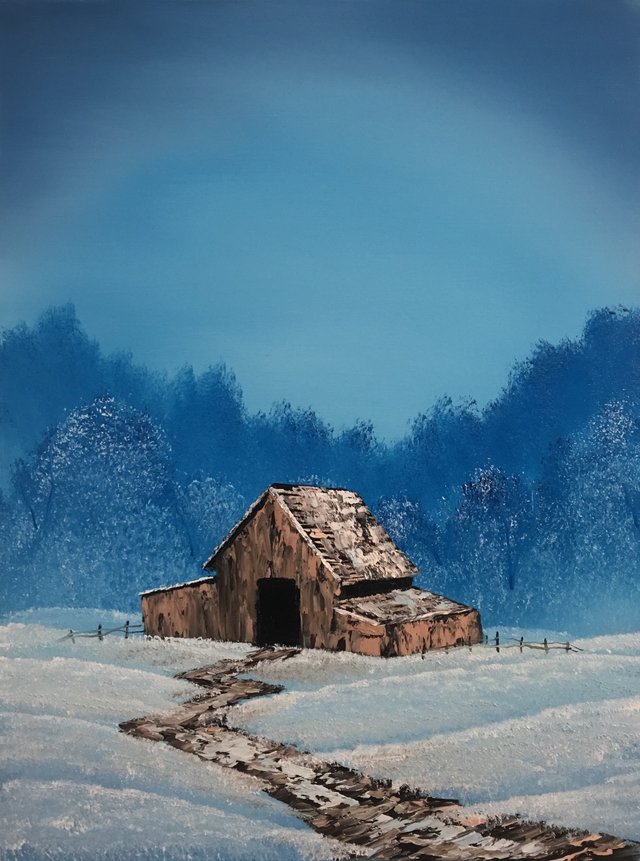
Then I took my Palette Knife again and created a path with the Van Dyke Brown. Afterward I took the barn highlights and while still using the knife, I've created highlights on the path. I also put some snow on the path by using the knife and gently letting it slide a little. I took my dirty brush again and covered some of the edges of the pathway. The more you tap this, the softer it becomes.
With the Script-Liner Brush and some brown and Paint Thinner, I've created a little fence along the sides of the barn.
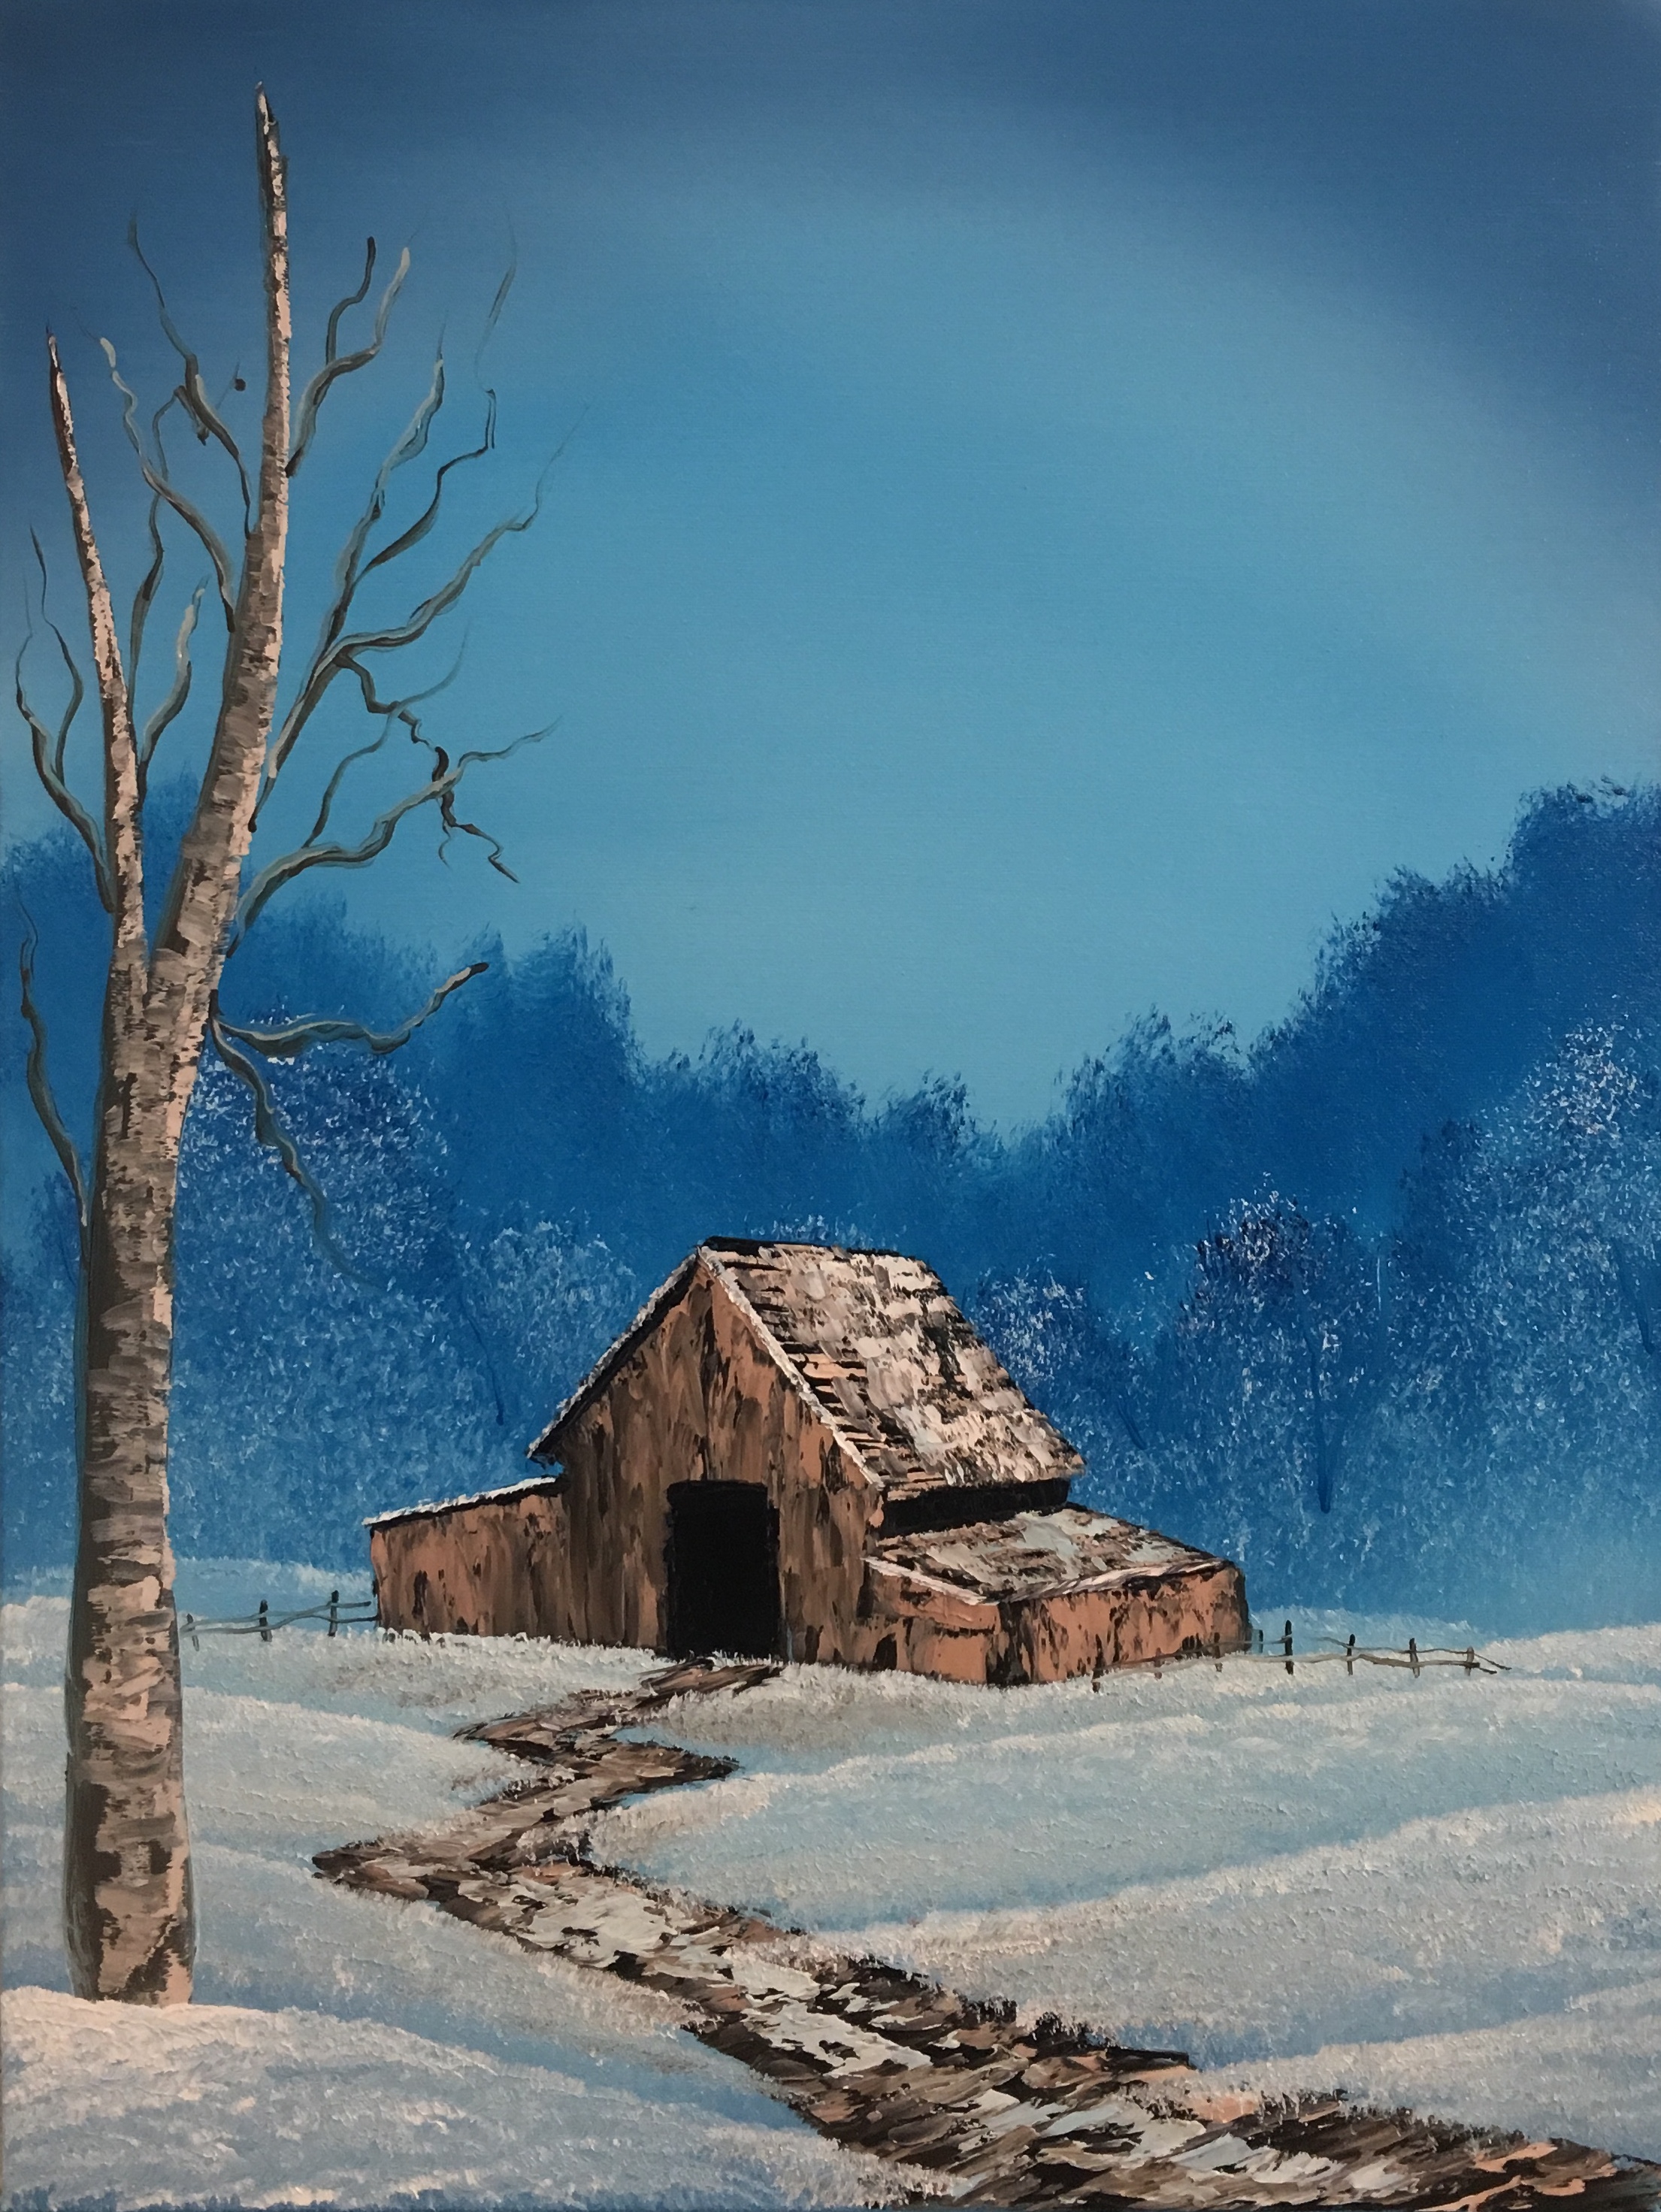
I used the Fan Brush and mixed in some Van Dyke Brown and Dark Sienna and painted in a big tree and that was my Bravery Test, deciding to where to put it. Go from the top left of the canvas and just pull down.
Then with my Palette Knife and some highlight color, I created some tree highlights. You're just barely giving it a little pull, barely touching. With the Script Liner Brush, Paint Thinner and brown, I started to create some branches of the tree.
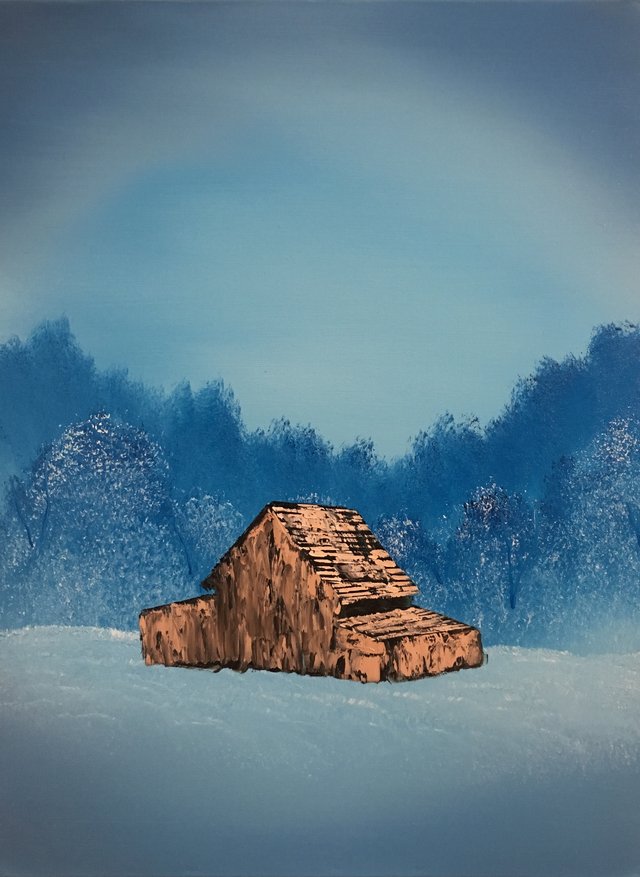
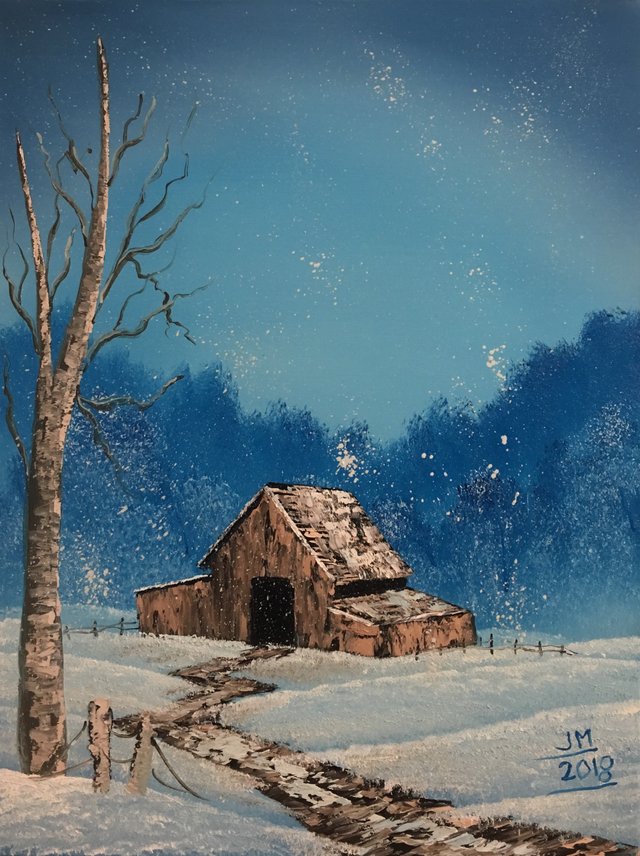
To finish off the painting, I took my knife, some brown and the highlight color, and created a little old fence next to the tree. With some thinner and brown, I put in some old wire on there.
Finally, I took my liner brush, a lot of thinner and thinned down the Titanium White, making it the consistency of ink, just like with the tree branches and fence. Then I grabbed the Palette Knife and the Fan Brush. I took the brush and the white and just flicked it, creating the indication of snow falling. You can put as much snow falling if you want to. Creating the illusion of snow falling when painting a winter-scape is very beautiful. And with that, we have a finished painting. Time to sign it.
I hope you've enjoyed this step by step process of this painting. I hope it has inspired everyone a lot and I encourage you to give this a try and see what you think. Until next time my Steemit Friends, Happy Painting and God Bless.
Why didn't you make a video about it instead and become the new bob ross?
Haha, don't worry. When I get the chance, the next piece I do I shall make a video and do a step by step process. I'm not very good in front of a camera but I'll give it a chance.
Well apparently you use the same technique. with a calm voice and some self esteem... it isnt that hard i guess! ^^
Wow, this is excellent! I love seeing process pictures and how something is created from nothing. This painting is wonderful, the depth and detail in the snow is great!
Thank you very much @renascence!