Recycled Treasures: Transforming Wine Bottles into Candles (Pt. 2) with @storybird
Recycled Treasures: Transforming Wine Bottles into Candles (Pt. 2) with @storybird
Alo! This is a continuation on "Recycled Treasures: Transforming Wine Bottles into Candles (Pt.1)" with @storybird. In this initial post, I went through the basics of prepping a recycled glass vessel for the candle-making process! Please see it here: https://steemit.com/art/@storybird/recycled-treasures-transforming-wine-bottles-into-candles-pt-1-with-storybird
Onto the next stage!
Selecting the Wax
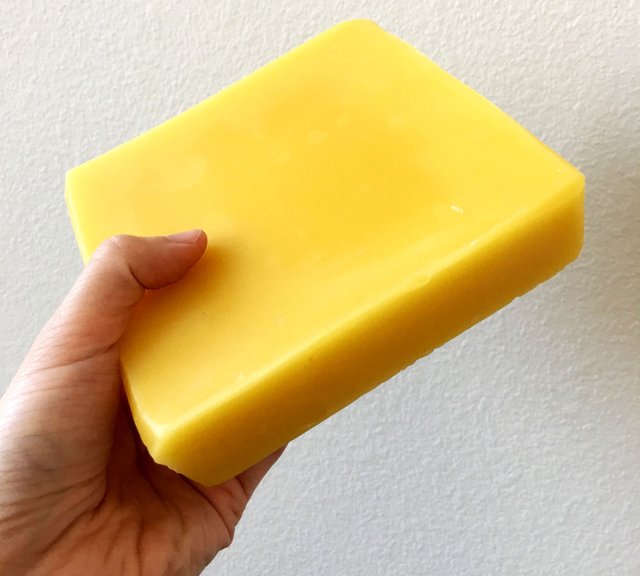
Now your glass vessel is ready to go! There are many types of wax to choose from including soy wax, beeswax, blends, etc. I've heard some things about beeswax being the cleanest for the air, so I decided to give it a try.
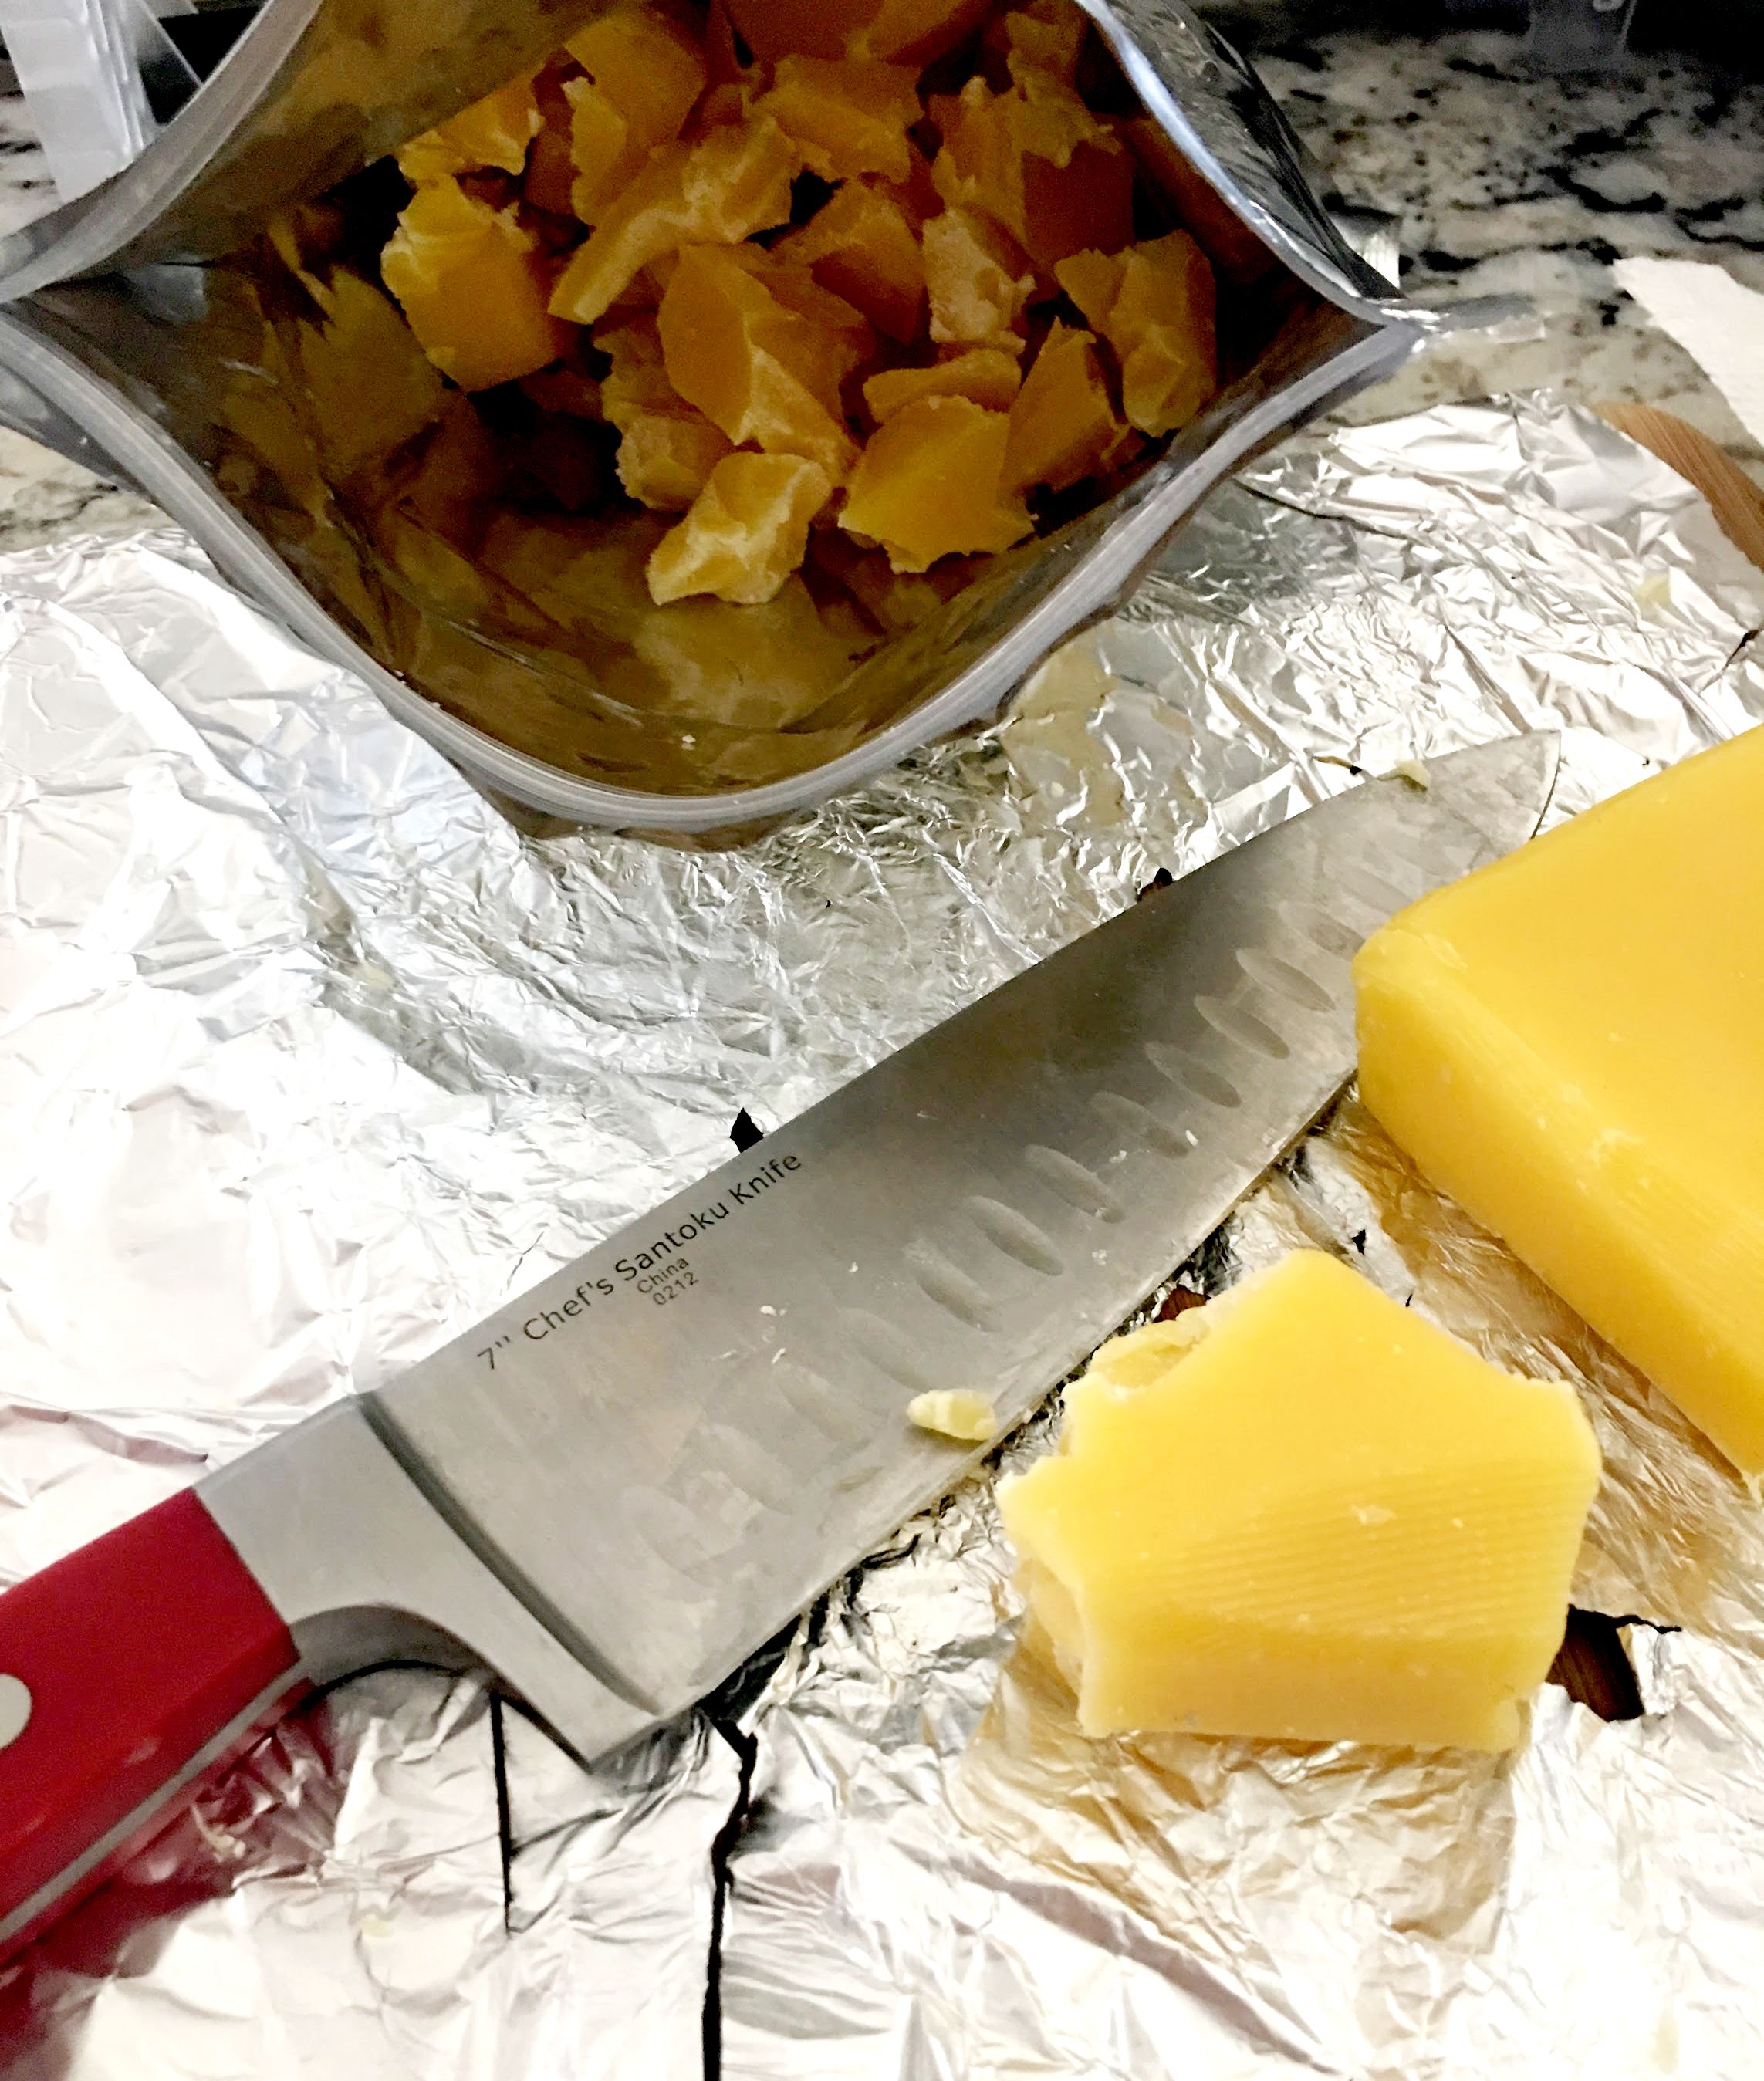
Since the beeswax arrived in large blocks, I cut them down into pieces so that they would melt faster. It was very difficult to cut through, so next time, I would purchase pre-cut wax for time and safety reasons. Or I might just cut the block down small enough to fit into the candle pitcher and wait a little longer for it to melt.
Selecting the Wick
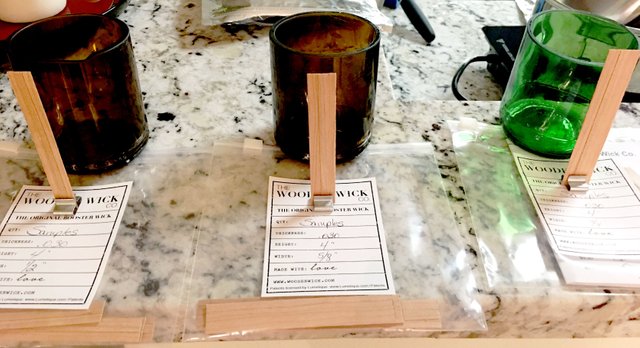
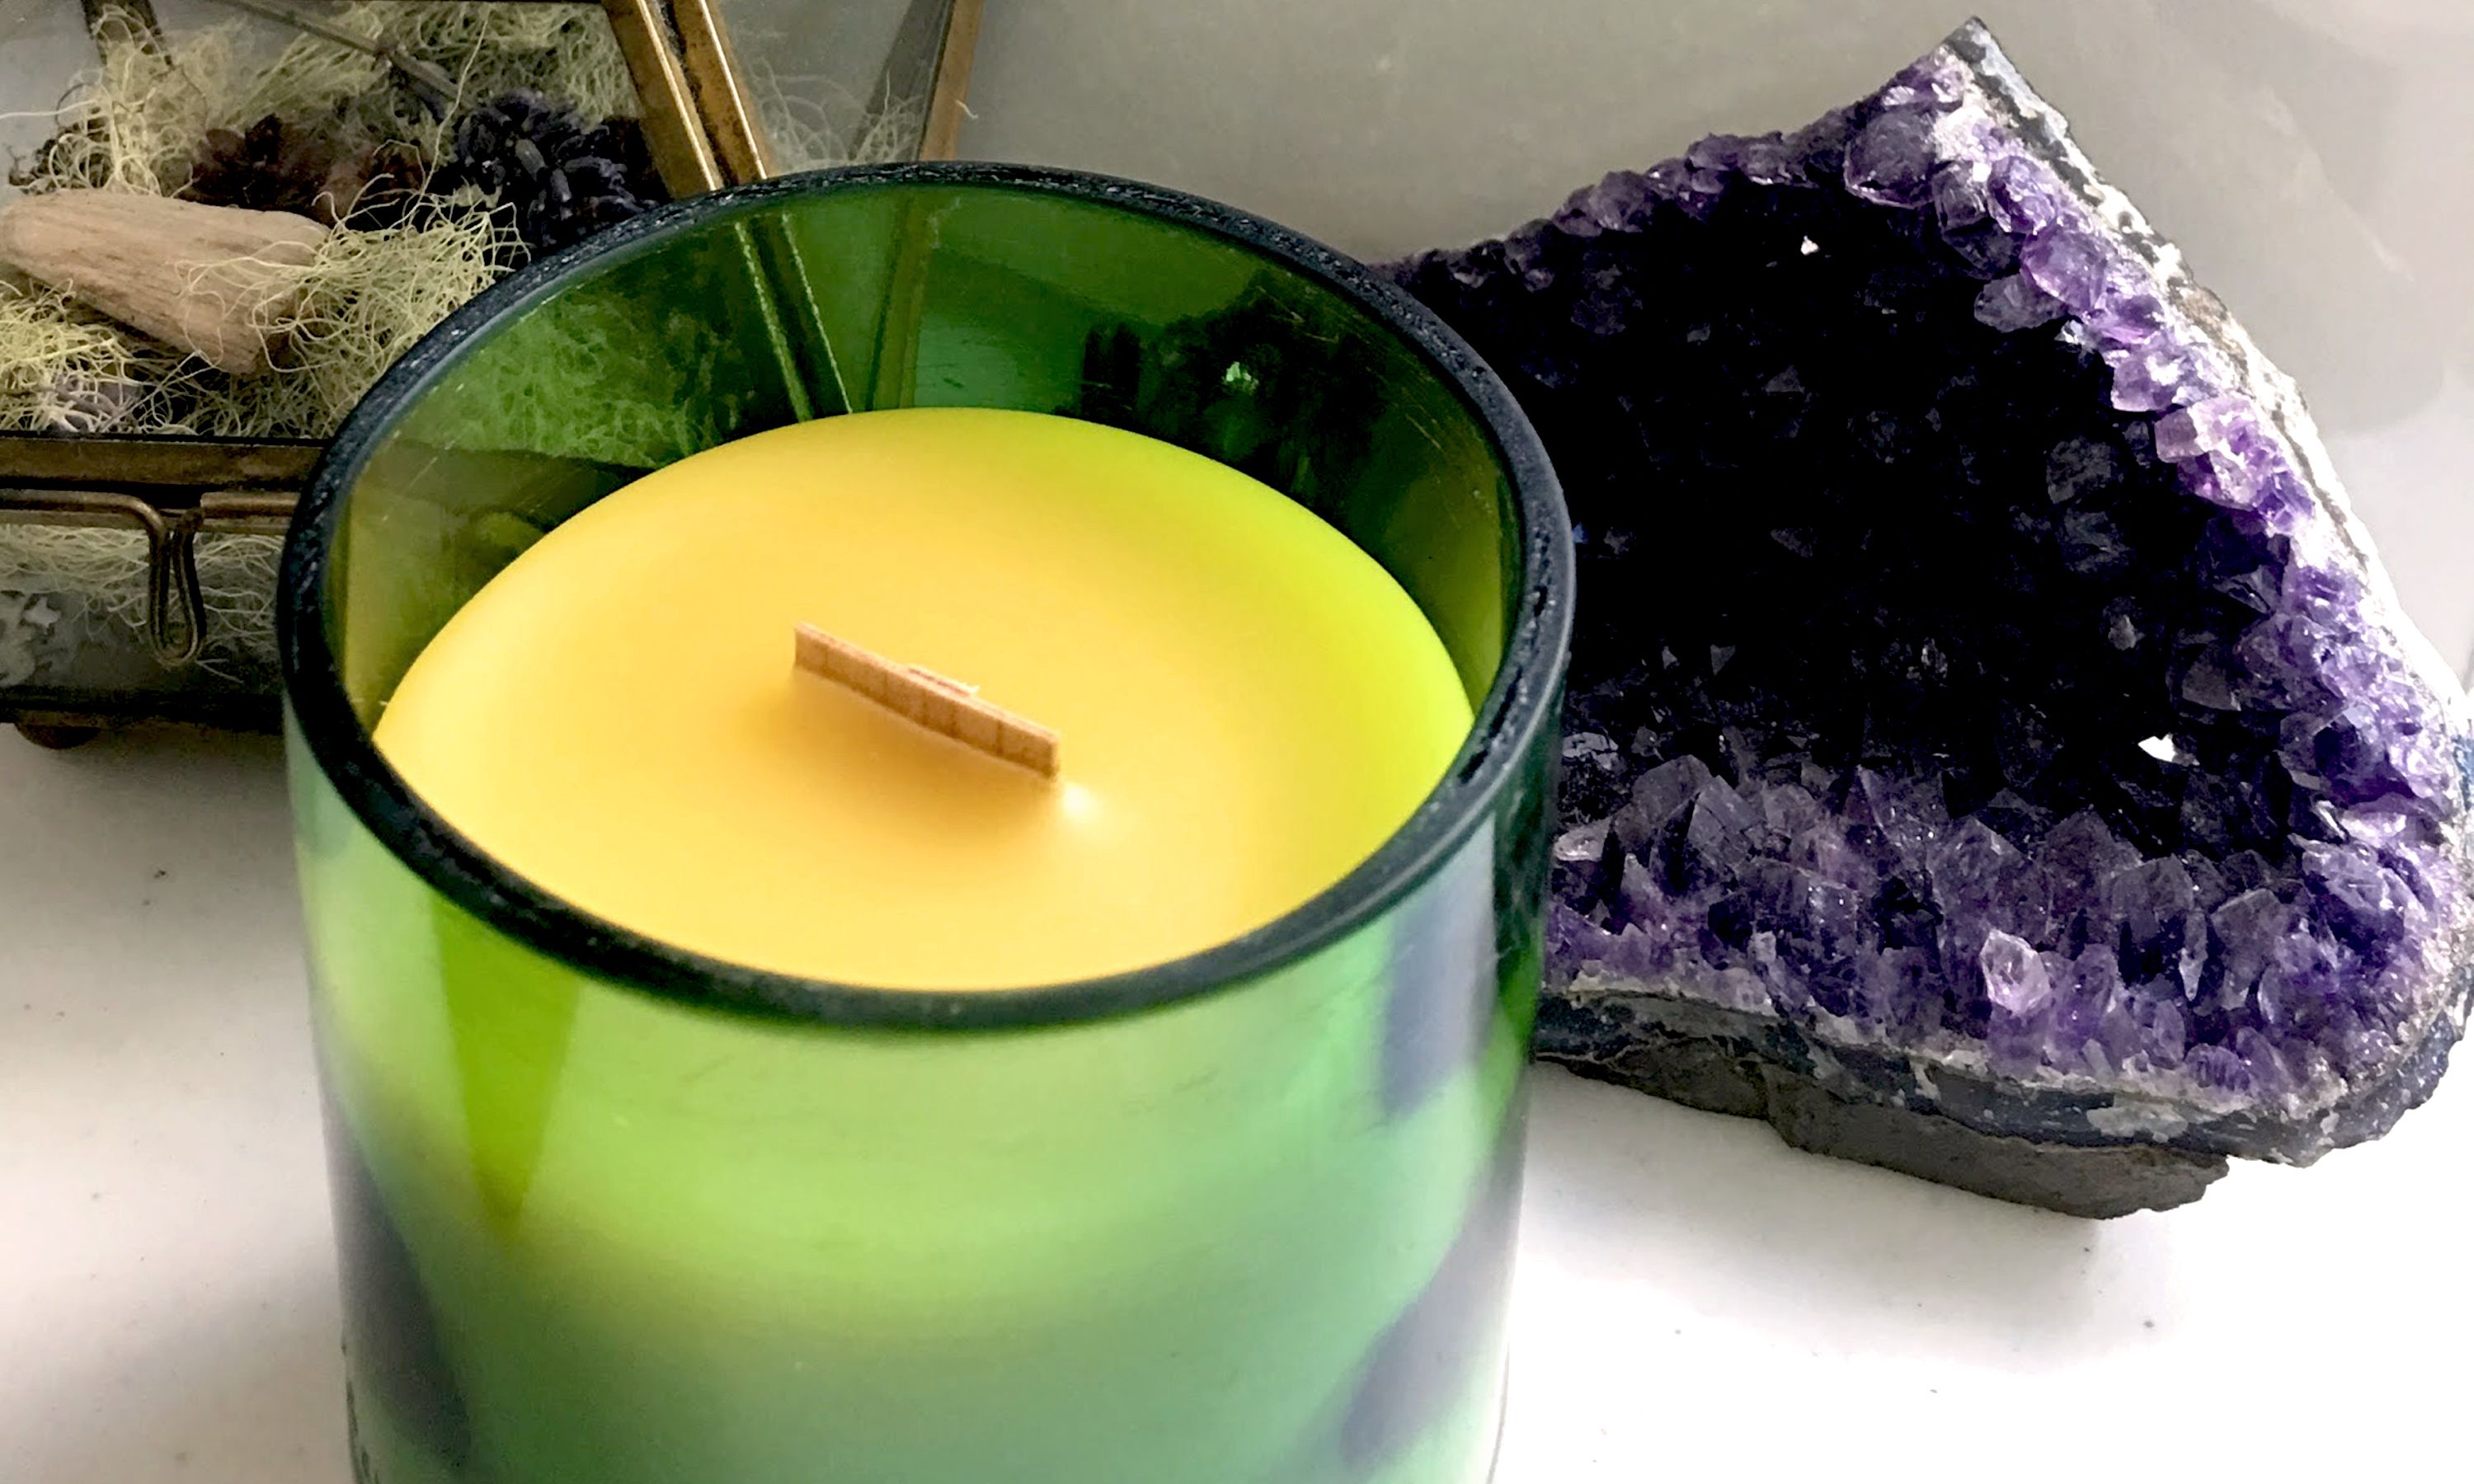
I love the crackling sound and aesthetic of wooden wicks, so I decided to give them a try! It is important to do some reading to see what the most appropriate wick specs for your candle might be, ask the wick manufacturer any questions you may have, and run tests with different sample sizes to make sure you are achieving the appropriate burn pool (I will be discussing burn pools in part 3!). You will see in my photos that I am testing wicks of different sizes based on my findings throughout the testing process.
These wooden wicks slid easily into their metal wick holders. To prep the container, all I needed to do was place the wick and its metal holder at the center of the vessel base.
Heating the Wax
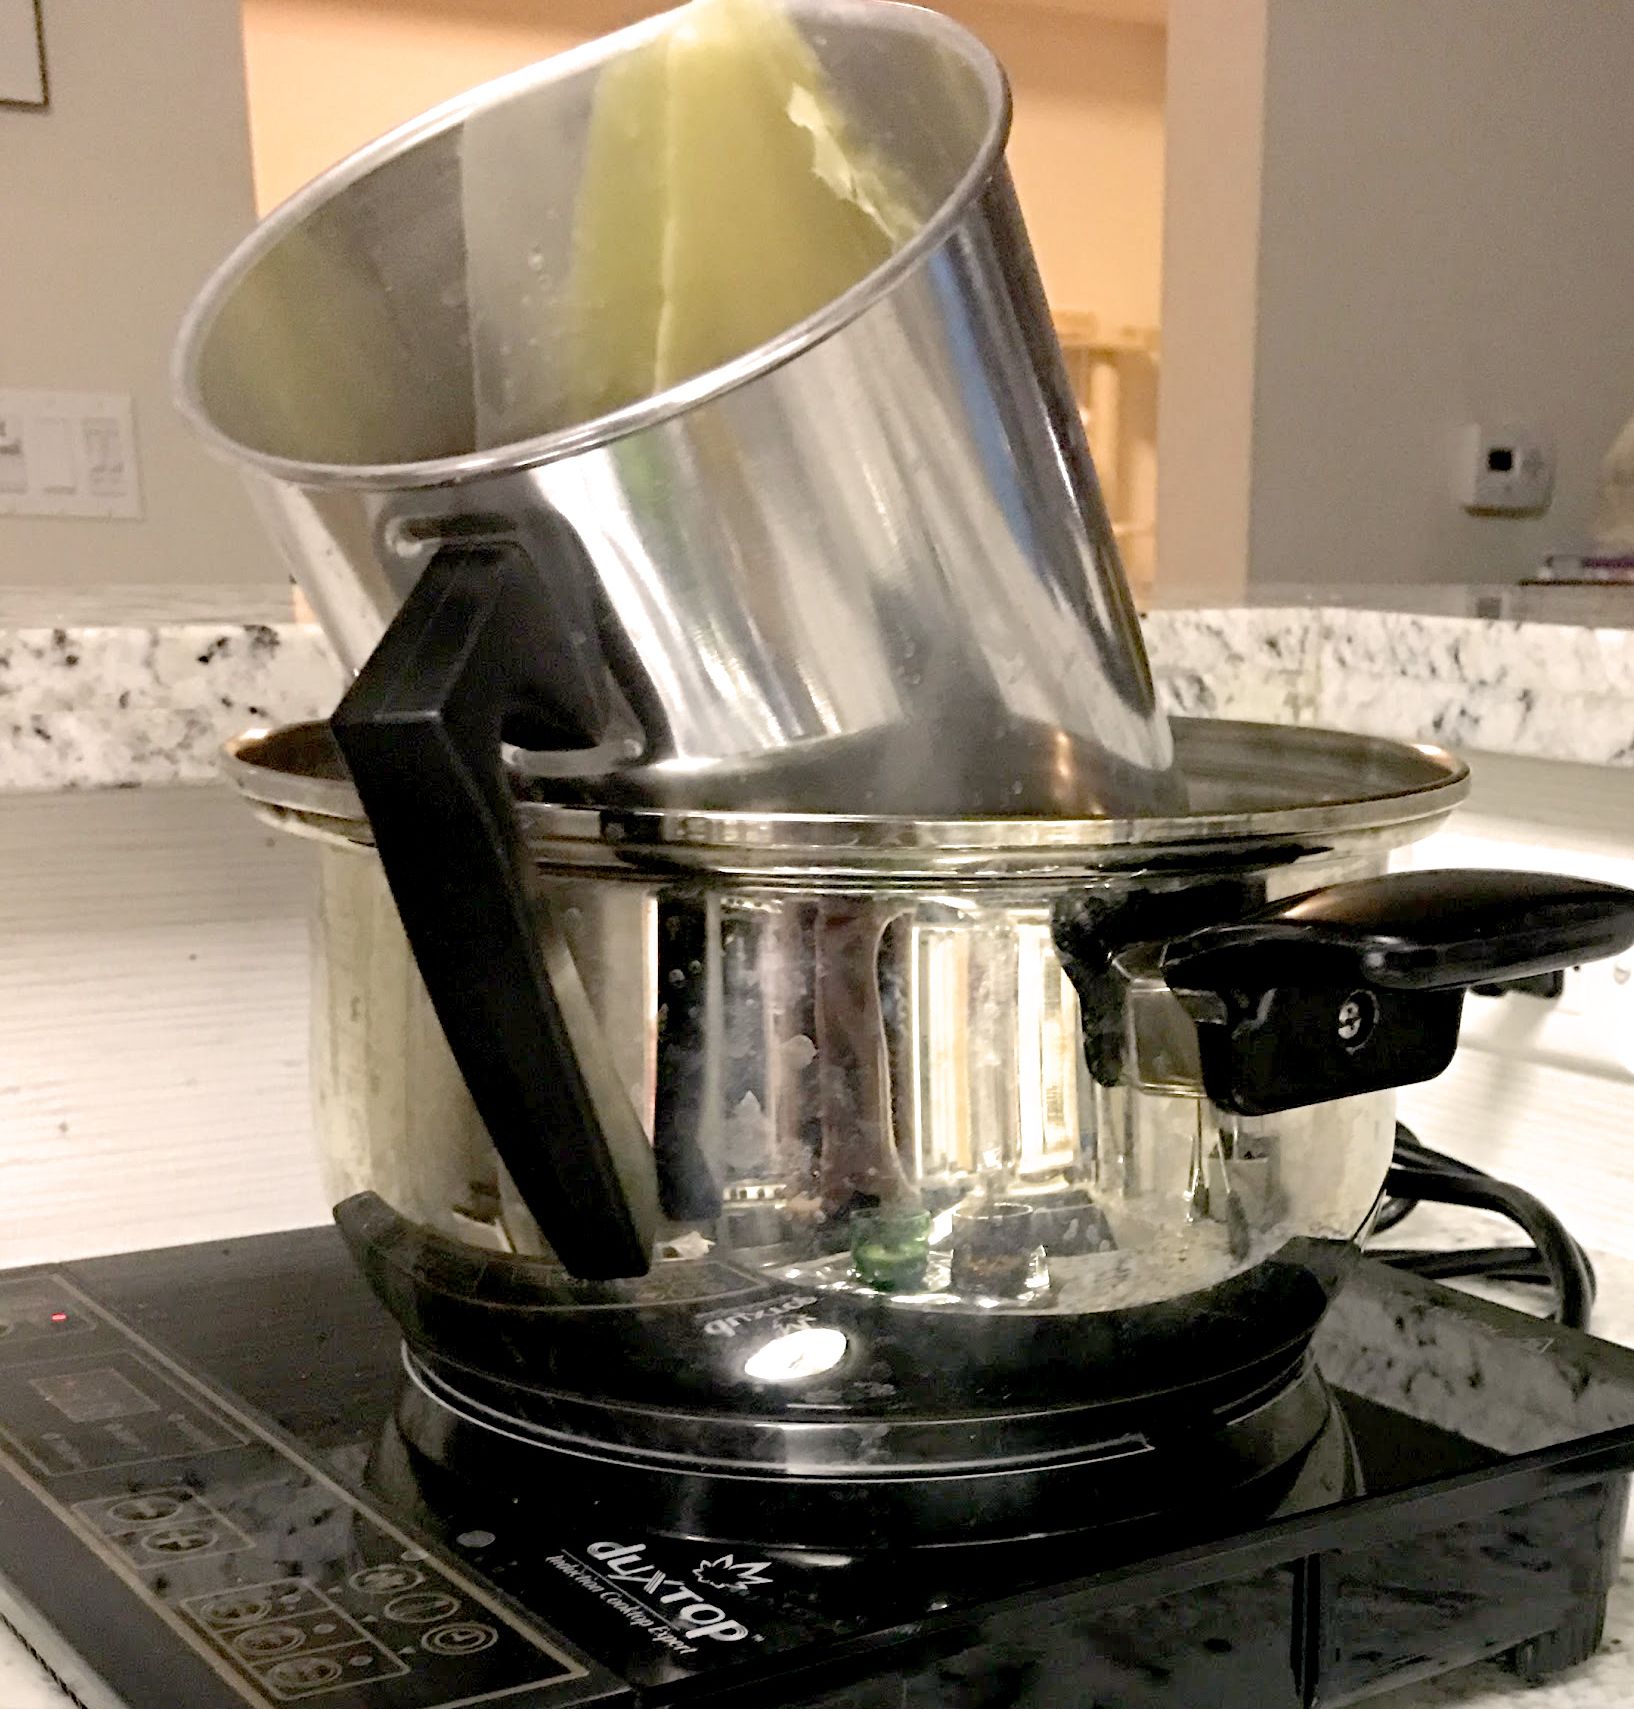
After doing some research, I learned it was much safer to use an electric stove versus gas. If you don't have an electric stove, one of these portable ones could work. I placed the wax inside of a candle pitcher and heated it to its ideal pour temperature. My favorite way to monitor the wax's temperature was with a laser thermometer gun that hit the surface and gave me an immediate reading! I did not use any fragrance in this candle.
(Safety tips: Be sure to look up the flash point of your wax to make sure you don't come close to it, because I read that it could start fires. Be attentive during the wax heating process. Hopefully you will never have to use it, but if you have a fire extinguisher, it might be good to keep it around.)
Pouring the Wax
Once the wax reached its ideal pour temperature, I was stoked! I quickly filled the vessel all the way to the top, and this is what happened after it cooled.
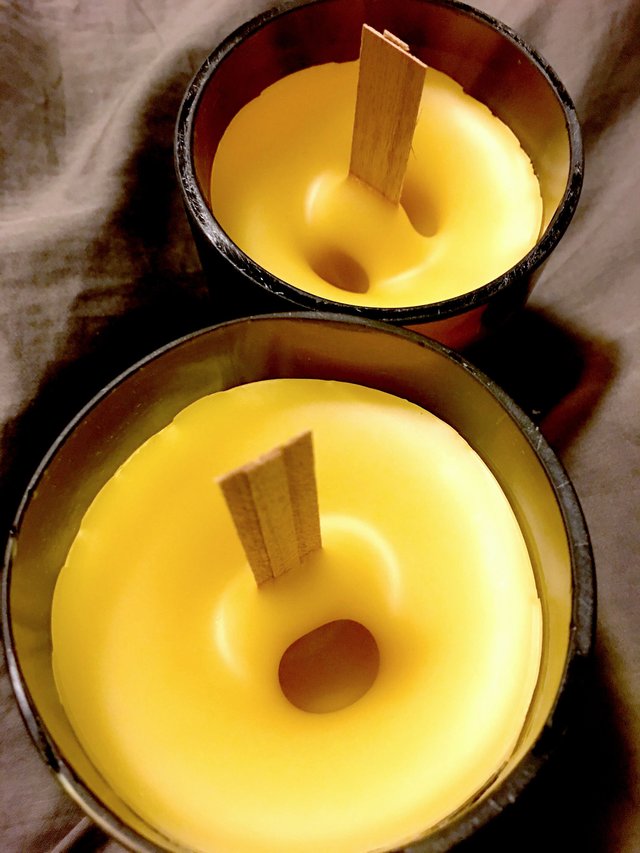
Sink holes! Be sure to pour the wax slowly and only pour to fill half of the vessel. Once that half has cooled, repeat with the second half. Here are the candles after the first pour:
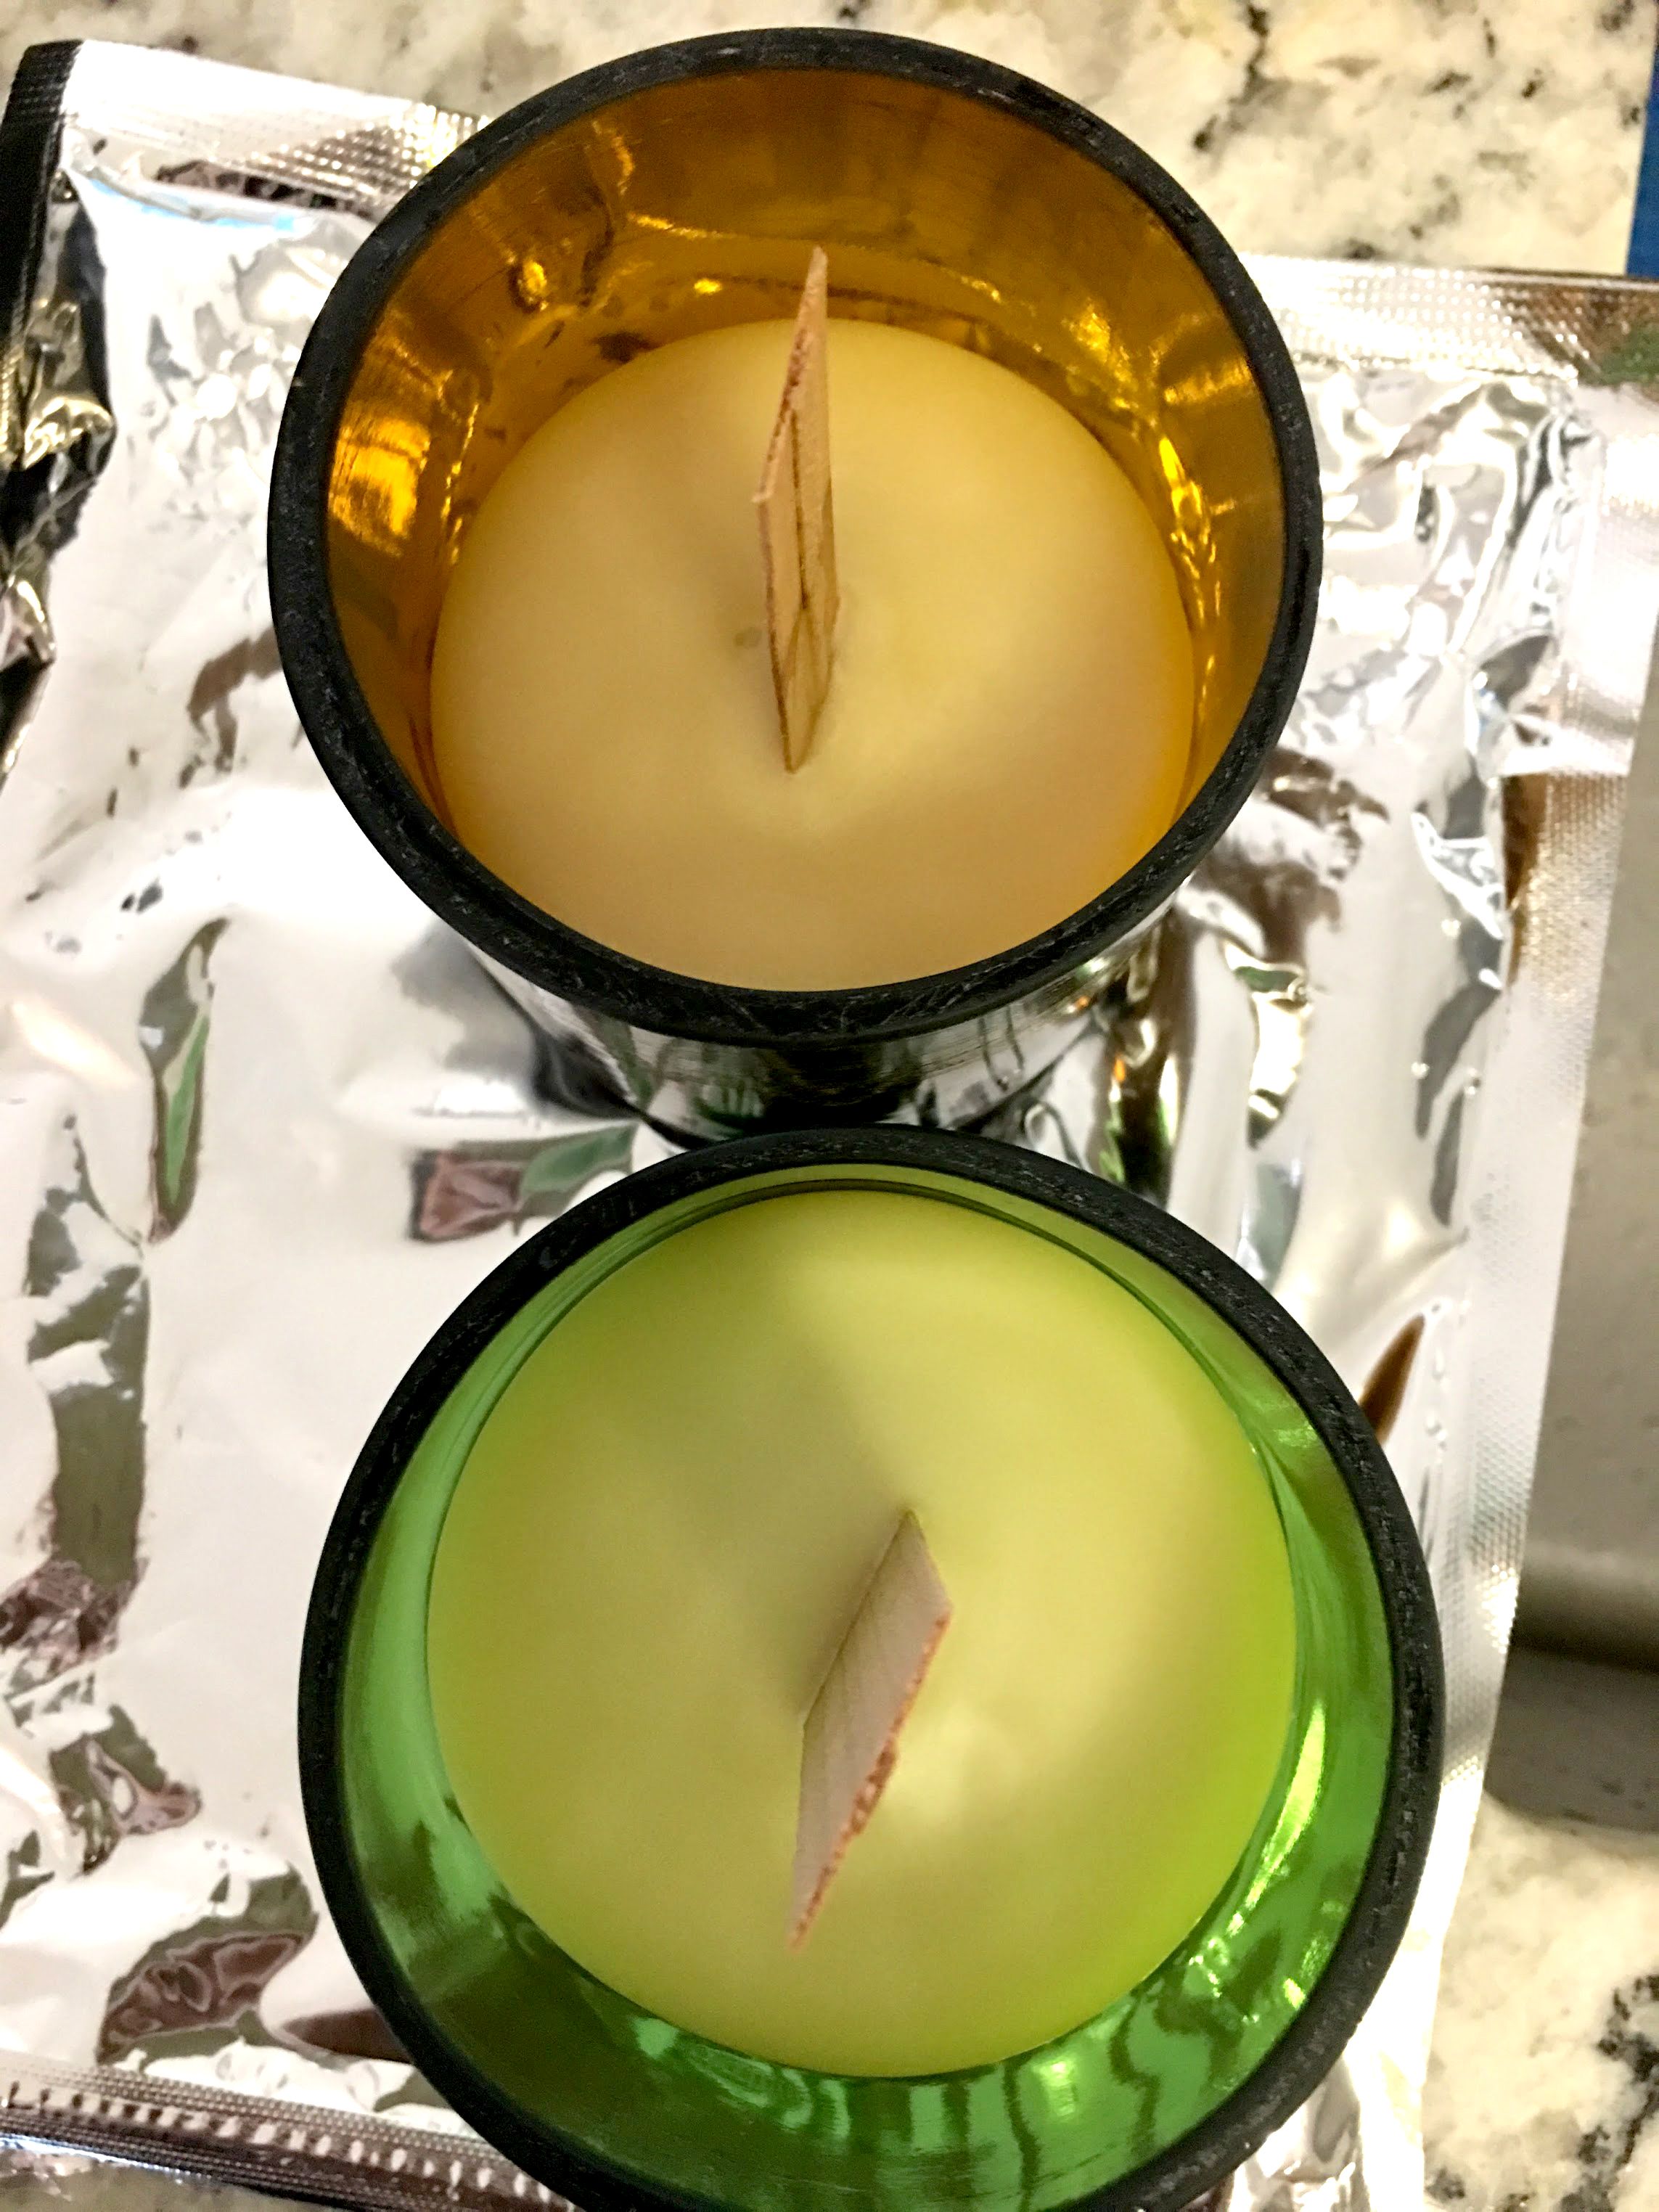
This is one of the candles after the second pour:
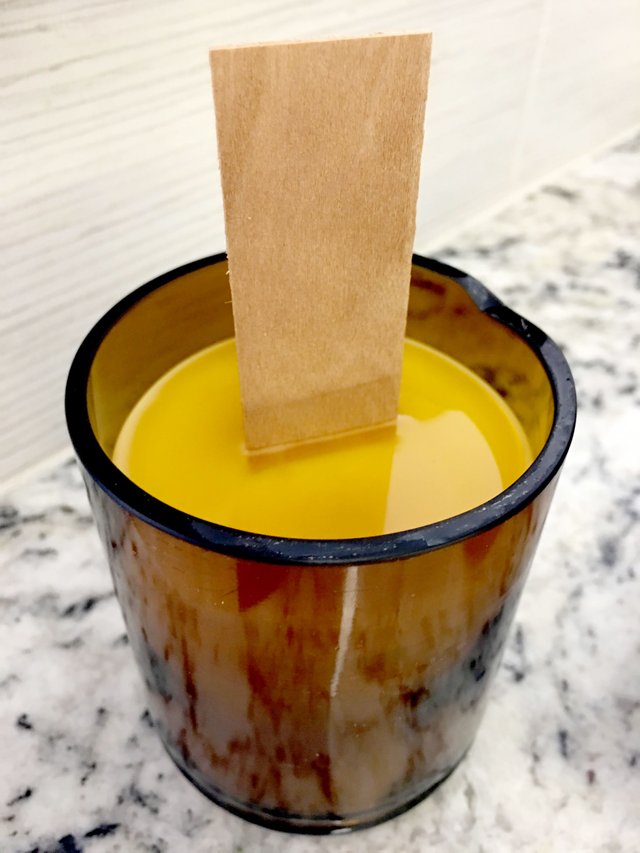
All I needed to do was let the candle cool and use a wide straight-edge toe-nail clipper to trim the wick down to its appropriate height. If you want the surface of the candle to be very smooth, you can use a heat gun to carefully go over the top.
Part 3 coming next!
In part 3, I will be talking about conducting burn tests.
Until next time, Steemians!
Ca-caw!